


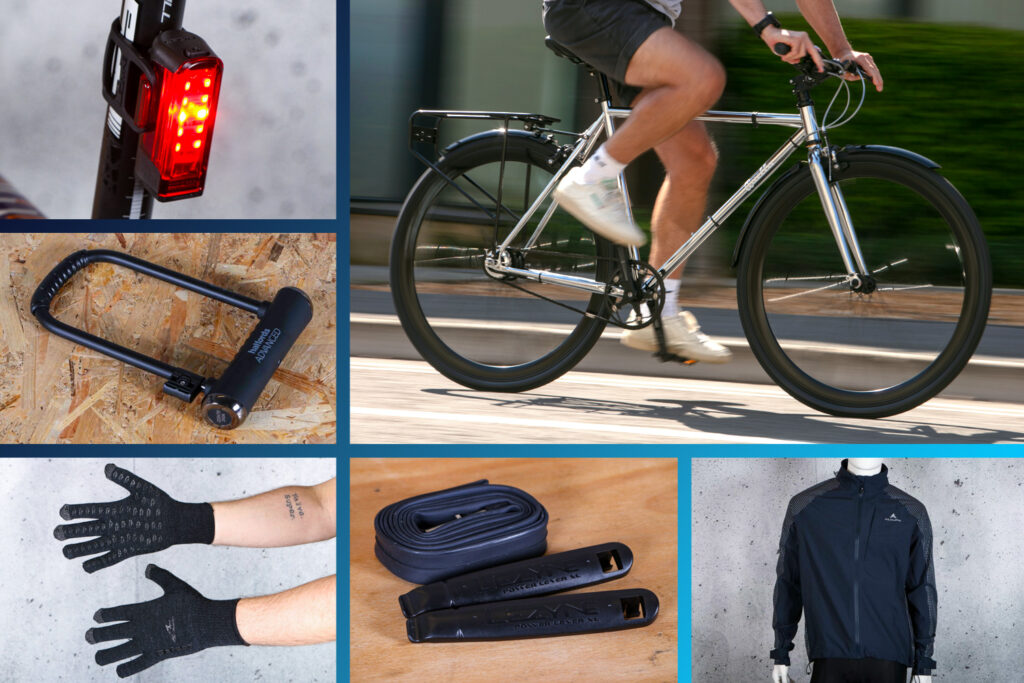

Cycling to work not only saves money and keeps you fit, it can also turn your daily commute into something more enjoyable. To help you get started, here’s the ultimate kit list for riding comfortably, efficiently, and safely.
It can be difficult to know where to start when it comes to commuting to work by bike, so we’ve broken down everything you need into two categories: essentials and desirables. This guide covers all the basics you’ll need to get you to work and back, as well as some upgrades you might want to consider further down the line. For a more general guide to cycling to work you can also check out our beginner’s guide, but if you’re here specifically to nail down your equipment then keep reading…
The essentials
These are the absolute must-haves that you’ll need to get you started on your bike commute.
1. A bike… obviously
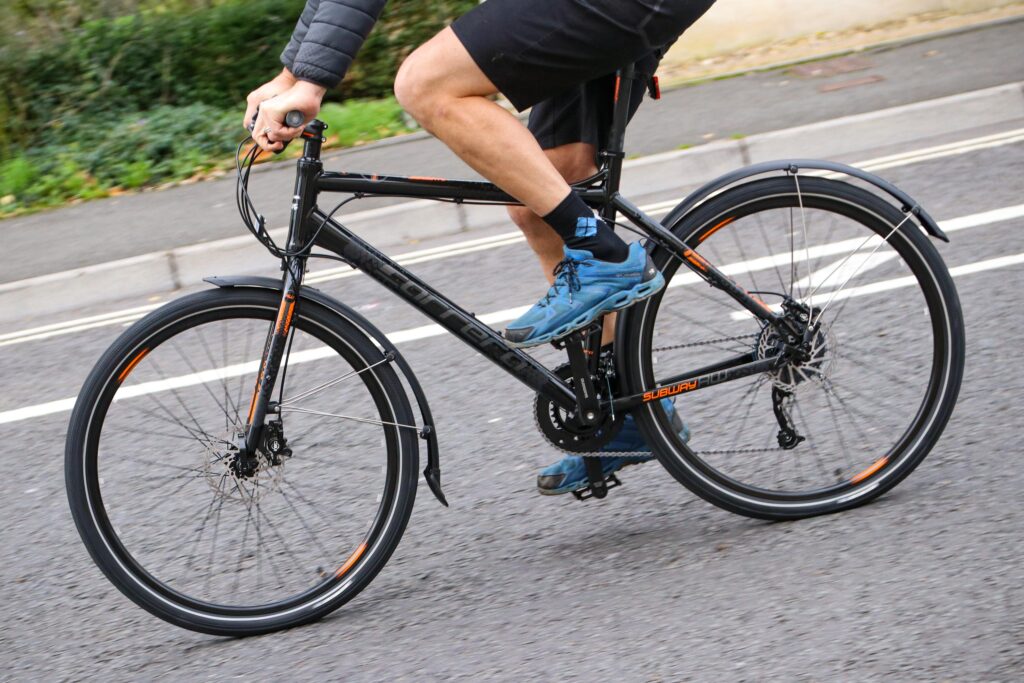
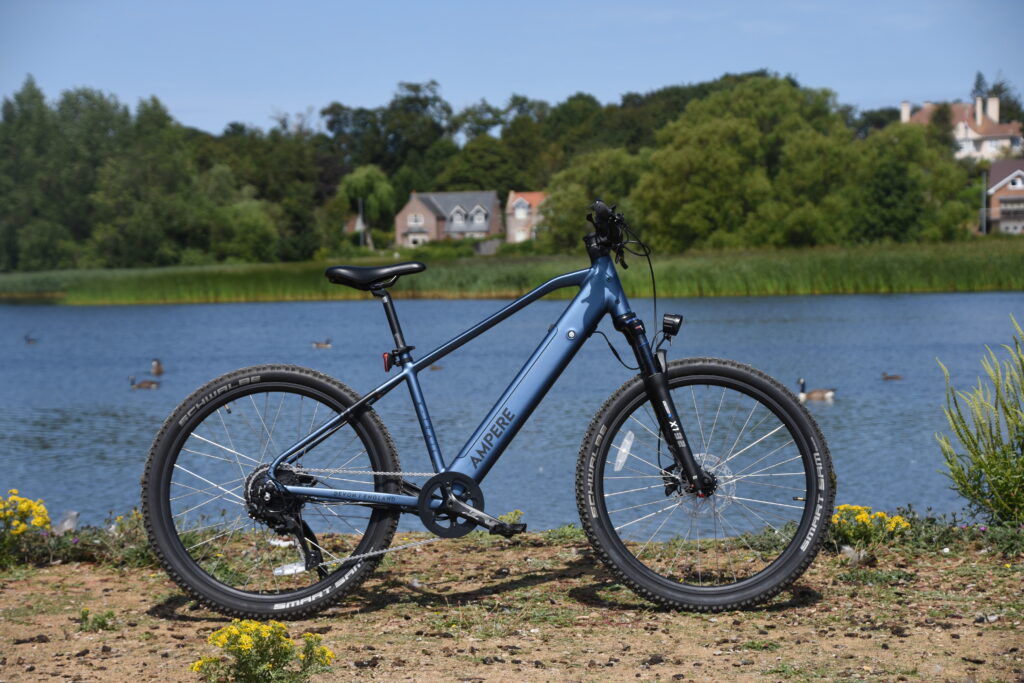
First things first, you can’t commute to work by bike without… well, a bike. It doesn’t have to be the latest road bike on the market, as you can pick up a second-hand bike and save an absolute fortune as a starting point while you decide if regular commuting is for you.
There are plenty of places you can get a cheap second-hand bike. For starters, have a look in your area for a second-hand bike workshop. It won’t be the cheapest place to buy a bike, but it can take a lot of the guesswork out of the process, and the bikes should have been serviced before they’re put up for sale. It’s a great way to buy a second-hand bike if you’re not that savvy about fixing up bikes, because you can get advice on what you need.
If you’re a bit more confident, then places such as eBay and Facebook Marketplace are full of bikes for sale, and some of them are real bargains. Wherever you find your bike, you should always, always see it in person before you hand over any cash.
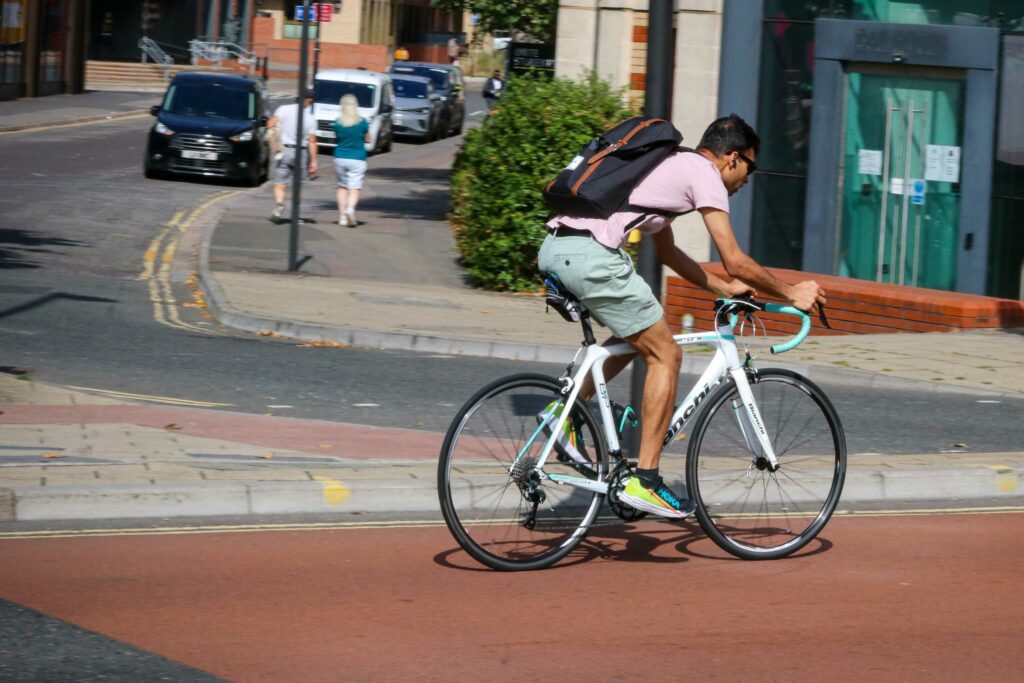
To make sure you’re getting a good deal, be sure to check for a broken frame, worn-out components, and be on the lookout for con artists and misdescribed items. Our guide on what to look out for when buying second-hand bikes offers more detailed advice.
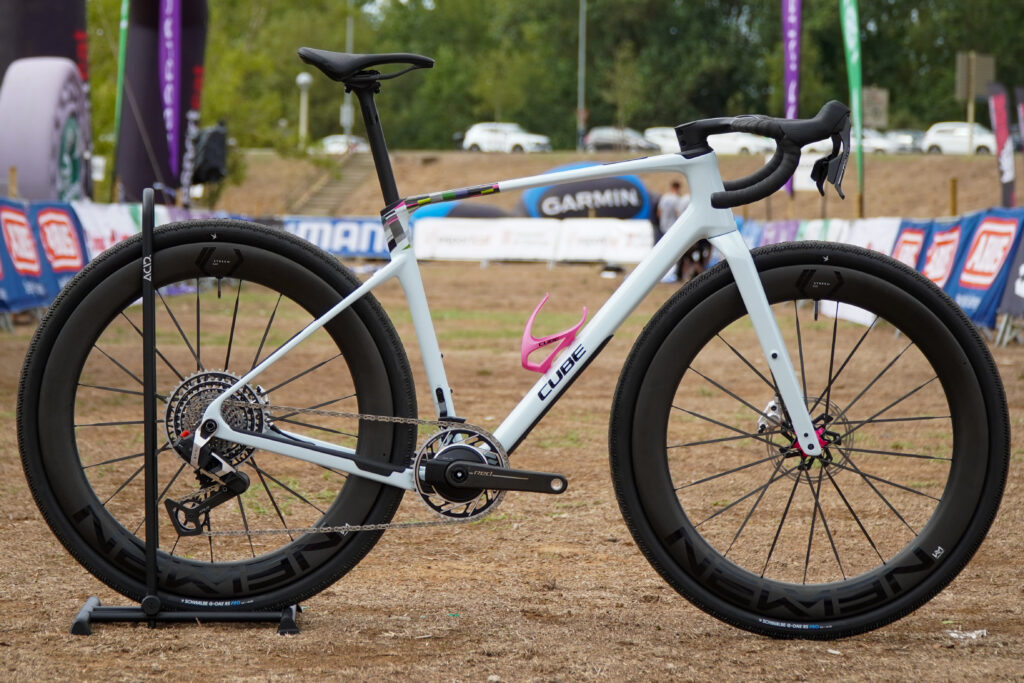
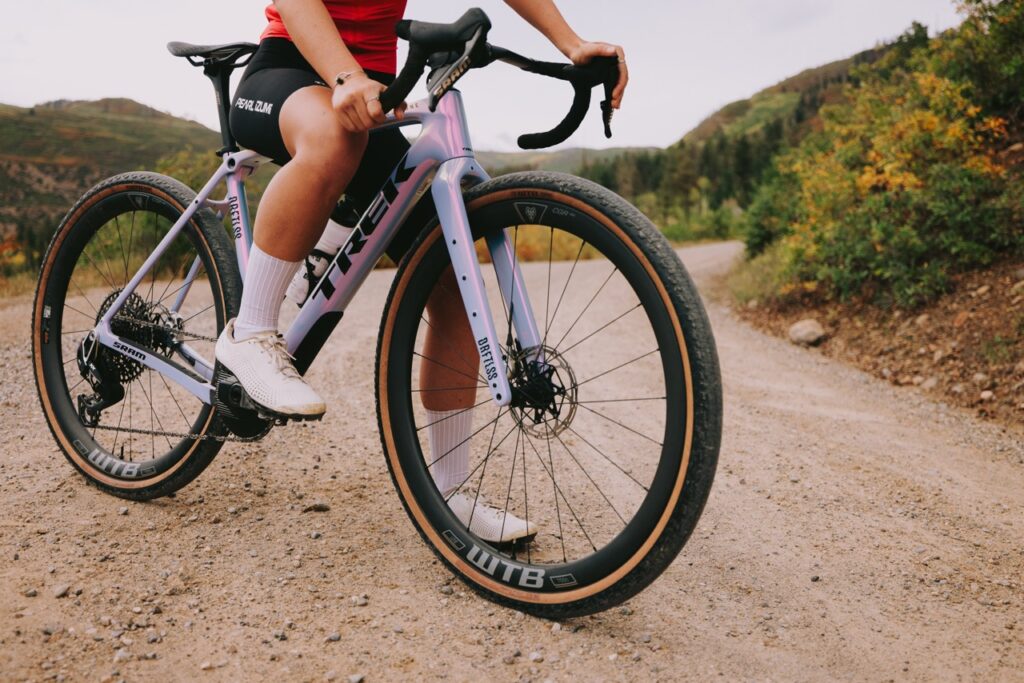
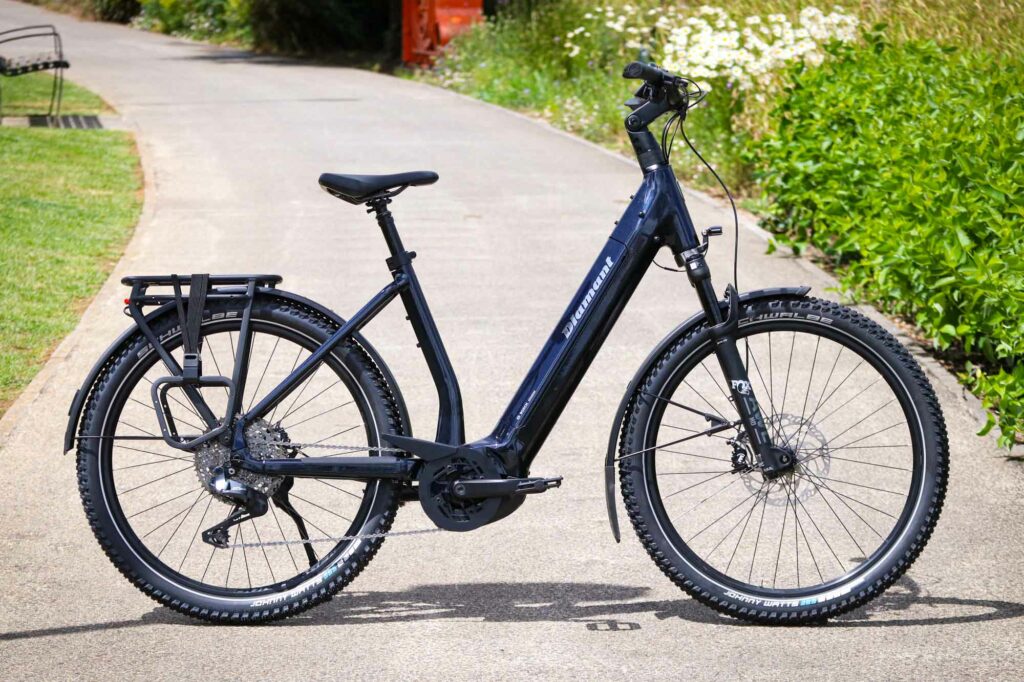
Of course, you can always buy new, and if you want to keep costs down, look at past-season models for discounts in bike shops and online. Whether you’re buying new or second-hand, make sure the bike is suitable for your journey to and from work. If it’s all on tarmac, then a road bike might suffice, but you’ll probably want some tough tyres and decent brakes to deal with winter conditions. The option to mount mudguards is worth considering – some people would call mudguards essential – and some bikes come with rack and pannier mounts if you prefer this arrangement over a good old backpack.
If your journey is short and you prefer comfort over speed, then you might prefer a flat-bar hybrid over a road bike. If in doubt, consult a good local bike shop and tell them what you’ll be using the bike for to get some further recommendations.
2. A set of bike lights
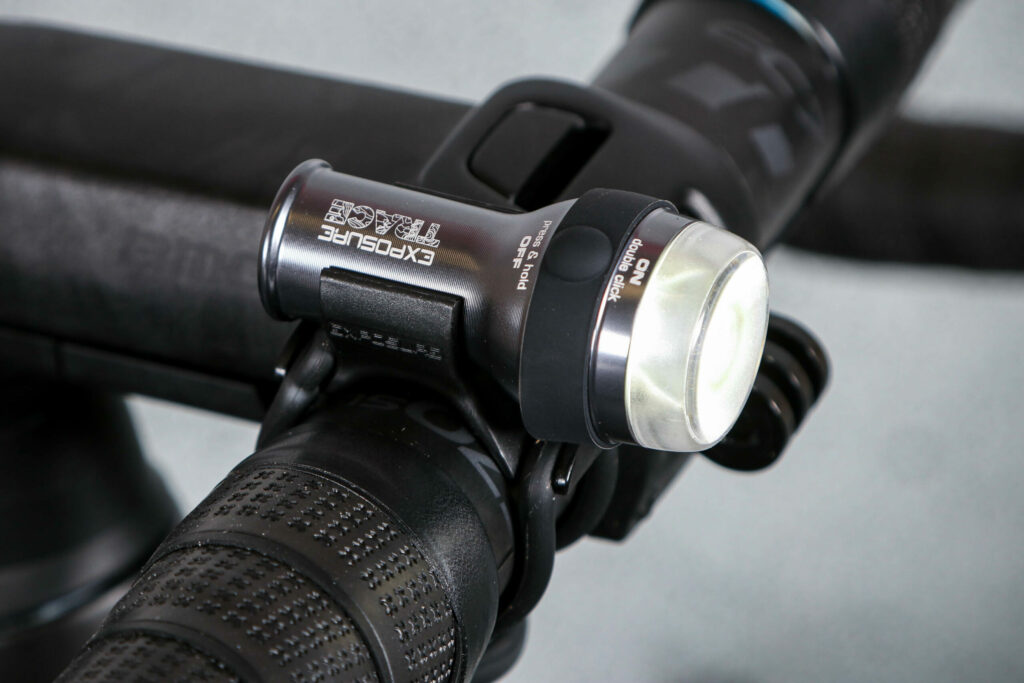
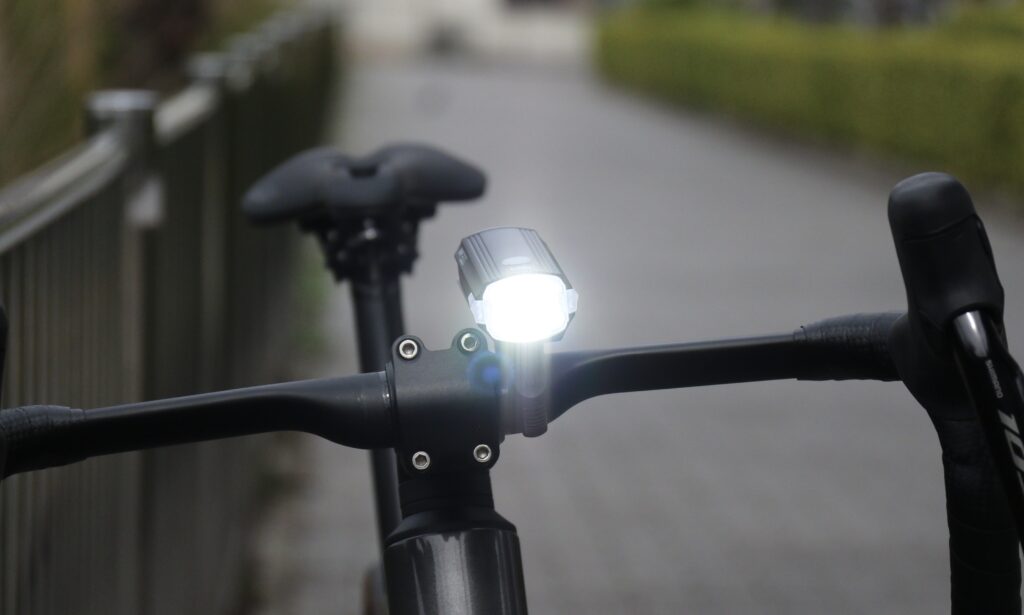
The next essential on our list is a set of bike lights. Even if you rarely ride in the dark, having a good set of bike lights is a smart idea if you’re cycling on the road.
When the nights draw in, you need to make sure you have a set of lights on your bike. It’s the law in the UK and in many other places to run bike lights after dark, and they’re a major safety aid about town. While you’ll probably get the most use out of your bike lights in the winter months, it’s essential to have a working set of lights to deploy year-round whenever the situation calls for them.
If you’ve not ridden a bike in a while, you’ll be happy to know that bike lights have made huge strides in recent years. Today’s rechargeable LED lights are a far cry from the old Ever Ready lights of the ’70s and ’80s. You no longer need to spend a fortune on batteries just to get a weak beam that barely lasts a couple of hours. However, there’s a bewildering array to choose from, at prices from a few quid to hundreds of pounds.
General-purpose front lights tend to range from 400 to about 1000 lumens, with basic commuter lights and emergency lights weaker than that as they’re mostly to be seen by, not to see with. For lights that help you see where you’re going, aim for at least 500 lumens. However, for commuting in urban areas, 300 to 500 lumens on your front light should be sufficient.
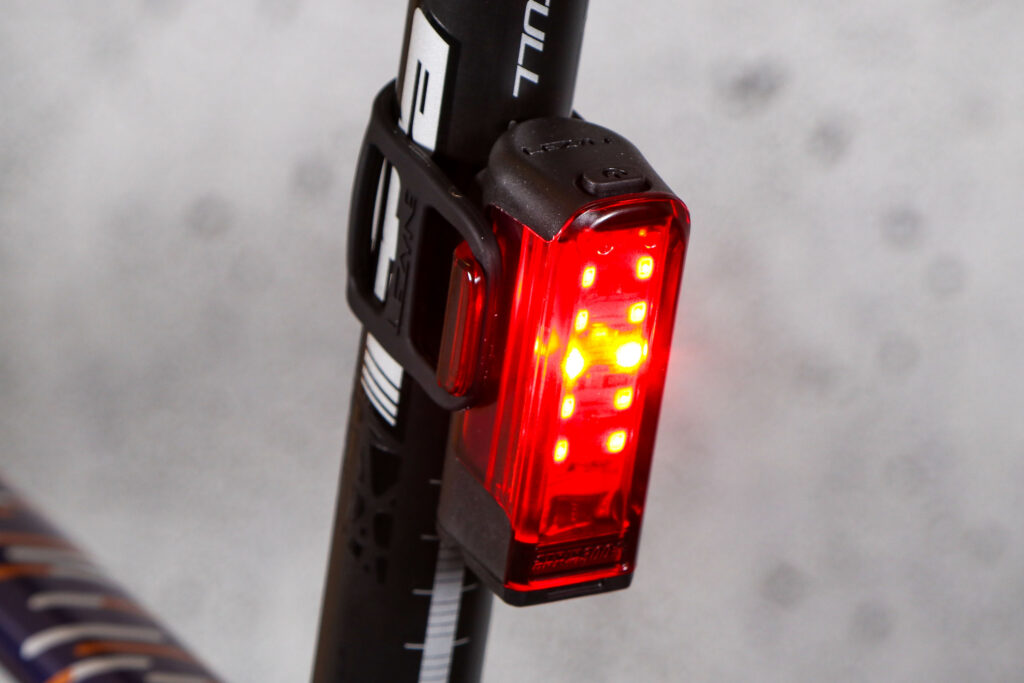
The amount of lumens on rear lights is much lower because a red beam doesn’t require as much power as a white one to burn brightly, so anything advertised as 20 lumens or above will do the job just fine at night. Rear lights are getting more and more powerful though, with something like the Lezyne Strip Drive 300+ pumping out a huge 300 lumens, but that’s on the day flash modes. A much lower setting is fine for night-time.
3. A high-quality lock
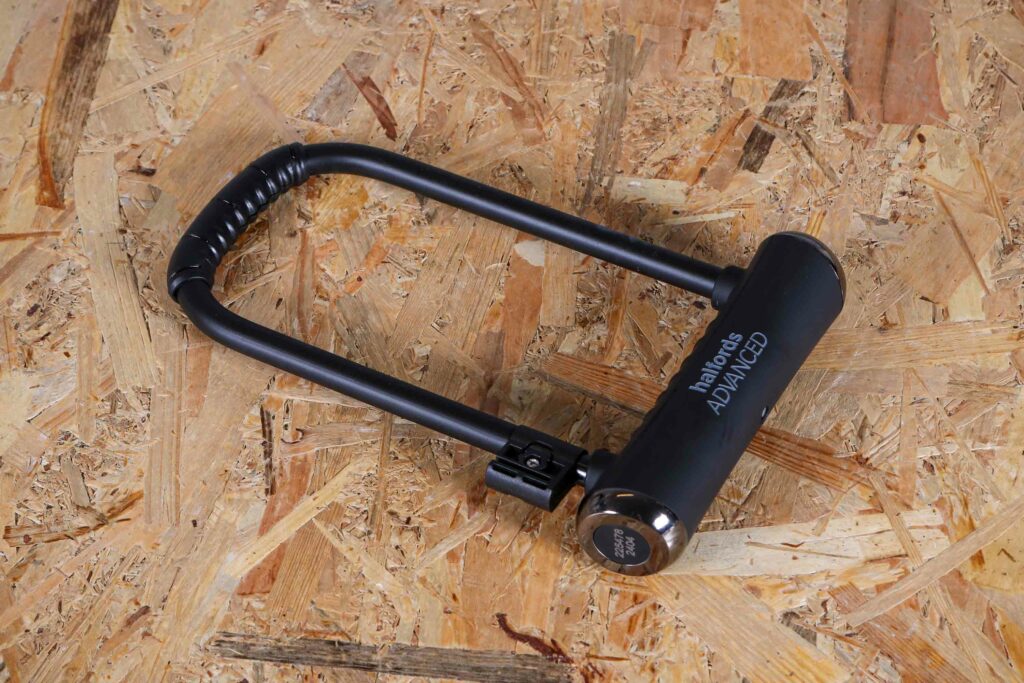
There’s nothing worse than stepping out after a long day only to find an empty spot where your bike used to be, so always lock up your bike if you’re leaving it in a public place, and even in your office bike store.
> Which type of lock is best for your bike?
We recommend investing in a high-quality bike lock with at least a Silver, and preferably a Gold or Diamond Sold Secure rating. These ratings indicate that the lock can’t be quickly broken. They’re generally not cheap, but you can find Sold Secure Pedal Cycle Gold-rated bike locks starting around £30 – a modest investment considering it could save you from having to buy a whole new bike.
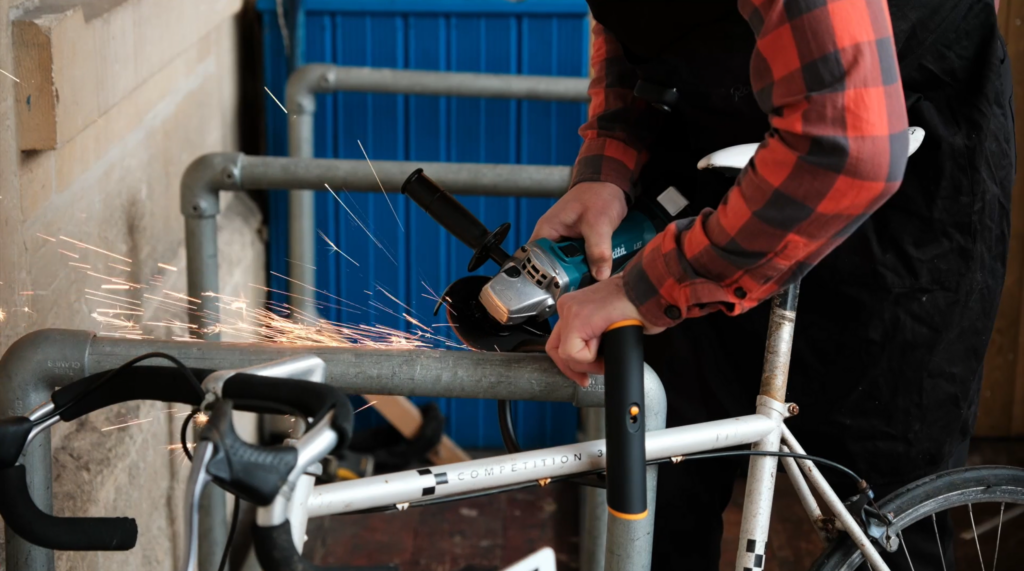
We did our own lock testing and found that although many can stand up to bolt croppers, angle grinder resistance is another thing altogether. At the very least, you want a lock that will take a thief a long time to cut through. Then it’s more likely they will target another one, or get spooked/caught in the act and scarper. A lock isn’t a guarantee against your bike being stolen, but a good one is a decent deterrent.
4. Waterproof jacket and pair of gloves
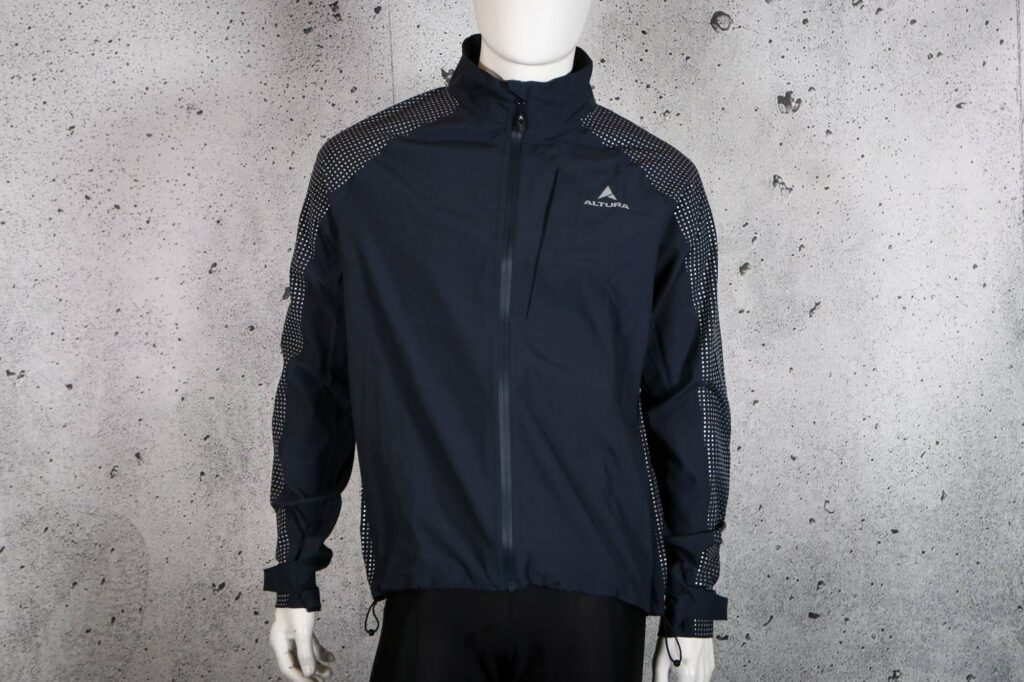
Although there is no absolute right and wrong about what to wear when commuting by bike, there are two items we consider essential for your commuting wardrobe.
If you’re commuting in the UK, chances are you’ll encounter rain at some point during your commutes, whether it’s in the forecast or not. So, one early purchase we highly recommend is waterproof gear, especially a waterproof jacket. A quality waterproof can make the difference between a tolerable ride and a miserable ride, and prevent you from turning up to work soaked through.

The next essential item is a pair of gloves, and you’ll want different types depending on the weather. Fingerless gloves are perfect for the summer, and are the most optional, as many cyclists prefer to go gloveless when it’s warm enough. Thin long-fingered gloves work well for the spring and autumn months, and thick winter gloves are a must for when the temperatures really drop.
Fingerless cycling gloves aren’t designed for warmth, but can provide protection if you crash, absorb buzz from the handlebar, help with grip and provide somewhere to wipe a runny nose. Some of the best winter cycling gloves will keep your hands both warm and dry, making your commute much more comfortable. No one wants to be stuck in the big ring up a climb because your hands are simply too cold to allow you to shift.

Basically, don’t make the mistake of cycling for any kind of distance longer than half a mile (ideally no miles) without gloves in the depths of winter. It will be brutal!
5. Full-length mudguards
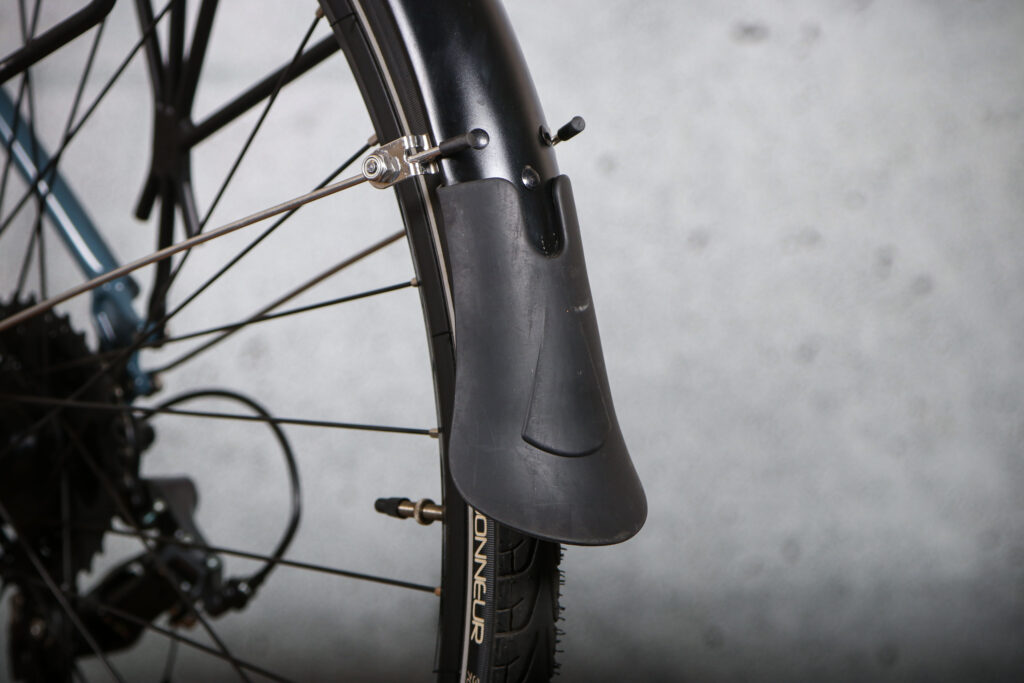
Getting caught in the rain is bad enough without also dealing with road spray soaking you from below. Fitting some mudguards can make your commute to work a much more pleasant experience in wet and changeable weather by preventing spray created by your tyres from turning you into a soggy mess.
If you’ve never used mudguards, you’ll probably be surprised at how much difference they make. A lot of the water that covers you when you ride in the rain doesn’t come directly from the clouds; it’s thrown up from the road surface by your tyres, especially in lovely British drizzle.
Full-coverage, bolt-on guards are the most effective option on any bike that can take them, but if your bike lacks mudguard eyelets, there are lots of options from full-length guards designed to squeeze into the limited space, to clip-ons that at least keep your bum drier.
6. Inner tubes, tyre levers, mini pump and multi-tool
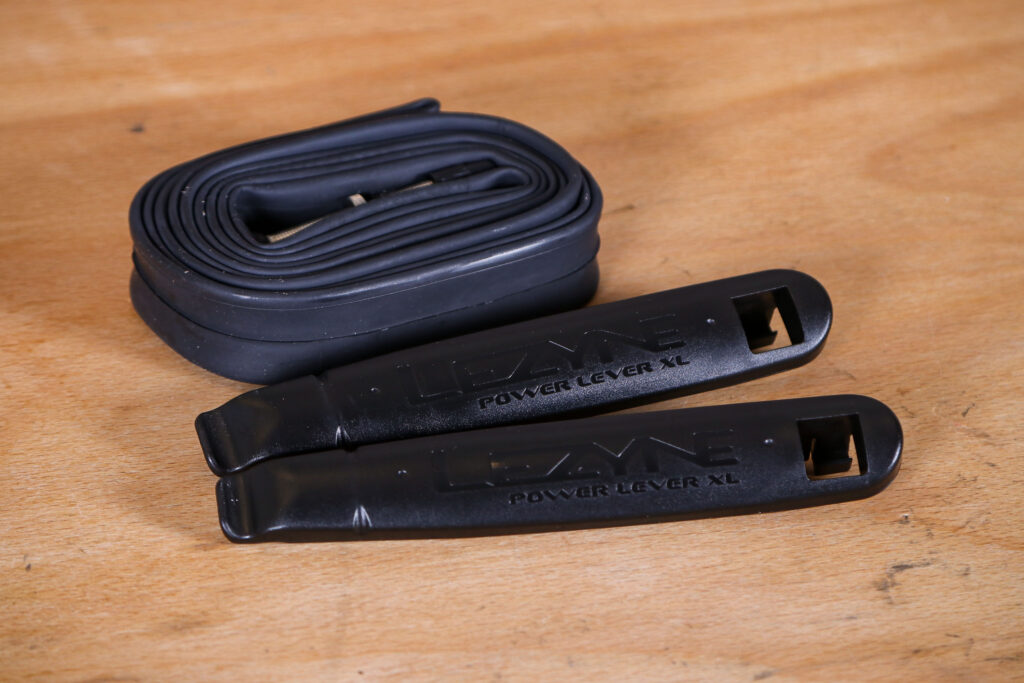
If you’re riding further than you’re prepared to walk, it’s wise to carry a spare inner tube, tyre levers and a mini pump or CO2 inflator in case of a flat tyre.
A compact multi-tool keeps you ready for most minor bike issues on the go. Look for one with hex keys (2–8mm), a chain tool, screwdrivers, and Torx bits (if you have Torx bolts on your bike). They are relatively inexpensive and small enough to fit at the bottom of a backpack.
> Check out the best bike multi tools — get the right bits to fix your bike’s bits
It’s far better to carry these items and not need them rather than the alternative. road.cc staffers with appropriate, correctly inflated tyres have reported going a year or more of daily commuting with no punctures at all, but it’s best not to chance it and risk a long walk/expensive cab journey home… and walking awkwardly too, if you wear cycling shoes.
7. Backpack or panniers
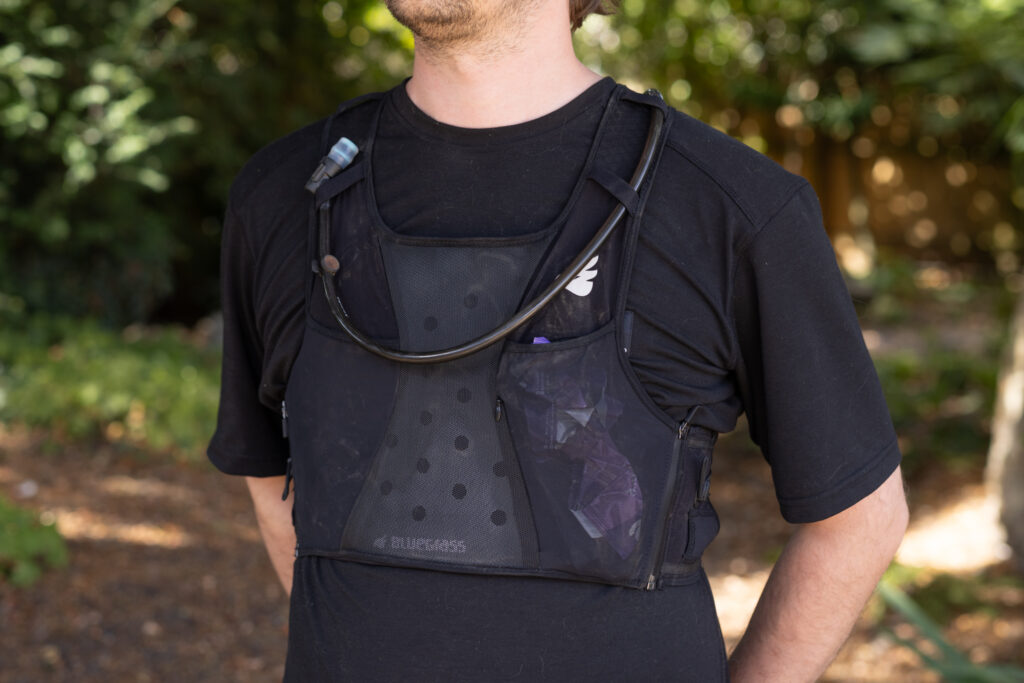
Unless you leave everything at the office, you’ll need a way of transporting your essentials to work: your laptop and the like (complete with charger), some lunch, a rain jacket and perhaps some fresh clothes to change into.
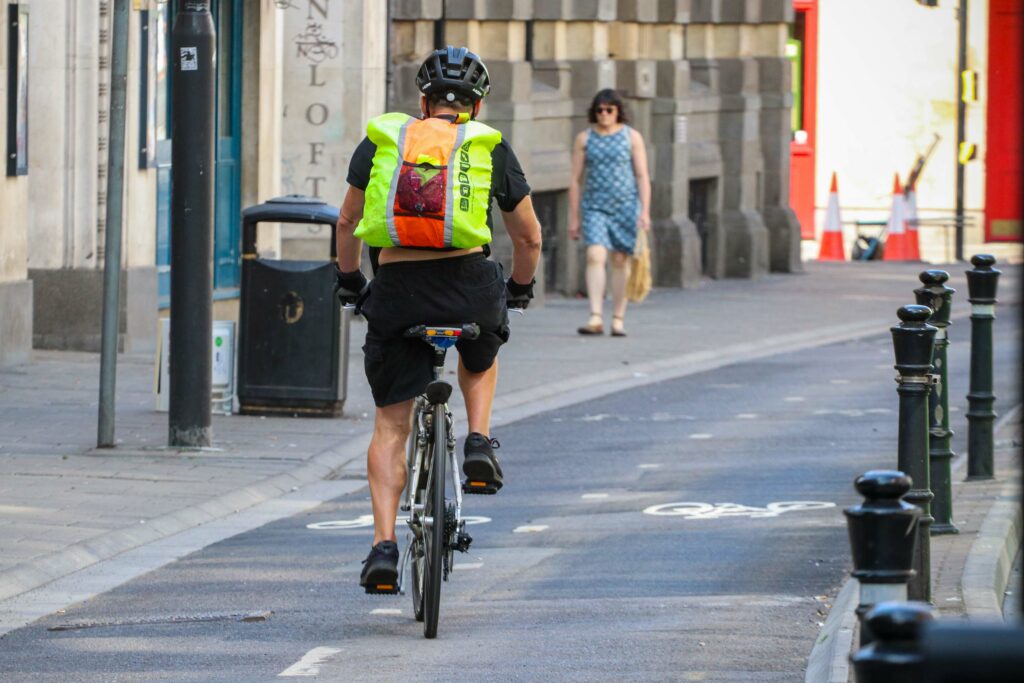
You might well opt for a backpack or rucksack because you’re likely to own one already, and while there are plenty of cycling-specific options available, backpacks can have the disadvantage of leaving your back damp and sweaty.
Alternatives include panniers (which can be used individually or in pairs and attach to the bike via a rear rack), a basket, or some other kind of carrying tray on the front of the bike. If you go with the tray option, it’s also worth having a bungee cord to secure any bag you are carrying.
8. A bell

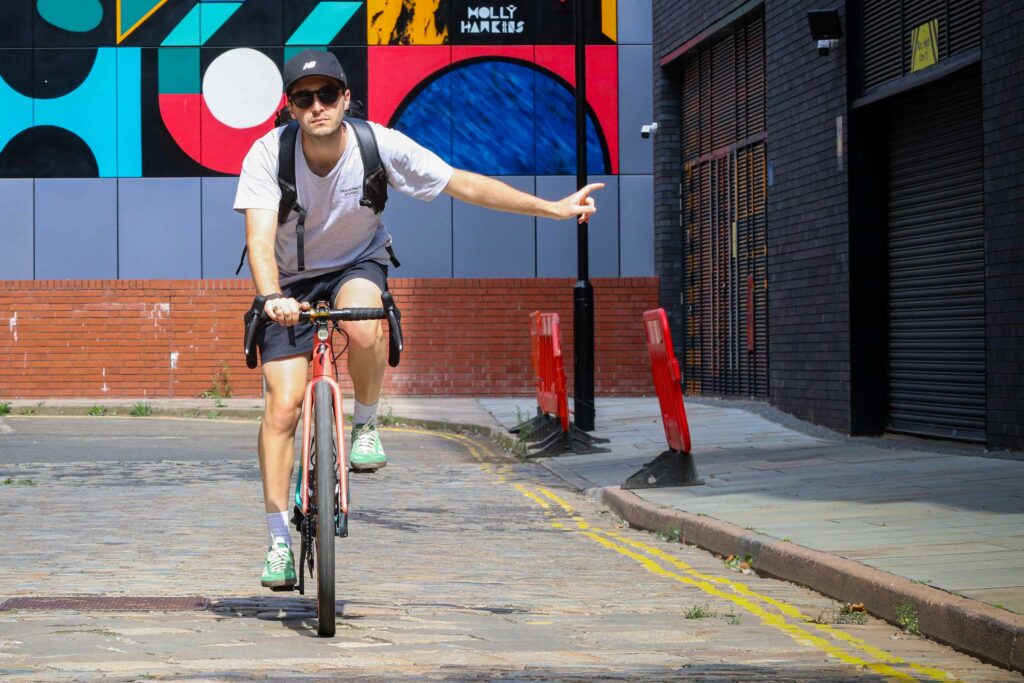
Your commute is likely to take you through some busy or shared spaces, so adding a bell to your bike is a great way to alert pedestrians and other cyclists of your presence.
While a bike bell is not a legal requirement in the UK, it can be a useful tool for giving a friendly warning of your approach. We favour a pleasant tone and the option to have the bell sound constantly.
There’s a huge range out there, from tiny, cheap pingers to pricey titanium ones. You can even (allegedly) get an aerodynamic bell.
The desirables
Next, we’re going to cover some upgrades to enhance your setup as you become more committed to your daily commute…
1. A shiny new bike
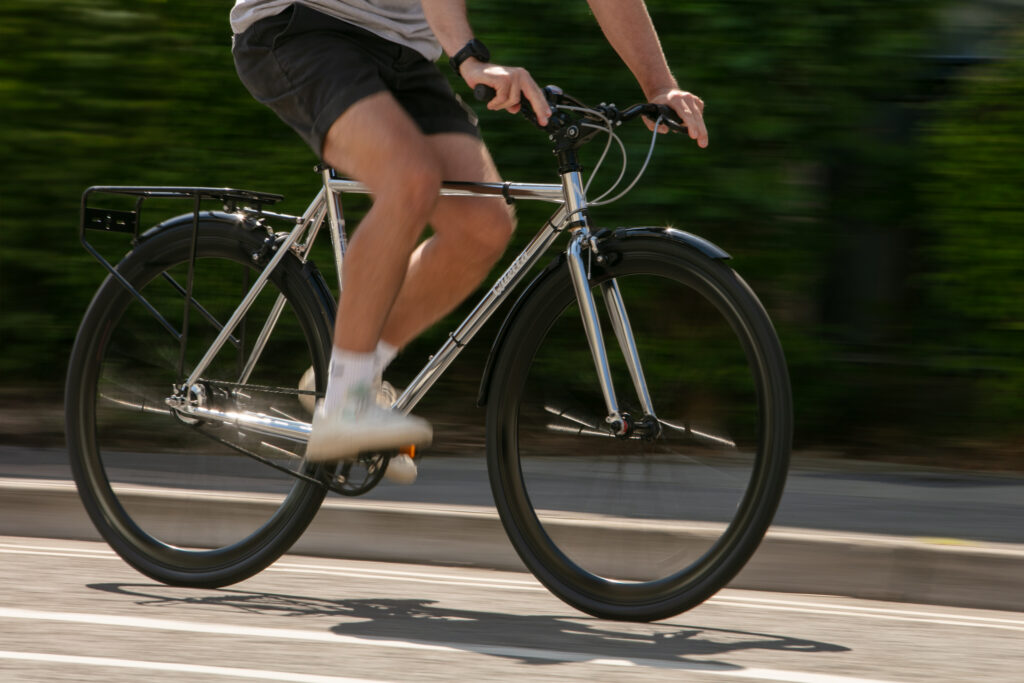
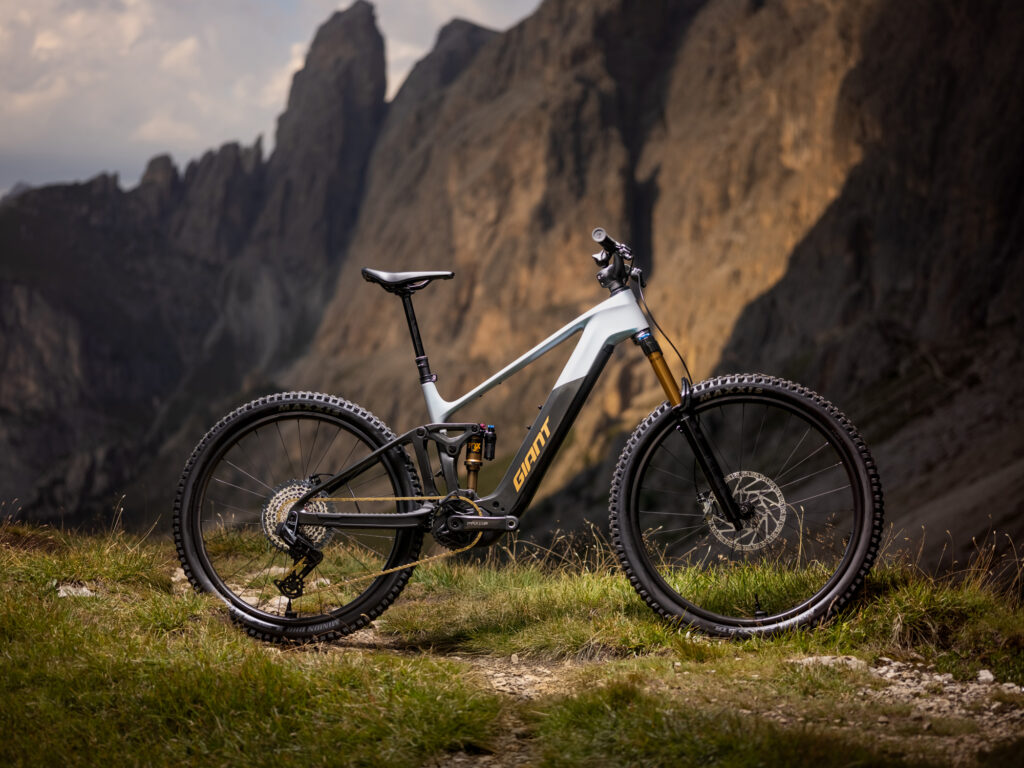
After commuting by bike for a while on a budget model or the second-hand bike you found on Facebook Marketplace, you might decide it’s time to upgrade to a more advanced new bike for your daily commute. If this is the case, check whether your employer is signed up to the long-running Cycle To Work Scheme.
Cycle to Work is a ‘salary sacrifice’ benefit. What does that mean? You make a saving by paying for the bike directly from your gross salary (before tax). Your income tax and national insurance are based on the lower figure, so the amount you pay is less.
The same rules apply as in “the essentials” section (above): make sure the bike genre and specification is suitable for the type of riding you’ll be doing on your commute.
2. Cycling-specific clothing
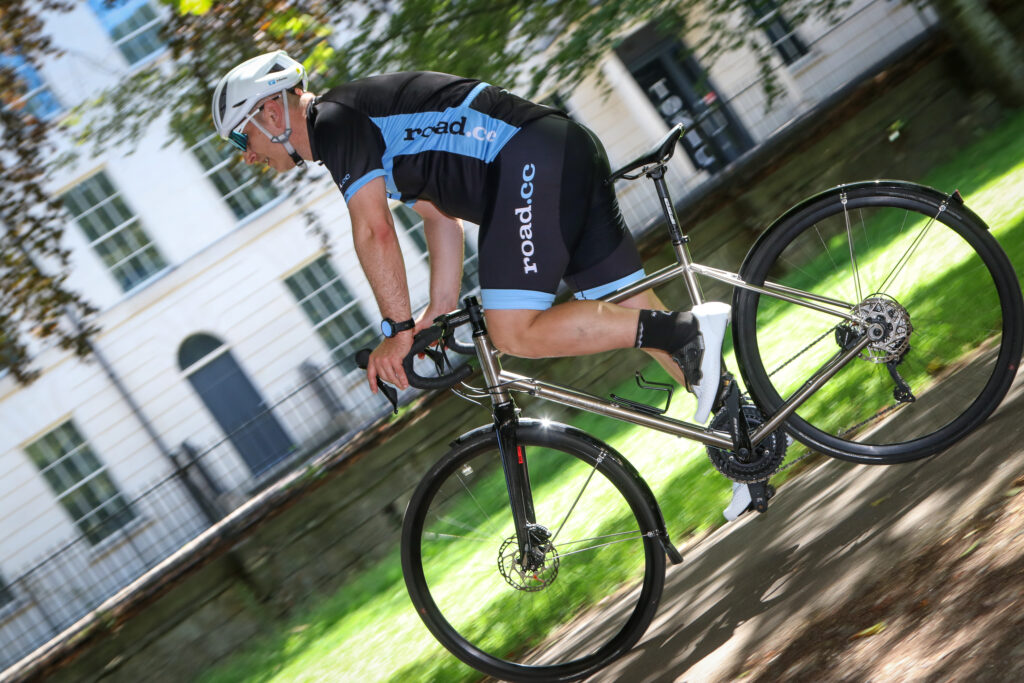
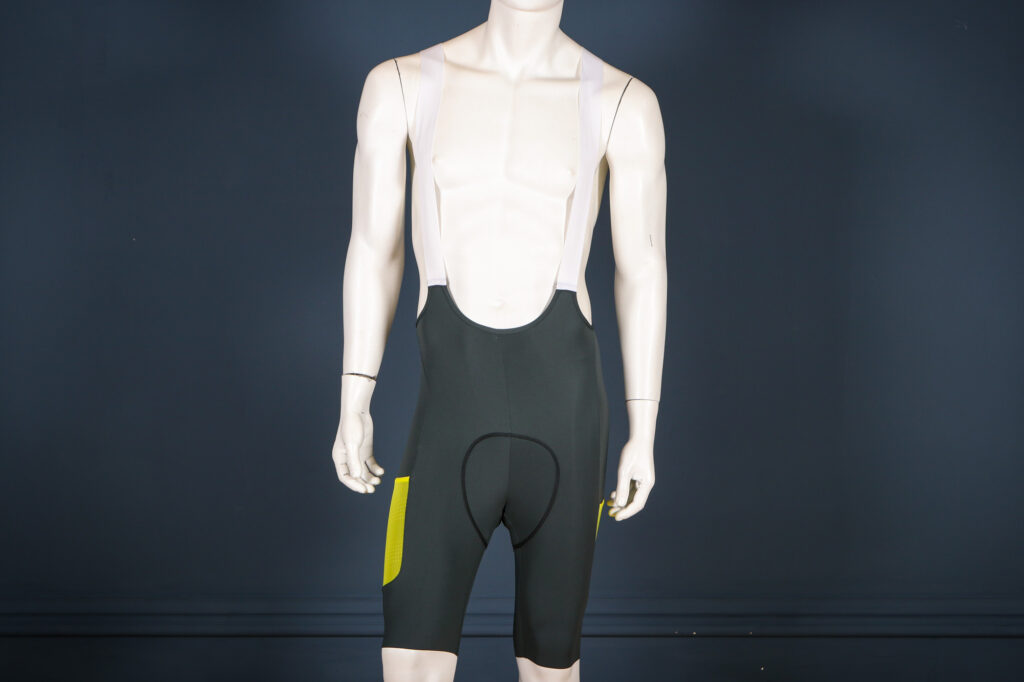
Cycling-specific clothing is a matter of personal preference, but it can greatly enhance comfort and practicality, especially for those with longer commutes. For example, bib shorts are one of the most important items in a cyclist’s wardrobe, and you want a good quality pad (chamois) for comfort and moisture-wicking. Good cycling bib shorts start at about £40, and go up to more than £250.
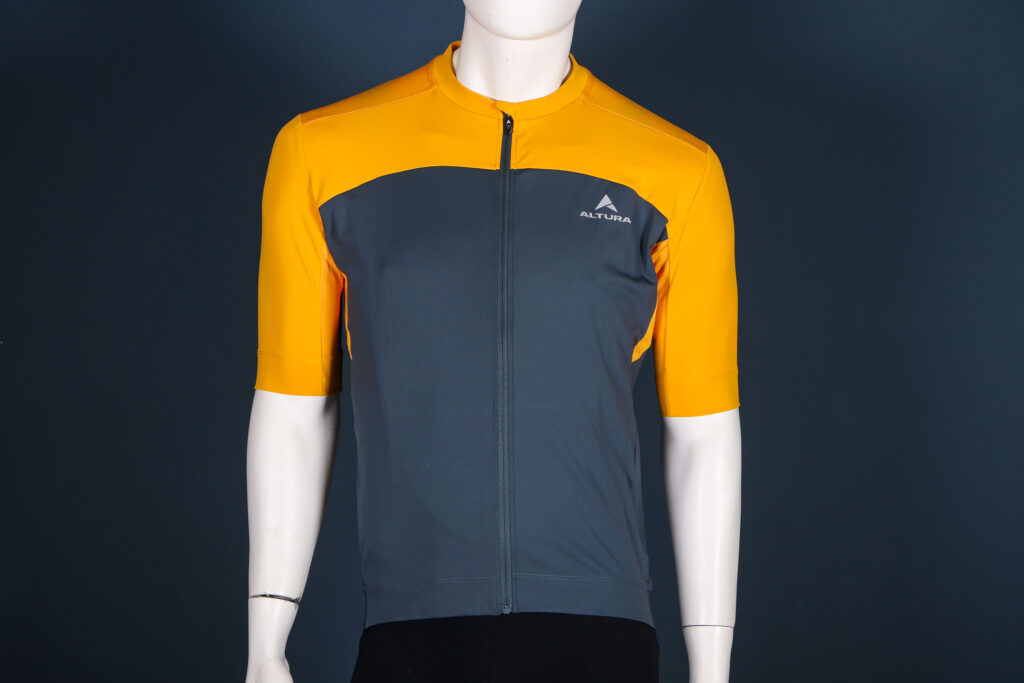
While arguably not quite as vital as some quality padded bib shorts, a cycling jersey can really help enhance your on-bike comfort. Cycling jerseys are made from breathable, moisture-wicking fabrics that can help keep you dry and comfortable by drawing sweat away from your skin. They also often feature pockets on the back for convenient storage for essentials like your phone, spare tube and snacks.
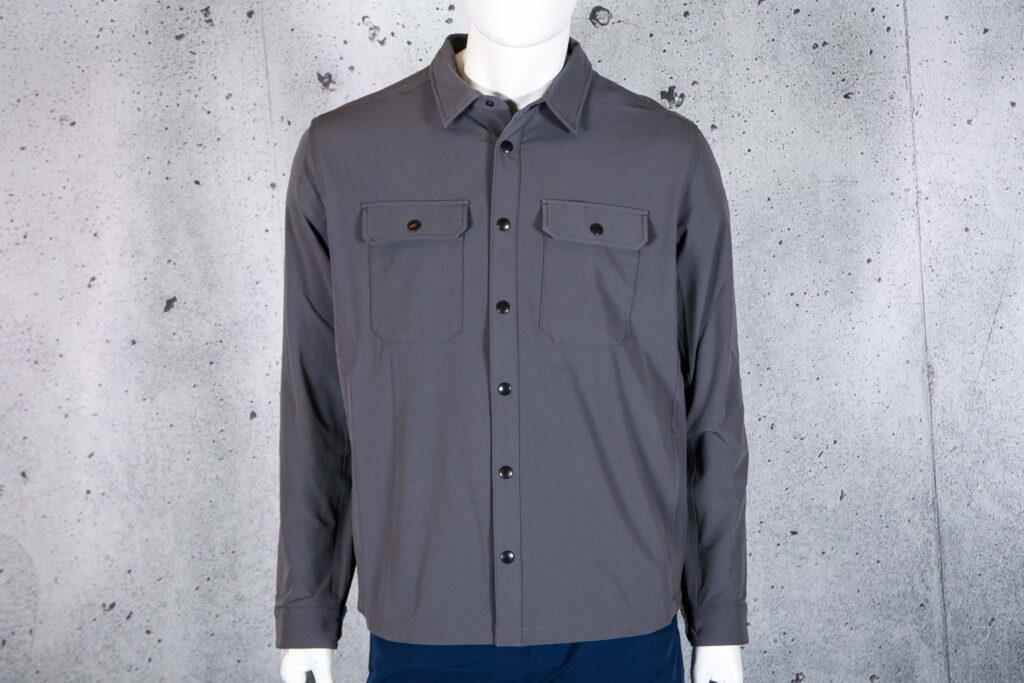
A lot of brands also sell cycling-specific garments that look much like ‘normal’ clothes, with brands such as Rapha having a long history of producing garments suitable for commuting or everyday cycling, as well as the more sporty clothes they are also known for, with cycling-specific touches such as hi-vis tabs and zips on pockets to keep your valuables safe.
3. More durable tyres
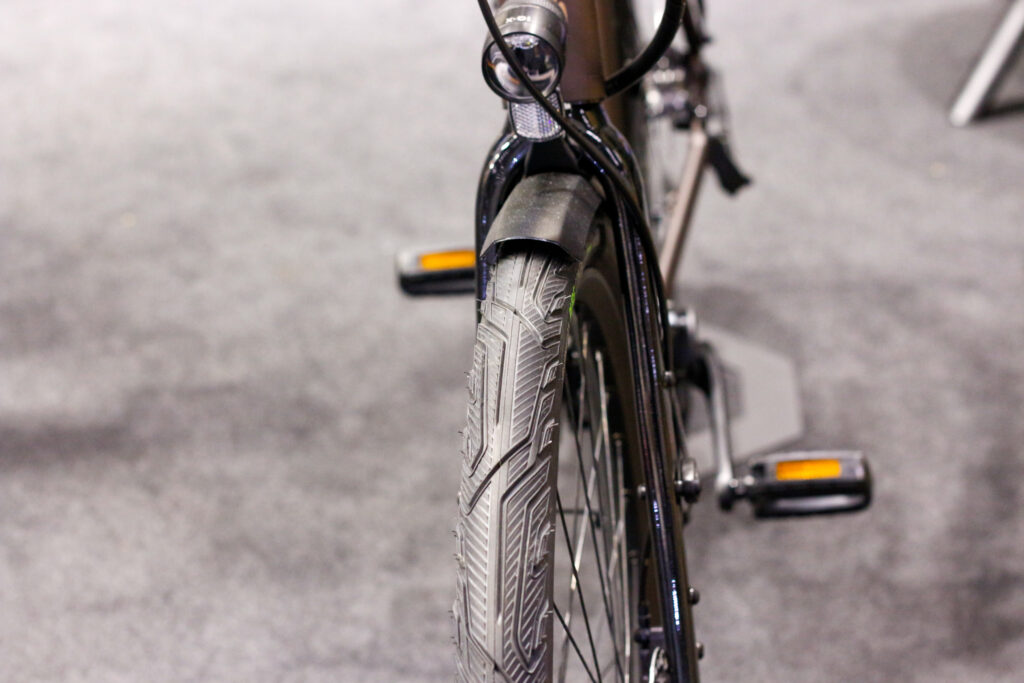
Tyres are among the most cost-effective upgrades you can make to a bike.
The only thing that connects your bike to the tarmac is the tyres, so getting the right ones for your riding is crucial. With new tyres, you can improve grip in crappy weather, go a bit faster, add some much-needed comfort or simply reduce your risk of puncturing.
For your commuting bike, investing in wider, more durable tyres can offer substantial benefits. Wider tyres not only provide added comfort but also enhance stability. Additionally, more durable tyres are generally more resistant to punctures, making them ideal for varying road surfaces.
4. Bike computer
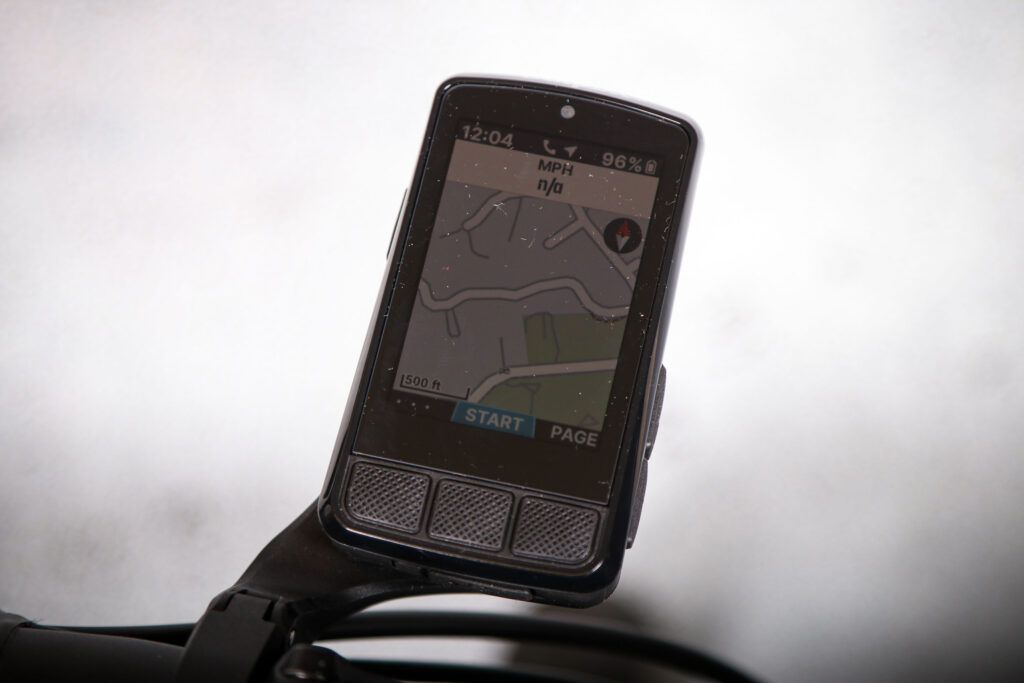
A cycling computer certainly isn’t essential for riding to and from work, but it can add a different dimension to keep things interesting.
Cycling computers, particularly those with GPS technology, open up a wide range of possibilities for recording, planning and comparing bike rides. A computer can help you track your commute as it helps you monitor metrics like distance, speed, and time, which can add a competitive edge to your commute as you strive to set personal bests – safely, of course.
Cycling computers can also make following a route easier and hassle-free, thanks to bigger, more visible colour screens. With built-in GPS, they can assist in finding the most efficient path to work, exploring new routes, or extending your commute.
Additionally, a handful of models such as the Garmin Edge 1050 feature a built-in speaker that can act as a bike bell.
5. Cycling shoes
While you could cycle in a pair of trainers, cycling shoes can be a more comfortable upgrade. Cycling shoes have stiffer soles than, say, trainers or running shoes, which makes them more comfortable to pedal in. You can pay hundreds of pounds for high-tech shoes with carbon fibre soles, but you can get perfectly usable shoes for under £100.
There are broadly two types of cycling shoes: road-racing style and SPD/mountain-bike style. When you’re new to cycling, the world of bike-specific shoes can seem daunting and confusing, so check out our beginner’s guide to cycling shoes.
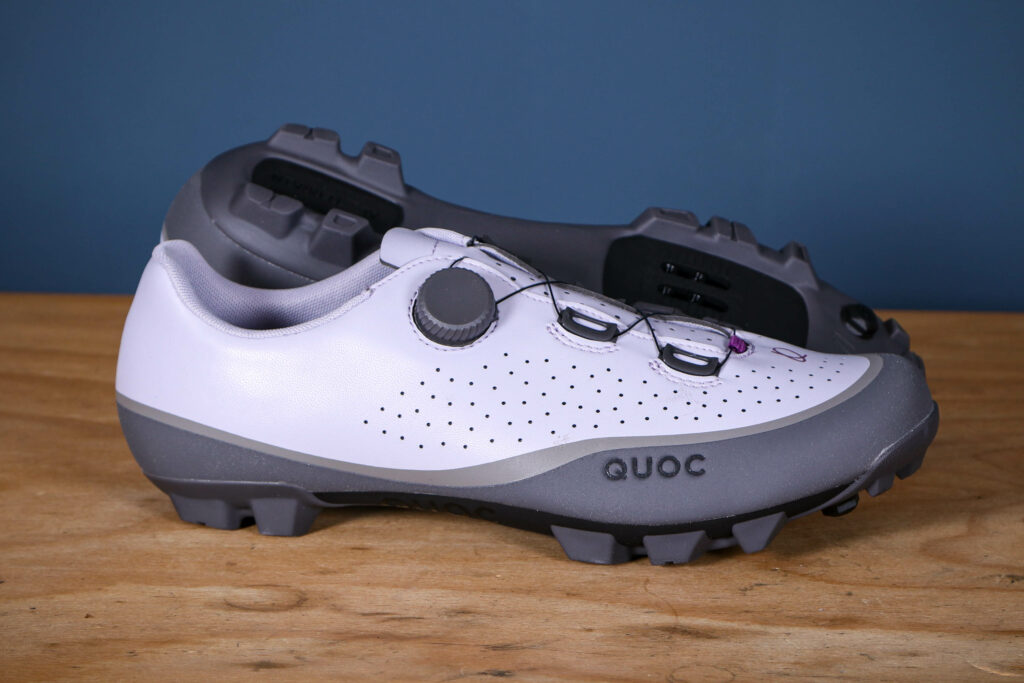
Mountain bike shoes feature a recess in the sole for the cleat, so they are easy to walk in. The pedals are easier to clip into because they usually have a retention mechanism on both sides. Many commuters like to use mountain bike shoes, or shoes that are primarily for backpacking and touring, because they’re usable both on and off the bike.

Road cycling shoes have stiff, smooth soles that tend to be better for power transmission, with threaded holes for a cleat that stands proud from the shoe and fits into the attachment mechanism on a matching pedal.

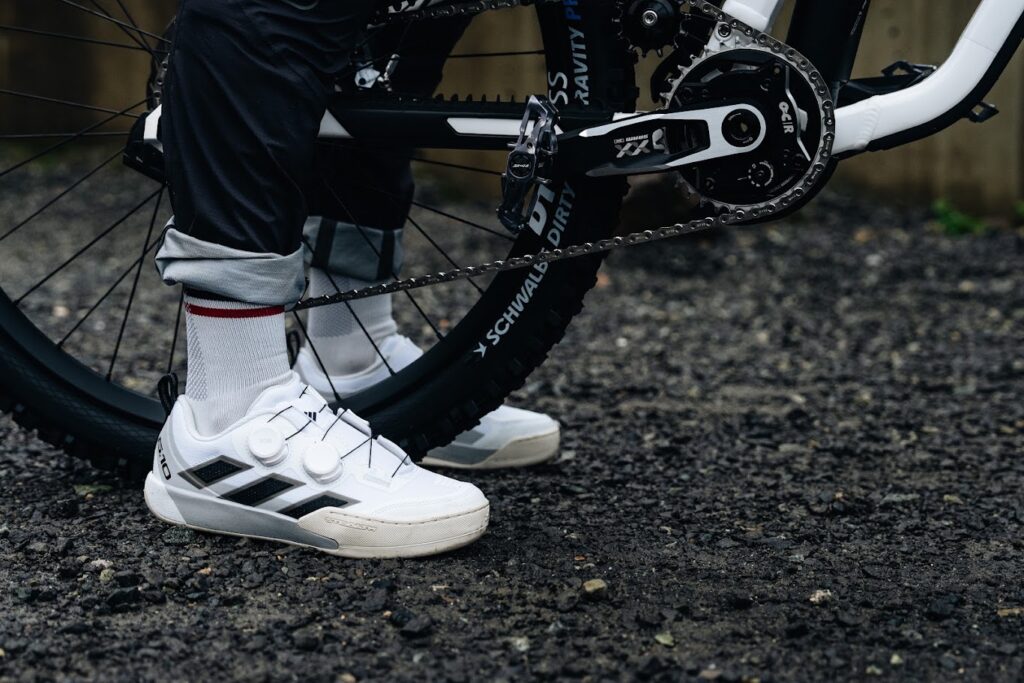
You can also find cycling shoes that resemble casual trainers, designed to be practical both on and off the bike, while still featuring SPD-compatible cleats for clipping into pedals. An example is the Adidas Velosamba cycling shoe.
What are your commuting kit essentials? Let us know in the comments section below.


2 thoughts on “Cycling to work, the ultimate commuting checklist — essential kit and extras worth having to ride to work and back”
I suggest two front and two back lights if at all possible if you are going to be cycling at night, for two main reasons:
1. Less likely you’ll find yourself without a working light for your commute because you forgot to charge your lights, or left one on by accident. The latter more likely if your morning cycle starts dark or overcast, but it’s bright by the time you get there.
2. You can have one light to help you be seen, and another to illuminate the road. I tend to have one front light on flash, but with low brightness so it gets attention, but doesn’t blind oncoming cyclists or pedestrians on the shared path part of my route. The other is steady and aimed slightly downwards towards the path. I adjust the brightness of that one according to conditions.
I have one rear light which is a strip light, and one that is small. The strip light goes on my seat stem, and the small one at the back of the bike rack. I have panniers, so I worry that they get in the way of the light on the seat stem from some angles. Similarly, the one at the back might not be seen from some angles. So I hope at least one can be seen from any angle.
All of my lights are charged via USB, and I’ve got into the habit of charging them all at my desk once a week, so I also have to ensure I have plenty of cables.
@FionaJJ Absolutely agree; I would add to that a helmet light, allowing one to be seen above surrounding traffic which might be obscuring bike-mounted lights, and I use sidelights as well, two small strip lights mounted on the bottom of the drops that can be seen from the side when pulling out at junctions – some might say overkill but I’ve had enough favourable comments from both drivers and other cyclists to make me feel they are worthwhile.