


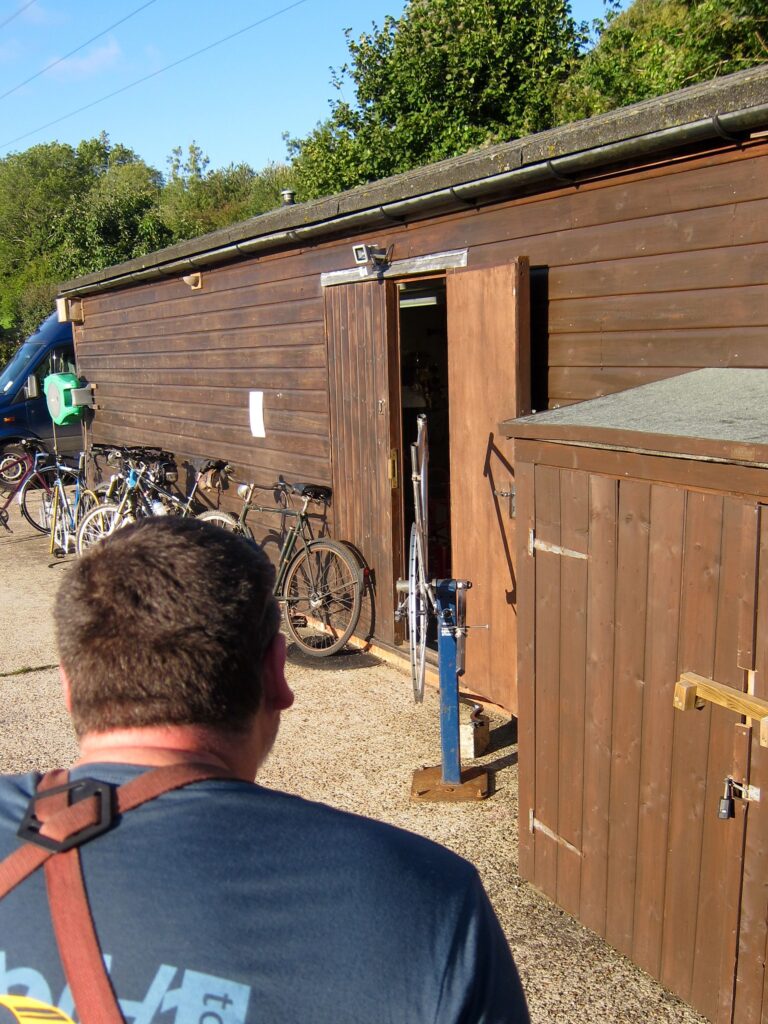
There’s no time for slacking on this Downland Cycles frame-building course, straight after breakfast I’m in the workshop drawing round the lugs so I can work out where to drill holes in the tubes so that hot air and gasses can escape when brazing, then there are sums needed to work out the length of my seat-stays that have to cope with both 25mm tyres and mudguards. This is complicated by the fact that I’m making a fixed wheel frame with track-ends so the axle point isn’t a static position but a variable point somewhere along the axle slot. My instinct is to have the stays as short as possible and measure things up with the wheel axle all the way forward, but it’s explained to me that this means the wheel can only move backwards, calculate things with the axle in the middle and it can go forwards as well. Ahhhh. I think. Then the chainstay length is measured on a diagonal but the frame jig measures things on a horizontal, so that’s a 5mm difference with simple sums, the BB drop is 62, so the rear of the jig is set accordingly.

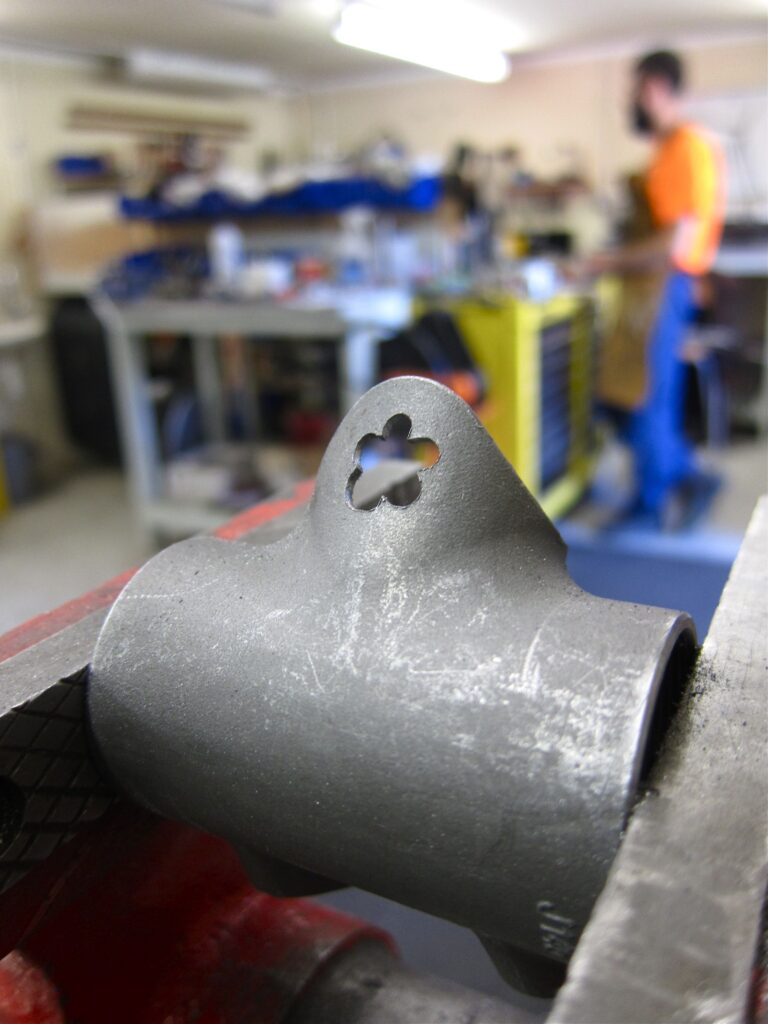
That done it’s time for the big scary job of fully brazing the front triangle of the frame together. First things first, take it all apart again and tidy up the edges of all the lugs and file a pointless yet incredibly important little detail in the bottom-bracket shell to make it ‘mine’, Bryan reminds me not to take all day over it in a tone that speaks volumes.
There’s a fair bit of pushing and shoving and filing required to get the chainstays to fit inside the bottom-bracket lug, and then working out how to slot the track-ends into the chain-stays. Did I want the track-ends parallel with the ground or in-line with the chainstays? There are pros and cons to both. Um, er, um, the latter please, it looks better. This appears to be the right answer. Then because the chainstays splay out at an angle but the track-ends need to be perpendicular they need to mate with the stays at an angle, and that tongue needs to slot in nicely, there are more frowning scribbles on paper of drawings and calculations. I understand the concept on paper but transferring that to three dimensional steel gives me a little bit of a mind melt. Again.
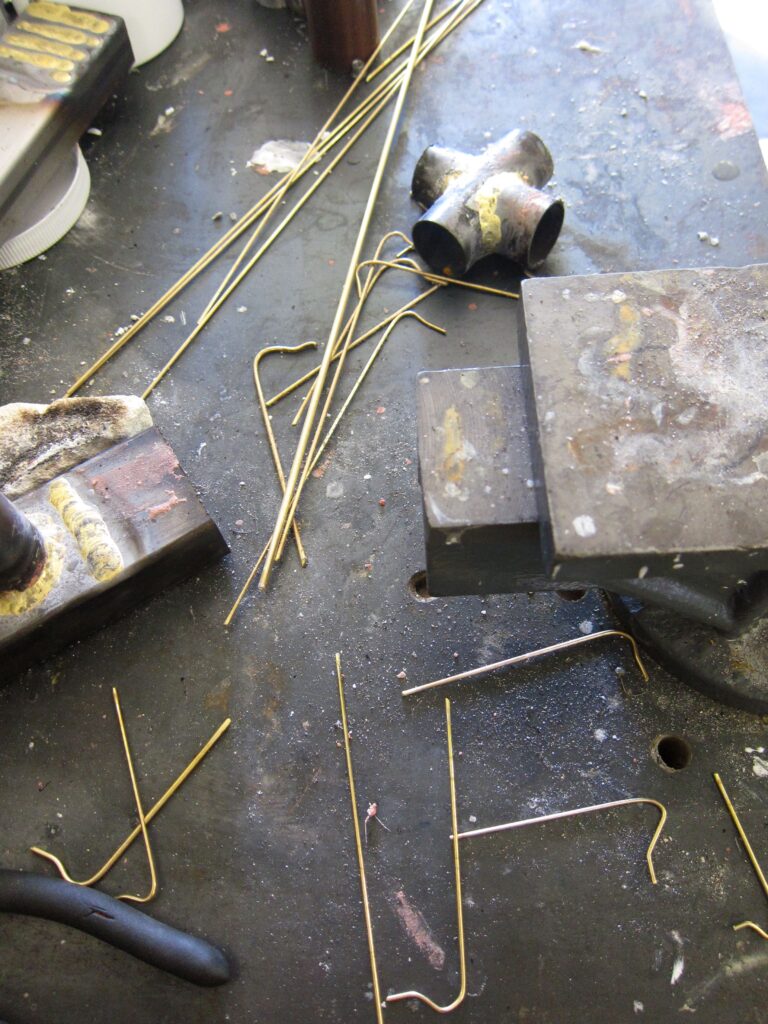
Luckily I’m distracted from this tricky task by being told that it’s time for me to practice brazing some lugs. Um, okay. Nervous wee time. I have a go at both brass and silver brazing. Brass first, it needs a higher temperature than silver to work but it doesn’t require the person wielding the torch to be as delicate or precise.
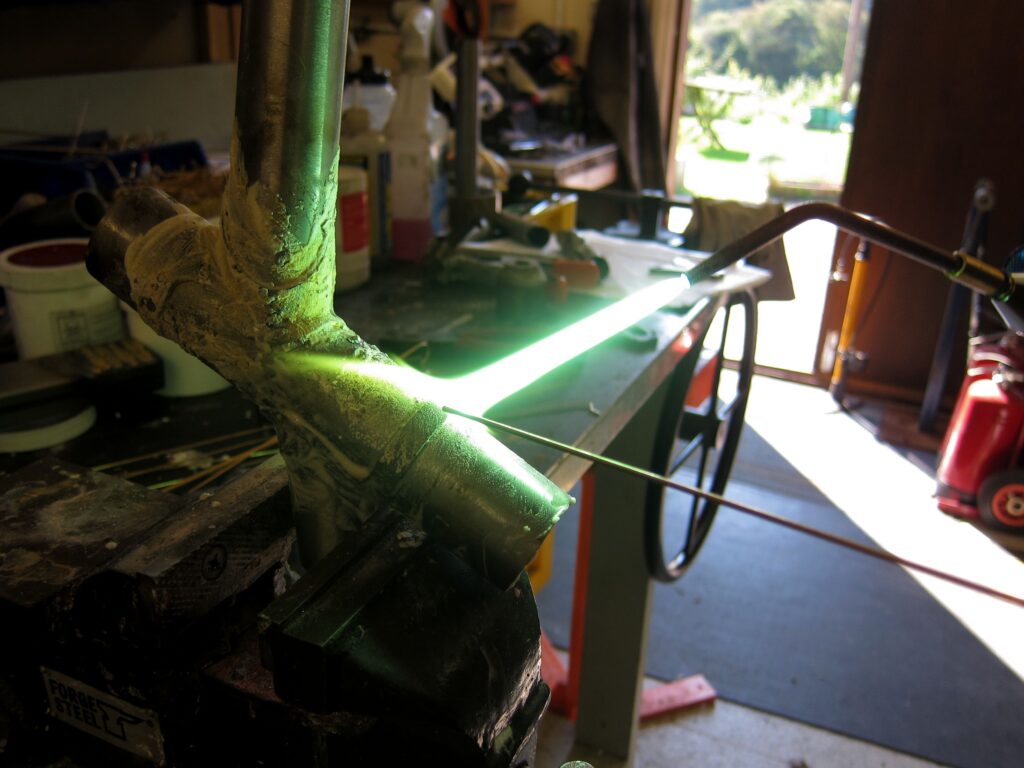
Heat up the area that needs brazing and keep an eye on the flux, introduce the rod when ready and use the heat of the torch to manipulate the molten brass around the lug. The previously hard and unforgiving metal becomes a fluid and organic beast and needs constant heat to let flow and fill the lug, it’s a wonderful process. I really like it but as it requires thinking about half a dozen things at once with the corresponding motor skills and significant concentration it’s a tricky process. Bryan assures me that although it looks a mess I’ve done a good join. My head hurts.
A bit of practice done it’s time to tack the fitted bits of my frame together with just a little bit of brass plopped onto all of the joints to hold everything securely so it stays in roughly the same place when all the lugs get brazed for good. Heat up the area, wait a bit longer than that, check with the rod, drop a bit in, move on to all the other joints on the frame. That wasn’t so bad, don’t let the shaking hands fool you.
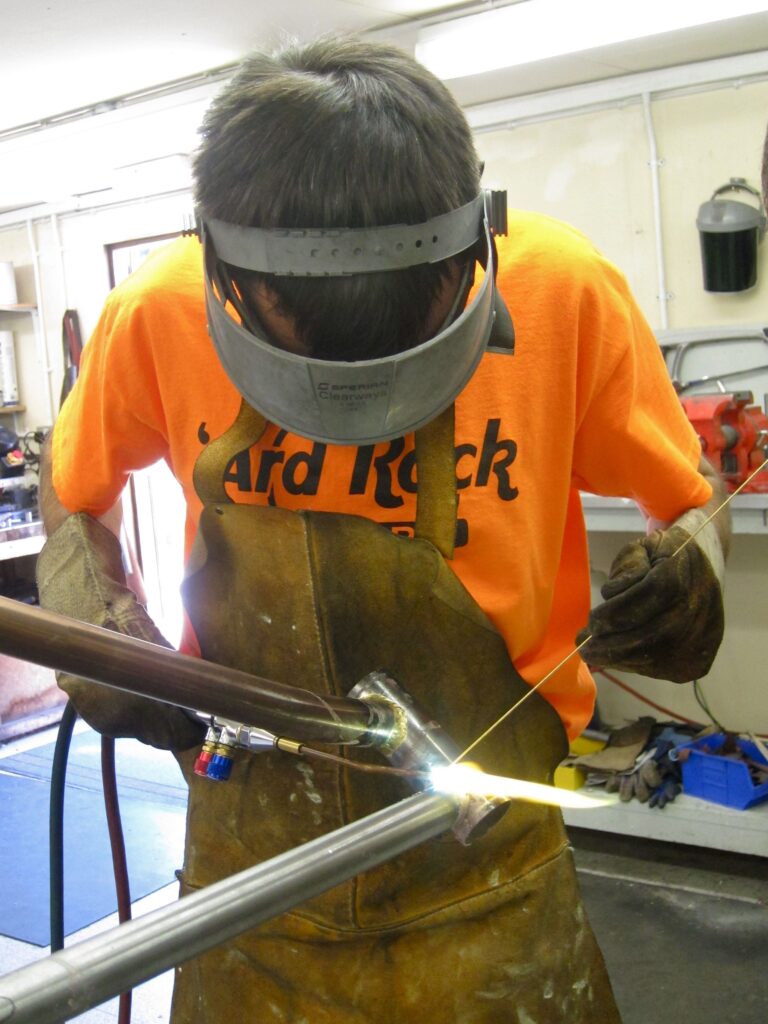
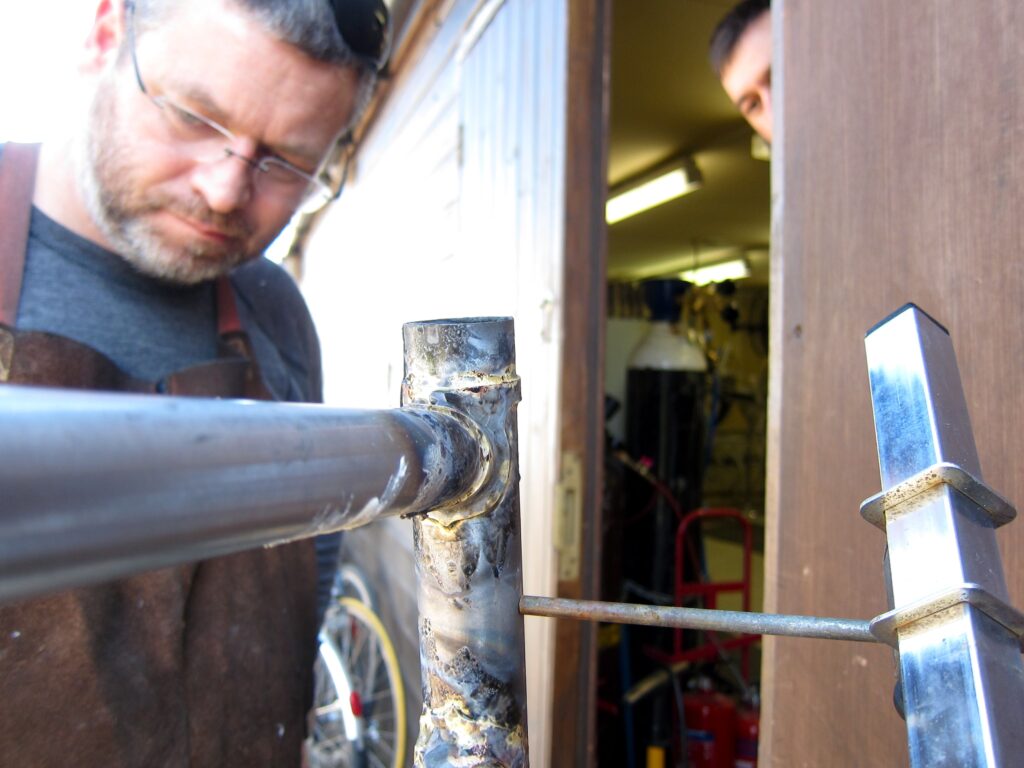
Once all that is cleaned up and re-fluxed the tubes are ready to be joined properly, tubes and joints that can fail, and it would all be my fault. I am my warranty. Apron, gloves, mask and apprehension. Bryan is stood right next to me, offering a constant stream of instruction and ready to grab the flaming torch of terminal error if needs be. Heat up the lug, heat up the tube above and bellow the lug, wait for the volcanoes in the flux to appear that show the temperature is about right, test the brazing rod. If there’s the correct heat the rod will melt and you can feel it feed into the joint as the brazing rod shrinks in your hand. Some areas of the lug are quite broad and cover a large area of join so can absorb a seemingly vast length of rod and the tactile emotion of the brass being sucked in is a wonderful thing. Watch the brass melt on the edge of the lug and if you’ve done it right it should gently flow inside between the lug and the frame, joining the two together. Then using heat of the torch tease the brass through the lug so it appears out the other side, completely filling the joint. You need to continue to do this all the way around the whole lug for each joint. It requires concentration and no small amount of knack. It’s a delicate dance of co-ordination, heat and metal, sometimes it’s a beautiful ballet, sometimes it’s a bit of a Dad wedding shuffle as you have to direct the heat and get the brazing rod in at awkward angles and be quick about it. Despite my stuttery attempts I do get it, I understand and enjoy the process and would like to keep practicing and practicing and practicing to get it closer to right. It doesn’t take too long before the whole front triangle is done. Time for tea and a lie down.
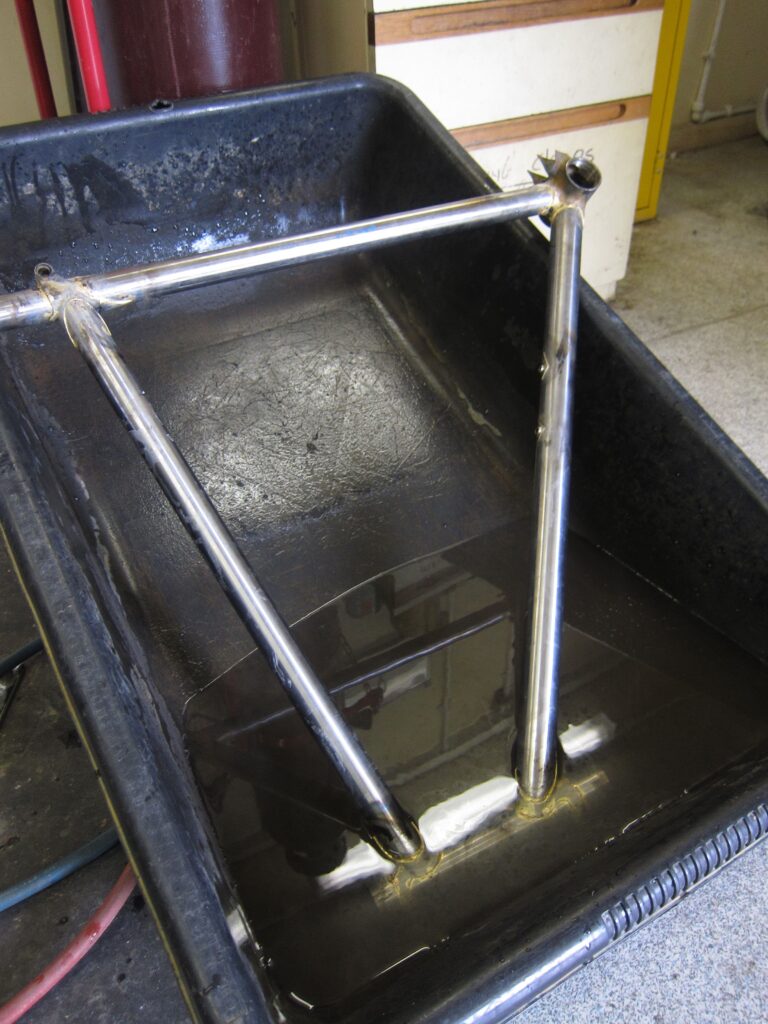
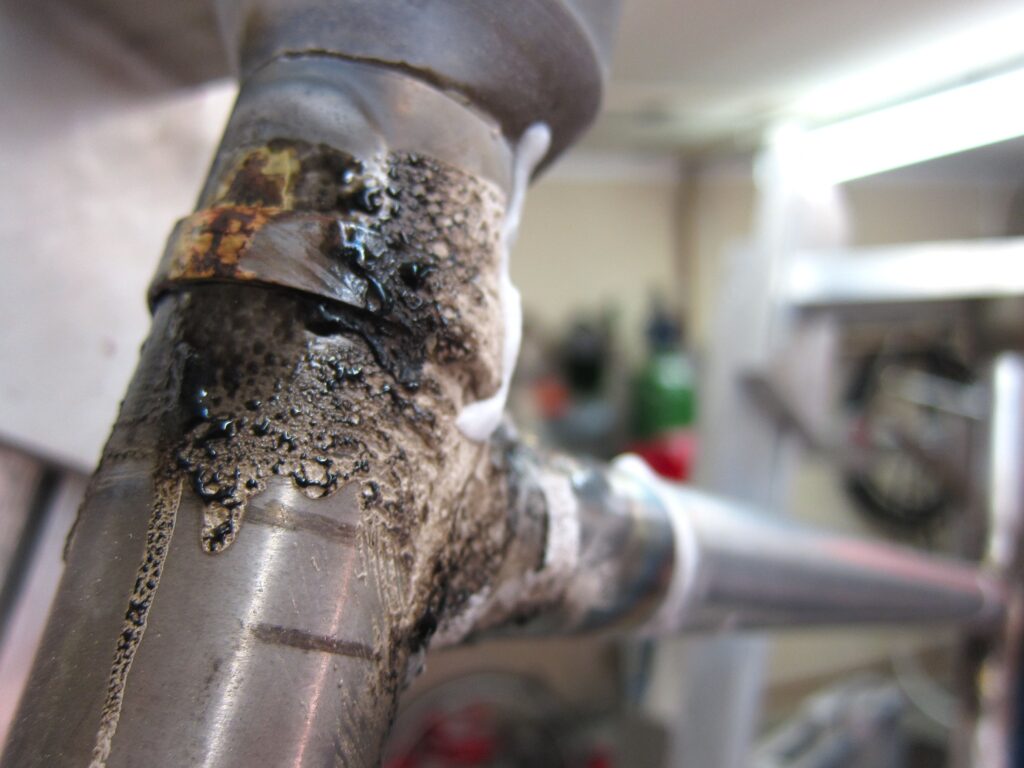
With the brazing done it’s time to wash the flux off the frame with boiling water, there are two specific workshop kettles for doing this, you definitely don’t want to be making a cup of tea with them. And then there’s just the laborious task of tidying up the lugs by cleaning all the superfluous metal off them. The better you are at frame building the less mess you’ll make so there’s less to clean up. This is my first ever frame and I’ve never held a welding torch in my hand before so it’s a metal warzone. There’s a lot of filing to do. A lot.
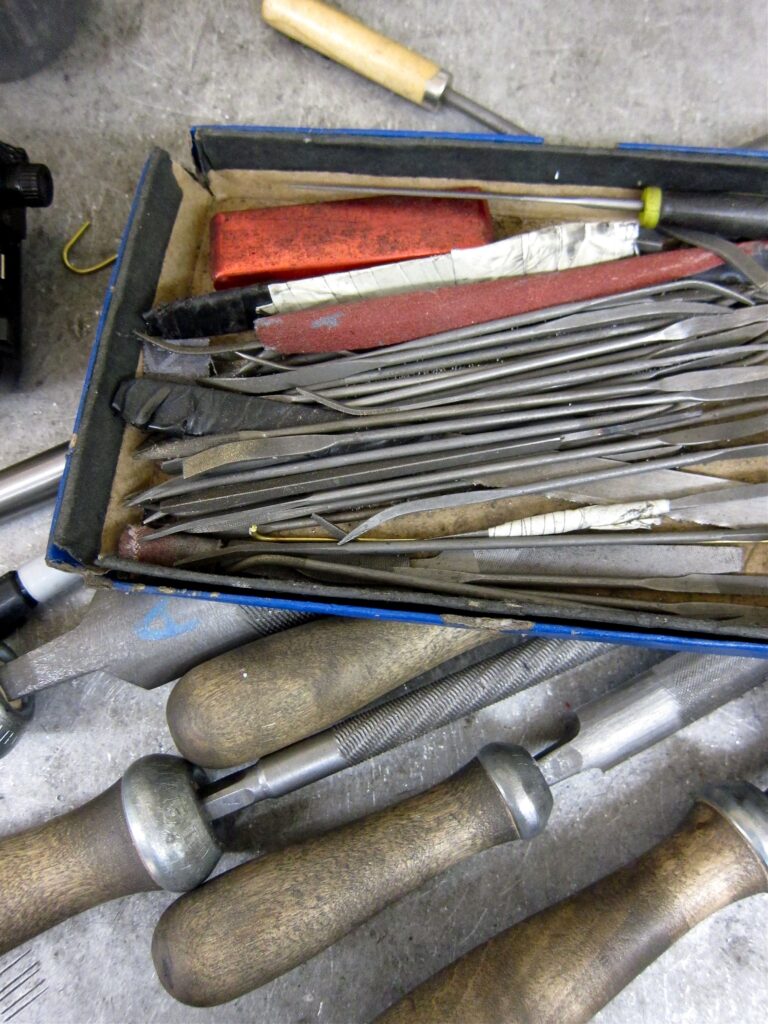
Across the way Terry is dealing with the same issues but has to instead file his completely visible welds to an aesthetically pleasing smoothness, unlike mine that are hiding under lugs it’s a whole bunch more work. Frame-building was the 13th Herculean Task but it was edited out. The previous days sound of mitres being filed is replaced by the sound of bits of superfluous brass being removed. Large file, small file, riffler file, sandpaper. Repeat. There’s a strange mix of frustration, satisfaction, tedium and that’ll-bloody-do.
The front triangle of my frame is put in a strange jig outside the door and front to back alignment is checked, it’s pretty much straight enough spot on. Yay us.
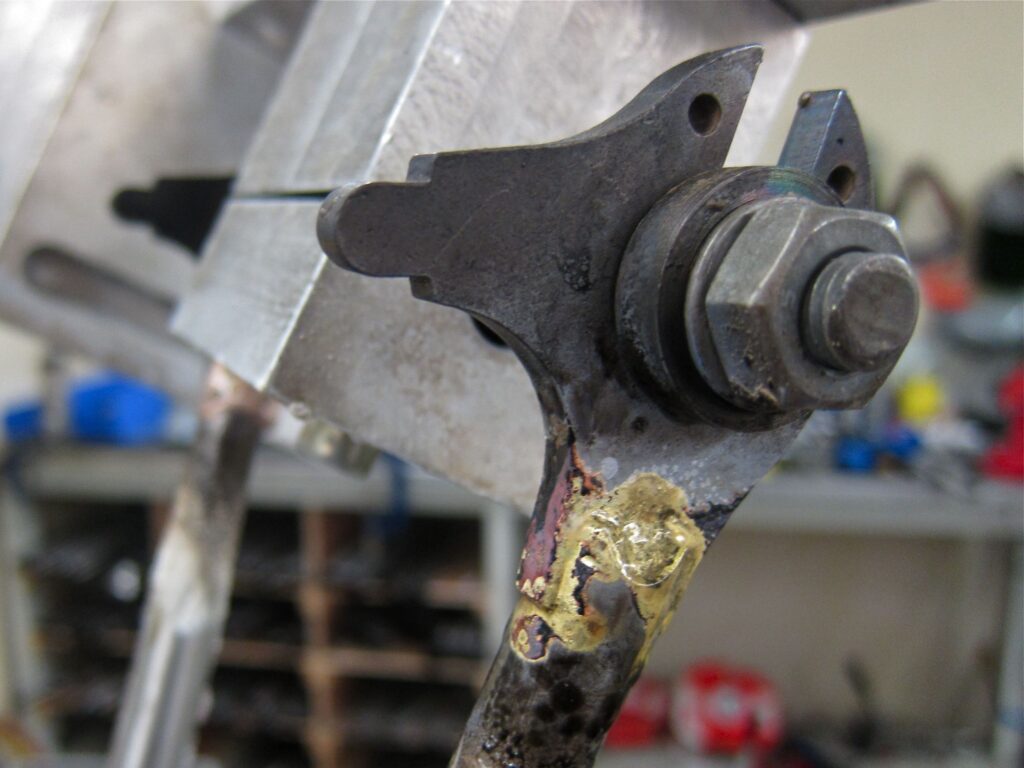
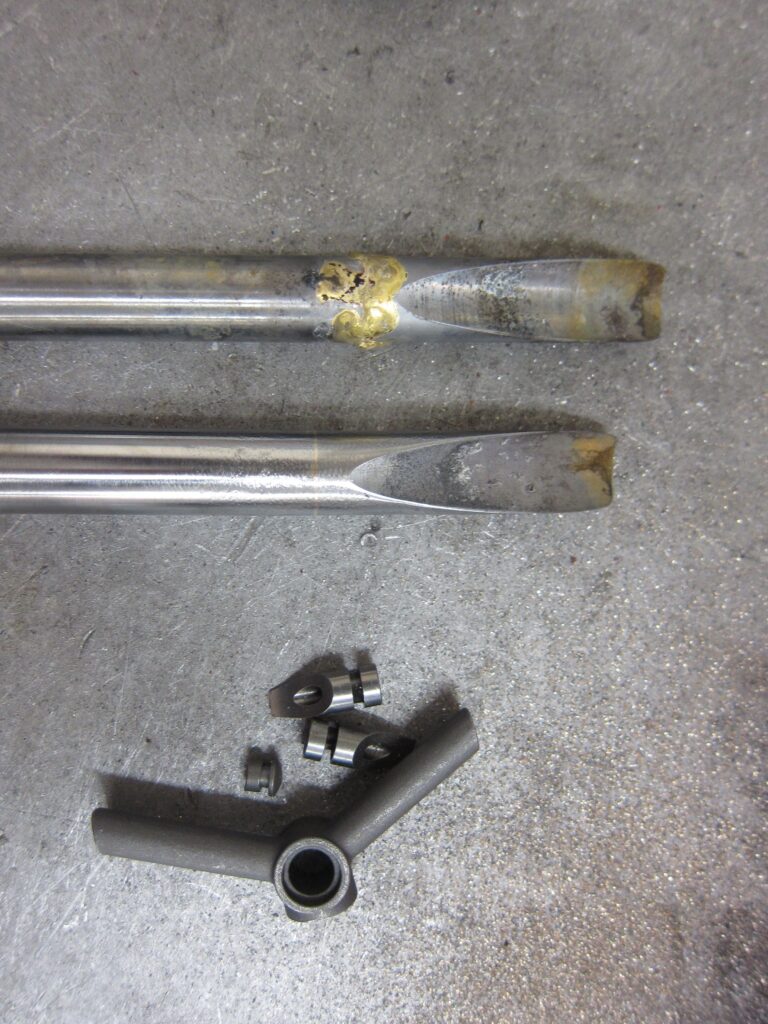
Backtrack a bit to finish off popping the track-ends in, file the ends of the stays so they form aesthetically nice scallops, well nice enough. Braze them in; once again the track-end is a thick piece of metal that can take a lot of heat but the chainstay tubing is thin so can’t. Concentrate the torch on that fat piece of steel and merely tickle the tube, up to temperature, drop in the brass rod to fill in the hole and feed it round the join. Done.
Final job on the actual frame-building list other than fiddling with the details is to put the seat-stays on. Decide upon what eyes to put in the top by the seat-clamp and while we’re in the box of frame fixings choose the brake-cable bosses, brake bridge and a chain-pip, yes, a chain-pip. A frame pump peg is briefly flirted with but I don’t think I’m old enough for one of them just yet. Give it a couple of years. There is a lot of discussion over which brake bridge to choose. I settle on that one, upside down, for reasons.
The rear end has shifted a bit since the chainstays have gone in as heating up metals makes them bend and twist in a not entirely predictable fashion, so there’s some expert cold setting, or bending, exercised upon the frame with the judicious use of a large wooden pole that Bryan yields like a frame-building Mr. Miyagi. He’s uses this sort of hands-on skill again to crimp the chainstays on Terry’s MTB in a vice to give more tyre clearance, it doesn’t look pretty but his deep understanding of metal ensures that it’s just absolutely perfect.
The top eyes need to be secured into the tops of the seat-stays, Bryan likes a top-eye over any other way of joining a stay to a frame, although it’s not a very fashionable way of doing things. It’s a simple job, the top eye slots snugly into the tube and just needs some brass to hold it into place, although a tiny notch has to be filed into the tube as a key for the braze. That done it’s a quick and satisfying task to sand the join pretty and the oval shape of the top-eye fussed with a file so it’s a desired shape.
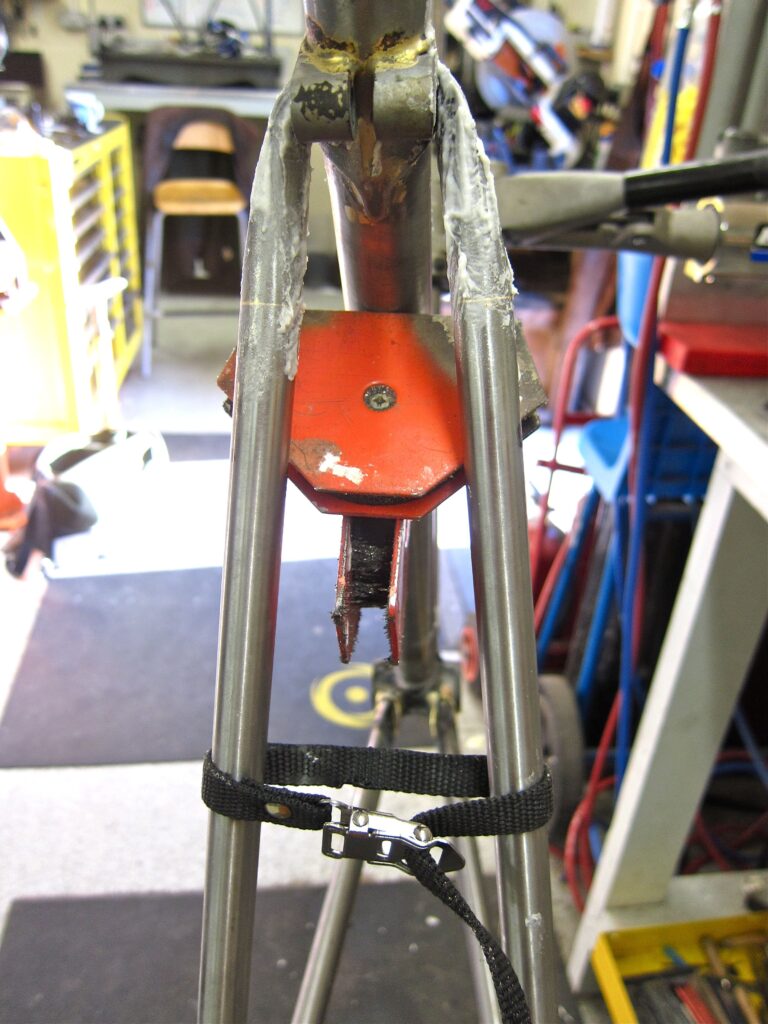
The seat-stays are the final tubes to be brazed in to make the former collection of tubes into a frame. There’s a bit of delicate bending on the tongues of the track-ends so they fit my badly filed slots in the tubes, it’s that kind of detail that I’d like to come back and get right. As my skills slowly improve I can see the job satisfaction in getting a joint absolutely perfect every single time. I’m at the ‘only just good enough’ stage still. The final tubes are held in the right place for tacking with a large magnet and a toe-strap and once again as the top eye is a big lump of metal it needs some considerable heating to get it ready to accept some brass, but the top edge of it is quite thin making it easy to burn away if you’re a little heavy-handed with the torch, and the seat-clamp lug that it’s sticking to is also a thick piece of metal, but the tubes around these components are thin, so there’s some quite specific handling of the flame required to make sure there’s no metal mistakes.
With those tubes finally in I actually have a bicycle frame in my hand, or the skeleton of one, there’s just all the little details to add now. I’ve chosen the most difficult cable stops apparently and they need a little flat bit filed on their round shape so they’ll sit nicely on the tube. Bryan has his own rules as to where a cable stop should sit on the top-tube, somewhere between eight and ten centimetres from either end and Bryan’s preferred position is at about 7 o’clock, so you can just see the edge of the stop when looking down from above. After a bit of discussion we abide by Bryan’s rule and hold the cable-stops to the frame with clamps, it’s a little fiddly and is double-triple-double checked, no one wants a wonky cable stop, that’ll always be bloody annoying. Quick bit of braze, drop on the chain-pip. Go for supper.
After food it’s time to make a cup of tea and take it into the workshop for a long evening of more filing to make the bike look nice. Some of the joints are easy to clean up, others definitely have the aspect of making a silk purse out of a sow’s ear about them. One or two end up a purse of cheap cotton at best. Keep going until I can’t really focus any more, bed.


1 thought on “Seeing the error of my braze”
super stuff,
super stuff,