- News
- Reviews
- Bikes
- Components
- Bar tape & grips
- Bottom brackets
- Brake & gear cables
- Brake & STI levers
- Brake pads & spares
- Brakes
- Cassettes & freewheels
- Chains
- Chainsets & chainrings
- Derailleurs - front
- Derailleurs - rear
- Forks
- Gear levers & shifters
- Groupsets
- Handlebars & extensions
- Headsets
- Hubs
- Inner tubes
- Pedals
- Quick releases & skewers
- Saddles
- Seatposts
- Stems
- Wheels
- Tyres
- Tubeless valves
- Accessories
- Accessories - misc
- Computer mounts
- Bags
- Bar ends
- Bike bags & cases
- Bottle cages
- Bottles
- Cameras
- Car racks
- Child seats
- Computers
- Glasses
- GPS units
- Helmets
- Lights - front
- Lights - rear
- Lights - sets
- Locks
- Mirrors
- Mudguards
- Racks
- Pumps & CO2 inflators
- Puncture kits
- Reflectives
- Smart watches
- Stands and racks
- Trailers
- Clothing
- Health, fitness and nutrition
- Tools and workshop
- Miscellaneous
- Buyers Guides
- Features
- Forum
- Recommends
- Podcast
feature
13 easy pre-ride bike checks (plus 6 vital ones) to ensure your ride is problem-free
It's often the small mechanicals that lead to rides being ruined. Little problems left unnoticed or unresolved can quietly fester until they result in a ride-ending bout of tutting and fretting. Get to grips with problem spotting and stop them before they stop you.
To make things a little easier, we've condensed the list of 13 checks down to six vital checks which you'll see in the video above. These are the ones to do most regularly, with the rest being advisable every so often.
As with general maintenance work, how much you ride your bike will determine how regularly you need to go through the full list. For the occasional rider, the frequency of checks can be spread out more compared to a rider that is smashing through the miles. If you're the latter of these two, frequent checks will help to identify small issues before they become ride-ending problems. High-milage riders are, after all, putting quite a bit of stress on their equipment.
1. Check your brakes
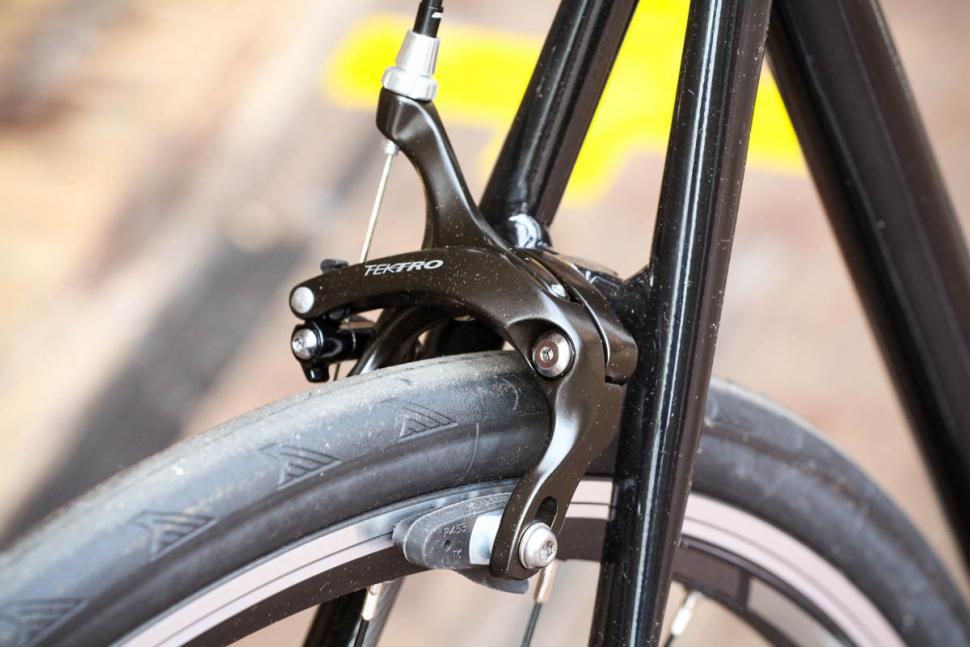
The ability to stop your bike's forward progress is essential for your safety. If you manage only one of these checks, make sure it's the brakes which get done first. Pull the levers with your normal braking force. Push the bike hard forwards: the wheels should be stopped and effectively locked.
Both brakes should operate with the same hand force, come on at the same time and return quickly and cleanly to their off position when released. Try the cable pinch bolts for tightness.
Check all plastic cable housings and the rubber brake pads for wear and UV damage. If your callipers have cam-operated side adjusters make sure they're in the closed position, as shown above.
2. Check your quick releases
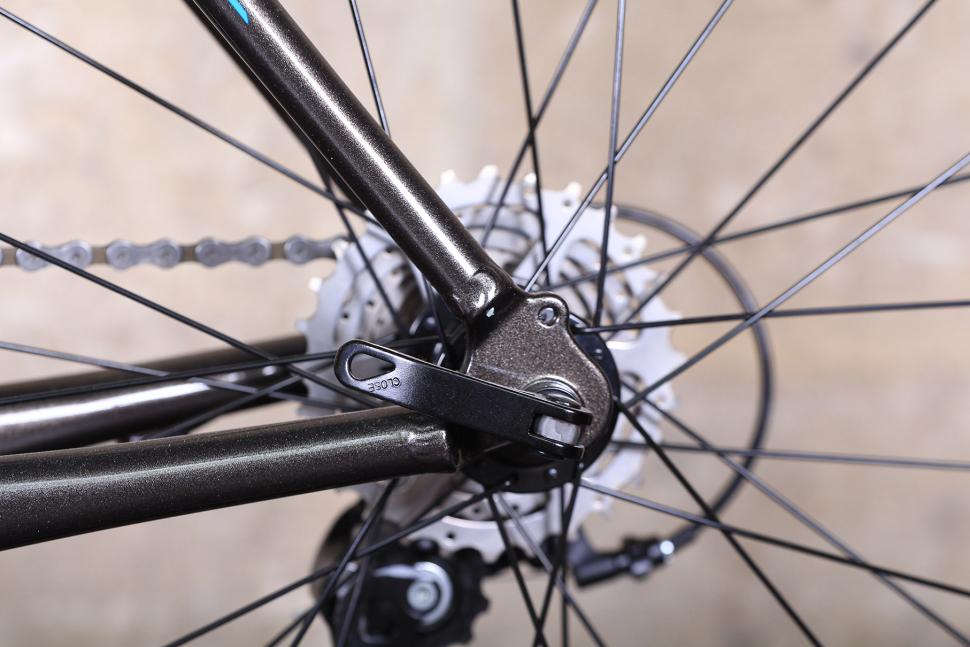
It's thankfully rare for wheels to just fall out of frames, but it pays to check your quick release levers for tightness and that they're closed correctly. When the levers are tight, give the top of the wheel a sharp downward tap with your hand to check their safety. While you've got the wheels in hand, give the rims a little side to side wobble check to feel for loose hub bearings. Any looseness will mean an adjustment or hub bearing replacement is necessary.
3. Are your spokes tight?
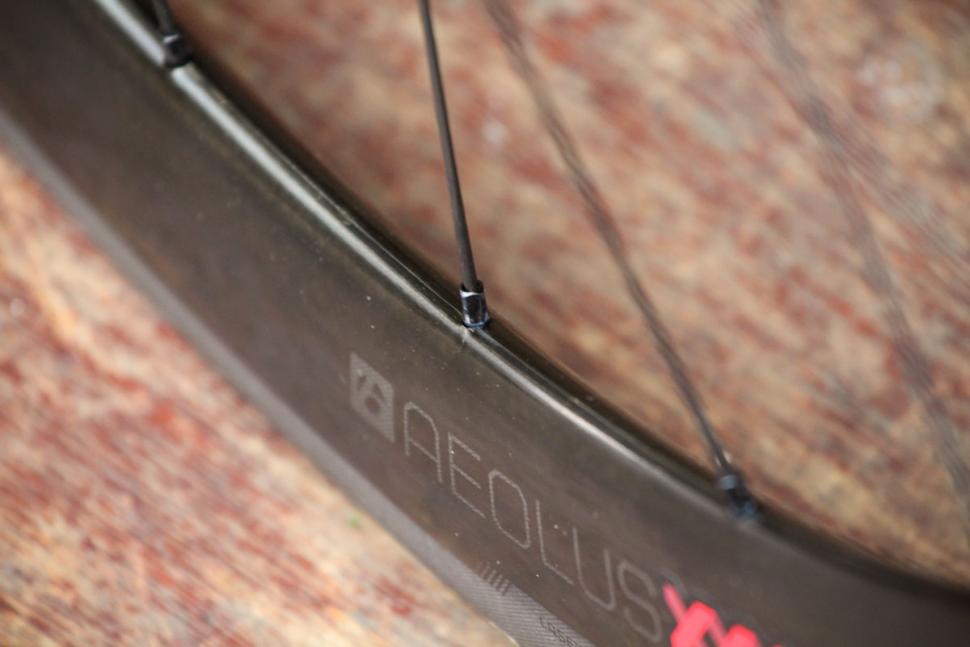
Spoke tension isn't usually a mission-critical issue, though keeping it monitored will save you from serious roadside wheel maladies in future. Grip pairs of crossed spokes and give a gentle squeeze. Do this with each pair in turn, on each side of the wheel. You're looking for even tension in all the spokes. Spokes which are dramatically over or under the median tension need looking at. Another way to check is to 'pluck' each spoke and listen to the tone they give. Each spoke should give the same, or similar, tone indicating they're at or near the same tension.
4. Keep your tyres topped up
Low tyre pressure won't necessarily mean a bad or ruined ride, but if it's too low it can lead to punctures, tyre damage, tyre wear or rim damage. Best to keep a bit more air in them than a bit less. However, too much will make for a bone-jarring ride. Follow the manufacturer's recommended pressure range (usually embossed on the sidewall of the tyre), as a starting point and adjust from there.
There are no right and wrongs, instead, develop a feel for the right pressure for you and your setup. Try a pressure gauge for empirical figures. Failing that, get to know what suits by using the Mk1 human thumb. They're pretty accurate.
5. Make sure stem and bar bolts are snug
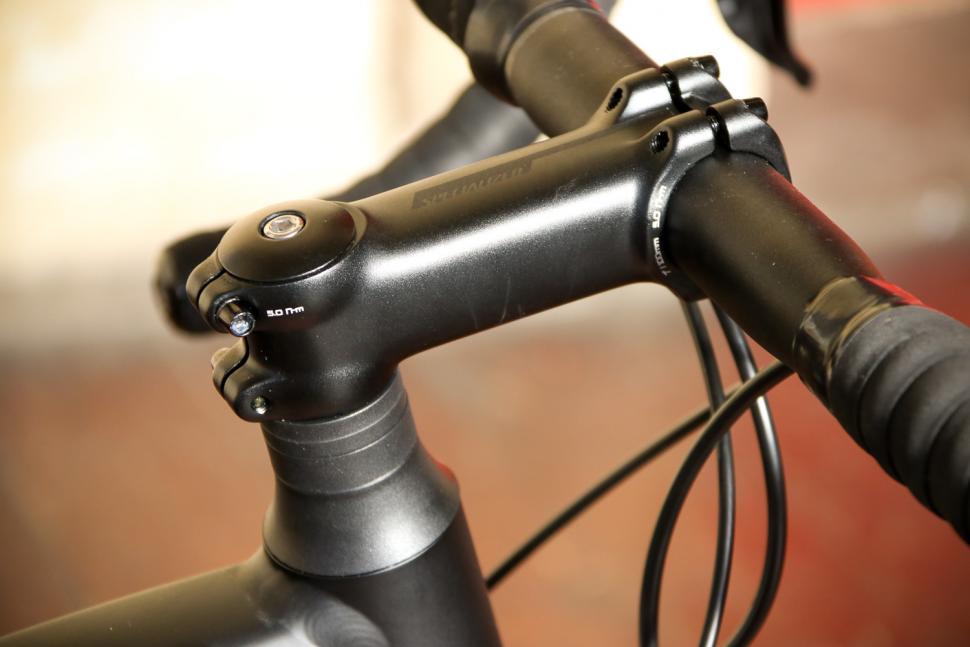
Getting your bike to point in the right direction means having the controls and levers all properly tight. More tension on stem and handlebar bolts isn't always better, especially with carbon components. You want controls to be tight enough not to move under normal operating forces, yet not so tight, that in the event of a crash or collision, they won't move. It's better they move or rotate than snap. If there's any carbon fibre involved, use a torque wrench and tighten to the exact torque specified by the manufacturer.
- 9 top tips for setting up your new road bike
7. Check for bottom bracket bearing play
Hold the tips of the two crank arms and gently rock them back and fore against each other (perpendicular to the direction of rotation). You're feeling for any sense of looseness or play in the bottom bracket bearing. As they're usually not user adjustable on modern bikes, a loose bottom bracket will need to be replaced.
8. Chainring bolt and pedal check
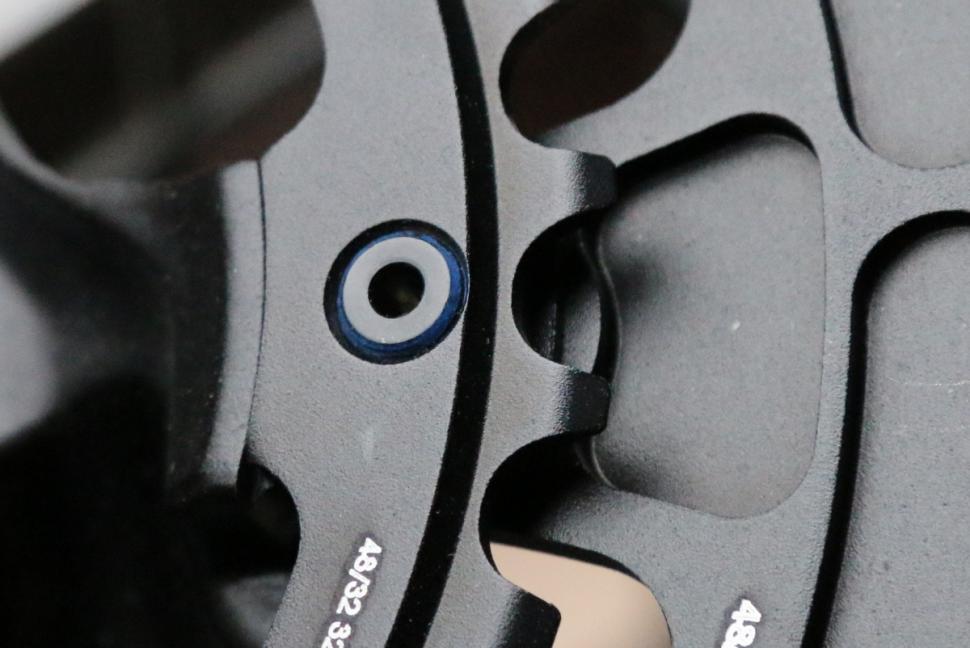
Two of the most common and overlooked sources of annoying creaking and squeaking are chainring bolts and pedals. Give the chainring bolts a tweak just to ensure they haven't backed off. Don't go crazy, if it doesn't feel like it's loose, then it's tight enough. Similarly, pedals take a mountain of abuse, so checks for bearing play and bearing smoothness are regular should-do's. Ensure threads are greased and the pedals' spring mechanisms are lubed
9. Look out for gear problems
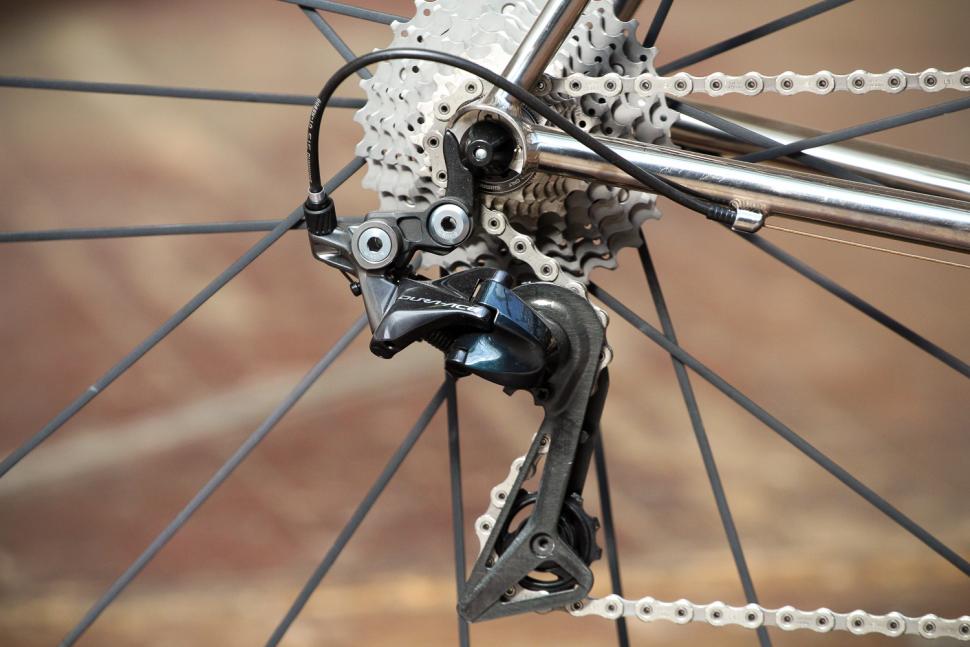
You can often ride around malfunctioning gears, but you can remove the need by spotting the issues which cause them first. From behind the bike, check that the derailleur hanger is straight and in line with the jockey wheels. Likewise that the jockey wheels are in line with the sprockets. If they're not it's usually a sign that the hanger (occasionally the derailleur arm) is bent. Derailleur hangers can be straightened or replaced, a bent derailleur can be repaired though often this is as expensive as buying a new one.
Run through the indexing: shifts should be clean and crisp. The chain should not be able to be shifted beyond the upper and lower limits of the cassette.
- How to adjust and tune indexed rear derailleurs
10. Check the frame
Frame failure is very rare unless you're riding a very old bike or one that's been crash damaged. Remember if the bike has been previously owned, then it might have seen some action. New bikes undergo rigorous safety tests to ensure breakages are rare. Even so, it's always worth a check. Just after a bike wash is a good time as the frame is clean making any cracks or unusual marks in the paint, anodising or carbon lacquer easier to spot. Areas to check are under around the headtube, and where the chainstays meet the bottom bracket shell. Anything unusual in look or feel of the tube/joint surface or finish should be investigated.
11. Keep your cleats cosy
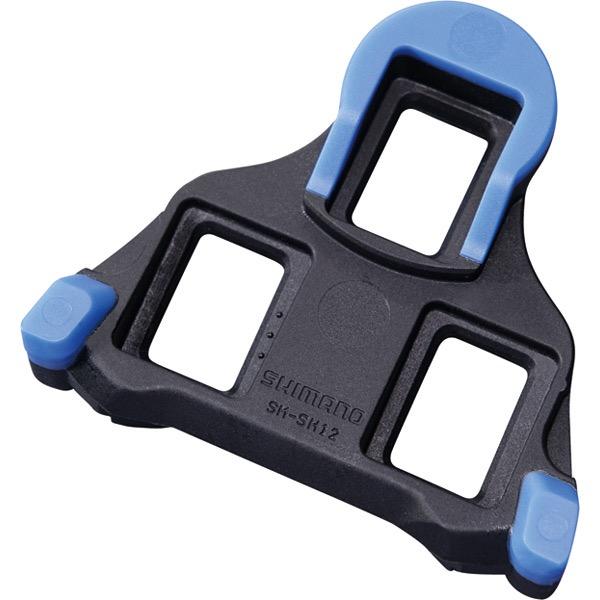
Shoe cleats are another hidden issue waiting to ruin a ride. They can work loose and wear out, leading to annoying squeaks and knee-knackering misalignment. Keep them tight, clean, in good repair and properly adjusted.
12. Make sure your phone's charged
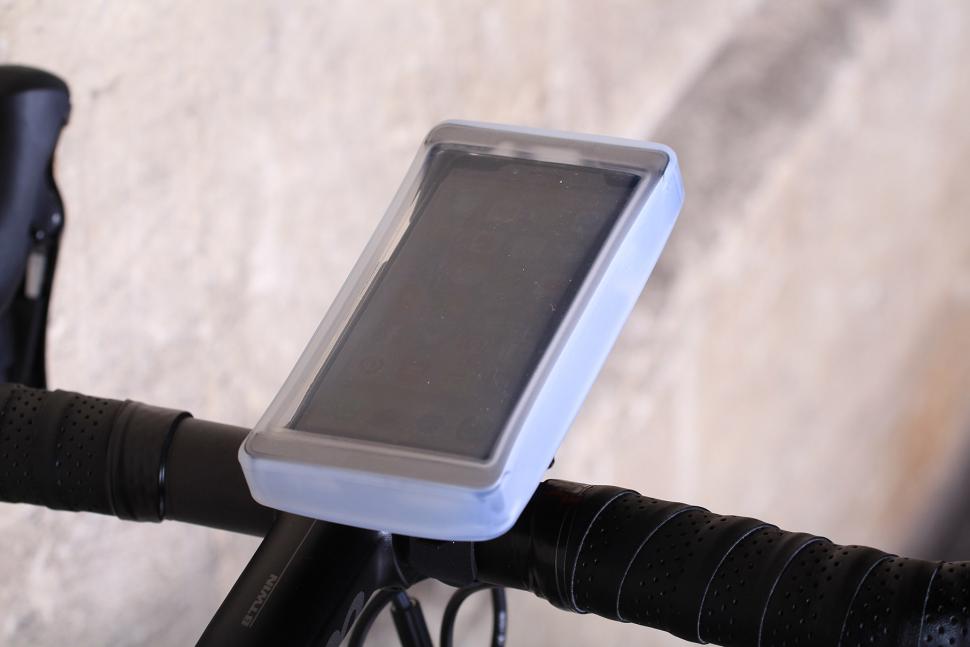
We used to pack a ten pence piece for an emergency phone call because emergencies always happen near phone boxes. These days, we take our mobile phones with us. Tempting as it is to leave it at home and ride 'off-grid', shit happens, and it can be useful to be able to call and say: "I've double flatted/bonked/fallen off/been abducted by space aliens", or even that you're going to do another loop, be late for tea or have taken a selfie at the top of the biggest hill in the county.
Finally, something you shouldn't do - sort of:
13. Tighten crank bolts — once
Losing a crank arm will ruin a ride, and potentially ruin the crank arm too, so some people think you should periodically tighten the main bottom bracket attachment bolts. However, if you have a square taper bottom bracket axle, periodically retightening the crank bolt can drive the crank up the axle so it eventually breaks.
Best practice is to tighten the cranks properly in the first place, following the manufacturer's torque settings, then leave them alone. Square taper cranks, in particular, need a surprising amount of torque; you'll need a bigger torque wrench than the diddy one you use for your handlebars.
Cafe Wisdom: road.cc readers offer their advice on essential pre-ride checks
Our readers are a knowledgeable bunch. Here are two of the best comments from a previous version of this article that might help you out...or just make you giggle!
HawkinsPeter said:
"14. Check your electronic shifting battery
15. Ensure that your discs aren't rubbing on the calipers
16. Check the level of tubeless sealant in your tyres
17. Check that there's still time to go for a ride"
While billbiwer said:
"18. Forget it and go to the pub."
David worked on the road.cc tech team from 2012-2020. Previously he was editor of Bikemagic.com and before that staff writer at RCUK. He's a seasoned cyclist of all disciplines, from road to mountain biking, touring to cyclo-cross, he only wishes he had time to ride them all. He's mildly competitive, though he'll never admit it, and is a frequent road racer but is too lazy to do really well. He currently resides in the Cotswolds, and you can now find him over on his own YouTube channel David Arthur - Just Ride Bikes.
Latest Comments
- bikeman01 47 min 4 sec ago
Its a rear window not a rear windscreen.
- ridein 1 hour 56 min ago
I wonder if you could use a Northwave shoe (w/Speedplay drilling) on the Ekoi pedal. Possibly using one Look pattern cleat hole and two Speedplay...
- Surreyrider 3 hours 39 min ago
I've worked in local government before and some really don't need any training for that - they're already masters!
- Rendel Harris 7 hours 36 min ago
They have here: results at 14.40. The aero bike was roughly fifteen seconds faster than a climbing bike on a descent of around 6 km, so about 3km/h...
- wtjs 7 hours 50 min ago
As I've also placed here the nutter Audi and white van drivers, I've decided to give those no-nonsense keep-the-country-moving BMW drivers a list...
- polainm 8 hours 53 min ago
100% this. Policing mentality is formed by social 'norms', and the cyclist witchhunting across social media is the UK norm. Close passing a person...
- David9694 10 hours 18 min ago
That's a clear 2 points awarded there, but I guess as there's now a 25% tariff you'll only get 1.5
- mark1a 10 hours 29 min ago
Fawkes Cycles is only local if you live near Oldham. That's nearly 300 miles away from me. Also, any retailer that doesn't participate in an...
- David9694 10 hours 31 min ago
Openreach under fire over delays to Amesbury cabinet repairs...
- Destroyer666 18 hours 29 min ago
Anodizing the aluminium is also for corrosion resistance and therefore enhances the longevity of the rims while this is not really a case for...



Add new comment
5 comments
I think you mean 'including', rather than 'plus'.
Talking of chainring bolts, has anyone got a suggestion for a good wrench that works well? I have a Park CNW1, and it's just a bit disappointing, it doesn't fit just right, is difficult to use and is a bit gougey. It works, but I could do with something that works better. I misplaced it at one point and had to buy an Icetools screwdriver style one, which in some ways works even worse.
It really isn't the most pleasant of jobs, bit dirty (could clean before) and all pointy and trying to support the chain set while needing access to both sides an then get some proper leverage. Does anyone have an easy technique for this?
i just use a big flat screwdriver
Mine isn't Park Tool but looks the same. I remove the cranks to work on the chainring bolts and that makes it easy enough to use that little spanner on the back while using torx or hex on the front. Between taking things apart for a service I don't touch the chainring bolts.
Those checks, as described above, are not necessary as far as I'm concerned. Each time I get back from a ride I know if anything needs doing before the next ride.
What chainring do you have? On the shimano, I have to take off the cranks to get to the bolts and use some torx end to get it done up.
Unsurprisingly I don't do this often (except when fitting a new small chainring the wrong way round !)