- News
- Reviews
- Bikes
- Components
- Bar tape & grips
- Bottom brackets
- Brake & gear cables
- Brake & STI levers
- Brake pads & spares
- Brakes
- Cassettes & freewheels
- Chains
- Chainsets & chainrings
- Derailleurs - front
- Derailleurs - rear
- Forks
- Gear levers & shifters
- Groupsets
- Handlebars & extensions
- Headsets
- Hubs
- Inner tubes
- Pedals
- Quick releases & skewers
- Saddles
- Seatposts
- Stems
- Wheels
- Tyres
- Tubeless valves
- Accessories
- Accessories - misc
- Computer mounts
- Bags
- Bar ends
- Bike bags & cases
- Bottle cages
- Bottles
- Cameras
- Car racks
- Child seats
- Computers
- Glasses
- GPS units
- Helmets
- Lights - front
- Lights - rear
- Lights - sets
- Locks
- Mirrors
- Mudguards
- Racks
- Pumps & CO2 inflators
- Puncture kits
- Reflectives
- Smart watches
- Stands and racks
- Trailers
- Clothing
- Health, fitness and nutrition
- Tools and workshop
- Miscellaneous
- Buyers Guides
- Features
- Forum
- Recommends
- Podcast
 9 top tips for setting up your new road bike August 2018
9 essential set-up tips to get your new road bike perfect
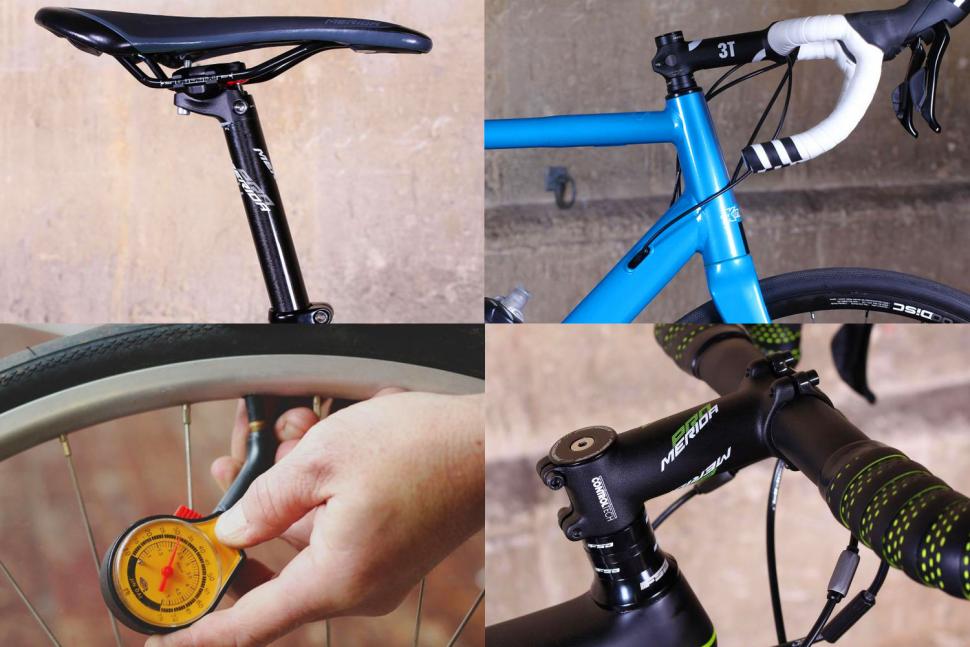
If you’ve just bought a new road bike, or you’re upgrading to a new bike, you might need some help getting it correctly set up so you can really enjoy the ride. Here are some tips to help you get sorted on your new bike.
Read more: Buying your first road bike — everything you need to know
1. Get the saddle height correct
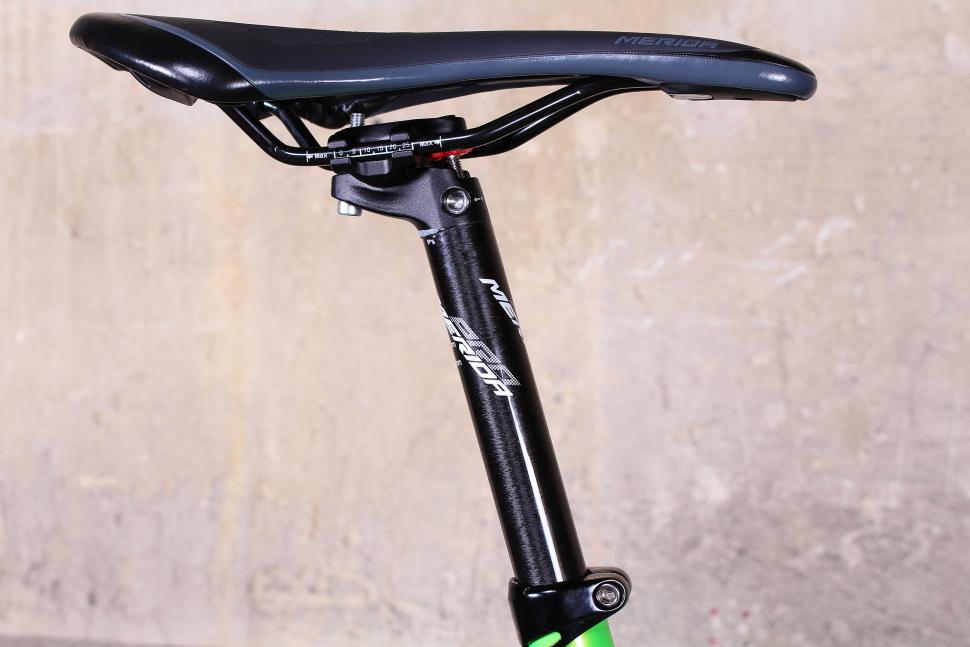
Having the correct saddle height can make a huge difference to your pedalling efficiency. It’s pretty easy to get a good saddle height with a little time and patience, and the best place to start is to follow our how to guide to learn how to easily adjust your saddle height. If you’re unsure how to do it yourself, there are many professional bike fitting services that will ensure you have the best possible position, which will allow you to cycle in more comfort.
Read more: How to set your saddle height
2. Adjusting the handlebar height
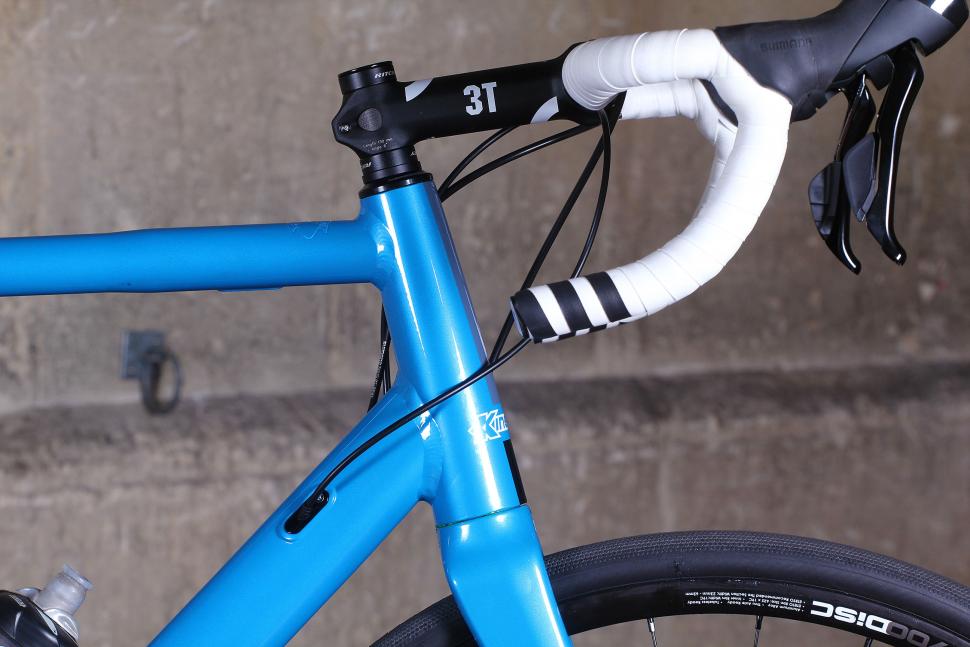
Most new bikes will come with a healthy stack of steerer tube spacers above or below the stem. While you might be happy with the position of the handlebars as the bike arrives, if you find the handlebar position too high or low, you can easily adjust the height. With an Allen tool simply remove the stem top cap, loosen the stem bolts, and move the spacers around to alter the position of the stem. To refit the stem, first preload the headset bearings by tightening the stem top cap until all play has been eliminated, then tighten the stem steerer bolts.
3. The right stem length
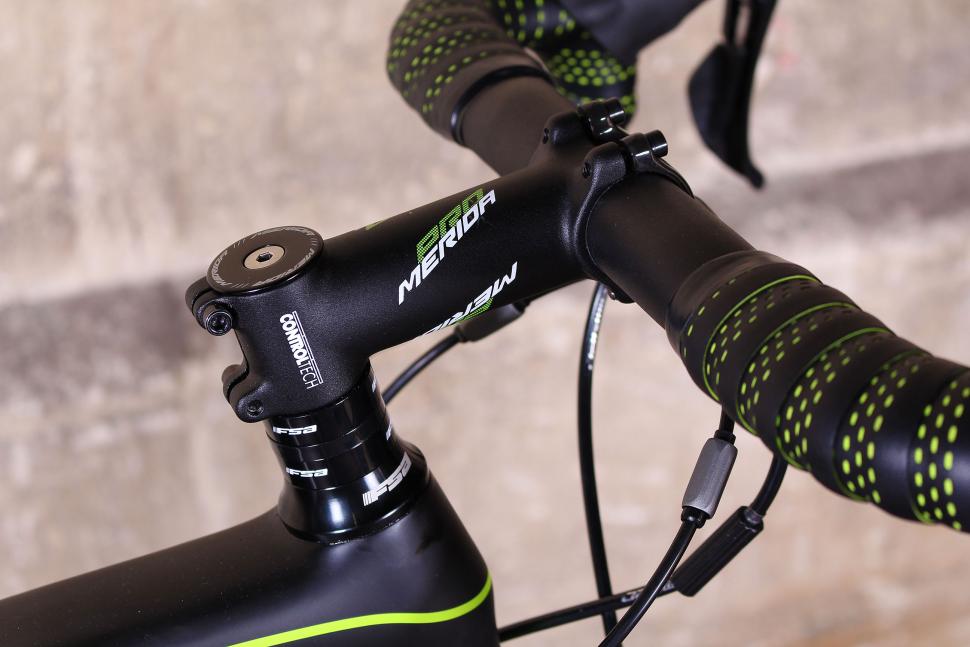
As with adjusting handlebar height, you can also adjust the bike fit with a different length stem. You might be just fine with the stem length that came on your new bike. However, if it’s too short, you’ll be bunched up and cramped, and if it’s too long, you’ll be over stretched. Both can result in discomfort and impact your riding enjoyment by limiting the control you have over the bike. Some manufacturers specify different length stems in relation to the frame size, to try and offer the best fit. Sometimes you might need to customise the stem length yourself though. Good bike shops will be very helpful in helping you get the right stem length on your new bike, or buying a new stem doesn’t have to cost a lot of money.
4. A straight stem is a happy cyclist
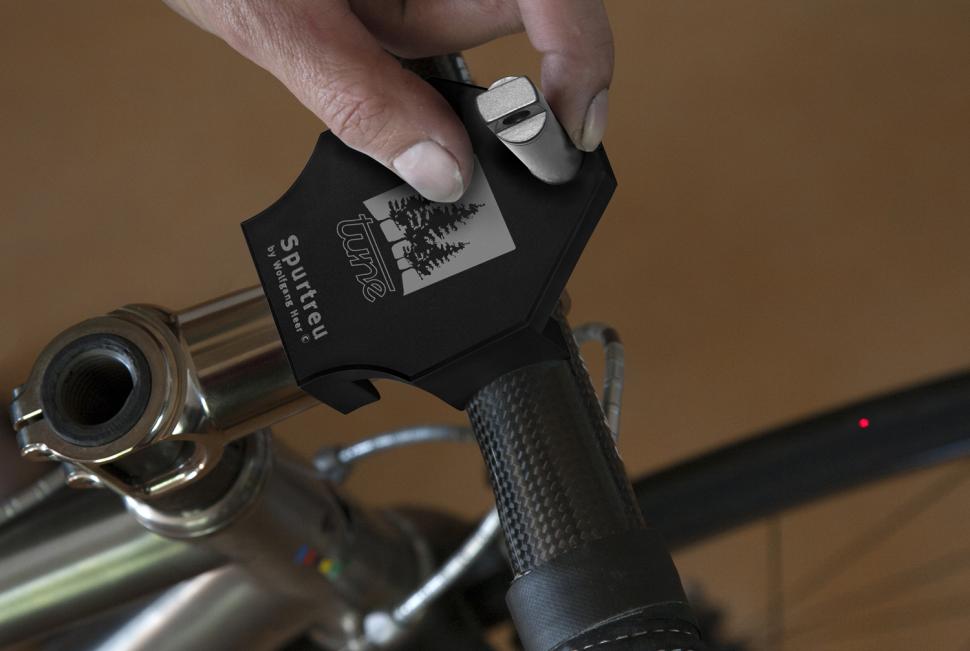
There are few things more annoying that noticing your stem isn’t quite straight someway into a ride. Getting the stem straight in relation to the front wheel can take some squinting and patience, and some people can be really fussy about ensuring the stem is absolutely straight. A very expensive way of ensuring your stem is straight is this nifty tool from German company Tune, which uses a laser to straighten the stem against the front wheel.
5. The right tyre pressure
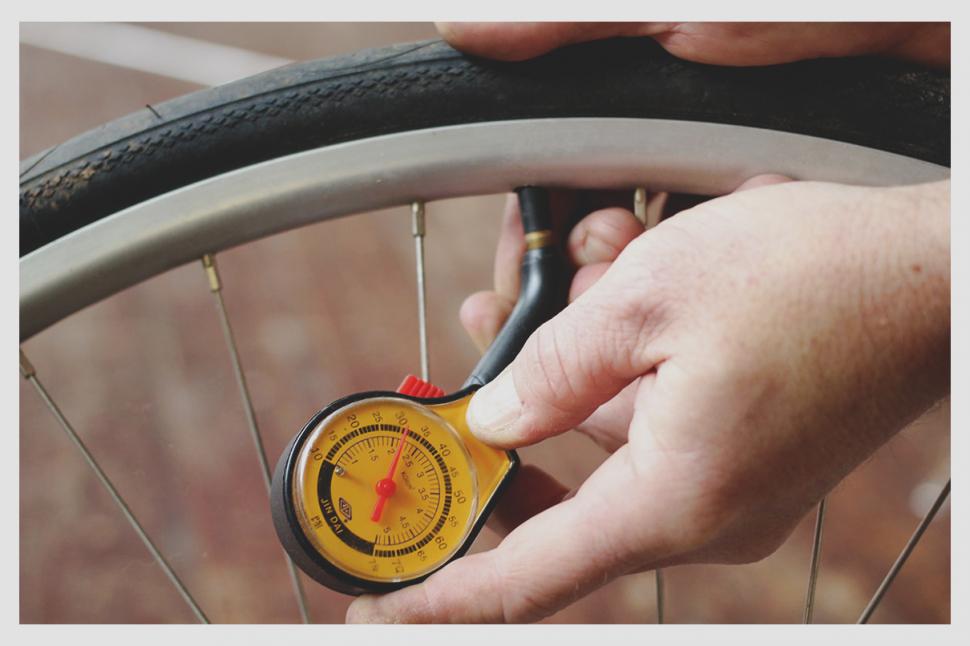
Having the right tyre pressure can make a big difference to how a bike rides. Too low and the bike will feel slow, too high and the ride will be harsh. Most tyres will have a maximum inflation pressure on the sidewall (usually 120psi) but that doesn’t mean you should inflate your tyre to this pressure. Depending on your weight and the condition of the roads, you can safely run lower pressures, and don’t be afraid to experiment. Trying lowering them by 5-10psi and going for a ride, until you find the sweetspot. I regularly run my tyres between 80-100psi. Generally, the wider the tyre the lower the pressure.. Use a track pump with an integrated pressure gauge or better still, invest in a pressure gauge for best accuracy.
6. Adjusting your gears
There’s nothing worse than slipping or badly set up gears, and having the bike gears correctly set up will provide a smooth and quiet ride. Setting up the gears on a bike can seem daunting, but it’s quite simple, and there’s lots of advice in books and the internet to help you out. There’s even an app to do it. Yes, really!
Here’s our guide to index the front gears and here’s a video for indexing the rear derailleur
7. Torque wrench to avoid overtightening bolts
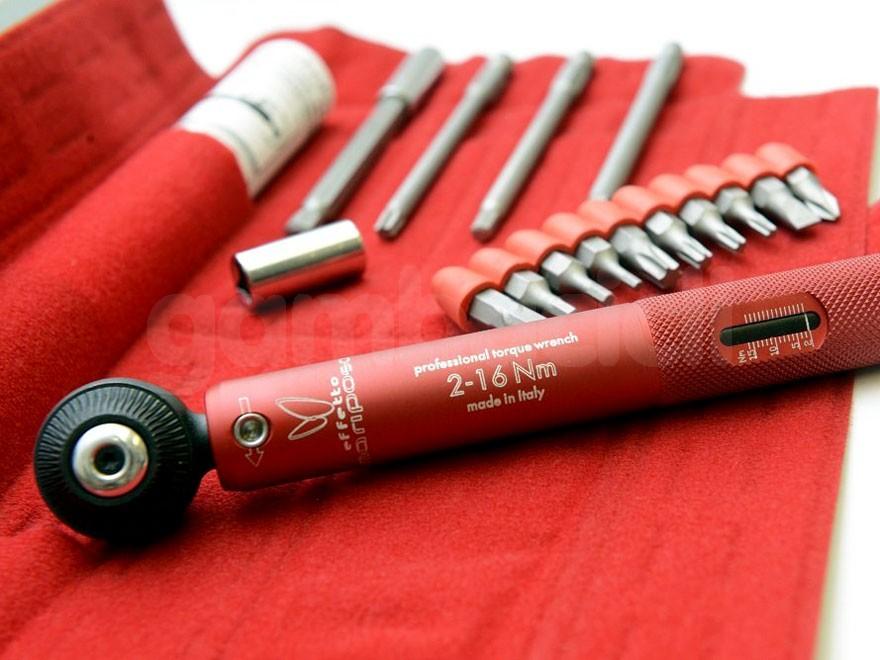
There are quite a few bolts holding a typical road bike together, and they each have a recommended torque setting (a measurement for how tight a bolt should be). With more people buying bikes direct, it’s even more critical to ensure a bike is safely assembled, and a torque wrench completely removes the guesswork for how tight a bolt should be. Most components will have the torque setting printed near the bolt, or you may have to consult the instructions - always check manufacturer's’ recommendations. Different torque wrenches work in different ways, but one common type allows you to set your required torque by turning a knob at the end of the handle. You fit the appropriate head, then turn the wrench until a distinct ‘clunk’ tells you that you’ve reached the correct torque.
Read more: What is a torque wrench?
8. Quality tools make bike tinkering easier
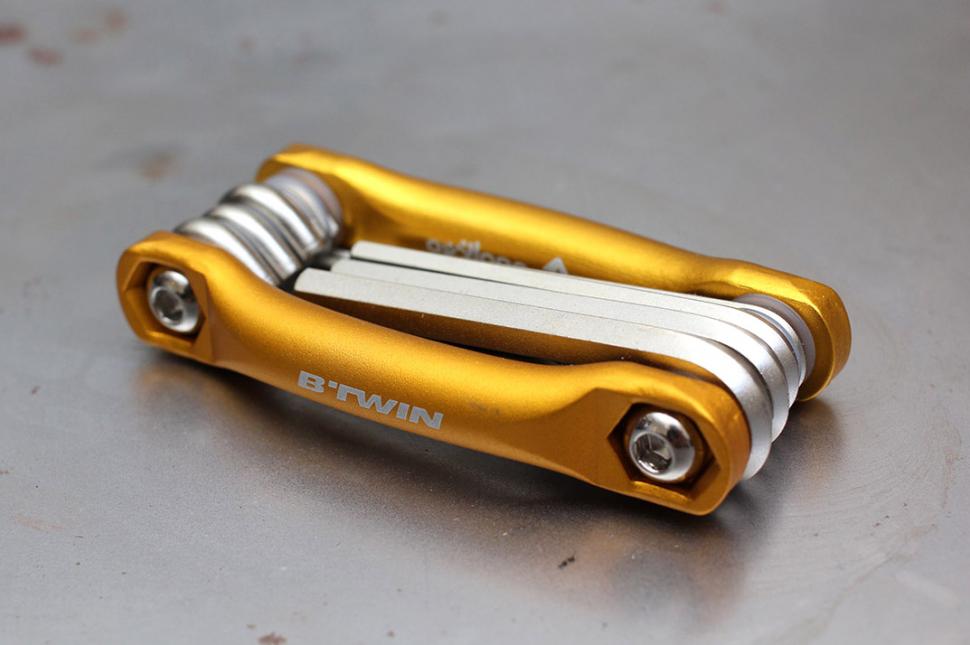
If you’re going to do any bike setup work, you need some good quality tools. Most modern road bikes require nothing more than a couple of Allen tools, but increasingly Torx bolts are being used. A screwdriver (Phillips head or flat blade) is sometimes necessary for adjusting the front and rear derailleurs. A good multi-tool will be sufficient for making any adjustments and there are lots of different types on the market, from diddy emergency tools to higher quality workshop-style tools. A multi-tool is ideal for less frequent adjustments and taking with you on a ride, but if you’re going to be doing a lot of tinkering at home, then you might want to invest in some decent standalone tools, which will make working on your bike easier than grappling with a tiny multi-tool.
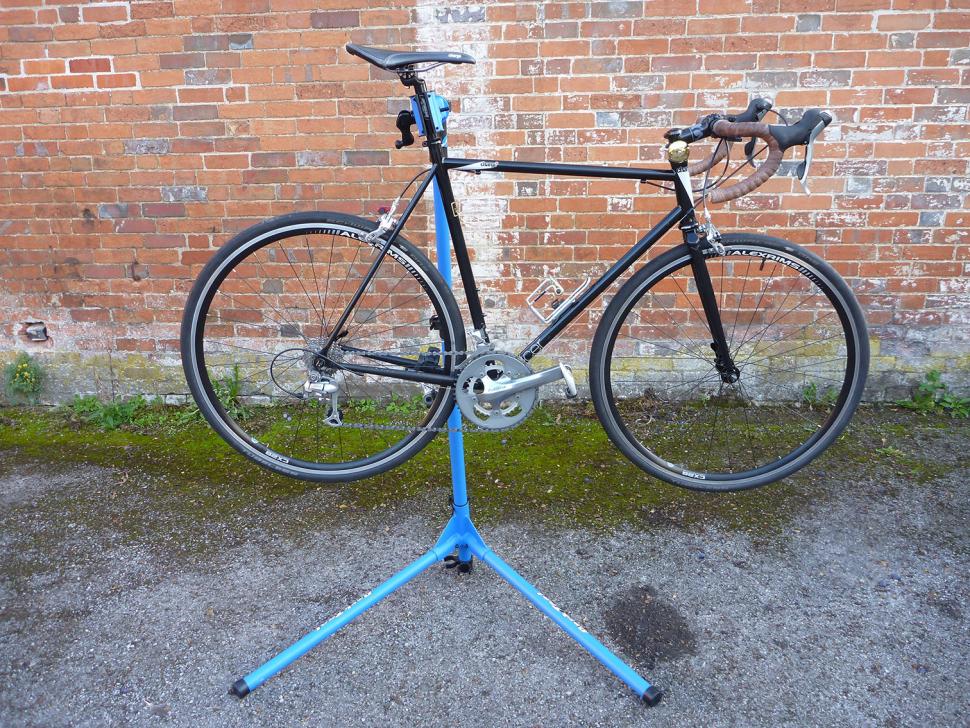
9. Workstand for easy bike fettling
A bike leant up against the wall is easy to work on, but if you want to do more extensive bike setup work, such as adjusting the gears, then a workstand can make working on the bike a lot easier. A workstand elevates the bike off the ground, so you have easier access to it from both sides, and the wheels and gears can spin freely. Workstands come in different styles and prices, from wall-mounted to freestanding types.
David worked on the road.cc tech team from 2012-2020. Previously he was editor of Bikemagic.com and before that staff writer at RCUK. He's a seasoned cyclist of all disciplines, from road to mountain biking, touring to cyclo-cross, he only wishes he had time to ride them all. He's mildly competitive, though he'll never admit it, and is a frequent road racer but is too lazy to do really well. He currently resides in the Cotswolds, and you can now find him over on his own YouTube channel David Arthur - Just Ride Bikes.
Latest Comments
- Rendel Harris 12 sec ago
How can you know that you are "equally fearful" as "any female cyclist"? There is no possible way of quantifying such emotions and female cyclists...
- chrisonabike 32 min 11 sec ago
I think it would be fairer to blame the moon - as in "my client is a loony".
- Bungle_52 55 min 36 sec ago
Nice idea but Gloucestershire Constabulary are not interested as exemplified by this prvious NMOTD. Not only was there NFA for the close pass in...
- quiff 1 hour 41 sec ago
The war years would work - 1917 (39 mill) or 1942 if you're rounding up (44 mill). Buy yes, it's been an upward trajectory since then.
- mctrials23 1 hour 7 min ago
Flippin heck!
- hawkinspeter 2 hours 27 min ago
I think black boxes are great for early detection of cognitive decline and/or sight problems. Someone's driving is going to become much less smooth...
- Bigtwin 3 hours 3 min ago
It's a fashion. https://guildford-dragon.com/shalford-driver-who-smashed-shalford-war-me...
- MTL Biker 3 hours 23 min ago
Robin Phans .....
- Rendel Harris 5 hours 4 min ago
Well it would be irresponsible enough if there were only cars and buses, if there are going to be "cars, buses and traffic" that's just suicidal...

Add new comment
10 comments
Like the look of that stand, my old Minoura has had better days. What would Road.cc recommend?
You could try the link at the bottom of the article
https://road.cc/content/buyers-guide/170135-10-best-cycling-workstands
The one in the pic looks like the Park PCS-10 which is hard to fault IME . Although a mate bought one and with a combination of lack of mecanical sympathy and failing to read the (very clear) instructions, he managed to fubar the mechanism that allows the clam to be rotated
My wife quite rightly hates the expression "there is nothing worse than..." because there is always an endless list of things that are quite obviously worse.
"There’s nothing worse than slipping or badly set up gears"
I agree it is really annoying, and can in part ruin a nice bike ride. However I think torture is worse for example. Also it is really easy to sort out, if you can't do it yourself, give your lbs a few quid and they will do a perfect job of setting them up for you.
Please try harder with your "there is nothing worse than" comments.
I agree, there is nothing worse than the phrase "there is nothing worse than..." used in articles.
I prefer the old squinting technique - sometimes followed by re-adjusting 5 minutes into a ride.
On 4 as well: the free way of doing it is to remove your front wheel then place the ends of your fork and handlebars/shifters (whichever touches first) on a flat surface. You can then nip the bolts back up et voila! They all sit nice and square.
Of course this may rely on you having fit your shifters evenly too. You can always take the bars off and use the same principle on these too.
Or put a bike in a stand and use a plumb bob.
As all the above (including the laser gizmo), logical as they seem in an ideal world, rely on all the components being manufactured 100% accurately and symetrically (particularly the stem and handlebar), I find the best way is to simply eyeball it. Squinting down the centre-line with one eye shut helps.
I think this gives the best compromise.
Jesus, #4 is so damn true
I am so much unhappy if stem "seems" not perfectly straight