

Tubeless tyres have gradually been getting more and more common on road bikes over the past few years and that can present you with a few questions. One of those is just what should you take with you on a ride to get you out of bother if a puncture should happen.
If you felt a bit dumb by asking the question about what to take with you when riding tubeless tyres, you needn’t worry. A quick ask around the tech team here at road.cc resulted in some head-scratching, a few omissions of just taking a mini pump and several people admitting to not knowing how to use the tools that they are carrying.
With that in mind, we’ve put together this list, giving you things that we think you should take with you, the reason for having them, a brief guide on how to use each one and finally a link to a product that we’d recommend.
Wait, I thought tubeless was the miracle cure?
Listen to enough marketing spiel from the various brands pushing tubeless tyres and you’d be forgiven for assuming that tubeless tyres required you to carry nothing on a ride.
To an extent, this can be true, with sealant fixing the majority of small punctures without you even noticing. But our kit list is all about enabling you to get yourself home when a really bad puncture occurs.
Plug & tool
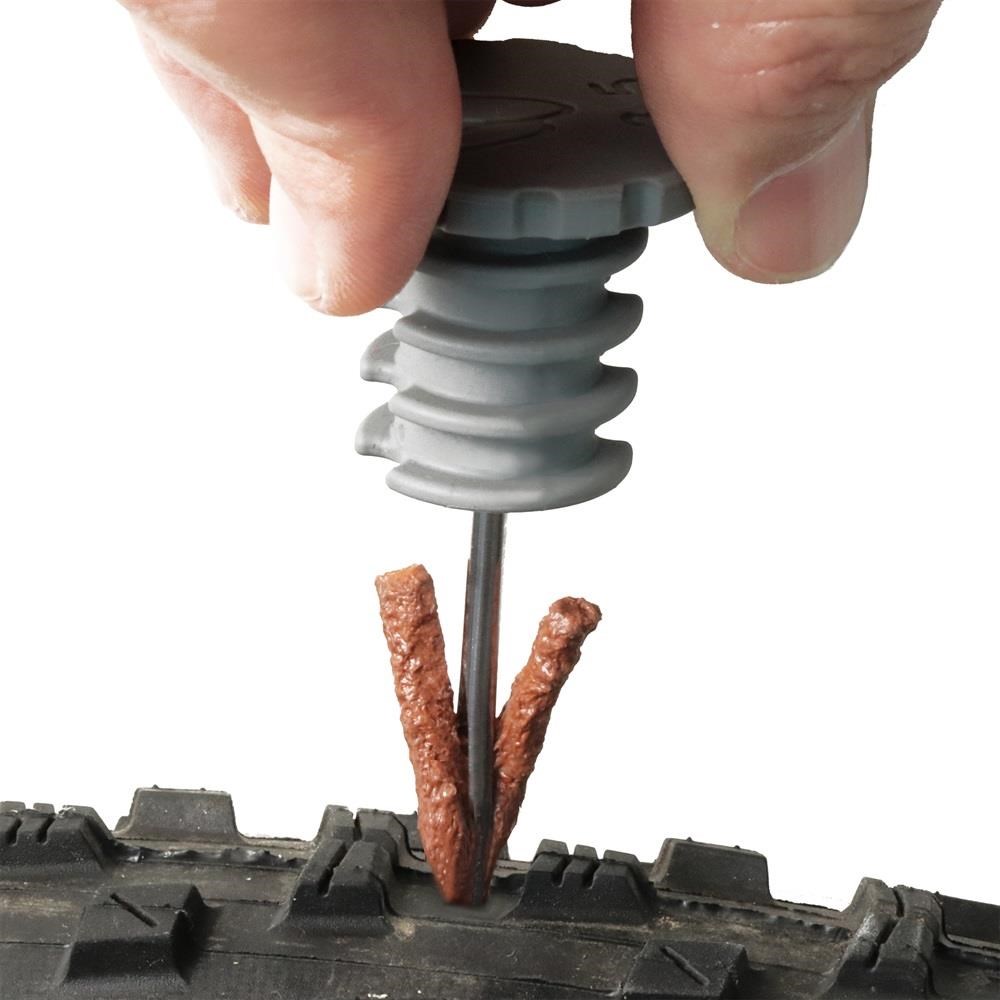
First up is a tool that you’ll need if your tyre sealant is struggling to plug a hole in the tyre. The hole should be easy to find thanks to the sealant that is leaking from it, though this bit is sometimes complicated by a dirty tyre. There are a few plug tools on the market, but most work in a similar way.
Being fast with your deployment of the tool is crucial as there really needs to be air in the tyre to give you something to push against.
Pop the plug into the centre of the tool, making sure that you’ve got a plug that is big enough for the hole in the tyre. Carefully push the plug into the tyre using the tool and twist to free the tool from the plug.
You should then be able to remove the tool, taking care to leave the two tails of the plug protruding from the tyre.
If you can, cut the tails of the plug down a little as this will help them to remain in place.
> Effetto Mariposa’s bar-end kit offers the fastest access, which is crucial
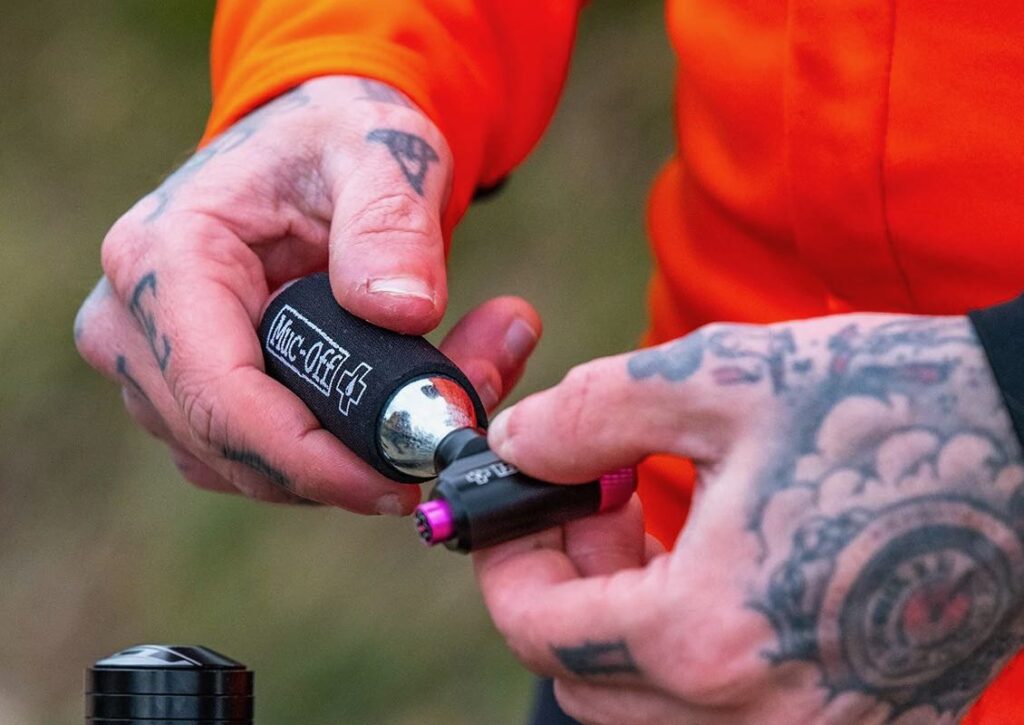
C02 canister kit
While some punctures can be fixed without removing the tyre, other punctures will require you to unseat the bead. A mini pump might be fine for topping up tyre pressure when you’ve plugged a tyre, but reseating a tyre is best done with a C02 canister.
Canisters generally come in 2 sizes, 16g and 20g. Larger volume tyres, such as those found on a mountain bike, will require the 20g canister, but for most road and gravel tyres, the 16g canister is sufficient.
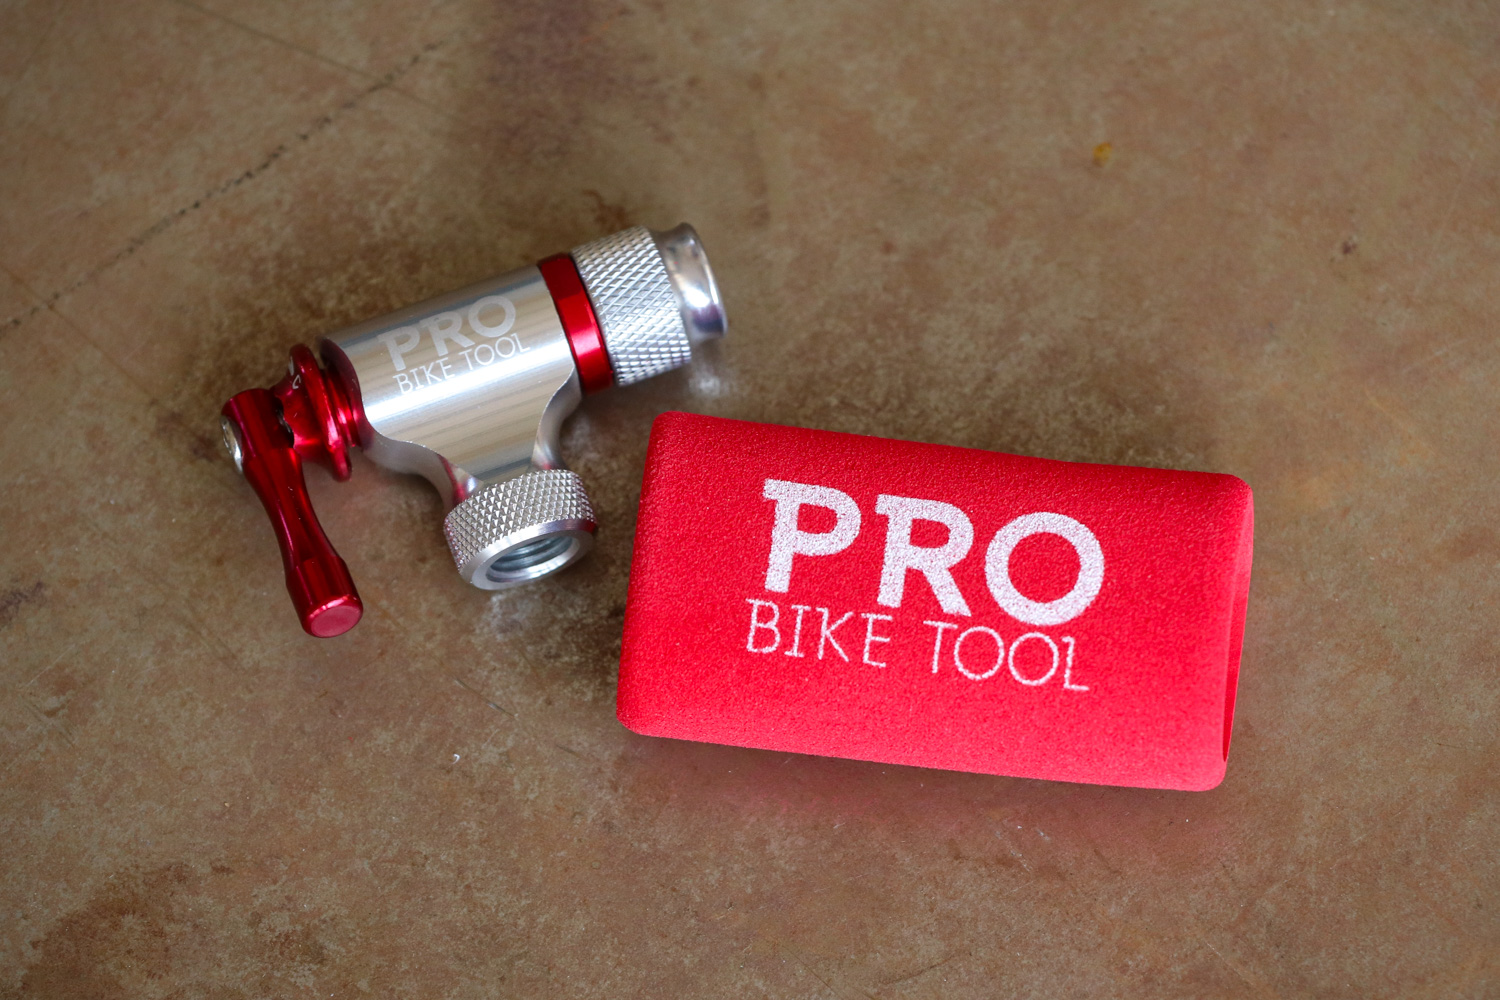
The canister kit will come with a ‘head’ and it is here where the clever stuff happens. Many will have a release valve that only lets CO2 through when engaged, so you can screw the canister onto the head and use as much CO2 as is needed before saving the rest for a later date.
The only thing you need to watch out for when using these canisters is that they get super cold. Hold one while it is in use and you’ll freeze your skin to the canister. A cycling glove or a protective sleeve should be employed.
Also, you’ll need to check that your sealant is CO2 compatible. Some brands in the past suggested that the CO2 would freeze the sealant inside the tyre, rendering it useless.
> But the Pro Bike Tool gets our vote for the head
A small pump
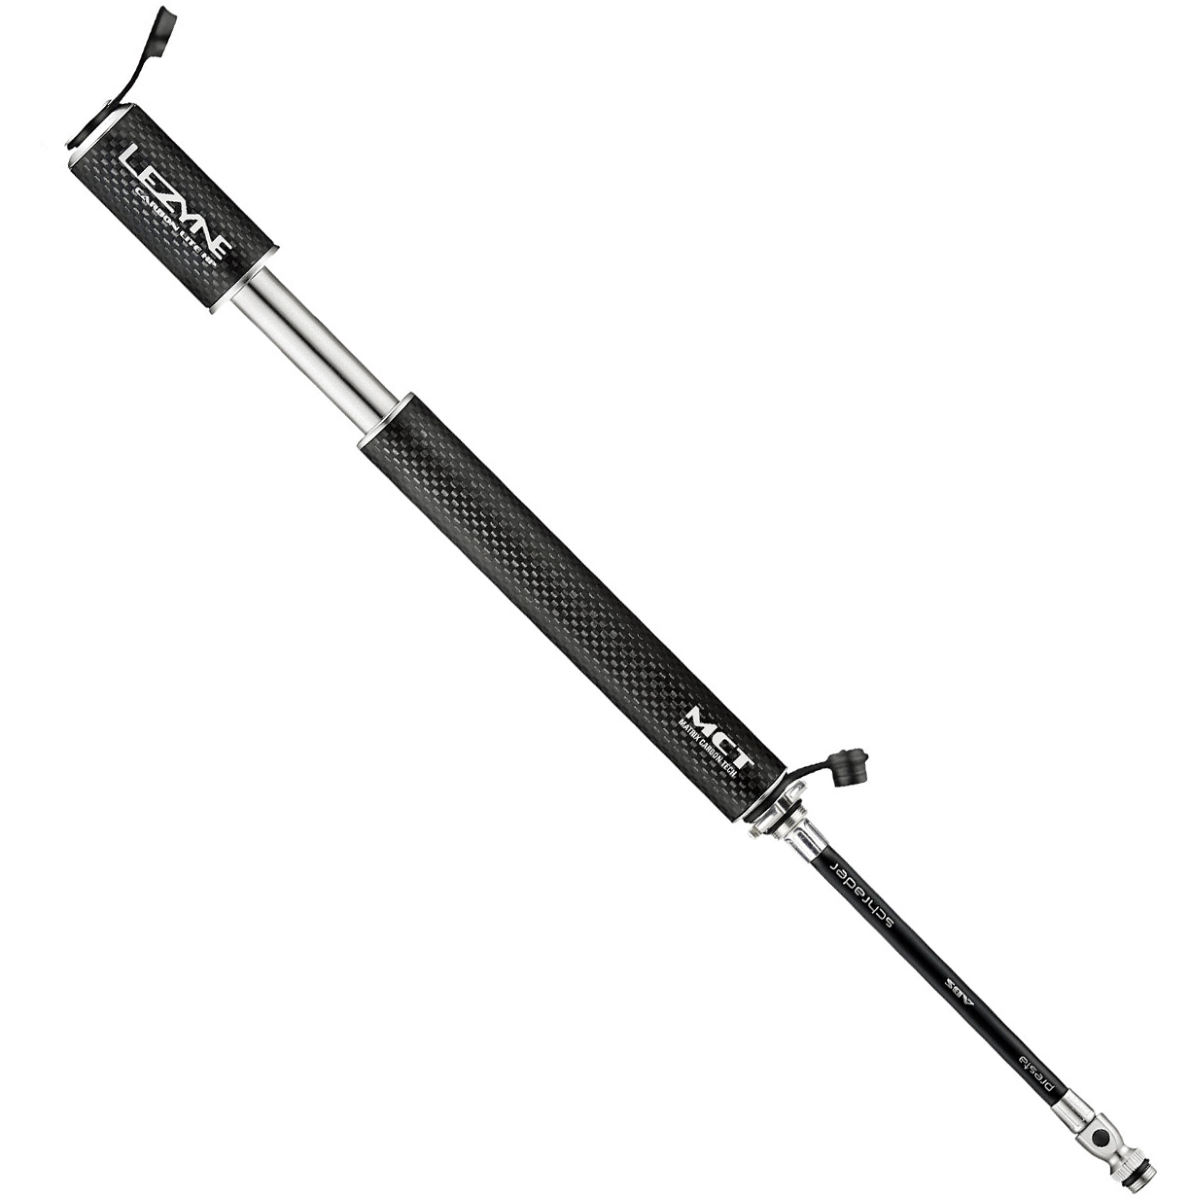
Just like you’d have with a tube-type clincher setup, a mini pump is great for topping up tyre pressure. They take a bit of work to get the tyre to a ridable pressure, but when not in use, they can be stowed easily in a jersey pocket.
Our preference is to get a pump with a detachable flexible hose. That way, when you’re giving it some welly to try to get a decent pressure, you won’t risk bending or snapping the valve core.
> Lezyne’s Carbon Road Drive Lite is a favourite of reviewer Matt Page
Tyre levers
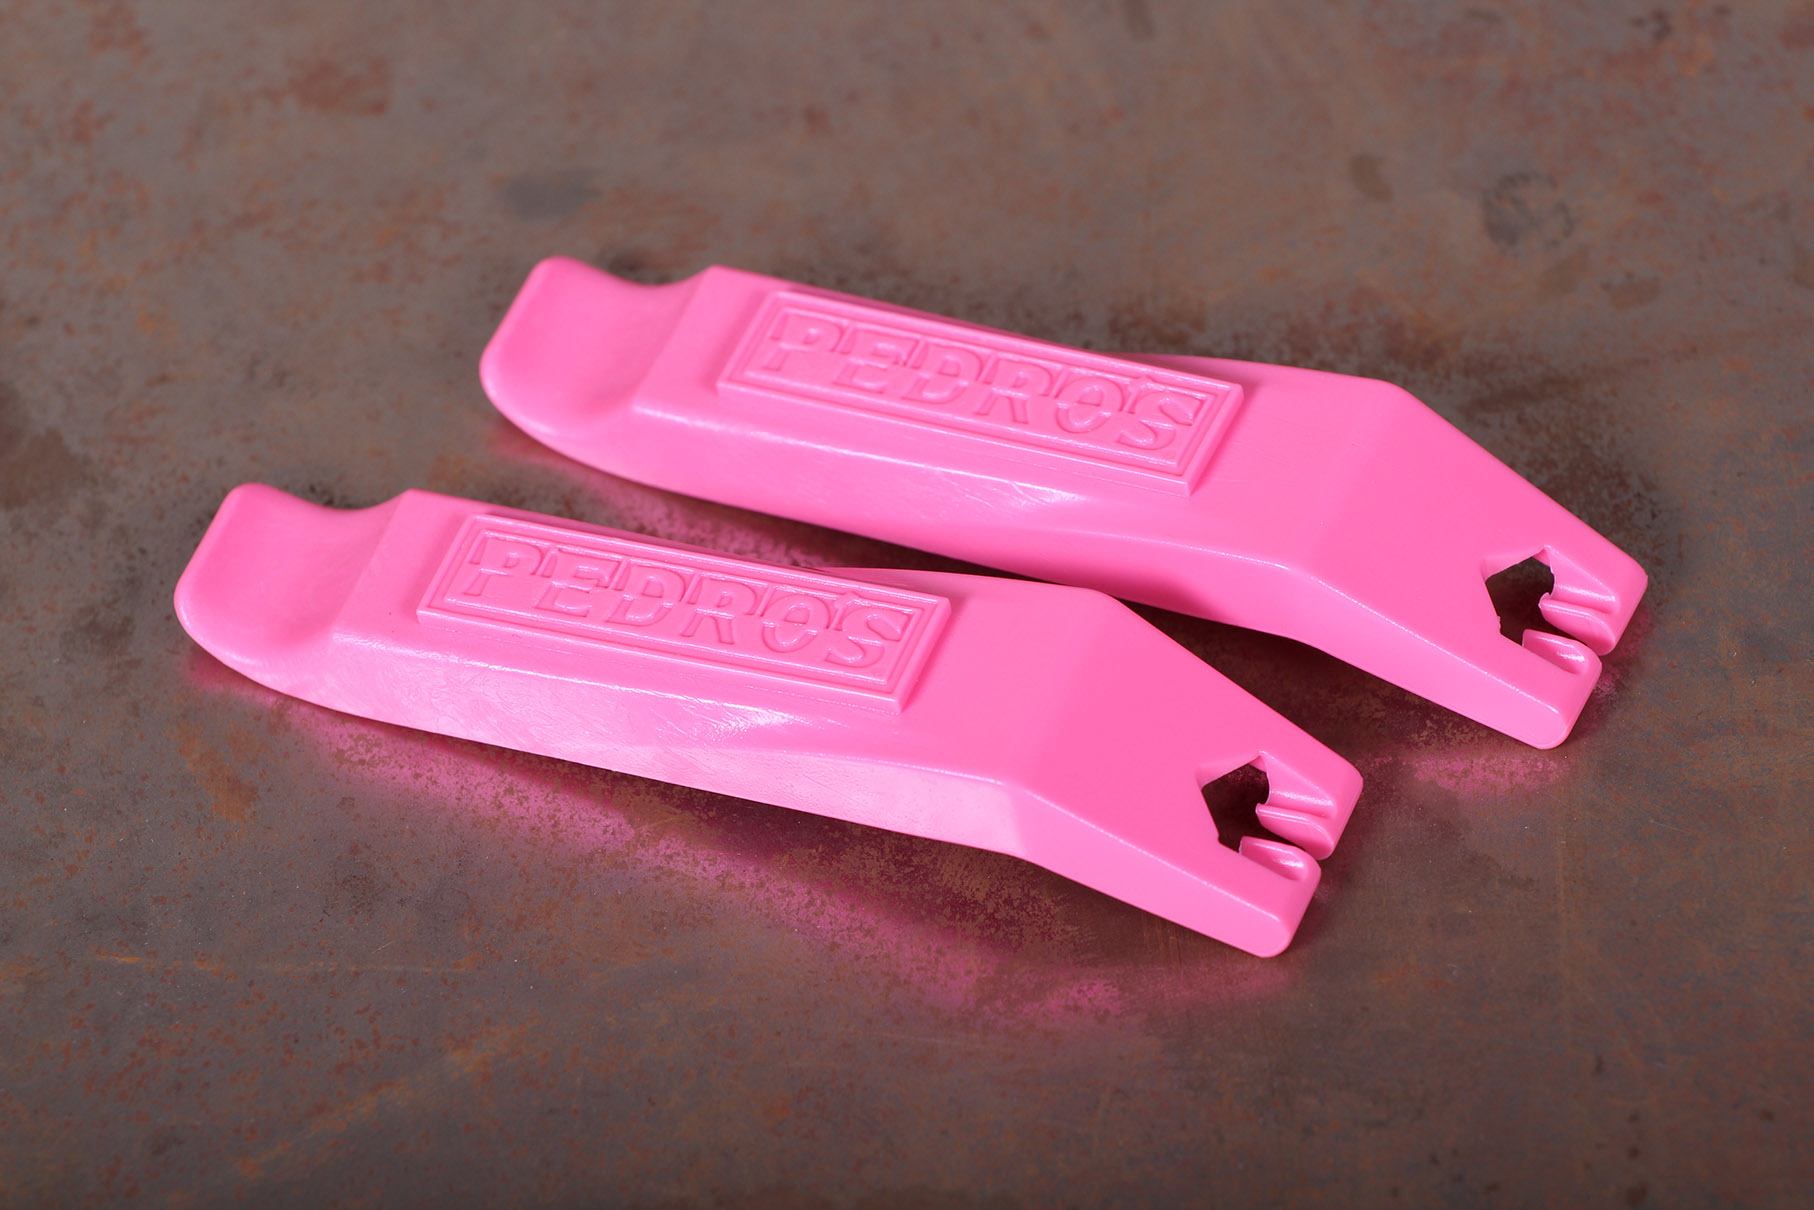
Tubeless tyres can be a tight fit on tubeless rims and a set of strong tyre levers is essential for any roadside tyre removal.
A good set of levers is this set from Pedros. They’re brilliant, you don’t need to look any further.
Just remember to push the bead of the tyre into the central rim well as this will make it as easy as possible to remove a tricky tyre.
Glueless patches
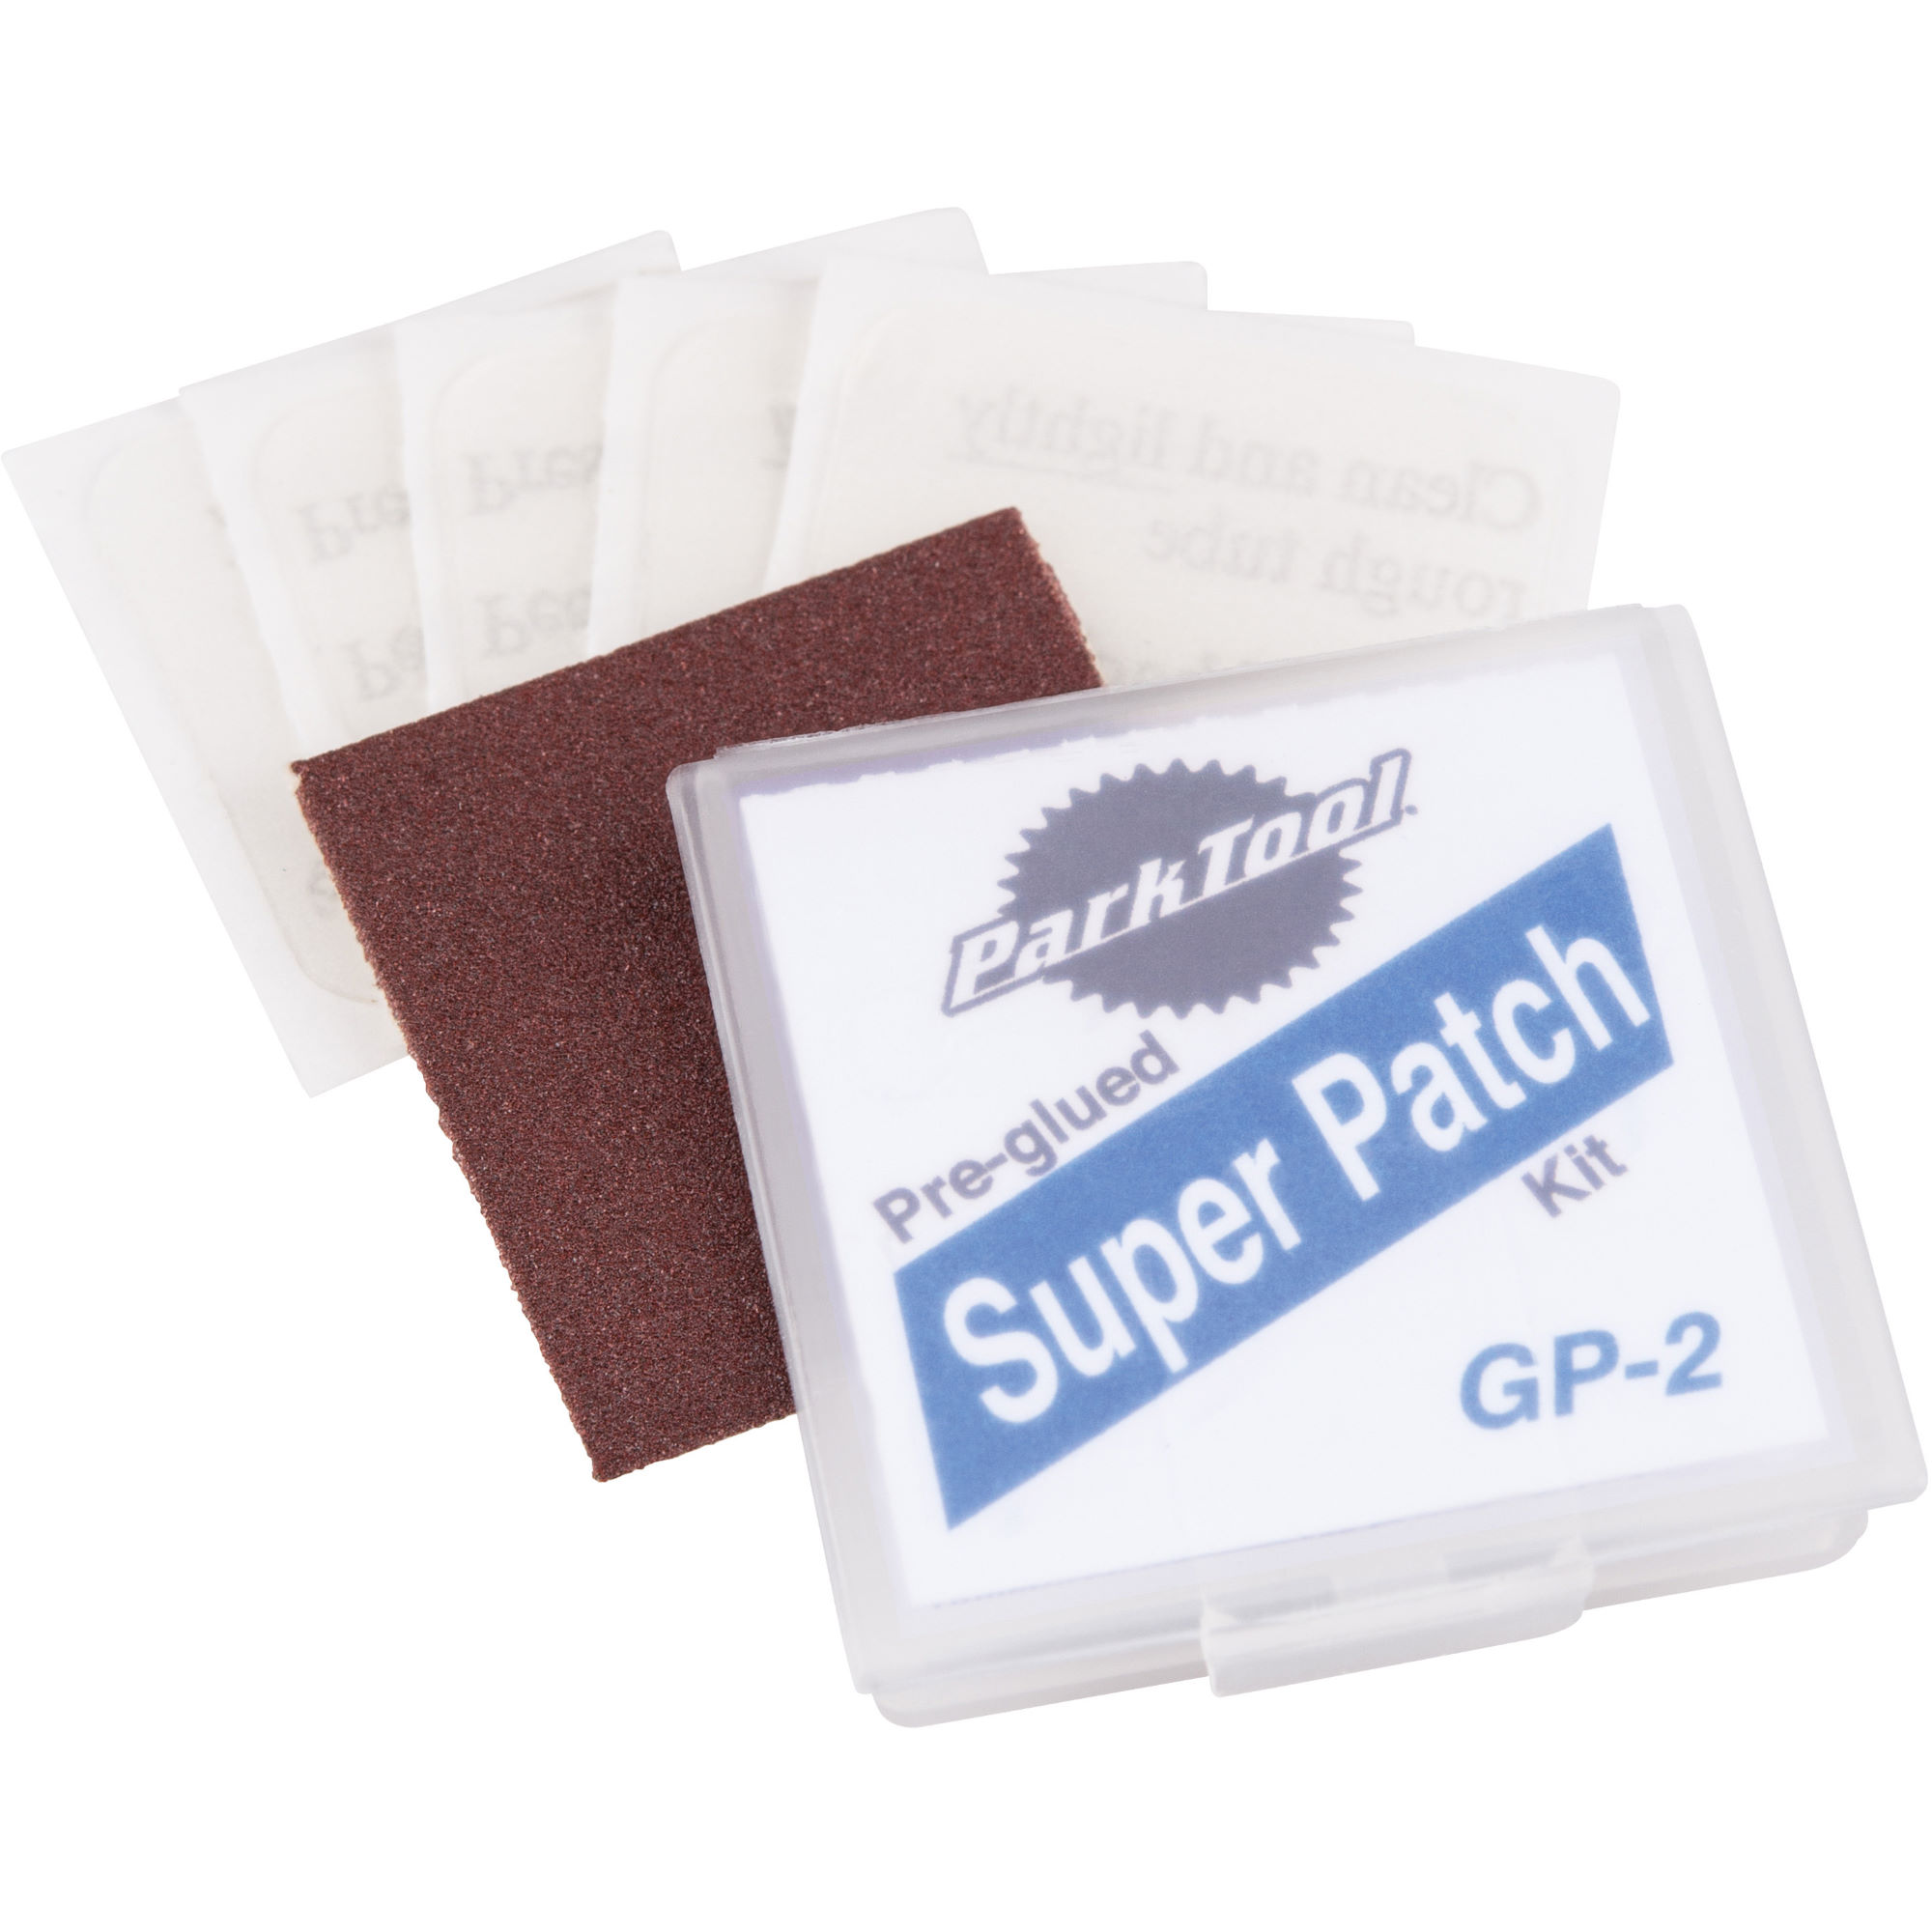
You might have spent many a happy evening repairing punctured inner tubes over the years, but unlike a traditional patch kit, glueless patches don’t require glue. Whatever could have suggested that?
This is one for an extreme case where you’ve had to throw a tube into your tubeless tyre due to a puncture that won’t seal, and then you’ve punctured the inner tube further down the road. This small kit beats carrying a second inner tube.
The idea of a glueless patch is that you can do a roadside fix of a punctured inner tube without the mess of glue and the time required for it to cure.
To use these, you’ll need to remove the punctured tube and find the hole. Then use the small piece of sandpaper provided to prep the area around the hole for the patch. Once this is done, stick the patch in place, pressing firmly with your thumb to create a good bond.
> Park Tool makes a good glueless patch kit and it is quite cheap too.
A tyre boot

Sometimes, you’ll ride over a sharp object that slashes the tyre. It’s really annoying because that is likely going to require a new tyre when you get home, but firstly, you need to get home. It’d be useless putting a tube in a slashed tyre as the hole would cause a blowout and this is where a tyre boot comes in.
Unseat the tyre and pop it off the rim at the site of the slash. Then place the boot inside between the tyre and the inner tube, making sure to cover the entire slash. Put the tyre back on the rim, doing your best to keep the boot in place. This can take quite a bit of fiddling, so it might take a few attempts.
Once you’ve got the boot in the correct place, you can inflate the tyre as normal, but be aware that this is a fix that will get you home. Replace the tyre before your next ride.
There are loads of good boots on the market. We love Park Tool’s offering, but you can always just carry a section of an old toothpaste tube or a fiver. If you choose the fiver option and it doesn’t work, you can always spend it at the nearest cafe while you wait for a lift.
A tube
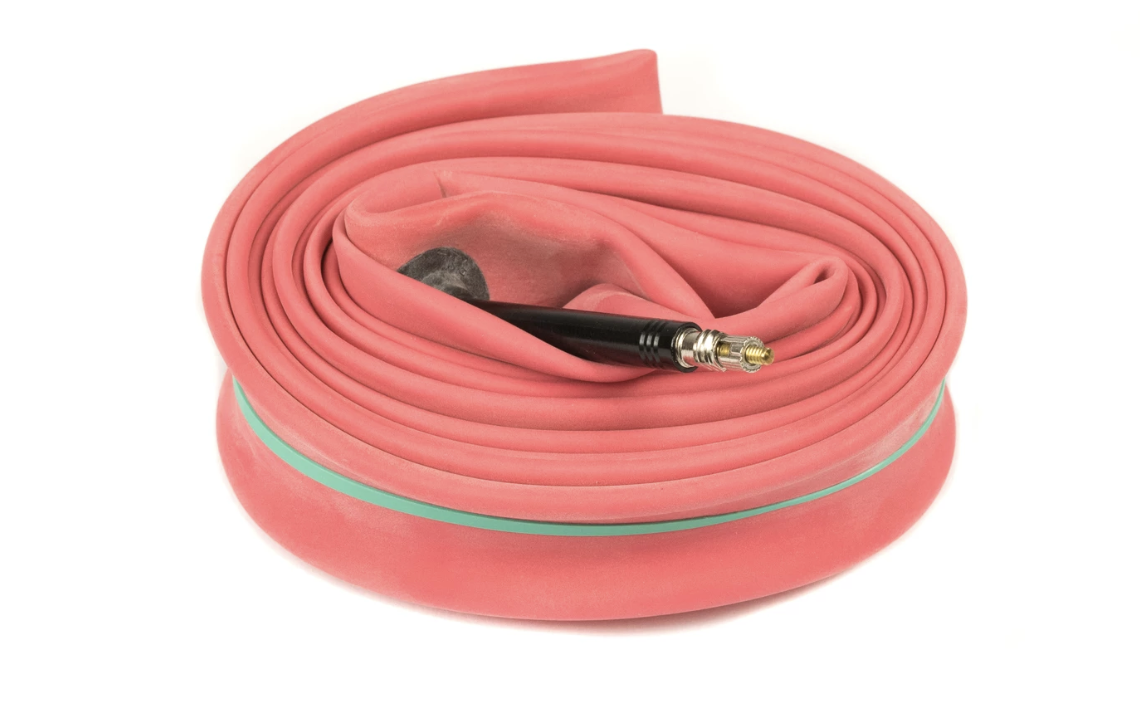
Several of the tools in this list rely on you carrying a spare tube. Ensure that the one you have is correct for your wheel and tyre size. And don’t forget to ensure that the valve is long enough for your rim depth.
A multitool
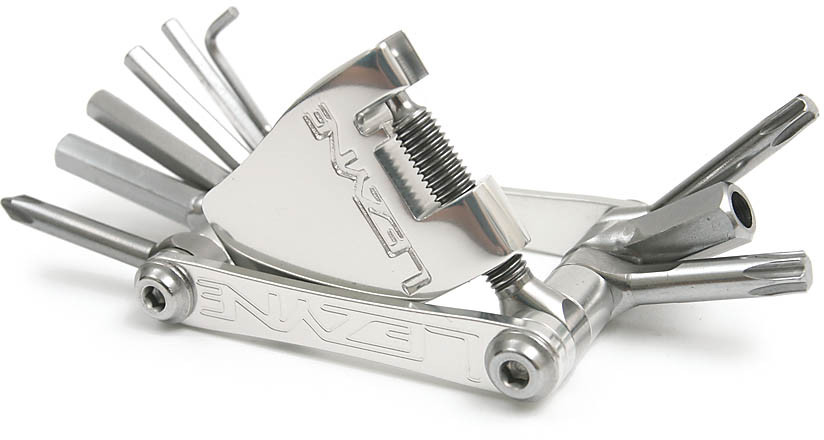
Lots of modern road bikes use a thru-axle system to hold the wheels in place. Many, for tiny aero gains, don’t come with a lever attached, so to allow you to remove your wheel, you’ll need to have a multitool that features the correct Allen key for your axles.
Multitools should also cover the rest of the bolts on your bike, so a range of Allen keys from 2-10mm, a JIS/Phillips head screwdriver, a small flat head screwdriver and a selection of Torx keys will do the job for most. We also like to get a multitool with a chain breaker, though you may wish to do without this if you use quick links.
> The Lezyne SV10 is still brilliant, even 13 years after we reviewed it.
Well, that is our complete list of what we’d recommend for riding with tubeless tyres. It seems like a lot, but really, our list would be very similar for tubed clincher tyres, just without the plug tool.
You are going to need to keep all of this somewhere, so why not check out our buyer’s guide to saddle bags.
Is there anything that you take with you to help with tubeless troubles? Let us know in the comments section.


13 thoughts on “The 8 essentials to take with you when you use tubeless tyres”
Just to add – if your ride’s
Just to add – if your ride’s long enough, some spare sealant in a little squeezy bottle is always handy for insurance. Hardly an essential, but you just Never Know.
I have left a bit at work,
I have left a bit at work, just in case…
I bought a three pack of 2 oz
I bought a three pack of 2 oz (59 mL) bottles of Stan’s, and have one in my tool kit. I’ve had them over a year and haven’t opened one yet. They should last a long time as long as I don’t break the original foil seal.
Quote:
Perhaps because you’ve neglected to include a link to it?
the only thing on the list
the only thing on the list which is tubebless specific is the plug – everything else you should be taking on any ride on any bike…i know the last paragrpah says this but it also undermines its own premise…
Greetings from Norway!
Greetings from Norway!
Good points, Liam.
However, you seem to overlook what in my experience may be the most important item to bring when riding tubeless, pump aside.
A mini-bottle of sealant.
In case of a puncture that the sealant in your tyre does not fix immediately, perhaps with loss of sealant, the first thing to do is to refresh the sealant. Preferably with heavy duty sealant like Orange Seal or similar. In all but one case of tubeless puncture my cycling buddies and I have experienced, fresh sealant and a shake did the trick.
Before even thinking of using a plug or – God forbid – a tube, unless we’re talking a major hole or slash, always refresh the sealant.
If you don’t believe me, listen to your colleague Felix Smith at Bikeradar or Russ Roca at Path Less Pedaled. Well, maybe you don’t need the bear spray.
Oh, vthejk has already made the point. So, yes, what he said.
As for the valve tool needed to refresh the sealant, this is conveniently included in some pumps, like the Blackburn Core.
I’ve decided not to carry a
I’ve decided not to carry a tube, levers and patches. No way I’m getting my Conti GP5000’s off at the roadside.
Plug kit, CO2 cans, and minipump. And the number of a friendly taxi company.
Anyone got a good tip on a
Anyone got a good tip on a minipump? I had a puncture the other day that mostly sealed. I stuck a dynaplug in and all was good. Tyre was a little bit soft so decided to use my minipump rather than CO2. screwed pump on valve stem, pumped it up, unscrewed pump, inevitably also unscrewed valve from valve stem. Tyre then completely flat and to use CO2. Is there a good minipump that pushes on to the valve rather than screws? mine is a Leyzyne. Good pump but screw on seems bad.
Anything by Topeak with a
Anything by Topeak with a thumb lock.
Lezyne pumps look good though…
Screw-on is excellent and
🙂
Screw-on is excellent and keeps everything in its place when you’re pumping roadside in pouring rain in the dark, or in soggy gravel or dirt on that weekend adventure you’ve been dreaming about.
Just as long as your valve is not loose. It’s not supposed to be.
As mentioned below, a valve tool is conveniently included in some pumps, like the elegant Blackburn Core. This means no more loose valves, because you’ve already used the valve tool to tighten them. And the option of easily refreshing your sealant through the valve before having to resort to Dynaplug.
Had another tubless tyre
Had another tubless tyre nightmare on the weekend.
Hit a big old flinty stone on the gravel bike which cut a ~10mm, ‘V’ shaped hole in the tyre.
I ended up shoving four separate plugs into that hole, of which two I managed to grab the end, and shove it back through the hole again.
Still air was leaking notably. I gave up at this time and set off home, stopping every couple of minutes to top up the air.
Anyway, after a couple of stops, I took another look and realised that the main hole had infact sealed, however there was a second hole, very close to the rim edge that was actually the cause of the continuing air loss. This hole looked emminently sealable to me, alas the sealant just wouldn’t do its job.
Can only think its position meant that sealant struggles to get to the hole in sufficient amounts, or the position just doens’t work for sealant. Really irritating!
So two questions come to mind…
1. Has anyone else struggled with holes near the rim?
2. Has anyone ever dabbled with taking needle and thread out with them on the bike, for larger / more troublesome holes?
Jimmy Ray Will wrote:
1) Not personally, but I’m not surprised – on a spinning wheel the sealant will be spread over the outer surface (i.e. tyre tread area), and when you stop it will simply pool at the bottom. Did you try lifting the bike/wheel and trying to position the hole so that sealant would naturally pool in that direction?
2) Nope…
Jimmy Ray Will wrote:
I wasn’t tubeless at the time, but I did sew this one up until I got a new tyre. This slit was big enough that a tube would blister out of it and go bang! I rode at least hundreds of miles on this repair.