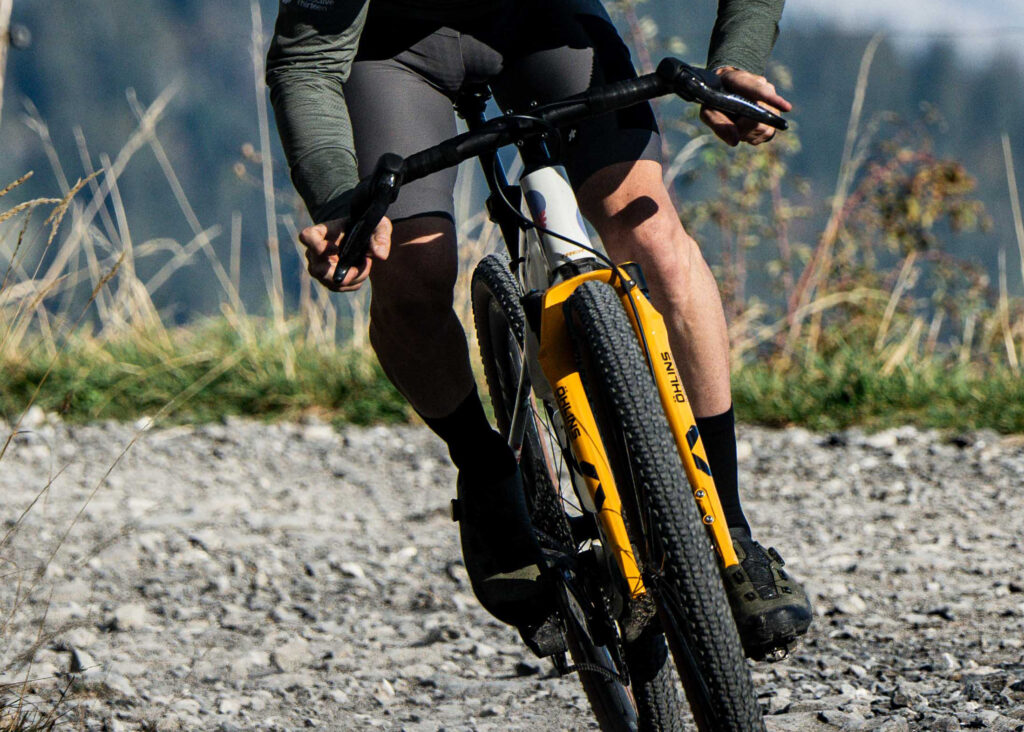


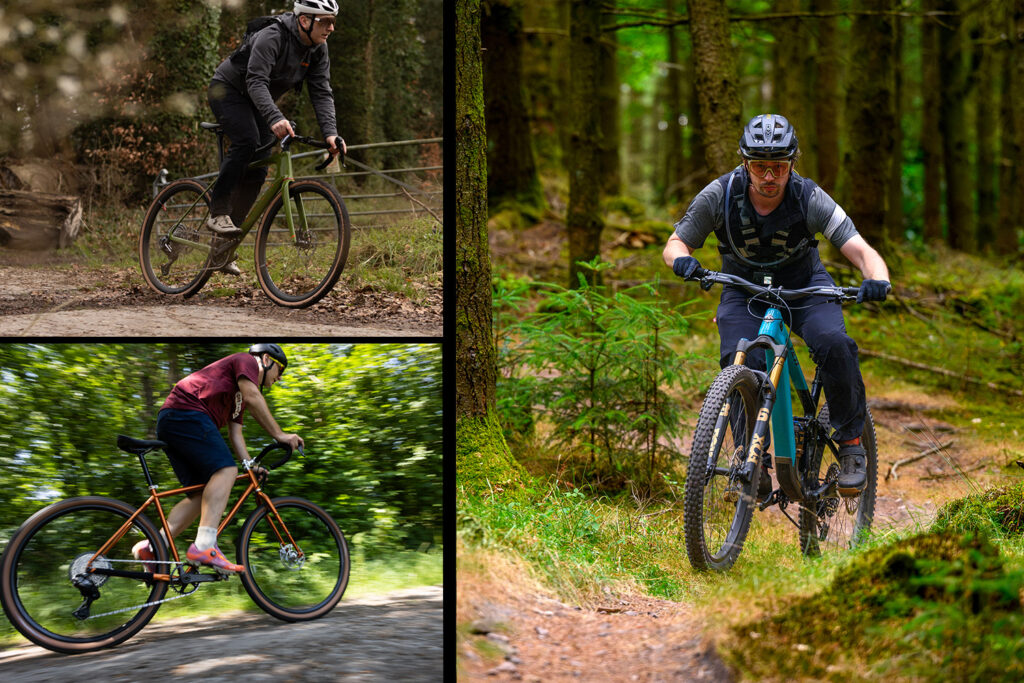

Although riding a gravel bike may revolve around curly handlebars, skinnier tyres, and ever more racy geometries, it has a lot more in common with mountain biking than you might think. Both share somewhat similar terrains, and with that, a lot of techniques and methods developed on mountain bikes transfer surprisingly well. Here are some tips gravel riders can learn from MTBers.
Look ahead
When tackling technical terrain, it’s all too easy to let your eyes and vision wander towards the front wheel. It happens very naturally, even for the most experienced riders when faced with scary-looking tracks, but it severely limits your reaction time, as you’ll only be reacting to what you can see – the stuff that’s just about to hit your front wheel.

Looking up and well ahead of the bike is the best way to keep yourself prepared for whatever challenges you’re about to face. Spotting things well in advance gives you plenty of time to plan how you’re going to approach particular obstacles, choose the best line to take, and spot certain things that you should look out for, like potential puncture points and areas of traction.
Even for the best riders out there, looking well ahead is a near-constant reminder, and it’ll unlock your riding much more than you might think.
Stay loose
All of the time, we see mountain bikers descend horrible-looking terrain with utmost flow and composure, and they’re managing this by staying loose and letting the bike do most of the hard work. And as most gravel bikes don’t roll on big squishy tyres, or don plenty of suspension travel, it’s even more important to let the bike move around.
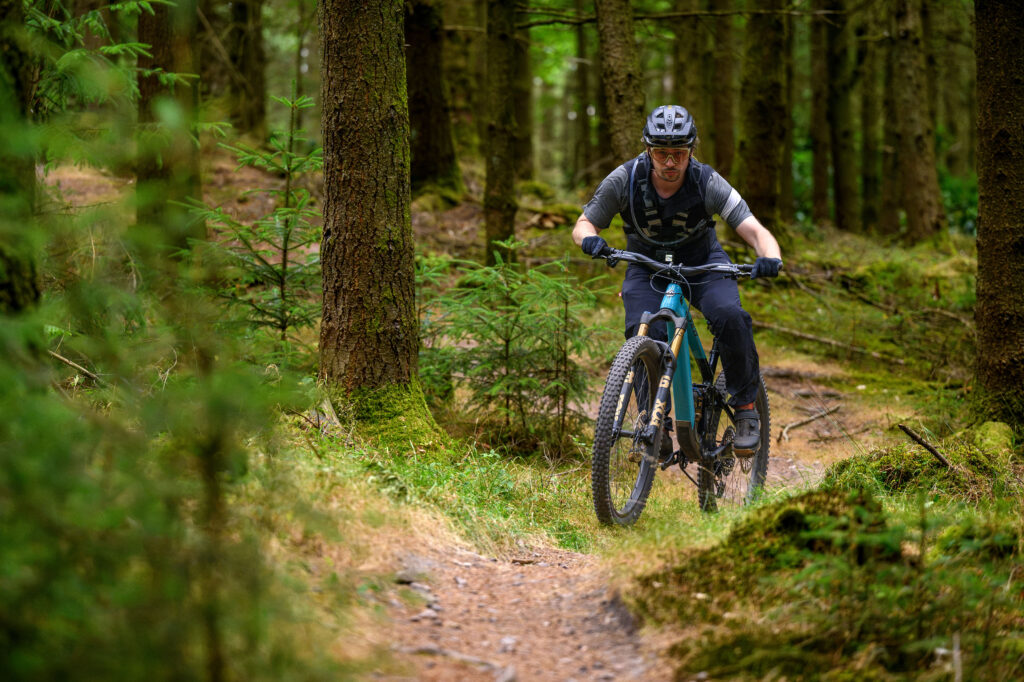
Not only is a stiff body position on the bike uncomfortable, but hitting a bump or turning a corner without allowing your body to absorb those impacts can reduce traction and knock you off balance. It can also make you feel more tired sooner into a ride.
Although a saddle sat where the sun don’t shine makes free movement over a gravel bike more difficult, allowing the bike to move underneath you helps it find traction and smoother lines more easily.
Keeping loose on the bike and letting it move around is the way to make the most of any available grip, especially when it comes to off-camber sections. It can also help you catch the bike should it lose grip momentarily, allowing you to react and adjust to moments that you least expect.
Weight distribution is key
Staying loose then presents the opportunity to adjust your weight distribution over the bike. On a gravel bike with a drop handlebar, at least, weight is typically fairly forward over the front wheel. This creates a more aerodynamic position over the bike, while promoting manoeuvrability.
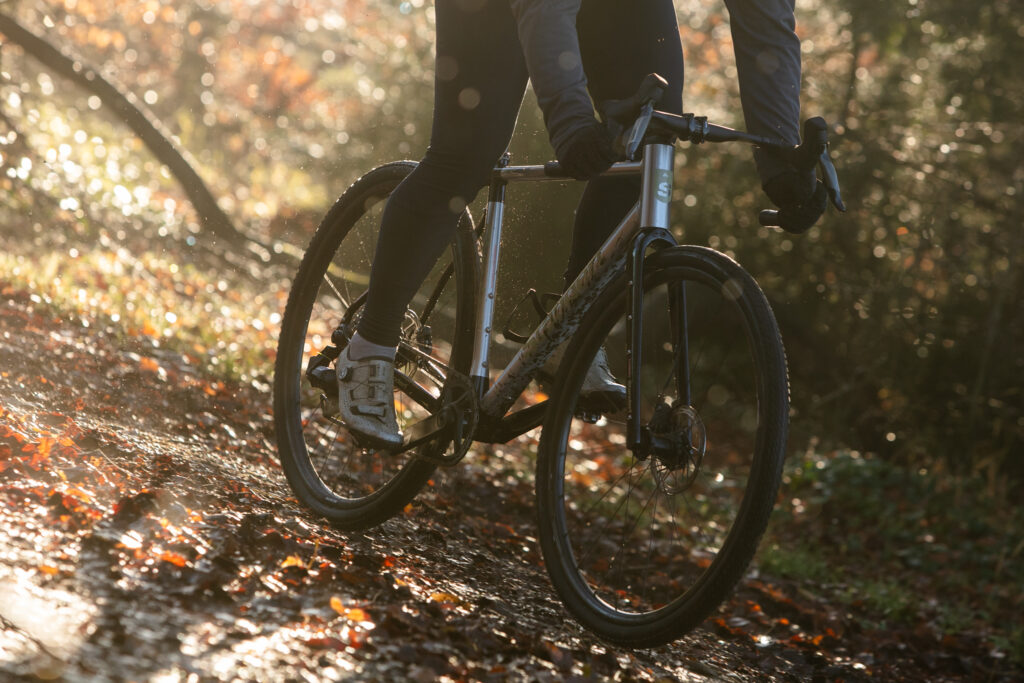
But when rolling towards more technical terrain, having all of that weight over the front of the bike isn’t always the best place to be. As the terrain undulates, so should your weight distribution. This will help you remain steady while riding, but also allow you to make the most of whatever traction is available, and encourage more solid braking.
While navigating uneven terrain, correct weight distribution could mean the difference between clearing a section or having a hard time.
Prioritise line choice: smooth is fast
It might not look like it, but every mountain biker is making snap decisions by the second as they descend a trail. Before making these very quick choices, they’re looking well ahead to recognise the available lines that can be taken, and pick which one is the fastest and safest.
For mountain biking, smooth is often fast, and that’s even more important for gravel, as impacts against roots and rocks can squash momentum surprisingly harshly.
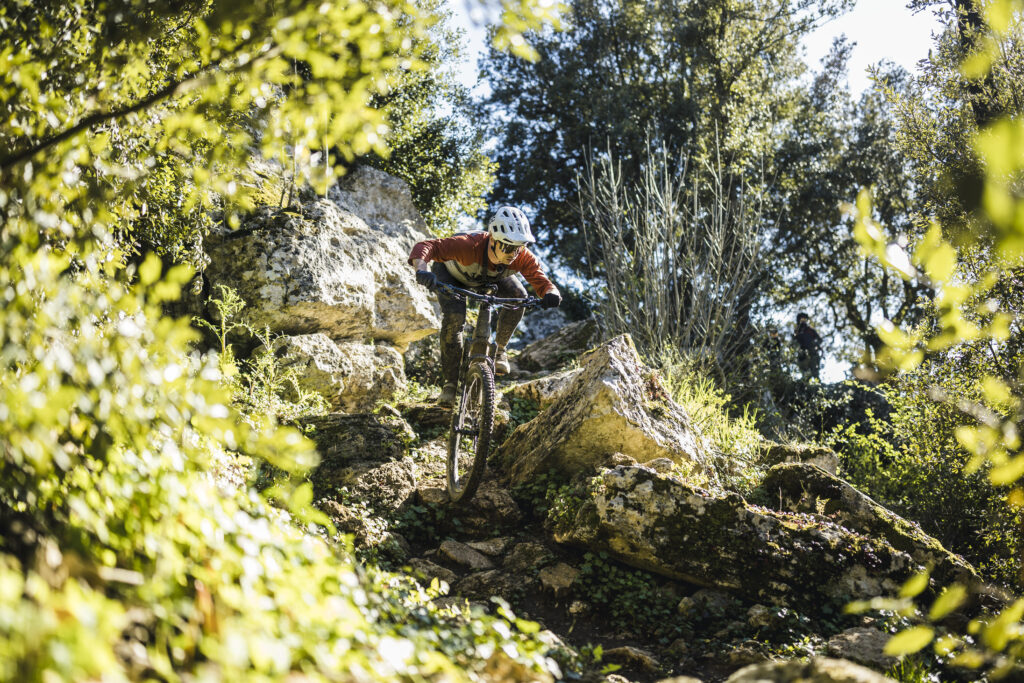
Thankfully, line choice is pretty simple stuff. Look ahead, identify the part of the trail with the least obstacles, stay loose, and stick with it. Flow like water and choose the path of least resistance.
If speed isn’t your thing, proper line choice can mean the difference between a safe and hassle-free ride and taking a tumble down the trail. Choosing the best line can also help avoid punctures and any other potential mechanicals.
Trust your kit
Mountain bikers fairly quickly develop an understanding of what their bikes, tyres and the like are capable of. Often, they’re much more capable than many would think, and the very same goes for gravel.

Only with that understanding comes a greater level of confidence both in your bike, and the kind of riding it can get up to. With mountain biking, there’s frequently a case of ‘mind over matter’ as riders commit to frightening features. Note, in that saying, there’s nothing about the bike not being up to the job.
And that’s a useful saying to carry into gravel. Trust your kit, because it can do much more than you might think at first.
Experiment through sessioning
‘Sessioning’ is a vital tool for mountain bikers, where they repeat small sections of trail in order to improve their skills and build confidence. However, it’s a small drill that’s easily forgotten.
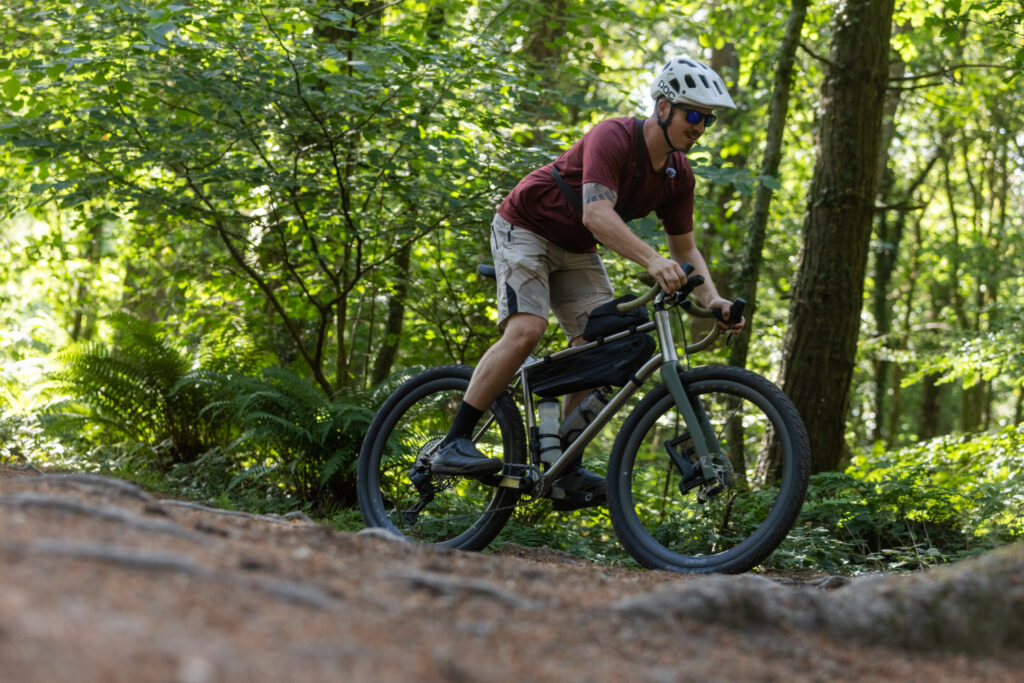
As gravel is quite a different riding style, sessioning isn’t something that really happens on your average ride, but it’s equally as useful if you’re willing to stop and put in a little time.
Find a section of track that might look a little sketchy. It might have weird patches where traction is sparse, or some weird off-camber stretches, but for a few minutes, ride that section multiple times. Learn how your bike reacts, and how you can distribute your weight, or scan the track better to build confidence and drill in some useful technique.
Judge your braking based on available traction
When it comes to braking, mountain bikers are choosing specific areas of the trail to unleash the heft of their braking power, and releasing the levers where appropriate. This allows them to slow down the most where they need it, while developing momentum and confidence where they don’t. After all, there’s no point braking in areas that aren’t grippy; you just won’t slow down, and locked wheels can result in a loss of control, especially on a gravel bike.
Although the terrain is more uniform and predictable while riding gravel, that braking method can easily be translated. Simply scan the trail, recognise areas where you can reliably predict there’s grip, and brake the most in those sections. Of course, grip isn’t always abundant, so this technique can be applied relative to the traction of the day.
Anything we’ve missed? Let us know your top tips in the comments and they might make the next update.