- News
- Reviews
- Bikes
- Components
- Bar tape & grips
- Bottom brackets
- Brake & gear cables
- Brake & STI levers
- Brake pads & spares
- Brakes
- Cassettes & freewheels
- Chains
- Chainsets & chainrings
- Derailleurs - front
- Derailleurs - rear
- Forks
- Gear levers & shifters
- Groupsets
- Handlebars & extensions
- Headsets
- Hubs
- Inner tubes
- Pedals
- Quick releases & skewers
- Saddles
- Seatposts
- Stems
- Wheels
- Tyres
- Tubeless valves
- Accessories
- Accessories - misc
- Computer mounts
- Bags
- Bar ends
- Bike bags & cases
- Bottle cages
- Bottles
- Cameras
- Car racks
- Child seats
- Computers
- Glasses
- GPS units
- Helmets
- Lights - front
- Lights - rear
- Lights - sets
- Locks
- Mirrors
- Mudguards
- Racks
- Pumps & CO2 inflators
- Puncture kits
- Reflectives
- Smart watches
- Stands and racks
- Trailers
- Clothing
- Health, fitness and nutrition
- Tools and workshop
- Miscellaneous
- Buyers Guides
- Features
- Forum
- Recommends
- Podcast
feature
 How to fit and remove cleats step 05
How to get your shoe cleats set up right — two-bolt and three-bolt positioning explained
Fitting clipless shoe cleats accurately is vital for strong healthy pedalling. All of your power is transferred through your cycling shoes, and the cleats you fit to them and into the pedals. If the cleat position is even fractionally off it can cause a reduction in power but more importantly it can cause you pain and discomfort. If you leave cleats badly adjusted you could end up with a long term injury. So, avoid all that by following these simple steps to a well adjusted cleat.
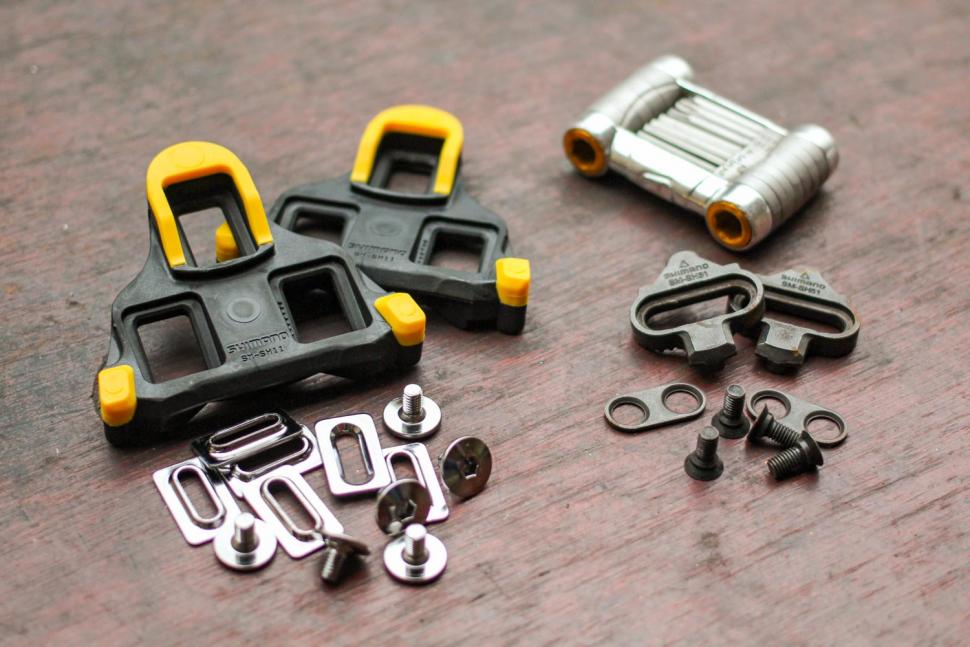
Tools and materials
Setting up three-bolt cleats (Look, Shimano SPD-SL etc)
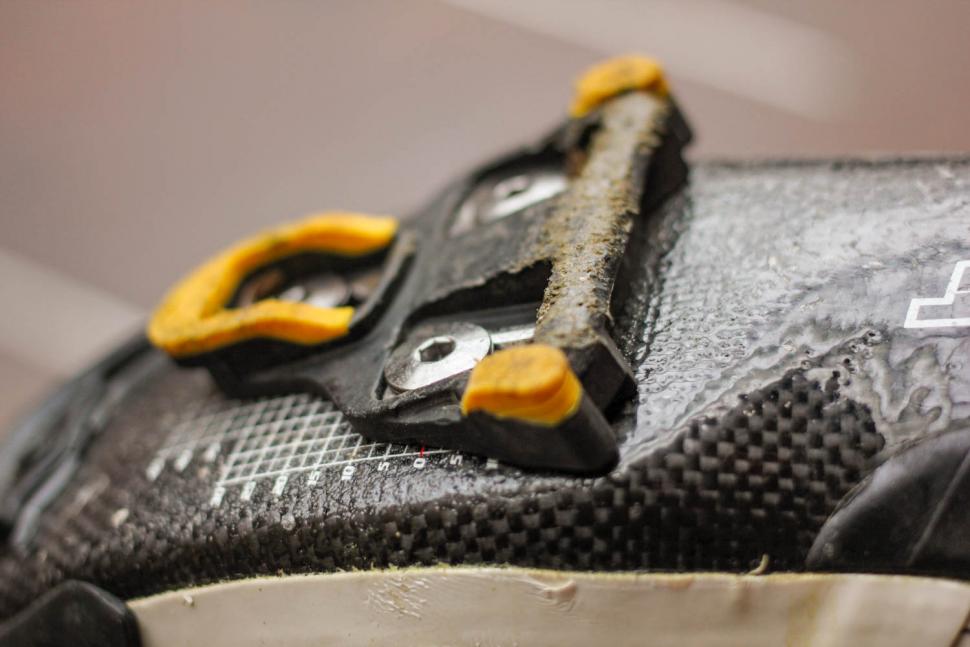
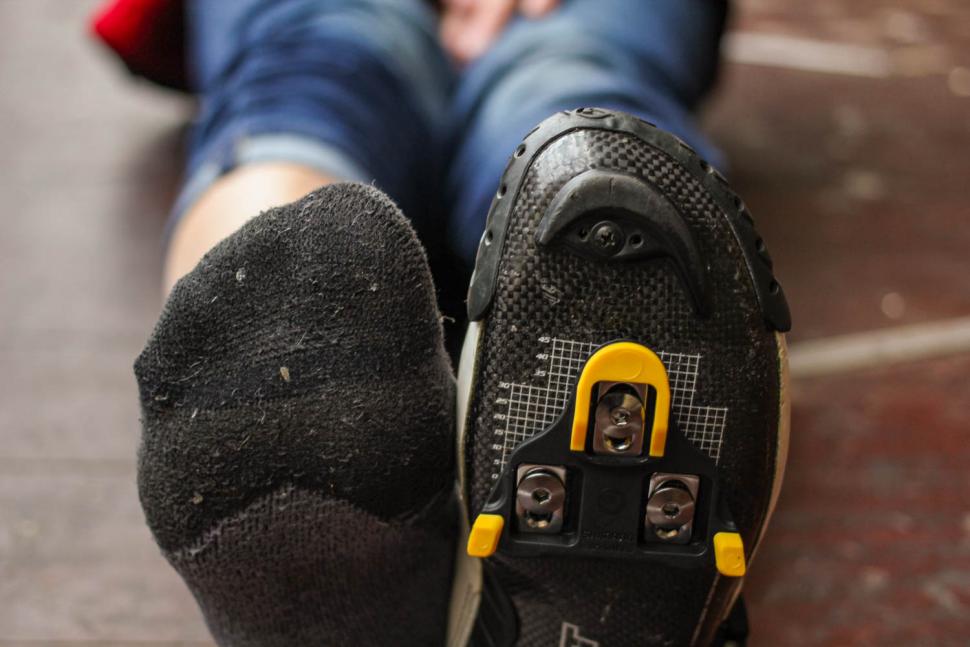
Shoe cleats wear out. Worn or damaged shoe cleats can be dangerous as they can be unpredictable in their release characteristics. The cleats pictured still have life left in them, but paying close attention and replacing in good time will keep you save and enjoying the ride.
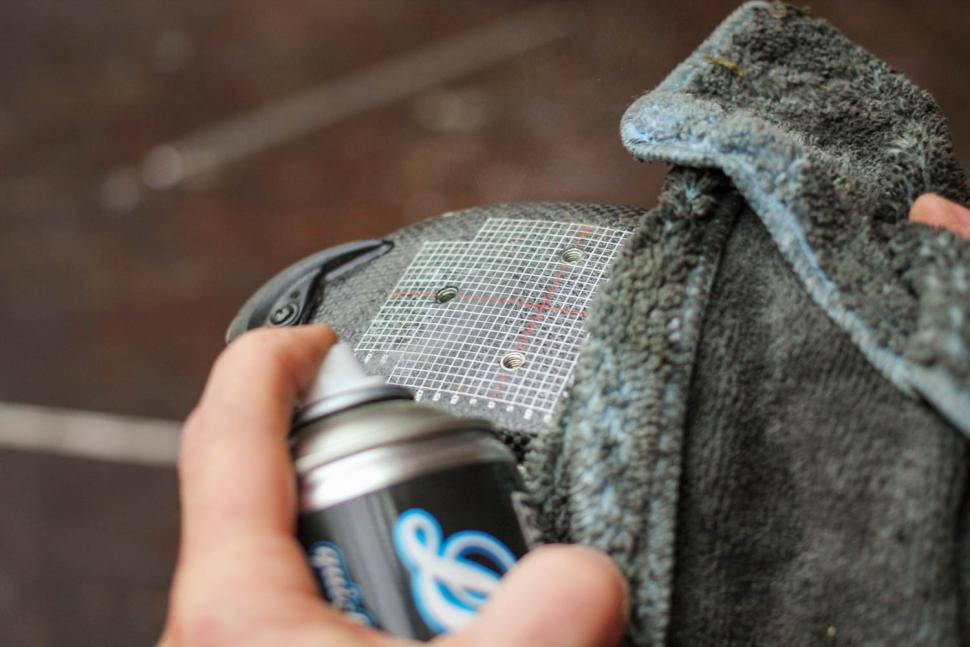
Whether your shoes are receiving their first set of cleats, or you're replacing worn ones, when you've got the bare shoe midsole exposed, give it a proper clean and degrease. Inspect the midsole for damage and the captive threaded nuts for clean threads.
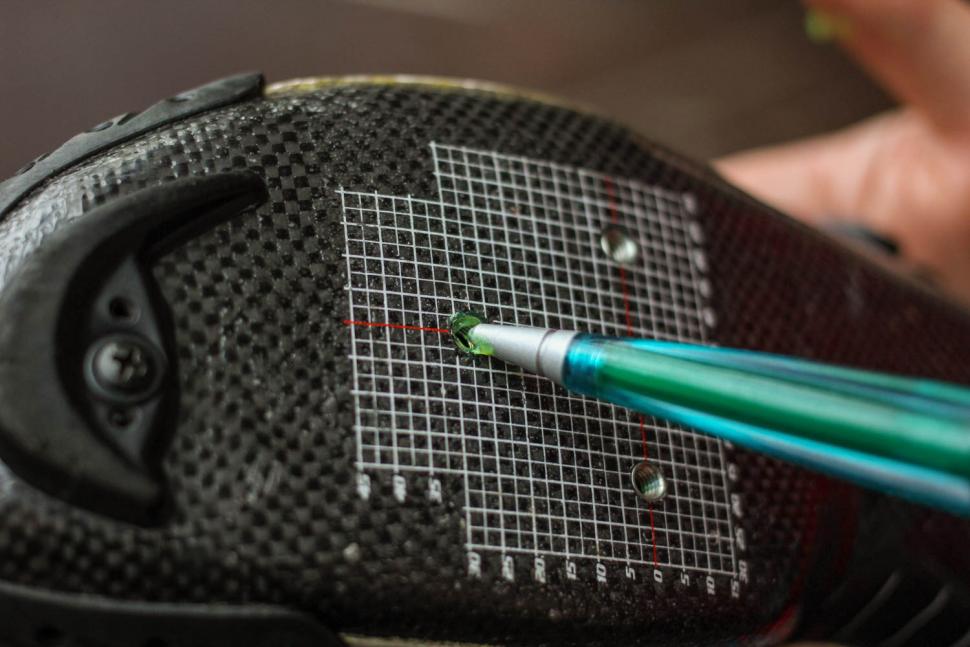
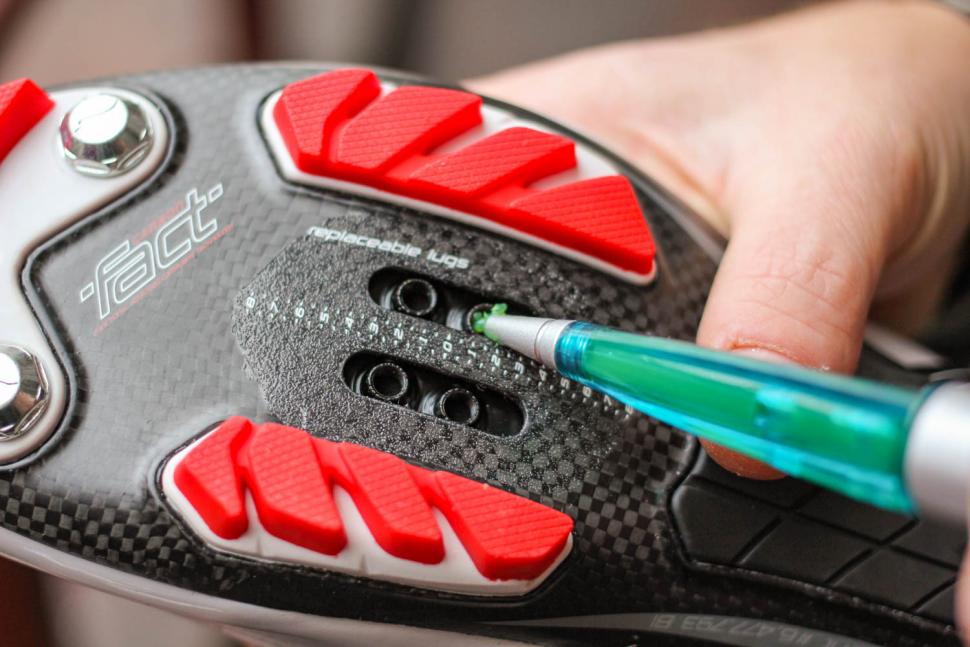
Grease the threads of the captive nuts. It's easy to rush the fitting and set them dry and forget about them. A small dab of grease helps the cleat bolts engage and really helps when it becomes time to remove the bolts when replacing the cleats in future. A needle nosed grease gun helps with accurate application of small amounts of grease.
Fit the cleat hardware. In the case of the Shimano SPD-SL cleat (in this picture) this means the three oblong slotted washers and the three domed head bolts. Do them up tight, but not screamingly so, you want them to be firm enough to engage and disengage carefully - without moving, but you're likely to need to make an adjustment or two before finding the 'sweet spot'.
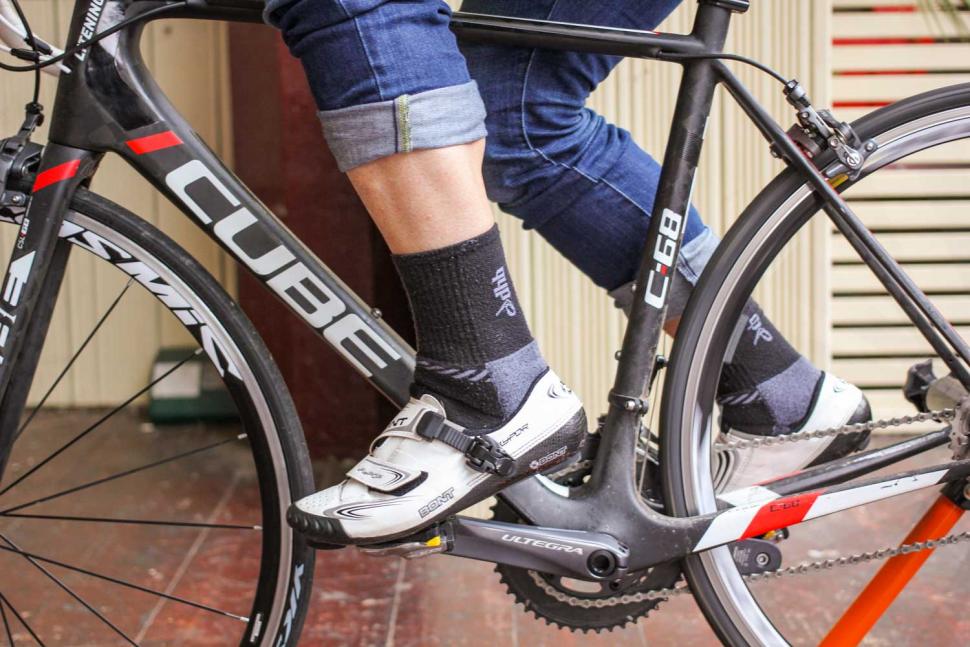
As a basic rule of thumb, you're looking to position the shoe cleat so that it's centre point is just inboard of the ball of your big toe. Laterally, the front (tip) of the cleat should follow the line of your middle toe. These are good starting points for basic cleat positioning on a new shoe. Naturally if you're replacing cleats on shoes where you've already achieved good cleat position, use the marks they've left on the outsole as guides for the new cleat.
There's not substitute for riding to feel what changes need to be made to the cleat position to work effectively with your specific biomechanics. We use a turbo trainer for safe, repeatable pedalling when we set up shoe cleats. It allows us to pedal and keep looking at our feet and concentrating on feel without coming to harm from traffic we didn't see. If you don't have a turbo trainer, use a quiet piece of road that is free from traffic and pedestrians. You also might want to reduce the spring tension on the pedals to help make entry and release easier while your homing in on the perfect cleat position.
Unless you're very lucky, it's likely that you'll need to make a small positional adjustment or two. A millimetre here or there or half a degree of rotation can make all the difference to your pedalling action, comfort and power output, which is why we didn't do them up massively tight in the first place.
When you've tweaked and retested the new cleat position and are happy that it's perfect, give the cleat bolts a final tighten. Take care not to damage the bolt heads. Now you've got your cleat position dialled, take a permanent marker and draw around the cleat. This will mean future cleat swaps should take seconds and require no further positional work.
Setting up two-bolt cleats (Shimano SPD, Crank Bros etc)
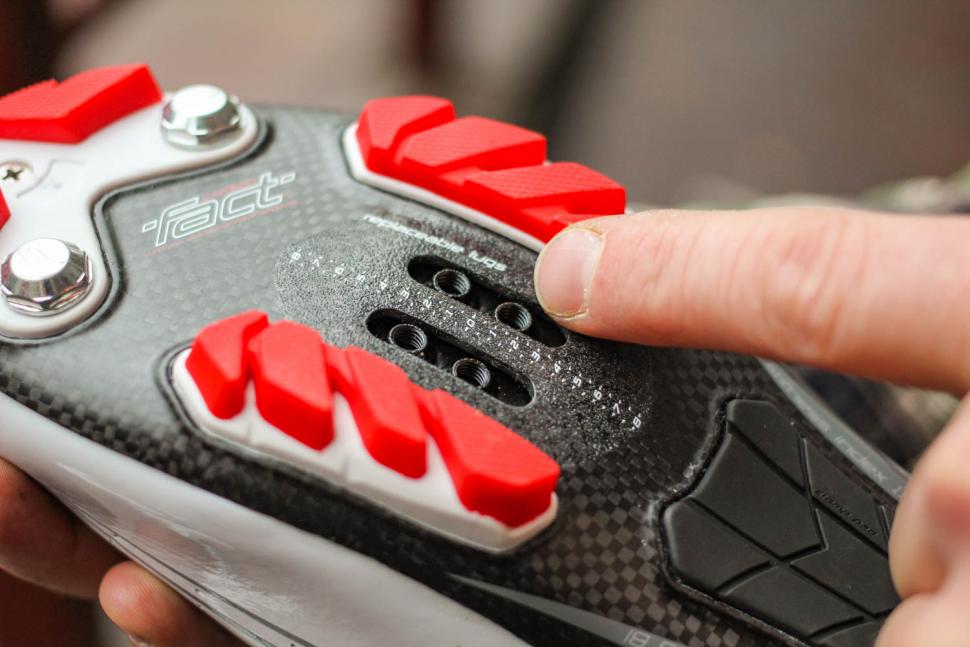
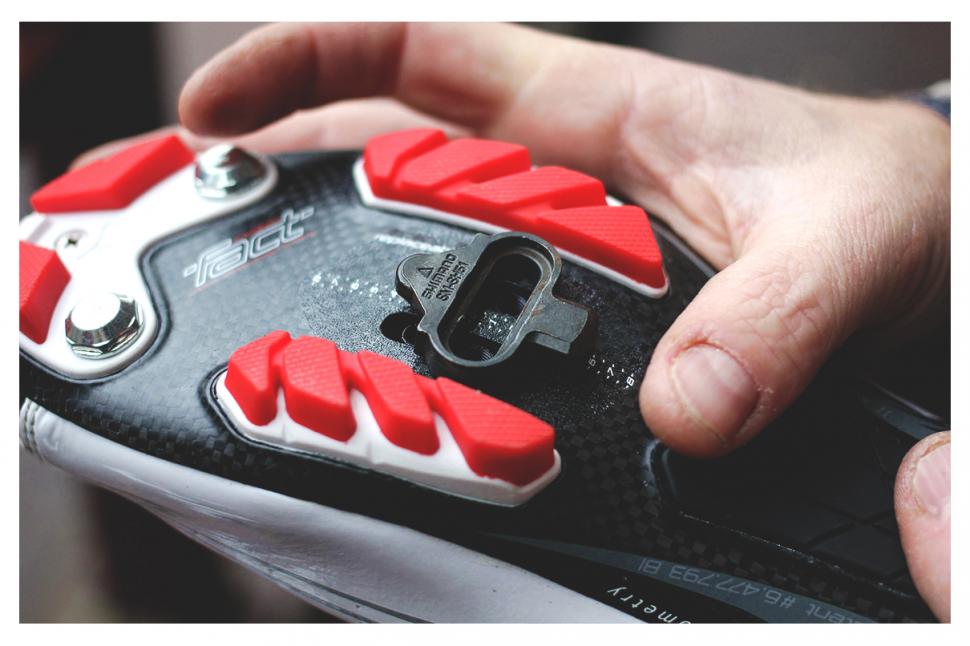
Twin bolt recessed cleats have two pairs cleat bolt location options - fore and aft. Which you use will depend on your personal pedalling style and biomechanics, generally most riders we know use the rear ones to place the centre of the cleat just inboard of the ball of the big toe, as per the road cleat advice.
As with the three-bolt road pedals we've just looked at, grease the threads of the captive nuts. This will mean you're using less force to do them up. They'll do up tighter, but more importantly, especially if you end up riding cross, gravel or going mountain biking they'll undo when it's time for replacement. Even though they're steel and not plastic, they'll wear out eventually, creating a vague and inconsistent entry and exit, and a rattly and loose feeling in use.
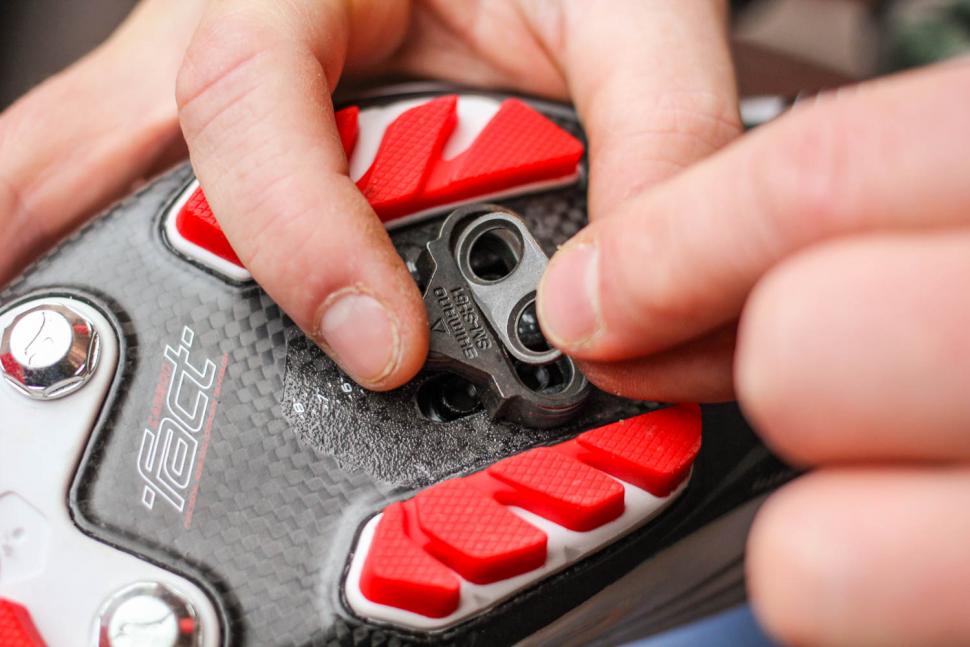
Present the cleat to the outsole. Use your knowledge of how your foot prefers to sit on the pedal to make the basic positional adjustment.
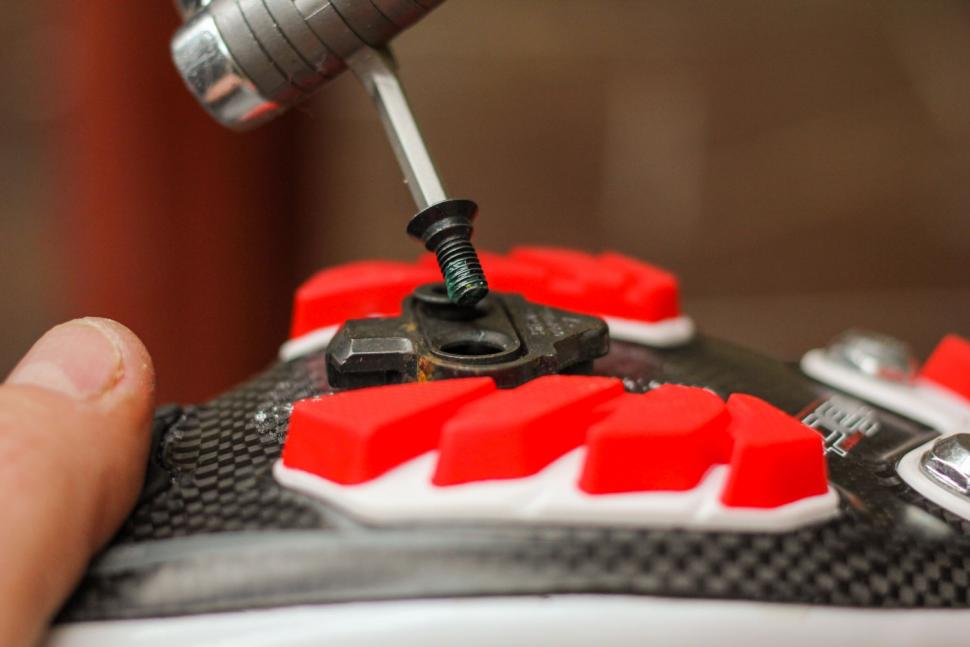
Next to fit is the bolt retaining plate. This has countersunk fittings to allow the Y shaped bolt heads to fit flush into the cleat body. Make sure you get it the right way up.
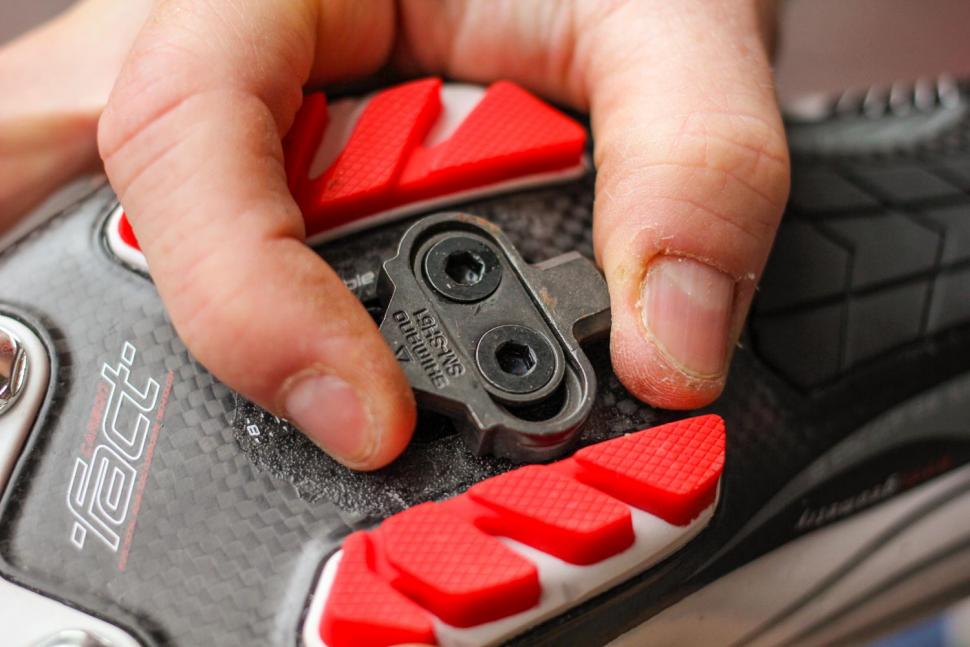
Fit the two cleat bolts. Use a 4mm Allen key - with a good fit to the bolt head - and note that you'll have to slightly counter tighten the twin bolts to achieve an even torque to each bolt. Take extra care if setting up Crankbrothers cleats, as in our experience the bolts heads are softer than Shimano's and therefore easier to knacker with worn 4mm Allen keys.
The two-bolt cleat has a range of lateral positional adjustment. As you go through the same adjust - test ride - adjust process as the three-bolt cleats you can also adjust the shoes proximity to the crank arm.
The rest of the fitting, adjust, ride, readjust and final lock down procedure for the twin bolt style of cleat is as described for the three-bolt cleats.
Latest Comments
- chrisonabike 26 min 22 sec ago
Road safety has improved pretty much everywhere since the 1970s (even the US) and significantly so. In fact, lots of places show a pronounced fall...
- bensynnock 1 hour 33 min ago
201 Do not reverse from a side road into a main road. When using a driveway, reverse in and drive out if you can. It isn't difficult.
- ChrisA 2 hours 4 min ago
Just seems like a general lack of consideration; less regard for (what were) social norms - everything from rubbish to rubbish driving....
- Jakrayan 2 hours 16 min ago
By the same token, if you were a doctor working in the A&E department of a London hospital, what would you say to the parent of a child...
- dh700 2 hours 21 min ago
Not with the materials that are used in bicycle construction. In order to make a double-triangle frame vertically flexible during use as a bicycle...
- mdavidford 2 hours 42 min ago
This is going to give cross people something else to hang their crossness on.
- Rendel Harris 3 hours 3 min ago
You are Marcus Wallmeyer and I claim my €5.
- RedJohn 3 hours 45 min ago
You're kidding, they've reinvented toe clips and straps 🤣
- David9694 4 hours 8 min ago
Drivers will no doubt be working their way through their usual set of excuses why there can't be a 20 mph limit, but why - in the absence of any...
- Spangly Shiny 4 hours 51 min ago
Was never on the CW forum, but now that the BikeRadar forum has folded there may just be a few inflatables migrating from there in the near future.


Add new comment
7 comments
With 2 part Look cleats you can remove one part at a time and replace it, thus ensuring that that position doesn't change. Hence no need to mark the position with a spike or marker pen or TippEx etc.
Obviously this assumes you can get the position correct in the first place...
If you ride a lot then I’d highly recommend getting your shoes fitted by a professional - from the shoe itself, to the insert, the cleat position and rotation.
Also, as I found was needed for me, cleat wedges - thin tapered plastic inserts that sit between the cleat and the shoe - that will affect the vertical rotation of your foot and/or lift one foot as our bodies are a bit asymmetric.
I had insoles made for me and they make the shoe so very comfortable and fit exactly to the shape of my foot, arch etc. Bliss.
Somewhere like BikeScience, was in Bristol now located in Dursley, are great. An excellent investment, especially when you splash out on a decent pair of shoes.
TypeVertigo was right, 11 hours ago, and remains so. The article is also very lite. There is no mention of float, the advantages and disadvantages of SPD-SL and SPD, the ideal angle and how that varies with things like ride and age, fore aft cleat position, speedplay, or even Look, swapping cleats for improved longeivity, cleat protectors, built in obsolescence, or Chinese alternatives.
My SPD once lost a screw, on the way home fortunately! I needed a screwdriver to prise my foot free! I now use some thread lock compound to stop that happening again. Haven't worked loose since.
Why didn't you just take the shoe off first?
The three-bolt system is "SPD-SL" while the two-bolt system is simply "SPD."
SPD-R is a discontinued cleat standard...while SPD-M, I have no idea where that one came from.
Its always worth setting the torque on the cleat bolts with a torque wrench once position is finished
Not to stop cleats moving, but to prevent damage to the mounting hardware, especially on carbon fibre soled shoes
Shimano recommend 5-6nm on their cleat bolts. Its very easy to overtighten the cleat bolts when using a hand tool
I like using a tippex-style white correction pen for marking cleat position, making it easy to replace cleats in identical place. Also works great for semi-permanent marking of seat post height, saddle fore/aft on rails and stem rotation (you can get the tippex off if selling bike bike)