

If you’re a cyclist that likes to explore new areas then Komoot is a great tool to help you do just that. Let’s take a closer look at how to get set up on the platform and create your first route.
If you’re not familiar with Komoot then it’s an app that lets you find, plan, and share adventures with the easy route planner. Komoot says that its mission to inspire great adventures, making them accessible to all. It’s a community of outdoor enthusiasts where you can find routes, plan them, share them with your friends and ride them, using either your smartphone or a compatible GPS device. In this guide we’ll take you through the process of setting up an account, planning a route and getting it to your phone, ready to ride.
Getting up and running on Komoot is pretty simple. But if you have any questions about the app or how it works, stick them below and we’ll do our best to point you in the right direction.
If you’re new to Komoot use our road.cc voucher code to get an offline region map bundle for FREE. Head to Komoot and enter the code ROAD*KOMOOT. Valid until 31/12/2021
To use Komoot, you’ll first need an account. That gives you somewhere to store the routes you’ve planned, and somewhere to share the rides you’ve completed too. Getting an account is easy. Just head over to the Komoot website or download the app and click on the big ‘sign up or log in’ button on the home screen. You can sign up with an email address – that’s what we’re doing here – or you can use your Facebook account or Apple ID to get your account set up if you prefer.
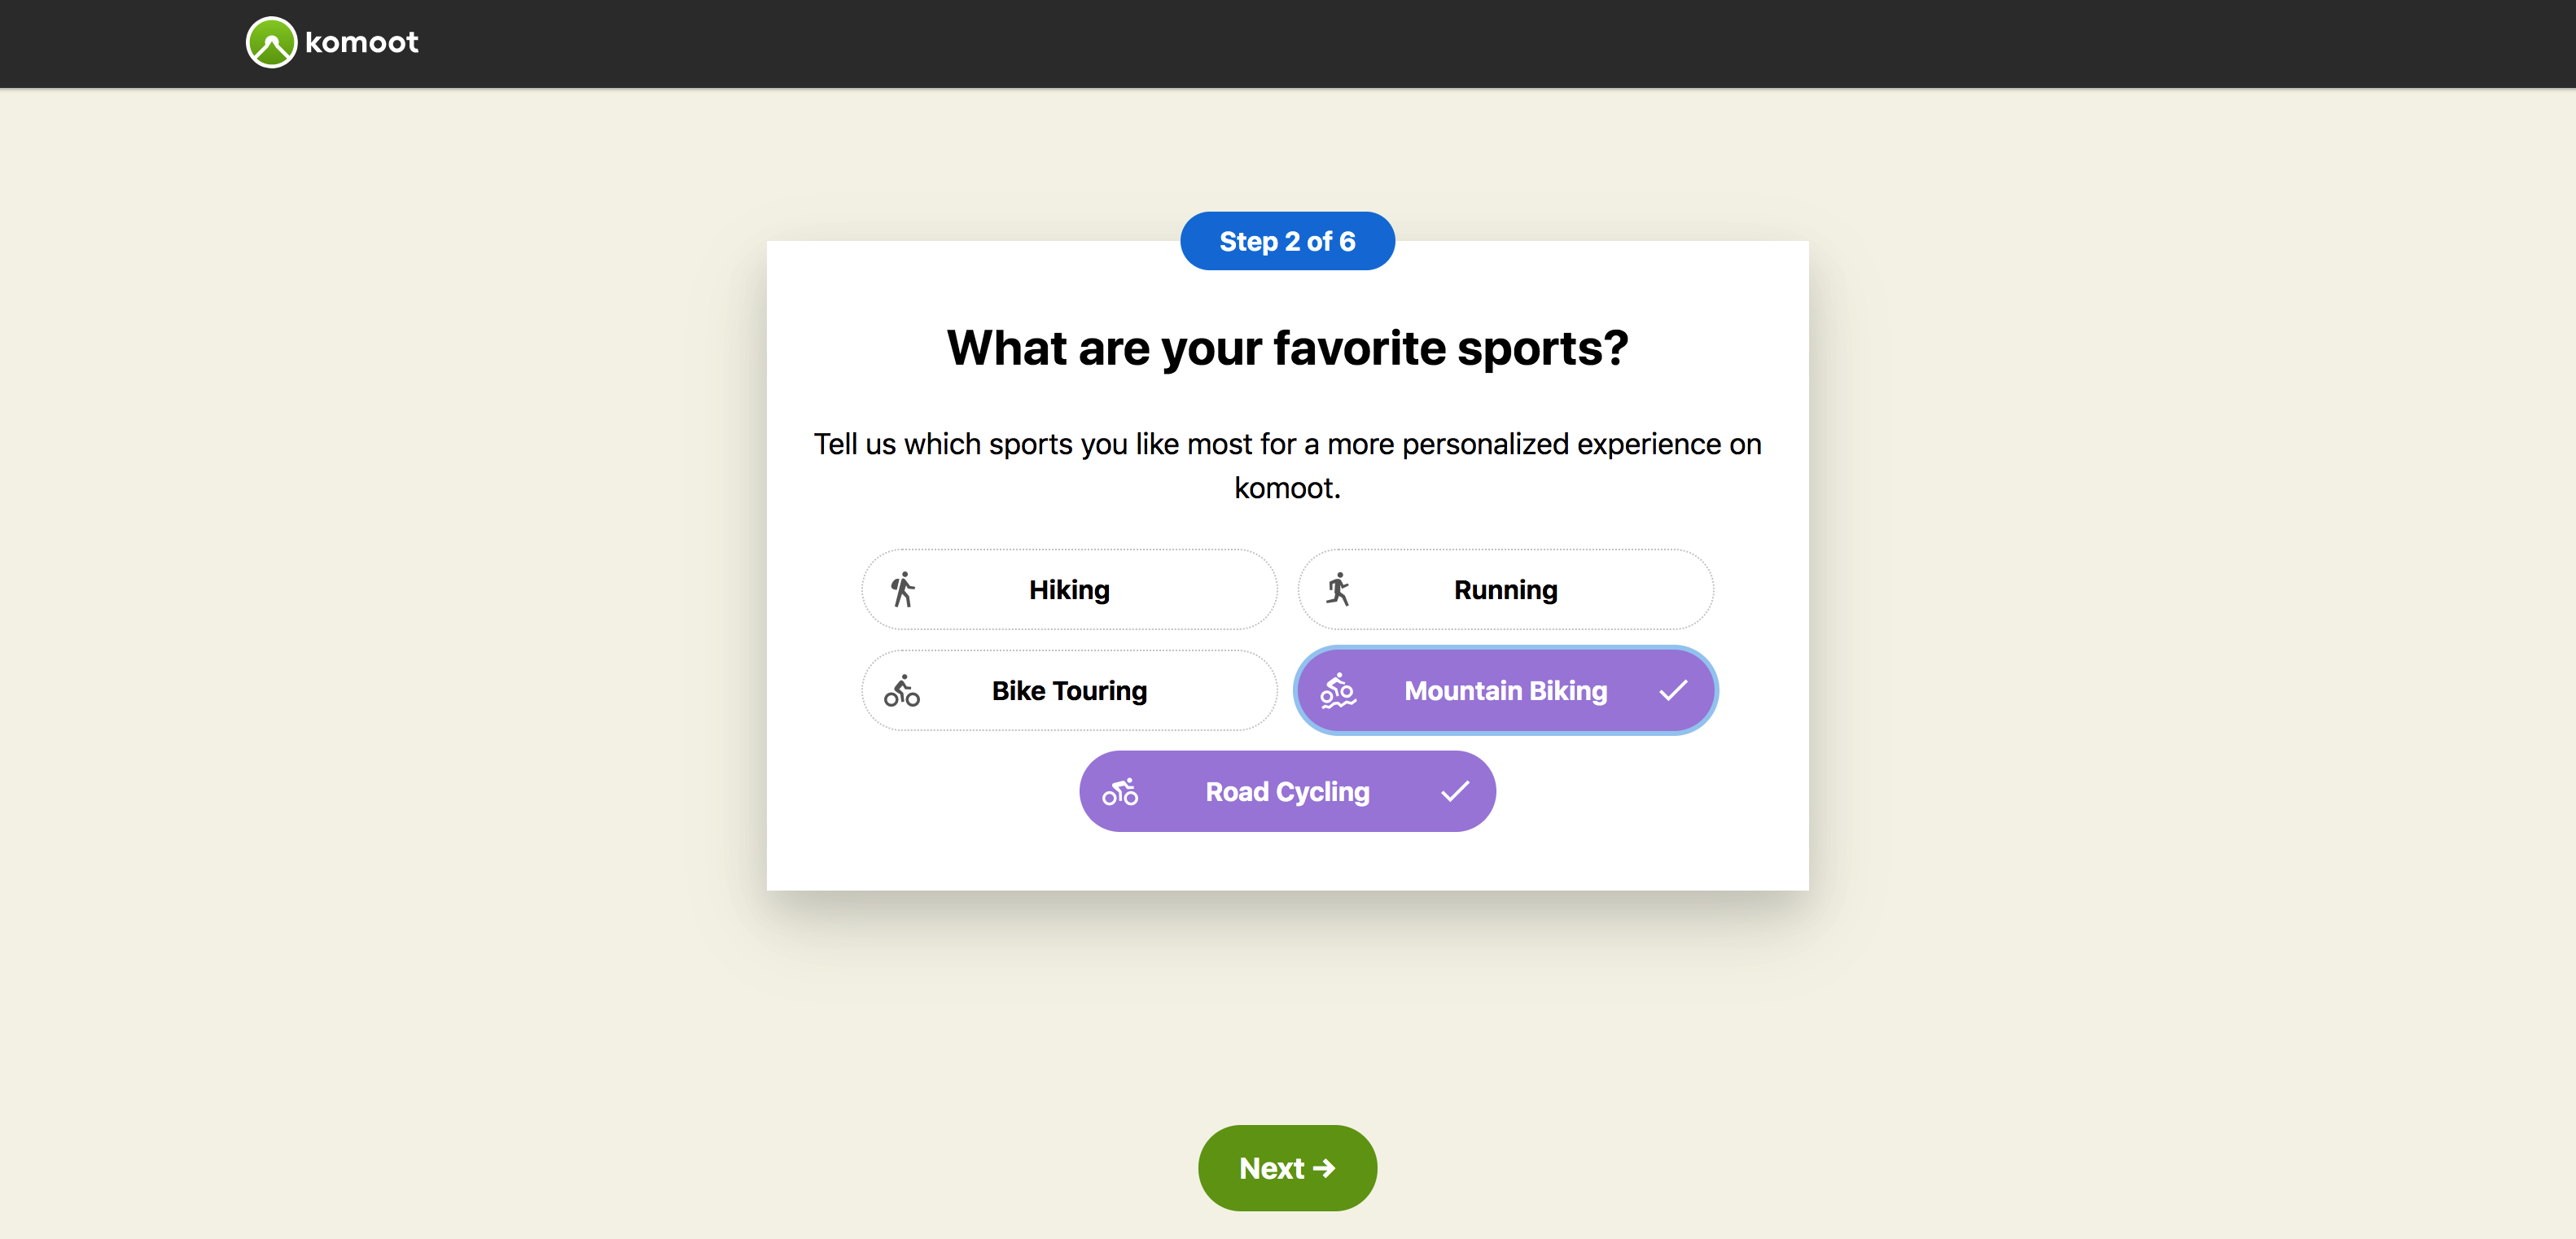
Once you’re set up Komoot will take you through a setup process to help you get the most out of the platform. You can pick your favourite sports so that the tour suggestions that you get are relevant to the sort of riding that you do. If you signed up using Facebook then you can follow your friends, and Komoot will suggest other riders you might want to follow too. Then your account is ready to go. It’s time to have a look round the route planner, which is one of Komoot’s big draws.

This is what the route planner looks like. There’s a big map on the right-hand side and a bunch of controls down the left-hand side.
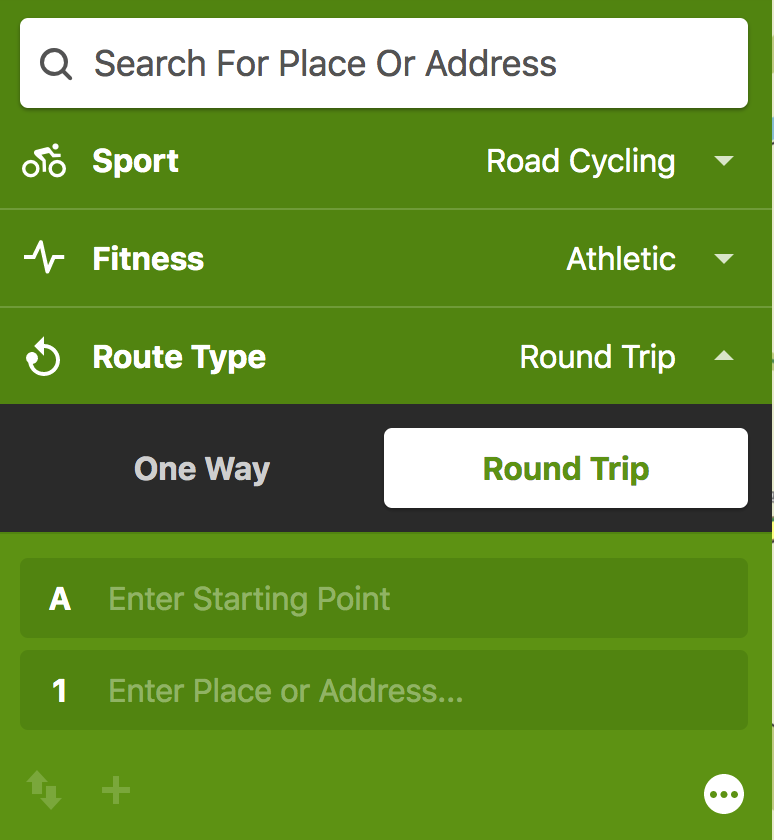
At the top you can select what sport you’re routing for; the routes that Komoot plans will change depending on what you choose here. In this example, we’re going to plan a road ride, so the route should end up being mostly well-surfaced roads. You can change your level of fitness too, and Komoot will take that into account when calculating the expected duration. Let’s plan something.

Our ride will start in Bath. So let’s set that as our start point by clicking on the screen. From here, we can set a destination. Cheddar should make for a decent ride.
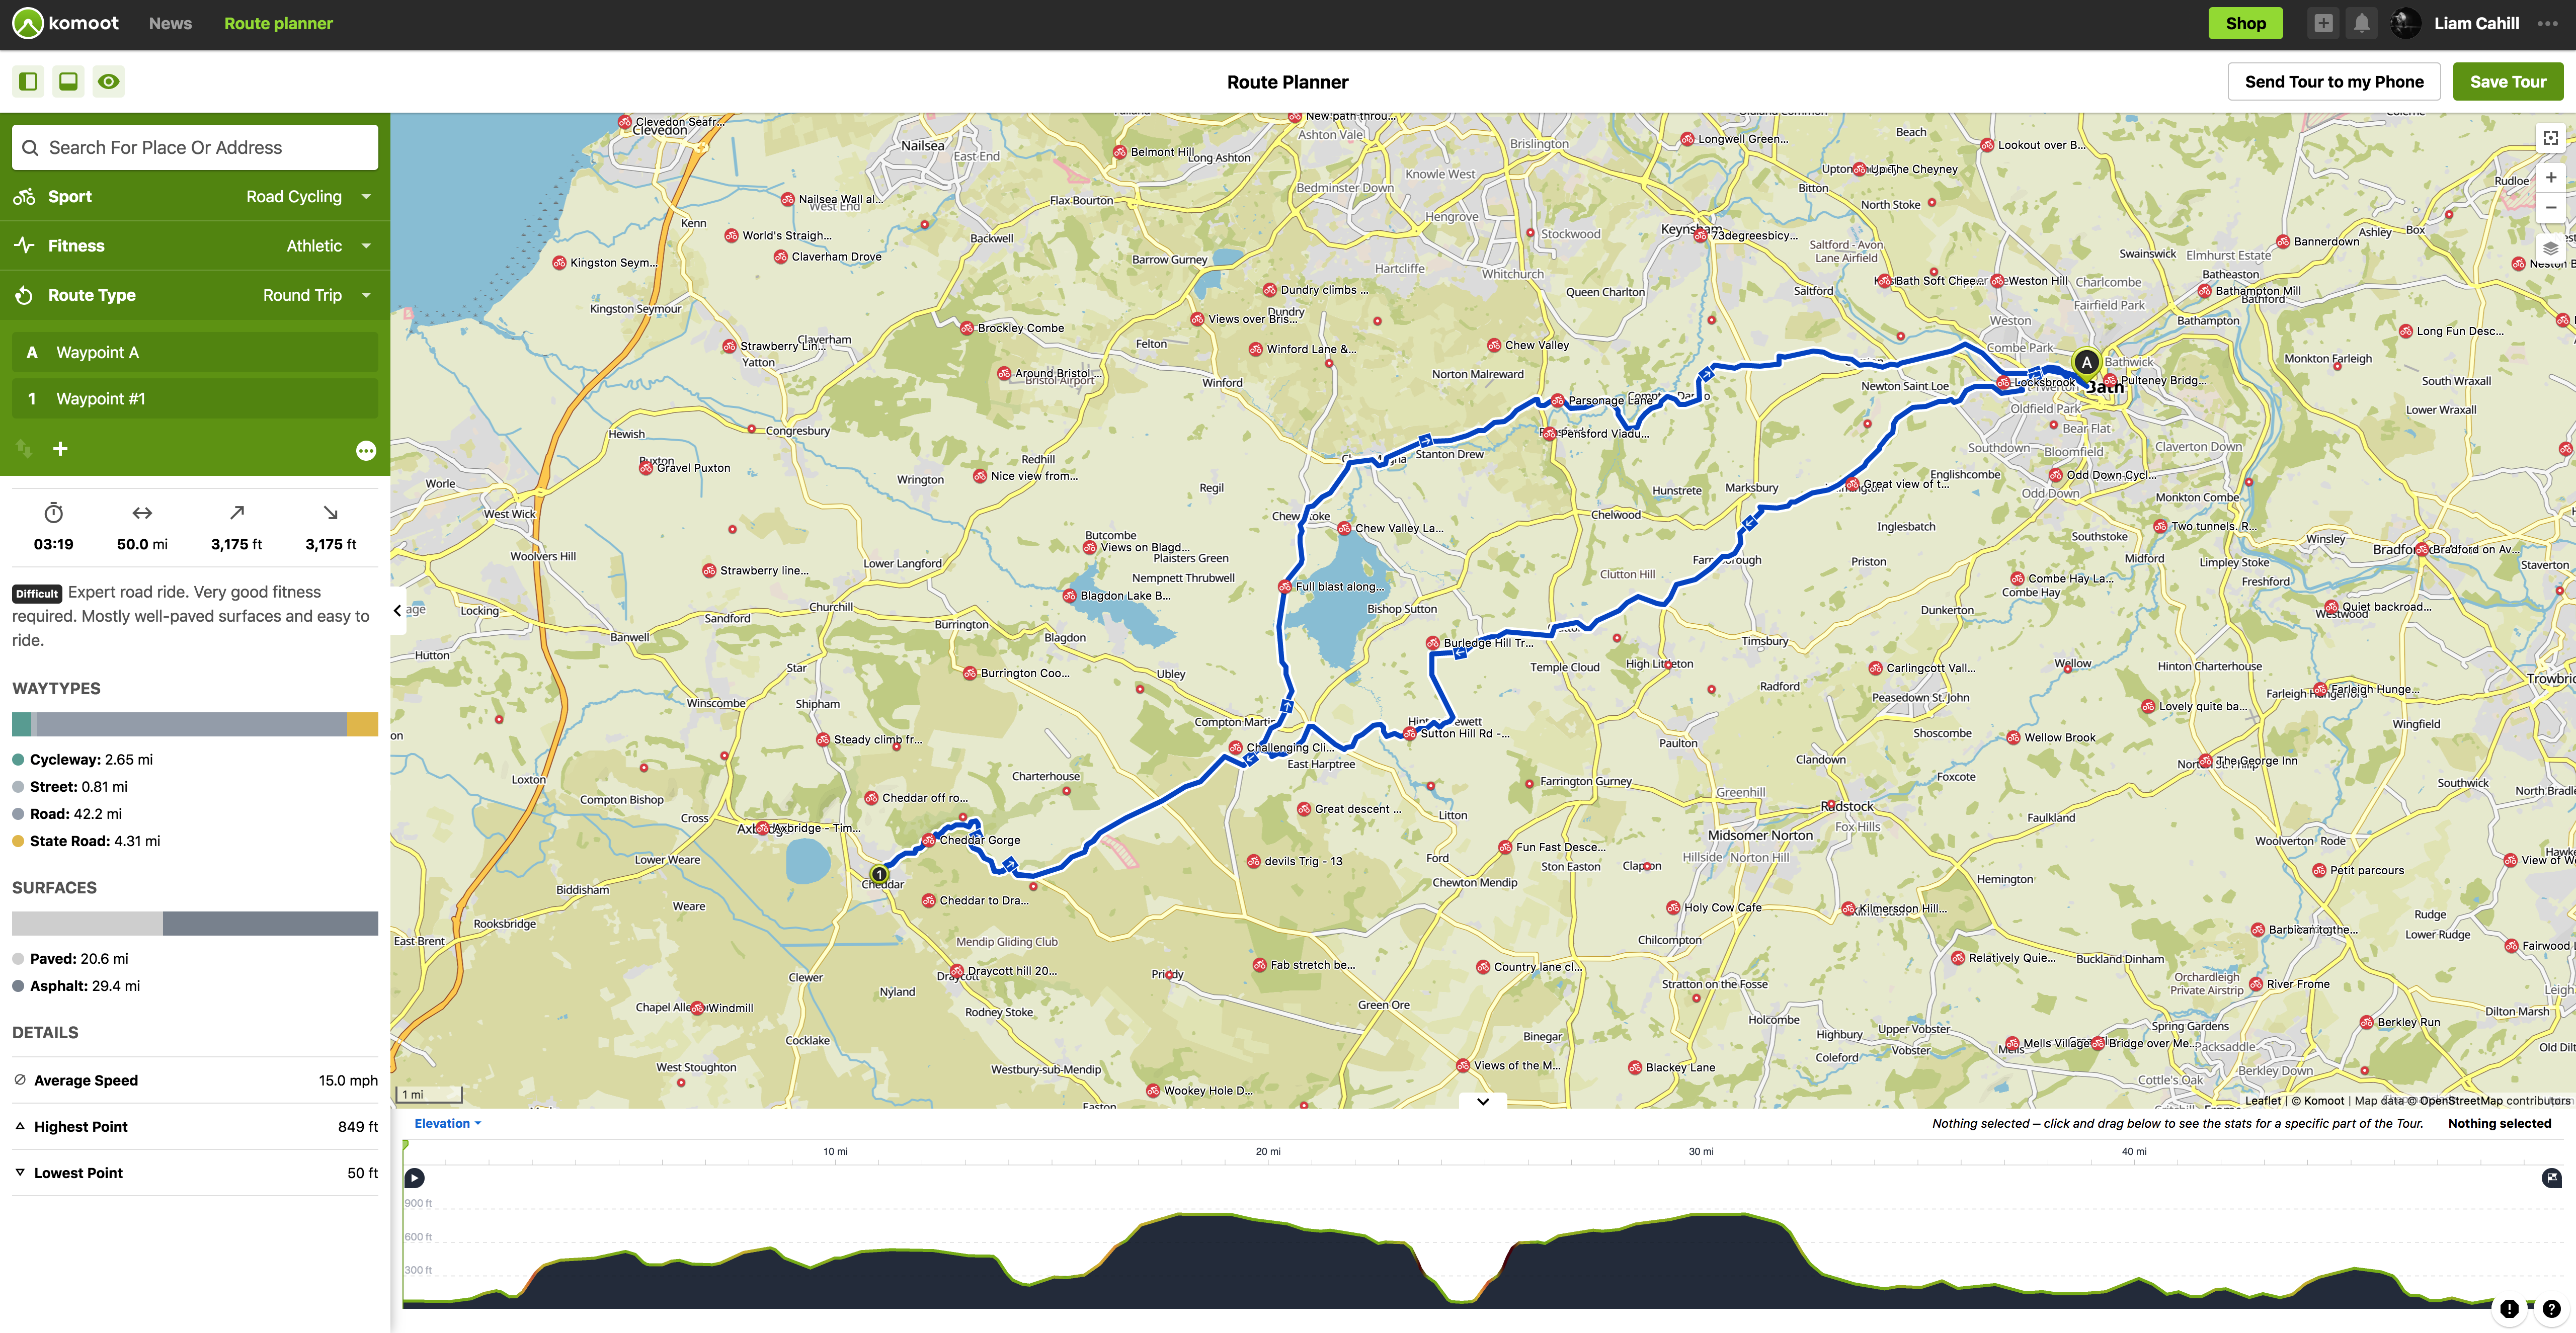
You can set Komoot to calculate a one-way trip or, as we have done, set it to automatically form a round trip. You can see the elevation profile at the bottom. And down on the left is one of Komoot’s best routing features: it can show you what type of roads and trails you’ll be riding on, and what sort of surfaces.
Another of Komoot’s headline features is highlights. These are points of interest and segments that are added by the Komoot community. You can zoom in and select the red dots to see what you might like to see on your ride.
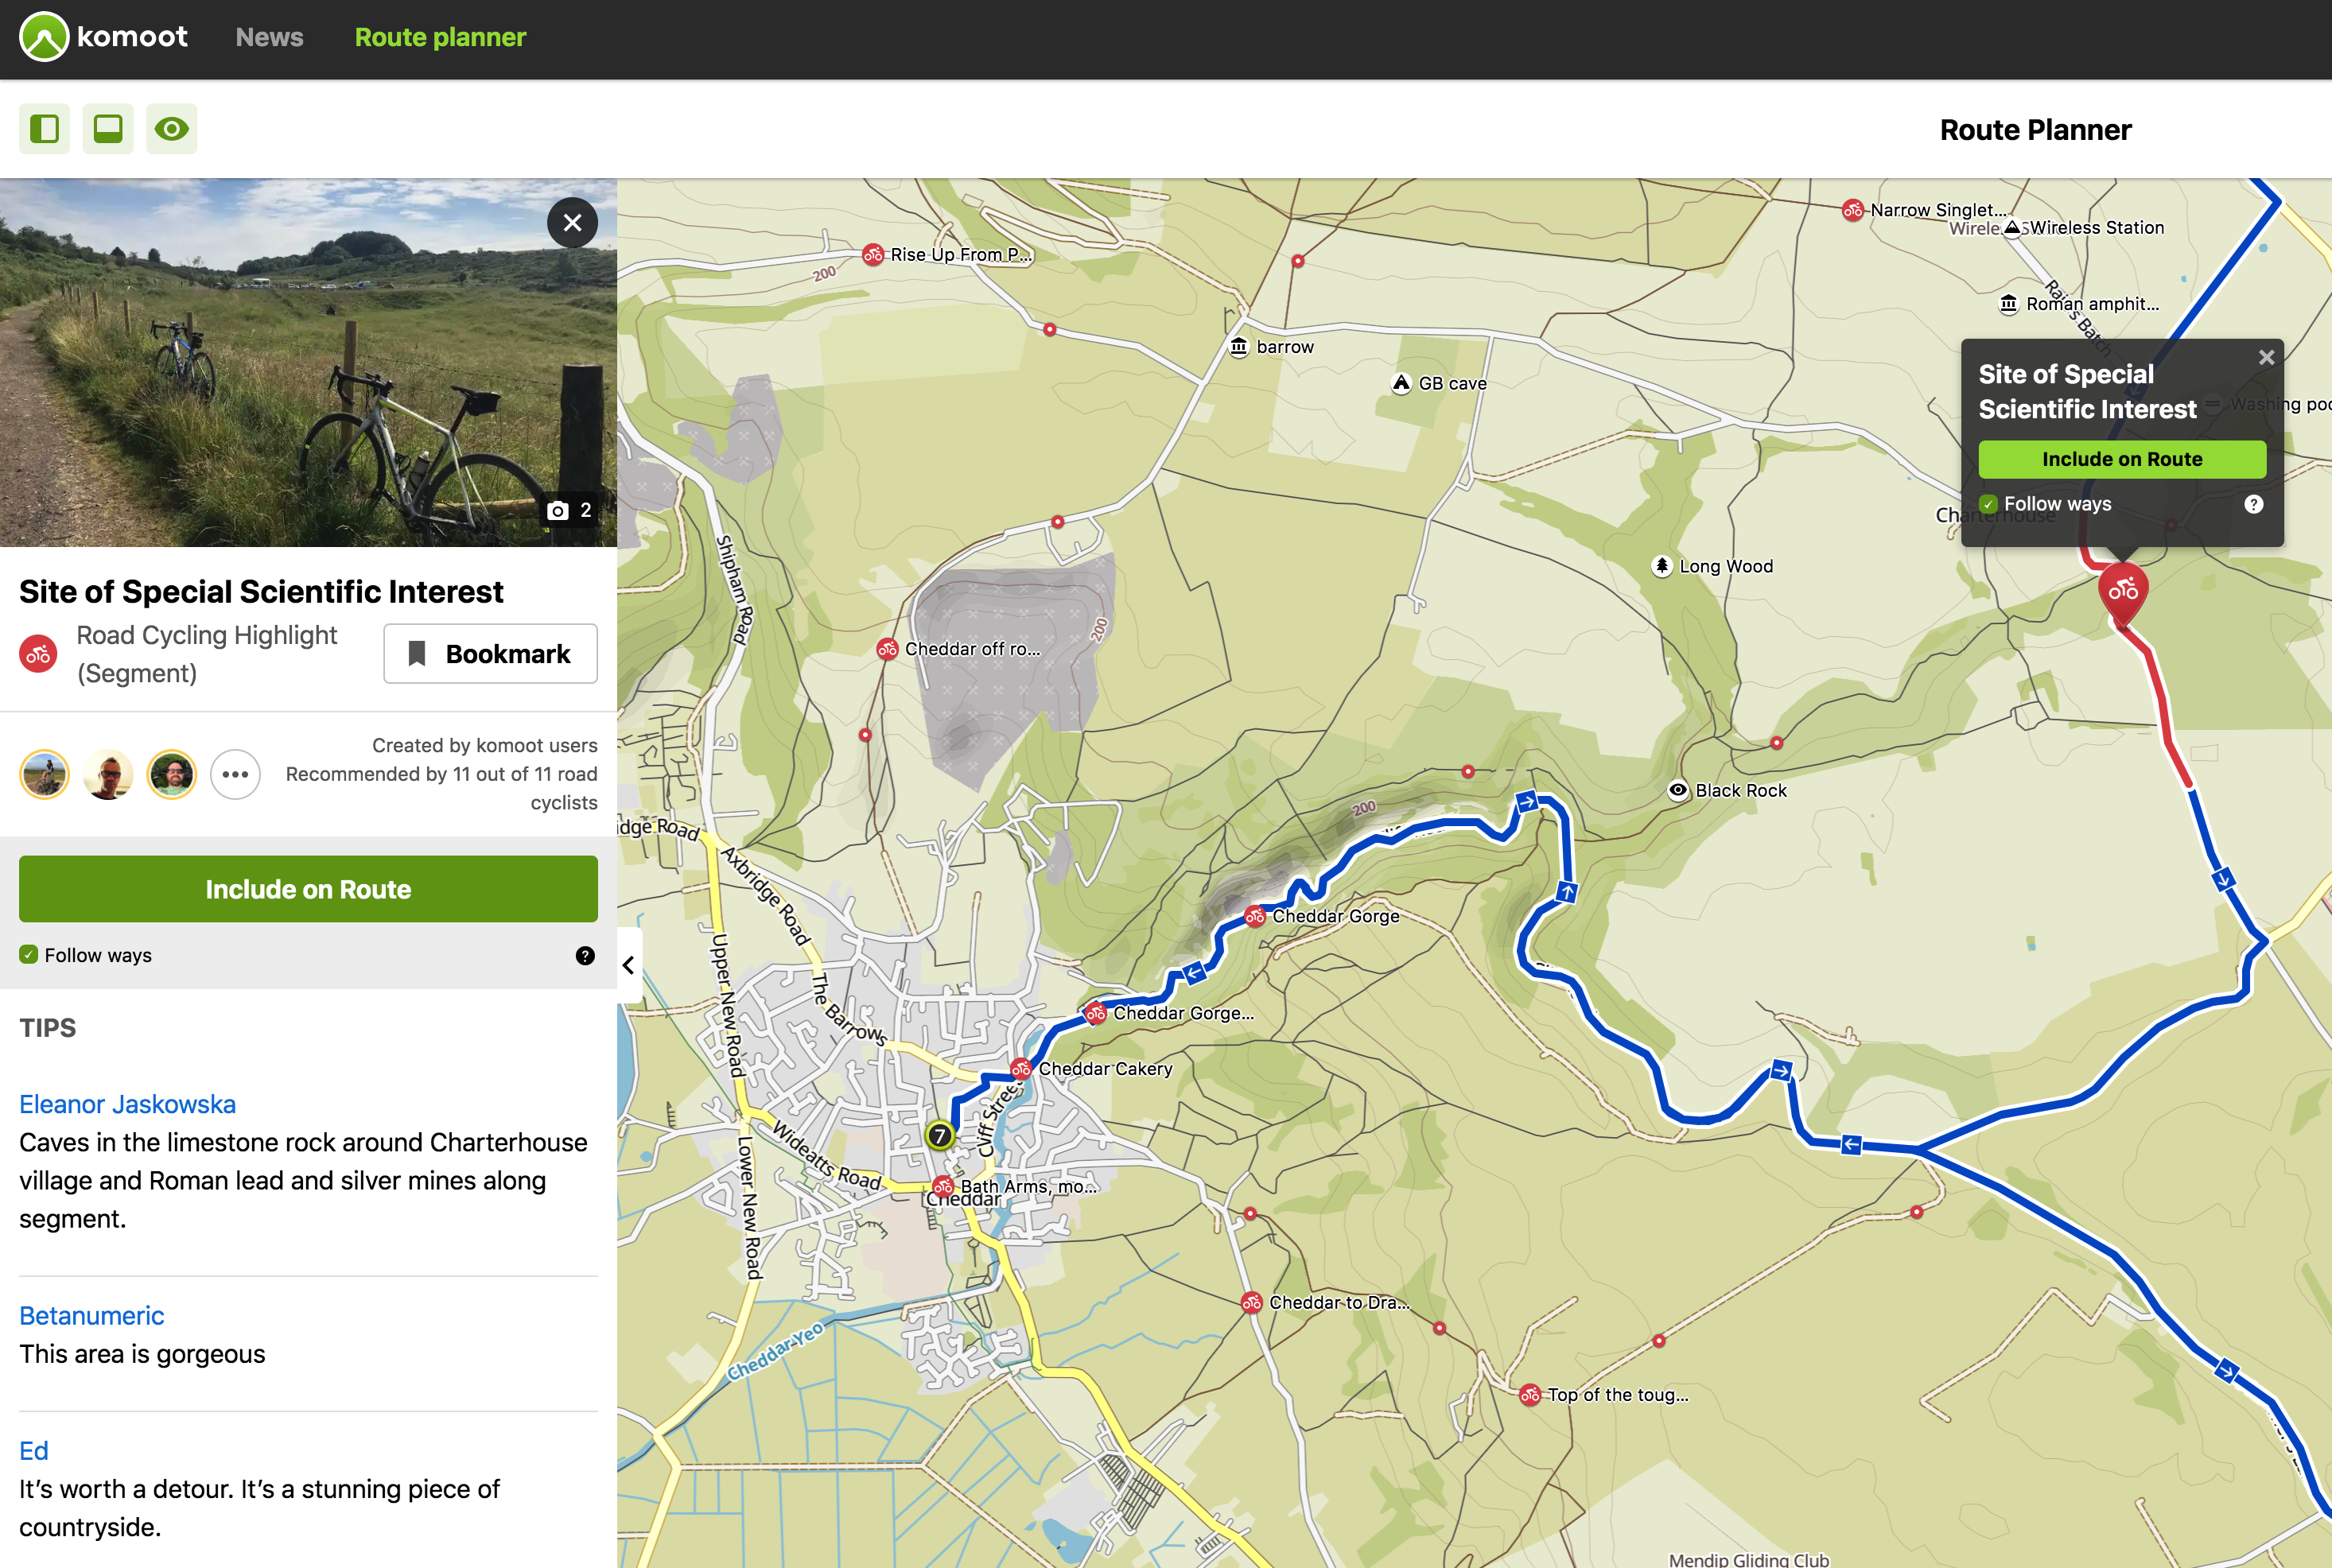
Click on ‘include on route’ and Komoot will add it to your tour, and re-route. This will edit your route and in our example, Komoot is now sending us up Burrington Combe.

You can also see notes from other riders. This one suggests that there is a rather steep climb that could be included. If you want to tweak any of the sections then you can drag and drop the route onto the roads you want to use.
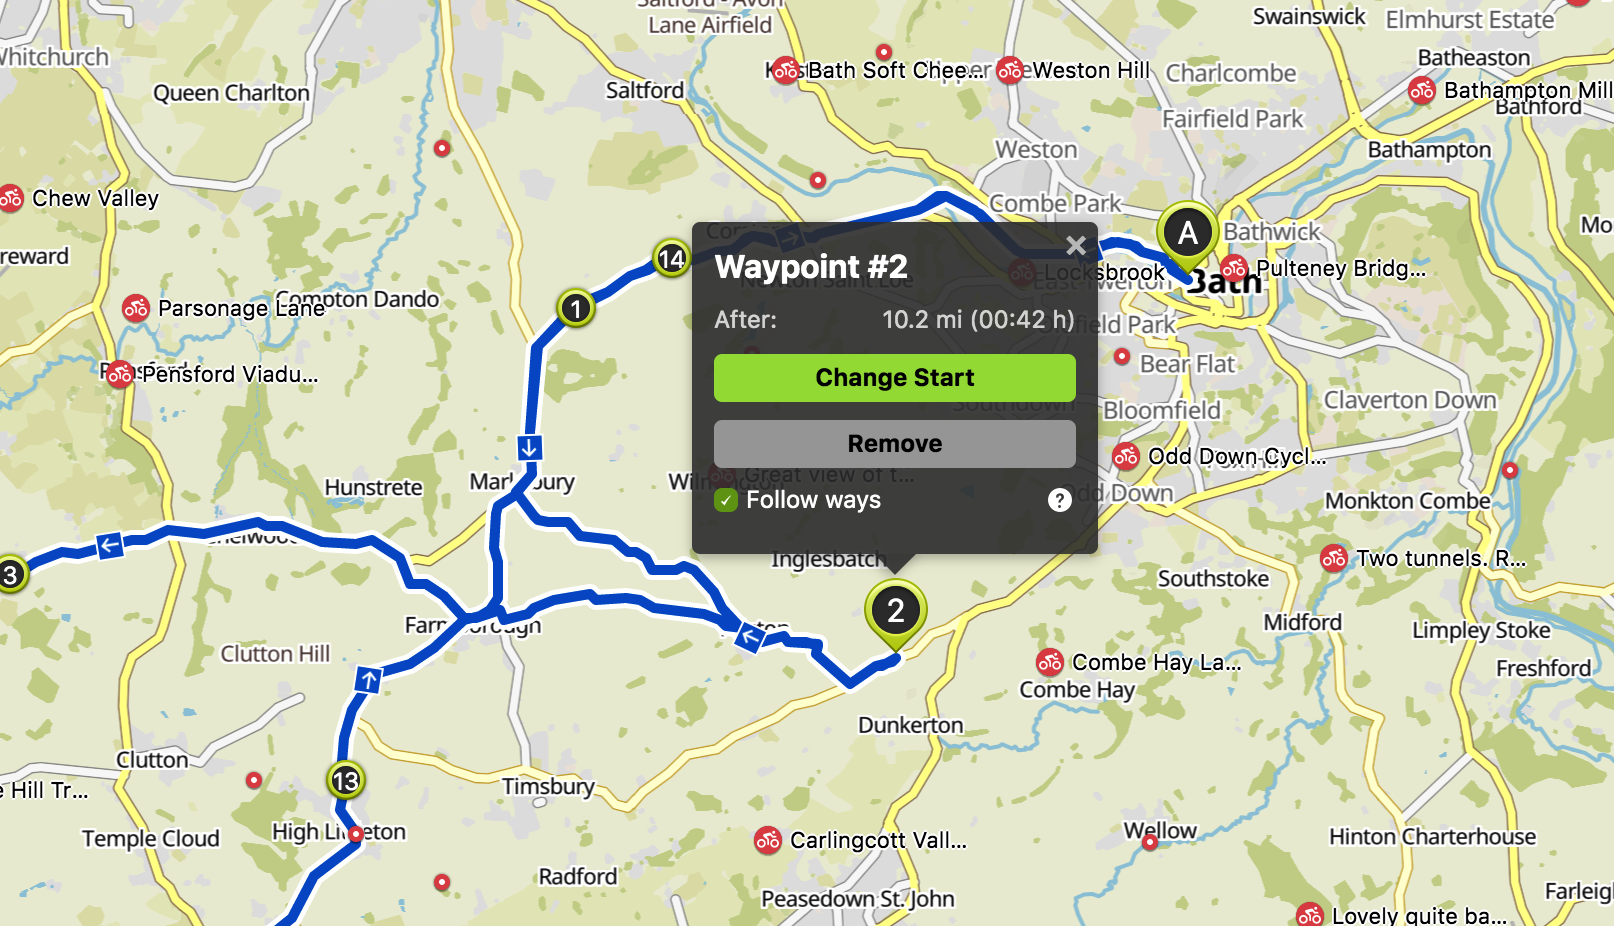
Any mistakes can be quickly fixed by deleting a point.
Clicking on the different surfaces on the left will toggle through them, which is really useful. We’ve managed to choose all paved roads but if you’ve got some unpaved, or unknown sections, then you can easily see where they are. If you want a closer look at any of the bits you’re not sure of, it’s a good idea to switch to the Google satellite map layer, that can give you a better idea of what the conditions on the ground are like.
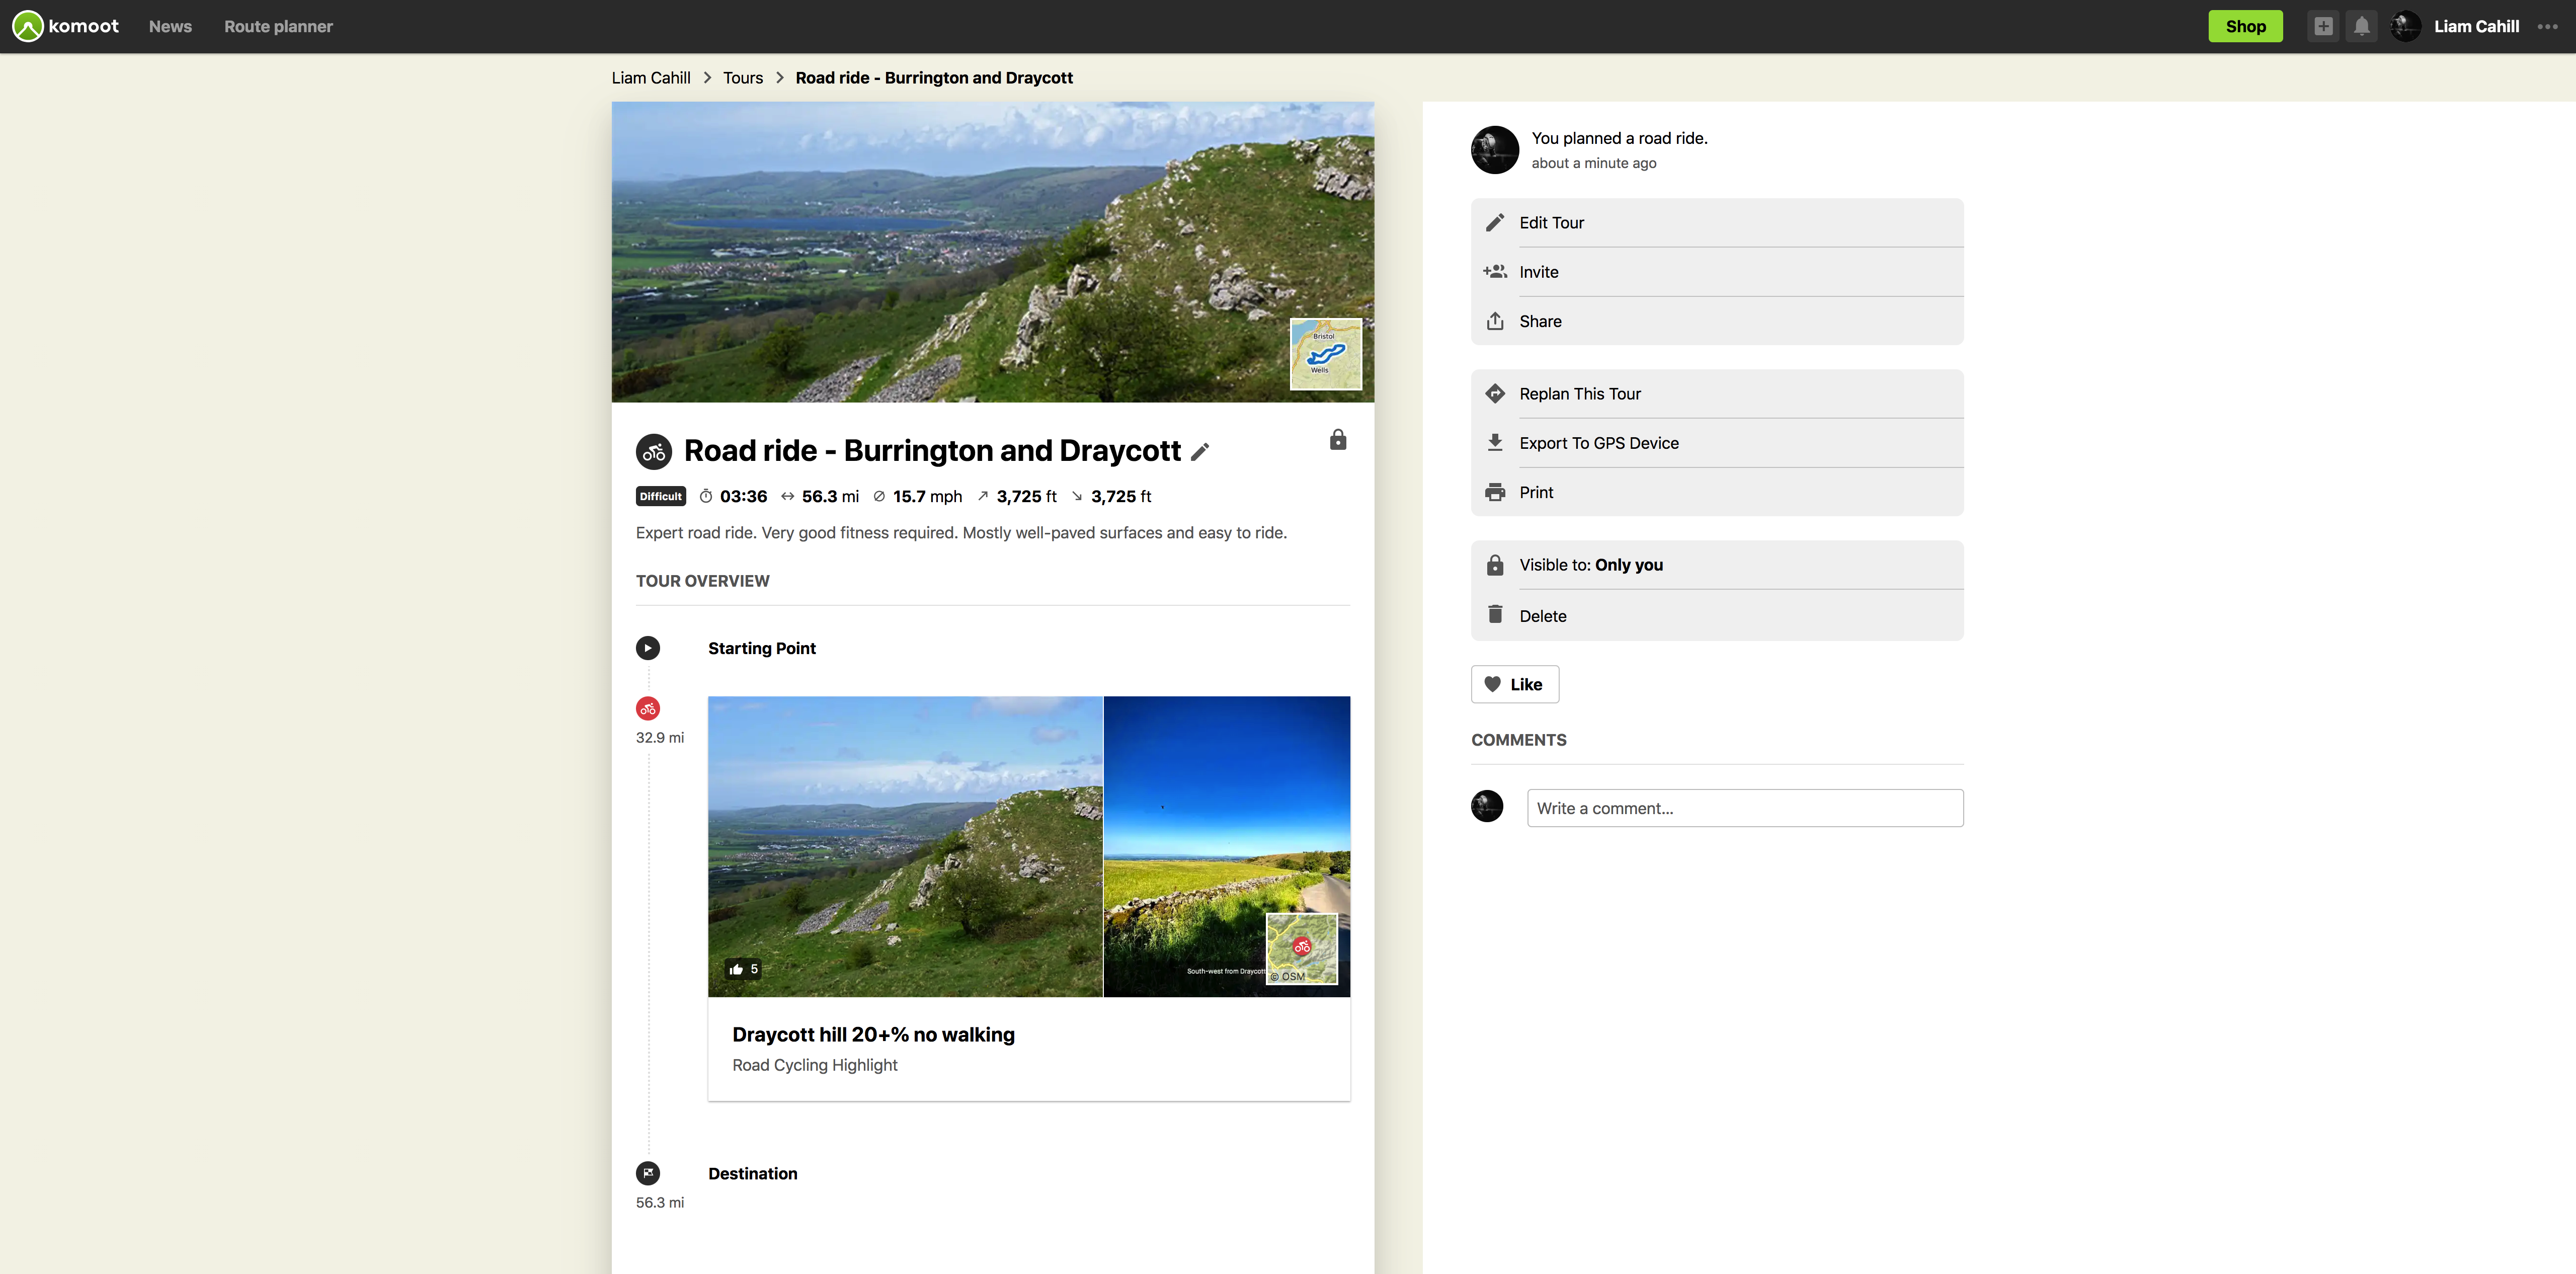
Once it’s saved you can see a summary of the tour with all the highlights you’ve included on the route, and all the mapping information too. Rides are better with friends, so you can send the route to a friend via the share button. This route will now be available on the app on your phone as well, so you’ll be able to use that to give turn by turn directions for navigation. Alternatively, if you have a compatible GPS like a Garmin or Wahoo, you can sync the route to your GPS and use that instead.

So there you go, that’s a quick overview of the basics of getting started with Komoot. Let us know how you get on, and don’t forget to follow us on Komoot: just go to the friend finder and type in ‘road.cc’ and you should find us straight away!
If you’re new to Komoot use our road.cc voucher code to get an offline region map bundle for FREE. Head to Komoot and enter the code ROAD*KOMOOT. Valid until 31/12/2021


