


I like sealant for bike tyres, and I also like inner tubes. Both systems have their place in cycling, and their own pros and cons. Indeed, you may love one type over another for your particular requirements, and that’s great. Without getting into another heated debate over which system is best, what I’m specifically looking at here is how to remove old gunky sealant from a tyre, be it for refreshing the tyre with new sealant, or removing it altogether to refit an inner tube.
I’ve been using sealant in mountain bike tyres for 15 years or so, where the lower pressures and self-sealing of punctures has great appeal. I’ve found it to be reliable, and apart from sometimes needing a compressor to seat a bead, and periodic topping up, it’s been good.
The introduction of sealant/tubeless to road bike tyres has been more recent, and as tyre widths have increased and tyre pressures have lowered, it is increasingly found there. As I’ve already clarified, I won’t really get into whether going tubeless is better than tubes or vice versa in this article… that’s your choice! Here we’re looking at what is involved if you choose to clean a tyre up and take the sealant residue away. If you’re new to tubeless and want to give it a try, here is our guide to getting started.
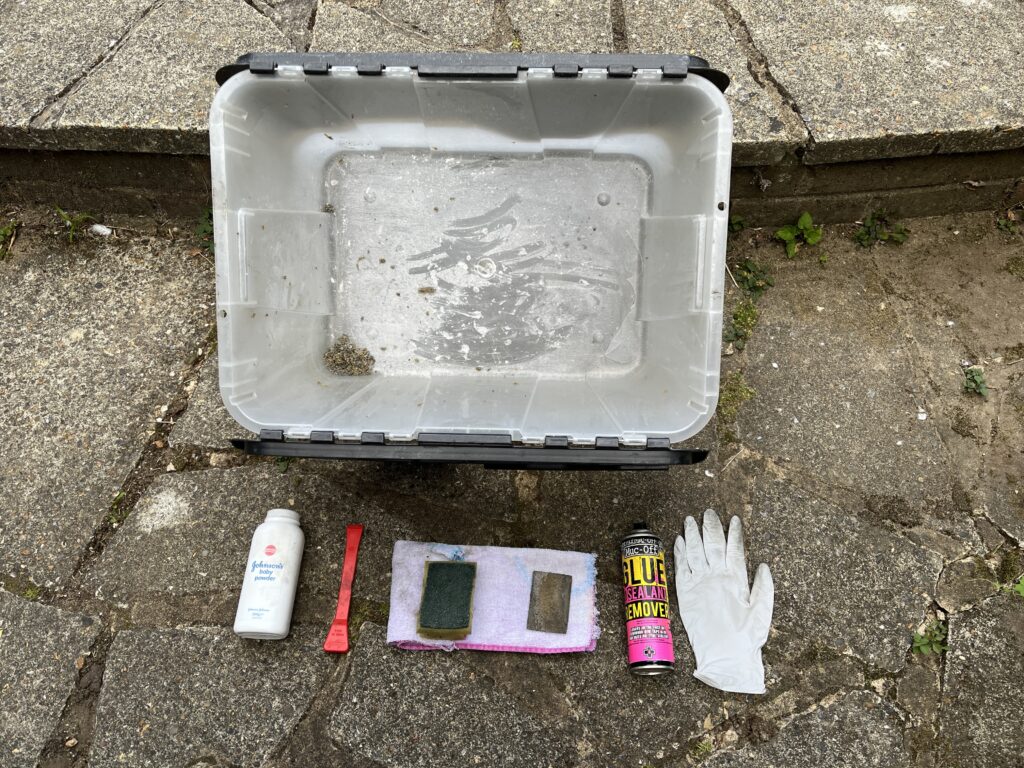
What you’ll need
With all my tyres, I’d used either Stan’s or Silca sealant. Both have been great and reliable. Here is a list of the things that I found useful. Not all of these things are needed, but a combination may almost certainly be:
- Rectangular rubber erasers 70mm x 50mm
- Plastic scraper with 20mm tip. They look like a chisel.
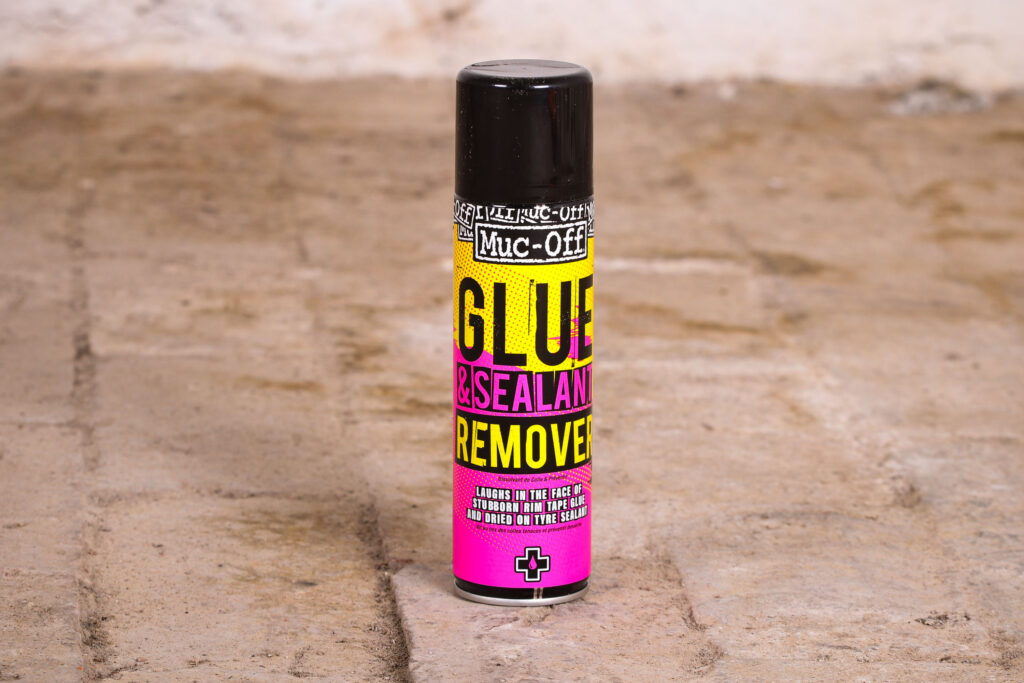
- Muc Off Glue & Sealant removing spray
- Talcum powder
- Green sponger/scourer (plastic not metal)
- Old crate or washing up bowl
- Disposable gloves
- Hot water
- Old cloth
- A podcast (preferably the road.cc Podcast)… perhaps multiple episodes depending on the size of the job!
Over the last couple of months I have been cleaning up seven tyres; mostly mountain bike tyres, but a couple of road tyres too. So what have I learnt, apart from patience?
Well, with my sample of tyres, mostly that some can be cleaned quickly (within an hour or two) and some not so quickly. I have one that is still fighting me after a couple of weeks of trying to clean it properly. I have also found and removed a couple of vicious thorns in a mountain bike tyre which I hadn’t been aware of, so a big thumbs-up for sealant!
The process
Easiest scenario
Well, you simply take the tyre off, pour the sealant in the bin and wipe the excess liquid off with a cloth. Then run the cloth around the rim to remove the congealed latex and remove the valve (if you wish to). A dunk into hot, but not boiling water for the tyre (in a crate or washing up bowl) could make the sealant solidify a bit.
Finally a gentle rub with a thumb or the eraser should lift the sealant easily. When it is all removed a light dusting of talcum powder means it is ready for an inner tube. I’d not talc it if I was reapplying sealant though.
The next level of difficulty
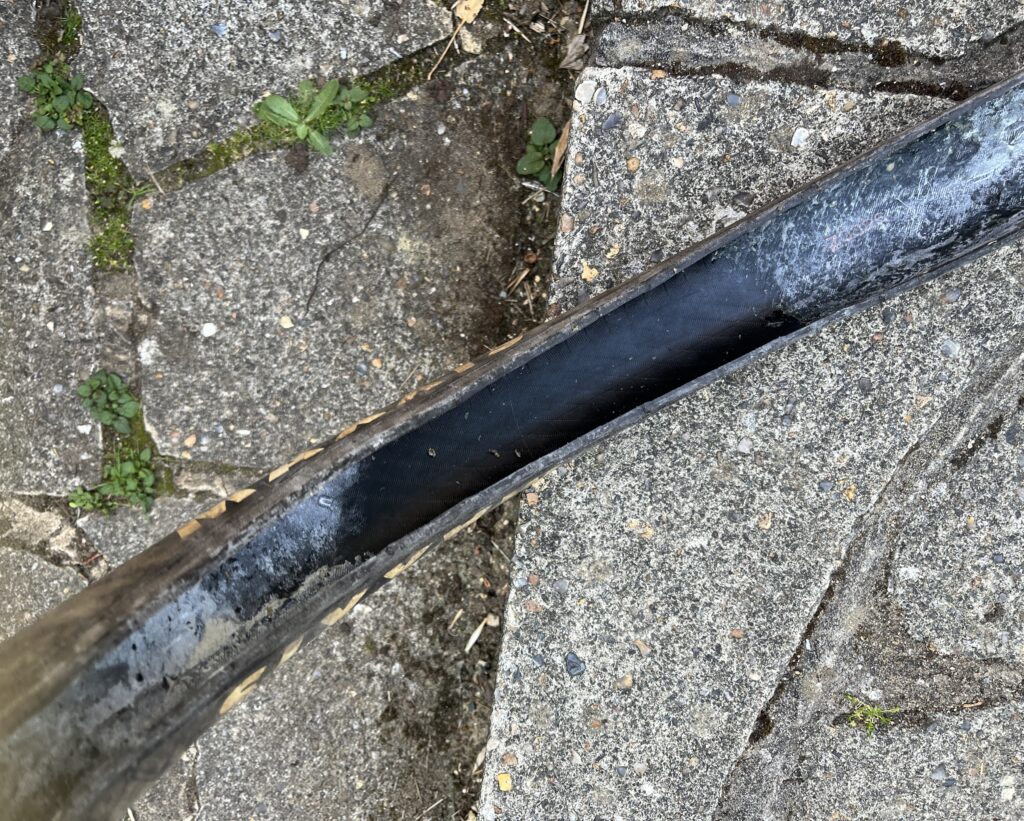
Broadly follow the previous method, but when the sealant won’t come away easily then I’d turn part of the tyre inside out and rub away at a patch with the eraser. The process is quite satisfying, even if it can take a few half hour sessions.
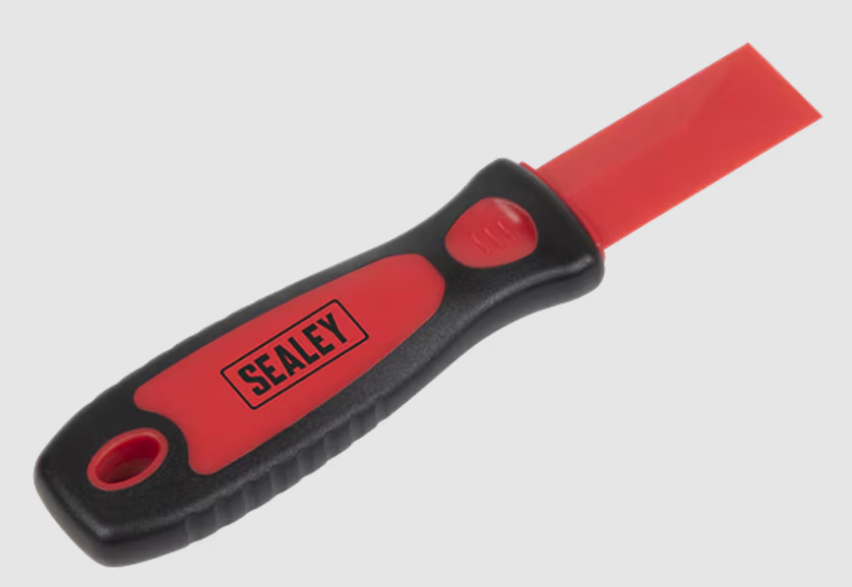
Sometimes I found that removing a tyre, cleaning it up then leaving it for a couple of weeks to dry out really made a difference to how much easier it was to clean up. Most tyres fell into this camp. If the eraser isn’t working too well then a narrow plastic scraper (20mm wide) can be really helpful for getting the dried sealant to lift. Don’t use metal as you are more likely to spoil the tyre. Go gently with this! The empty bowl or crate is useful to catch the rubbings too.
…and the worst tyre scenario
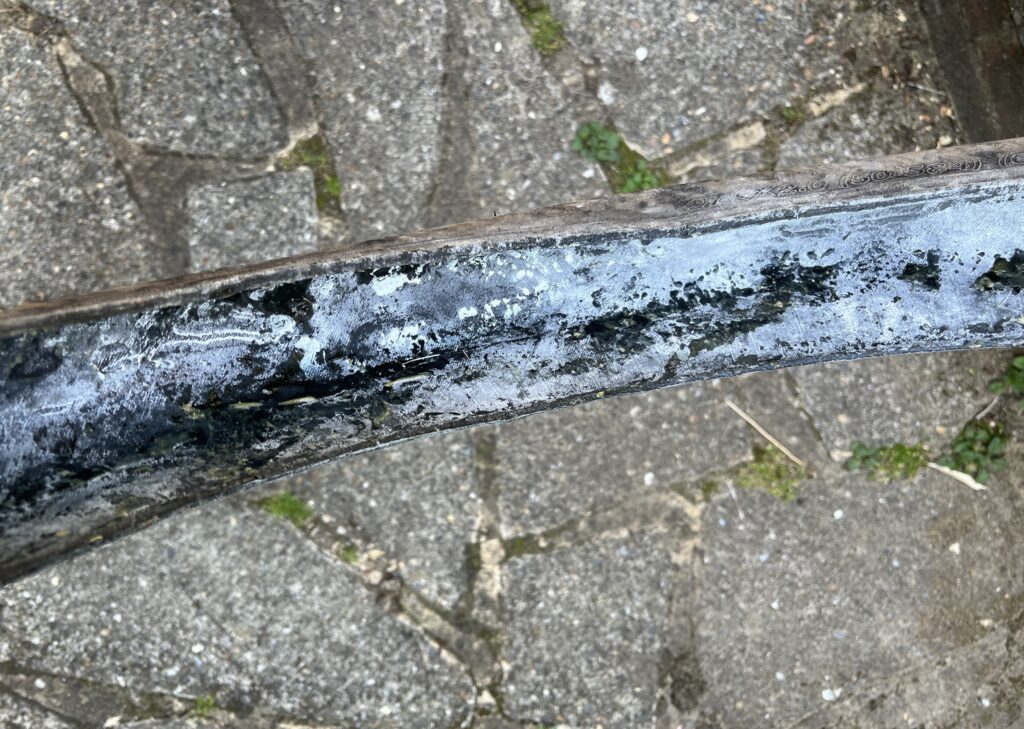
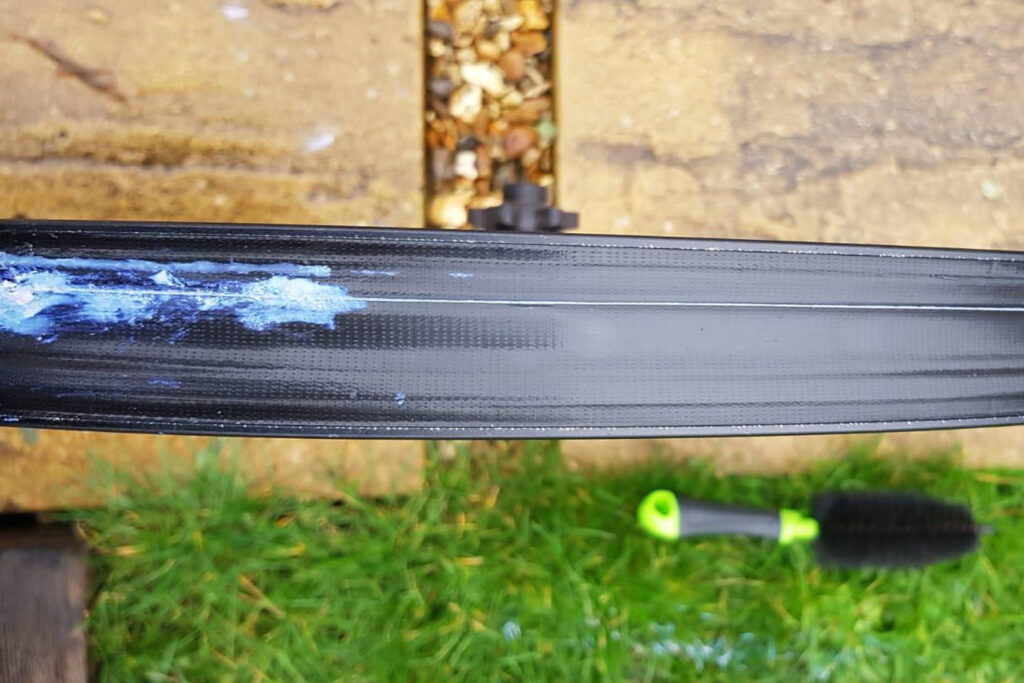
This would be the one that you most want to reuse, and can’t buy any more… my nemesis tyre has an incredibly sticky and tacky residue that really doesn’t want to come off. I tried my hot water trick. Then I left it a while to dry out. Still no improvement. Then I covered the inside of the tyre with talc to try and dry it up.
Whilst the sealant would ball up (imagine a pencil and eraser, and its rubbings out) it would leave a horrible tacky mess. This is where I introduced the green scourer part of a kitchen sponge, and the Muc-Off sealant removal spray. I’d spray a 30cm section of the tyre and with small circular motions remove the glue, at least partially. Then I’d talc it and try the latex eraser again. It’s been a labour of love really, and I do wonder whether, if I could still buy one, I’d just pass on this one and start afresh… but there we are.
Conclusions
So with six tyres cleaned and one still fighting me, what have I learnt? Patience, but also that it can be quite satisfying. I guess that there is some degree of mindfulness involved in focussing intently on a task, and it’s never wasted time listing to a favourite podcast. I now have a few tyres ready for new projects into the bargain.
Now back to the final tyre. It won’t defeat me…


 — plus record-breaking kit from Kostüme, a ‘dual can holder’ for bikes + more")


")


, Portland’s world record ambitions, another e-bike brand goes pop + more")
15 thoughts on “To seal, or not to seal? Top tips for removing old sealant from your bike tyres”
This seems to be a
This seems to be a masterclass in why tubeless is more hassle than it’s worth.
You could just not bother
You could just not bother getting the inside of your tyres meticulously clean.
Or ride enough miles that, by
Or ride enough miles that, by the time you need to clear out old sealant, the tyre is worn and you need to replace it anyway!
For those just commuting or riding infrequently, I’d agree with dodgy that tubeless isn’t worth it; for those riding bigger miles I’d wholeheartedly disagree. But each to his own!
Jakrayan wrote:
This is the truth! Sealant ages with time, punctures accumulate with miles. The more miles per year the more puncture repairs you are (in theory) spared from for a given amount of sealant maintenance. The higher the mileage the better the return on the sealant-hassle cost.
Masterclass in writing too
Masterclass in writing too many words on something that is unecessary.
I concur, never seemed worth
I concur, never seemed worth all the effort, expense and additional “stuff” to carry, “in case it goes wrong” including some who recommended carrying a spare butyl inner tube!
Just ordered a couple of TPU inner tubes from AliExpress, at £1.80 I thought they were worth a punt as they passed my basic cost/benefit v risk/benefit matrices 🤔
It isn’t a masterclass on why
It isn’t a masterclass on why blah blah blah. It’s an article about a pointless exercise. There is no pressing reason to clean out old dried sealant.
This ☝️ honestly why bother
This ☝️ honestly why bother once the liquid and any big lump is removed it’s all cosmetic.
Unless there’s a lump of it
Unless there’s a lump of it unbalancing the wheel overall, which you can feel. I always suck out sealant using the Park Tool syringe before storing a bike for a while, but sometimes you forget!
I yoinked this crap out of my
I yoinked this crap out of my tyres right before RAGBRAI and replaced with fresh. This is just from one of the tyres. It was Bontrager sealant, which I only bought because they were out of Stan’s. I’ve had Stan’s dry out, but never like this. It was enough that I could feel how unbalanced the wheels were when spinning them.
The forbidden pudding.
Having worn out my first
Having worn out my first tubeless tyres after over 2 years, I replaced them and promptly had my first tubeless failure on my brand new tyre. I purchased Silca sealant remover to clean up the tyre in order to fix the issue, what an absolute waste of time, money and expectation. Forget all the hype, it simply doesn’t work. I contacted Merlin who I purchased the remover from and no response. So that is 2 companies I won’t be dealing with again.
For me the biggest issue I
For me the biggest issue I have is actually breaking the seal to get a tubeless tyre off. This article simply says remove tyre from rim, and then how to waste time cleaning the inside of a tyre
HP suggested standing on the
HP suggested standing on the sidewalls. It helps. Gets things a little looser and makes actually getting the bead off with the hands easier.
Removing the congealed
Removing the congealed sealant from around the wheel rim bead (particularly in the hook) in preparation for installing a new tubeless tyre is also tricky. I think that having a good, clean rim/tyre interface is important to get a good initial seal with road tubeless, where pressures are higher.
Three sets of + tubeless for
Three sets of + tubeless for me, different levels of mud from mostly none to swamp. So, many swaps throughout the year. It’s a weekend thing for me, with rounding the folders by laying flat a few days before, and getting rid of any traces of sealant on the bead. A wet green 3M pad works wonders. Friday, with better half still at work, wheels into the bath, after brushing off as much as possible, and using the shower to blast the rims and tyres, with a small bit of car, now bike shampoo, so I don’t get filth into the fresh tyre. Stay well away from the hub and disk. Clean bath before her arrival.
When I swapped out the dirt wizards for my maxxis chronicals, frame being repaired during the time of scwlabe Nobby nics, after trying to recover some of the sealant, big syringe, then workshop roll, I tried blasting the remains of the sealant off with the shower. Sort of better than not doing it. I will know more come December and the need for the dirt wizards again.