


No matter how short or how long your ride, you’ll enjoy it more if you’re comfortable, and the good news is that there’s plenty you can do to to improve the fit and feel of your bike.
Feeling comfortable as you ride won’t just make cycling a more pleasant experience, it could also benefit your performance. You’re unlikely to be able to cycle fast if your back and neck are aching because you’re using the wrong handlebars, for example.
Here are our tips for making your bike more comfortable.
Fit wider tyres
If you’re still running super-skinny tyres, swapping to wider rubber could improve your comfort.
With a larger chamber of air between you and the road, a wider tyre allows you to drop the pressure without running the risk of a pinch flat (where the inner tube gets punctured as a result of being sandwiched between the wheel rim and the ground). The lower pressure increases the amount of cushioning you get from the road.

If you’re worried that wider tyres will slow you down, don’t be. You could even ride faster with increased width. The majority of riders in the pro peloton are on 25mm tyres rather than 23s for most road stages these days.
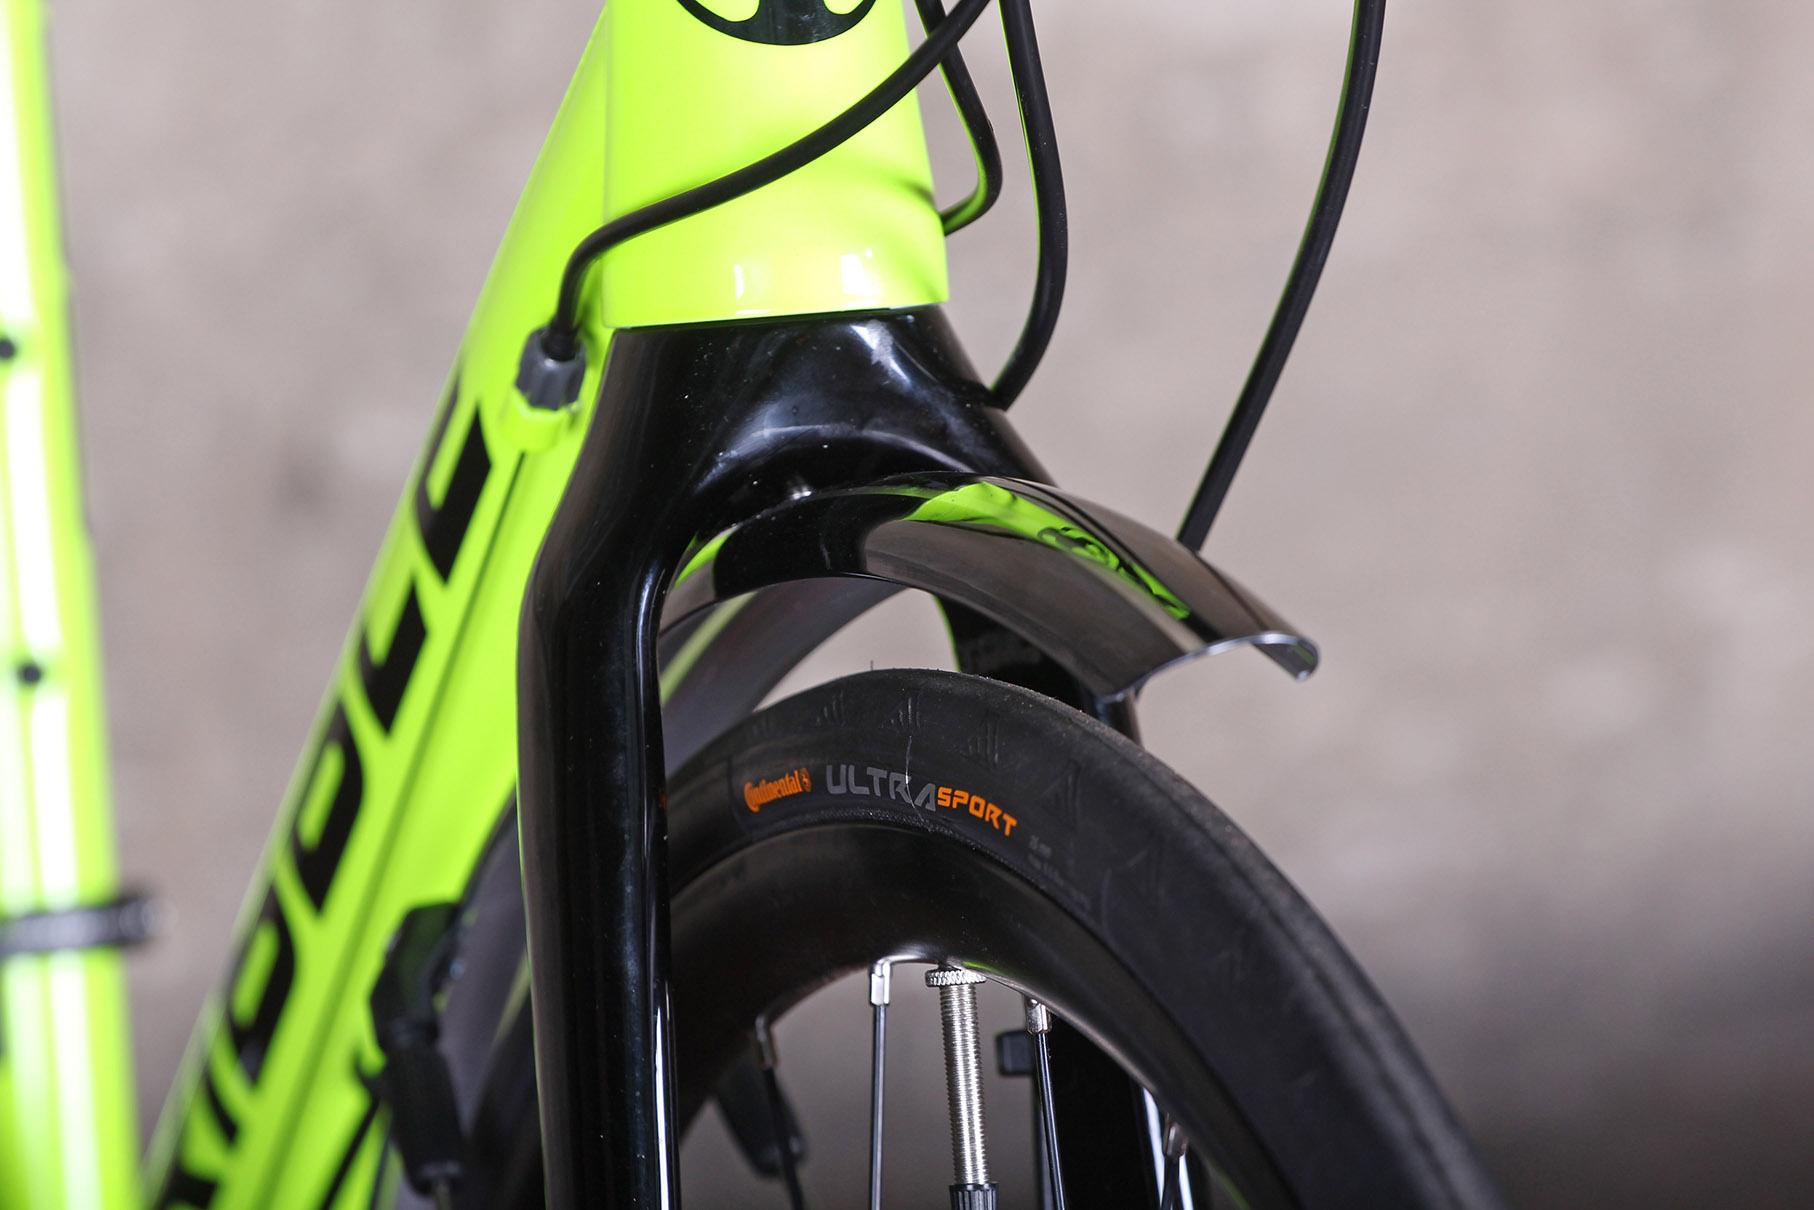
If you’re riding a standard road bike, you might be able to fit 28mm tyres to increase comfort further – it depends how much clearance you have at the chainstays, seat tube and bottom bracket.
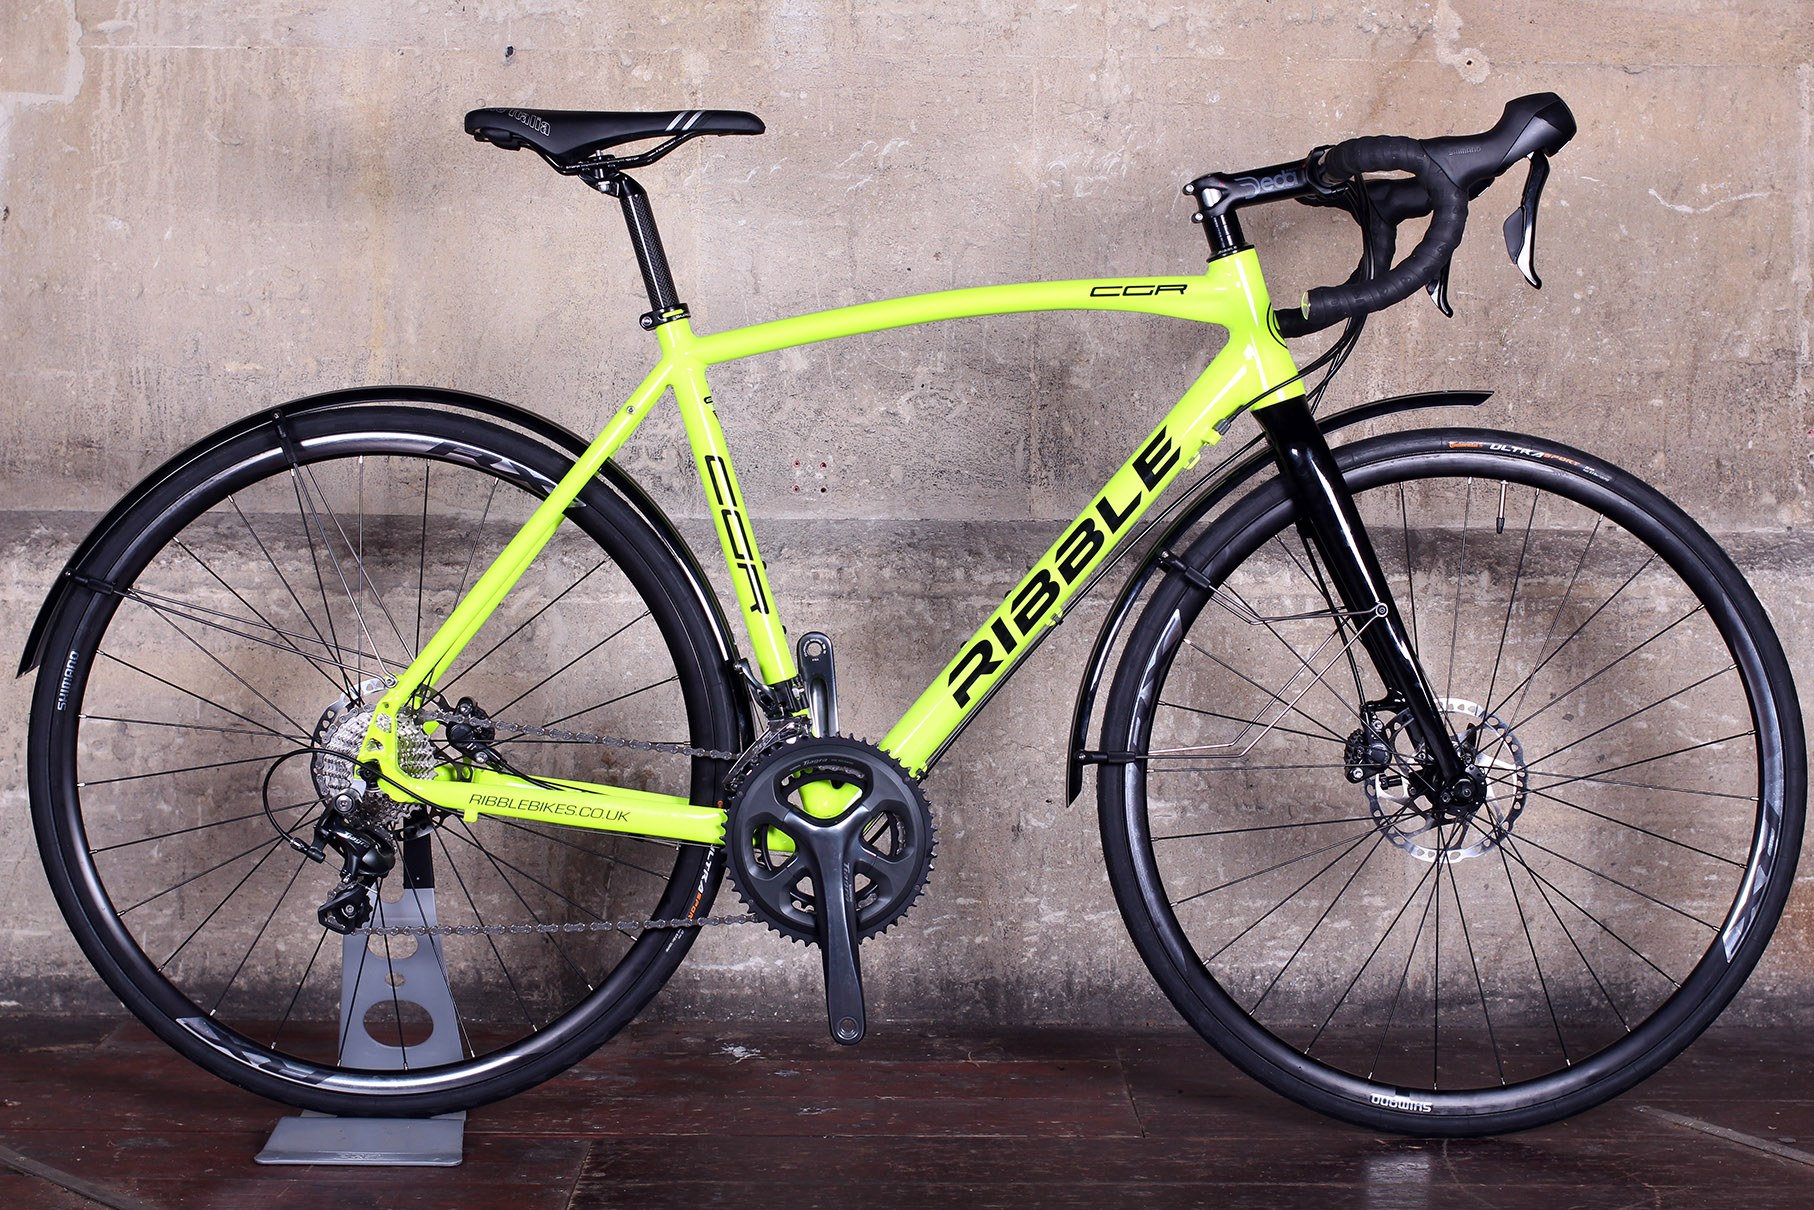
With most bikes the brakes are a limiting factor when it comes to tyre width, many disc brake-equipped bikes offer much more clearance. The Ribble CGR, for example, offers enough space for 35mm tyres with mudguards and even bigger without.
Check out our feature Why you need to switch to wider tyres.
Switch your saddle
If you’re not comfortable on the saddle that came fitted to your bike, change it.
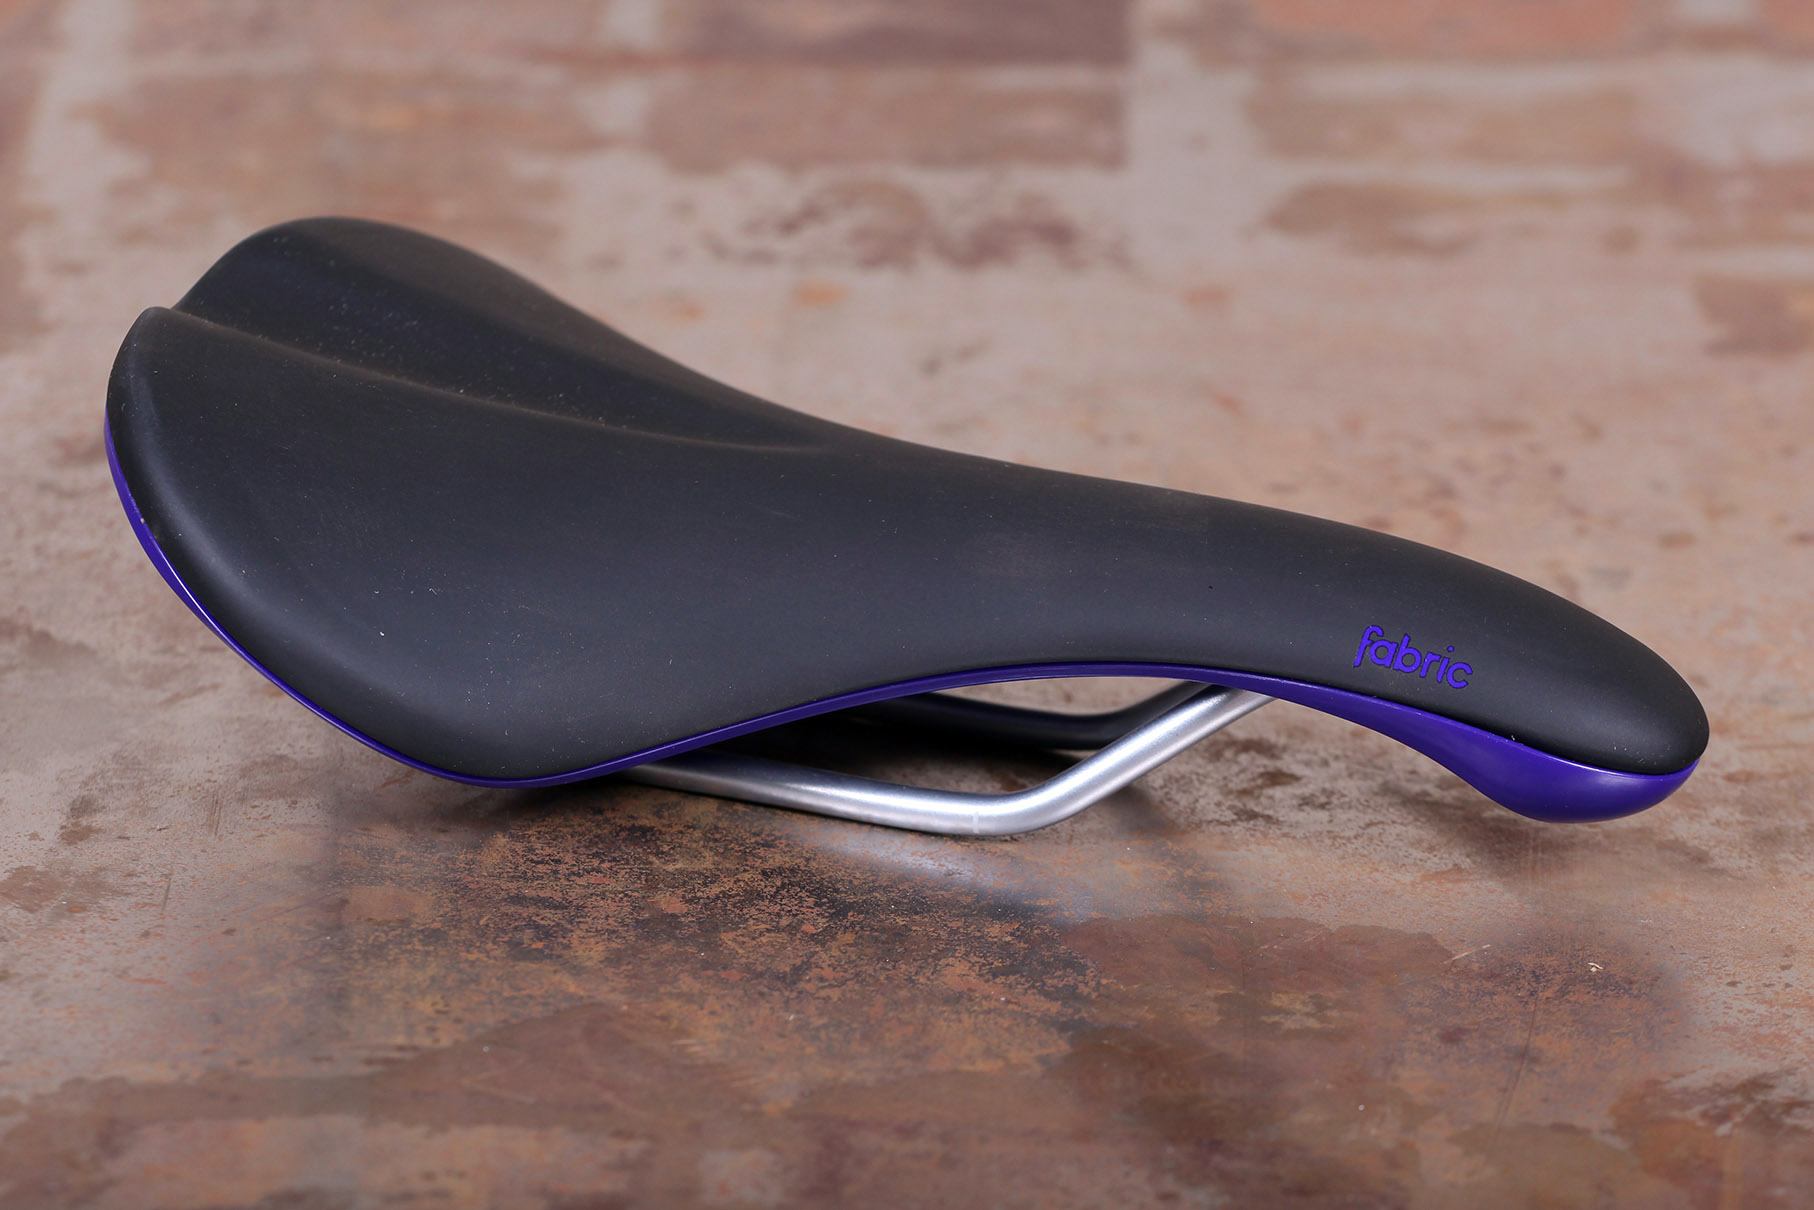
People sometimes think that a large, squashy saddle will be the most comfortable, but that’s not always the case. The fit is more important and that’s a very individual matter. Some people like a cutaway centre to remove pressure in that area, some people don’t. Just because your friend gets on well with a particular saddle, that doesn’t mean you will.
So how do you decide which one is best for you?
Many bike shops will be able to help you make your choice using a saddle finding system.

Selle Italia, for example, has its idmatch system. You give some basic information about yourself and the type of riding you do, then the bike shop assistant takes some measurements – all totally painless! – enters them into the computer and gets you some recommendations.
Other saddle manufacturers offer similar systems to help you find the most suitable saddle.
For more info, go to our saddles buyer’s guide and check out our saddle reviews.
Change your bar tape or grips
If you ride with old or poor quality bar tape, every little bump in the road gets transferred directly to your hands and arms. The same is true if you’re using worn-out grips on a flat-bar bike.
Good bar tape can filter out road buzz that’s heading for your wrists, and it doesn’t have to be expensive.
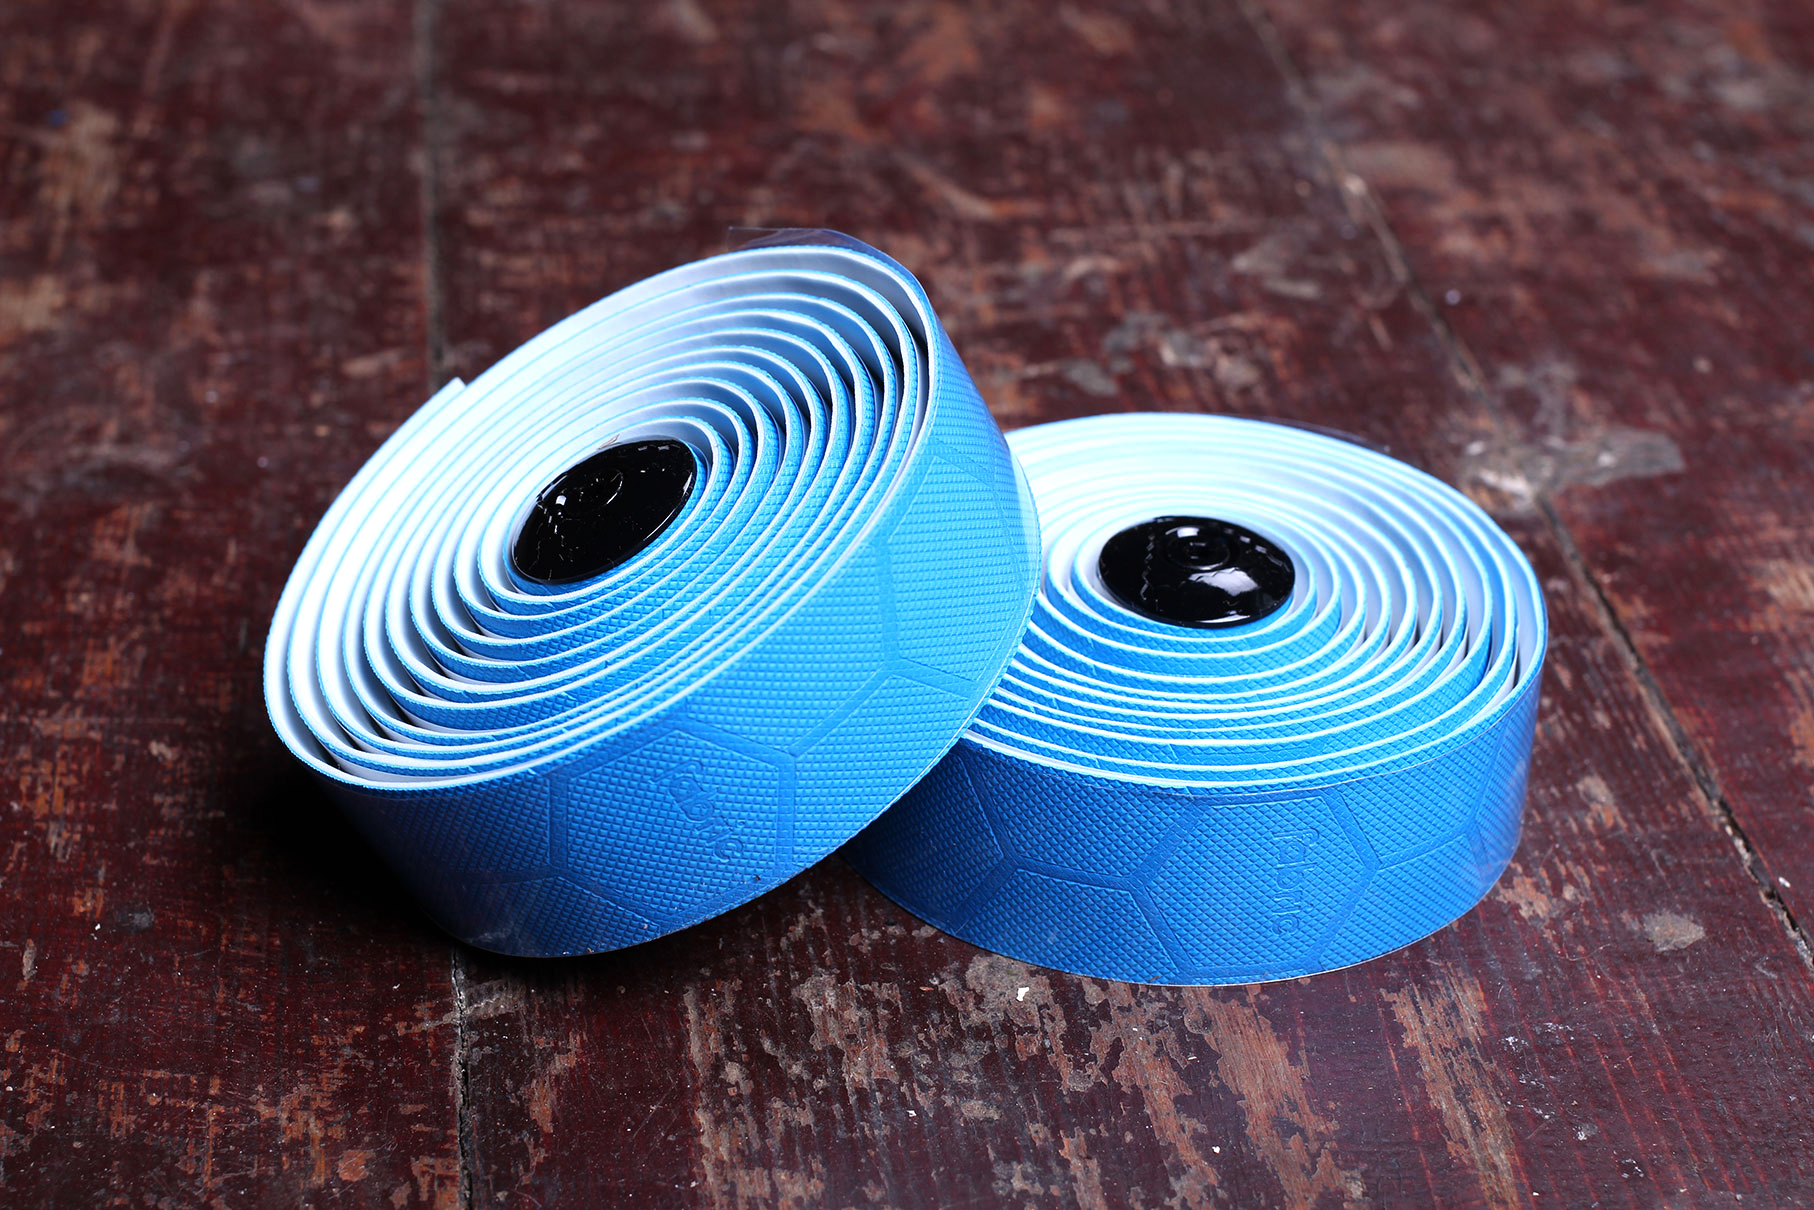
Fabric Hex bar tape (£13.99), for example, is soft, tacky silicone tape that’s easy to look after.

Pro riders sometimes fit a double-layer of bar tape, especially for the cobbled classics like Paris-Roubaix, and you can do the same.
Another option is fitting shock-absorbing gel pads underneath your bar tape. Specialized’s Body Geometry Bar Phat tape (£22) comes with gel pads that you fit to both the top of your handlebar and the drops.
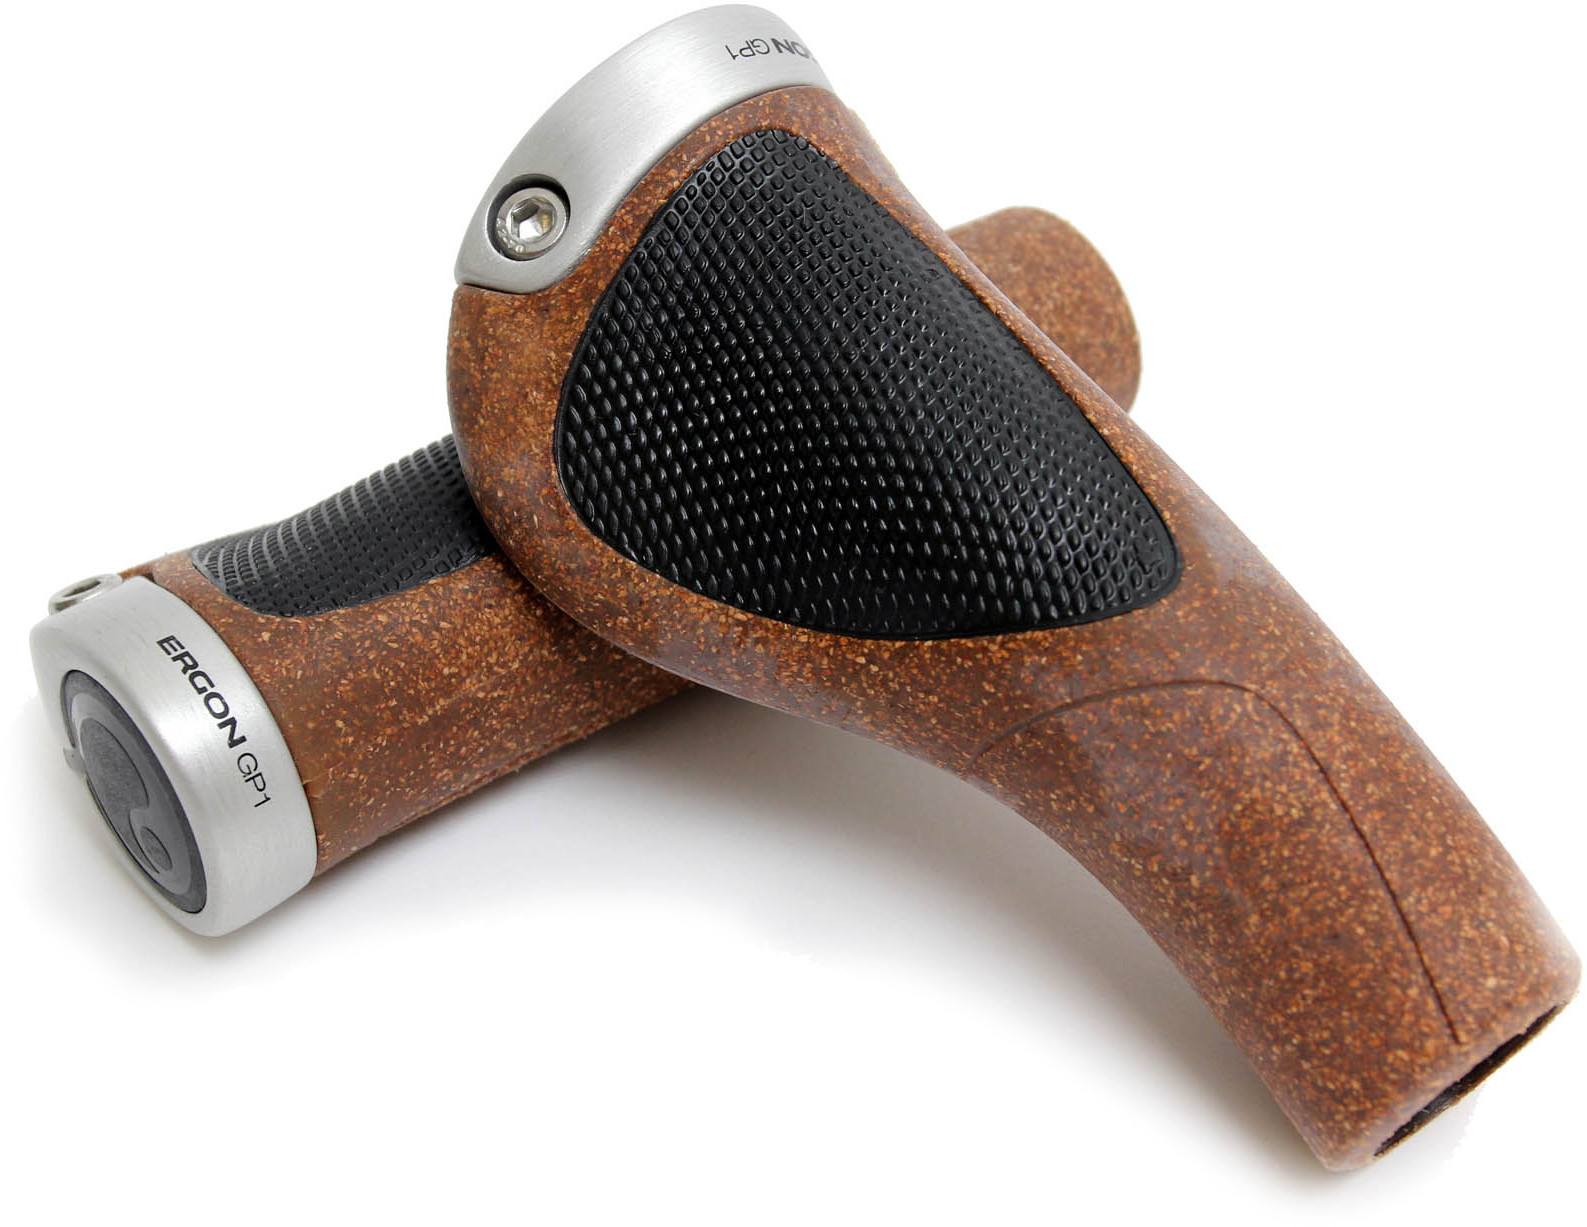
Similarly, if your handlebar grips aren’t comfortable, get some new ones. It’s a relatively cheap way to make a big difference to the feel of your bike. These Ergon GP1 Biokork grips (£34.99) are designed to fill your palm in order to minimise pressure.
Swap your seatpost
Suspension seatposts exist mainly for mountain biking, but you can fit one to a road bike if you like.

USE’s Vybe suspension seatpost (£85), for example, provides 50mm of bump absorption.
If you don’t want to go that far in pursuit of comfort you can fit a seatpost that’s designed to flex more than usual.

Specialized’s CG-R carbon post (£170) has some built-in vertical flex thanks to its unusual head.
Change your handlebar
Drop handlebars come in different widths – 400mm, 420mm and 440mm being the most common. Bike manufacturers fit the width that’ll be right for most people who buy a particular sized frame, but the width won’t suit everyone.
The distance of the drop (the vertical distance from the point where the stem attaches to the ends of the bar) also varies between bars, as does the reach (the horizontal distance from the point where the stem attaches to the furthest point forward) and the shape of the drop section – some are round, others are more anatomically shaped.

If you feel like the drop is too deep or the reach is too far, you might be better off shifting to a compact handlebar like this FSA K-Force. Most pro riders use compact bars these days.
Flat bars also come in different widths and with different levels of rise, allowing you to finetune your riding position.
Switch your stem
Stems come in various different lengths and angles, giving you the opportunity to alter your ride position significantly.
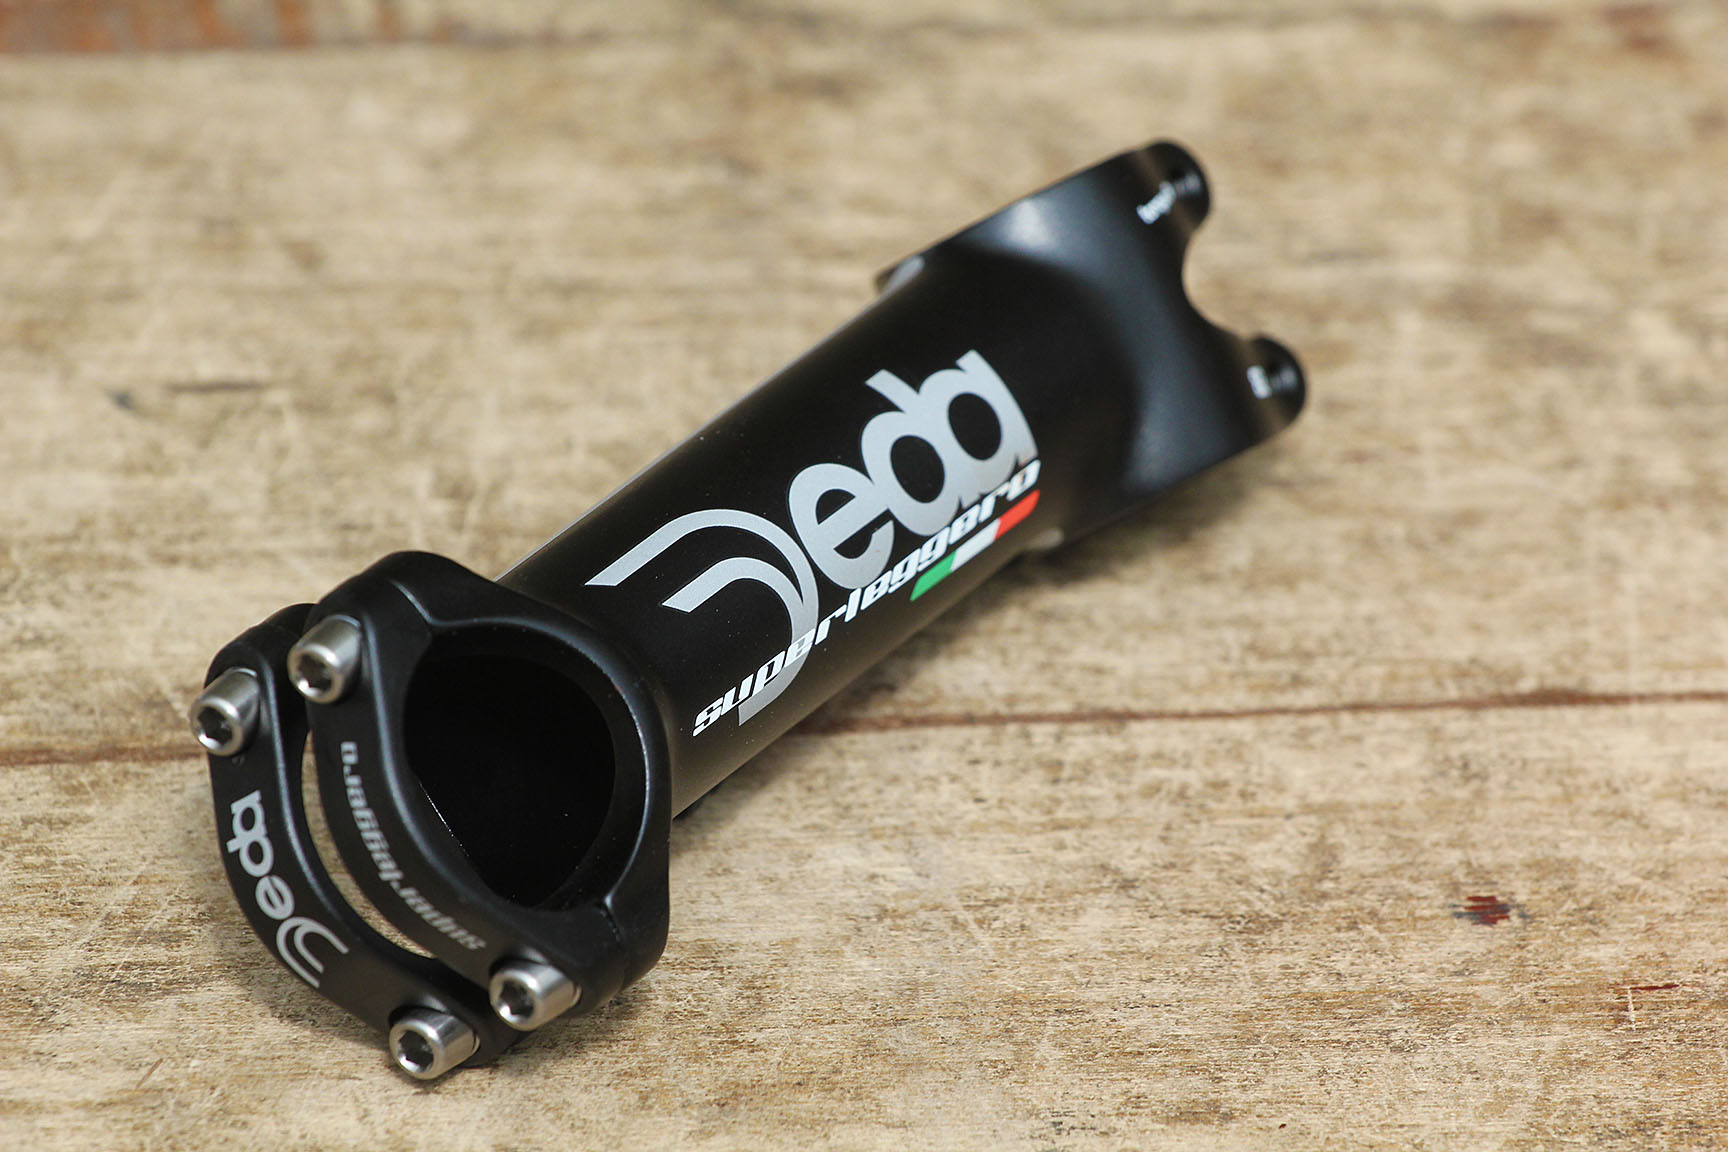
If you feel like your handlebar is too far away, you can fit a shorter stem to reduce your reach.
If you feel like your handlebar is too low, you could add a spacer underneath the stem (if there’s room on the fork steerer), fit a stem with a higher rise, or perhaps just flip the stem you already have.
We’d suggest that you take advice from a bike shop before altering your ride position, and perhaps even have a full bike fit (see below).
Have a bike fit
If you’re struggling to get comfortable on your bike, a professional bike fit can be a really good investment.
Essentially, this means that a specialist bike fitter will get everything set up just right for you. Some shops offer a fit when you buy a new bike, but you can always go back and have another, or book an appointment with someone new.
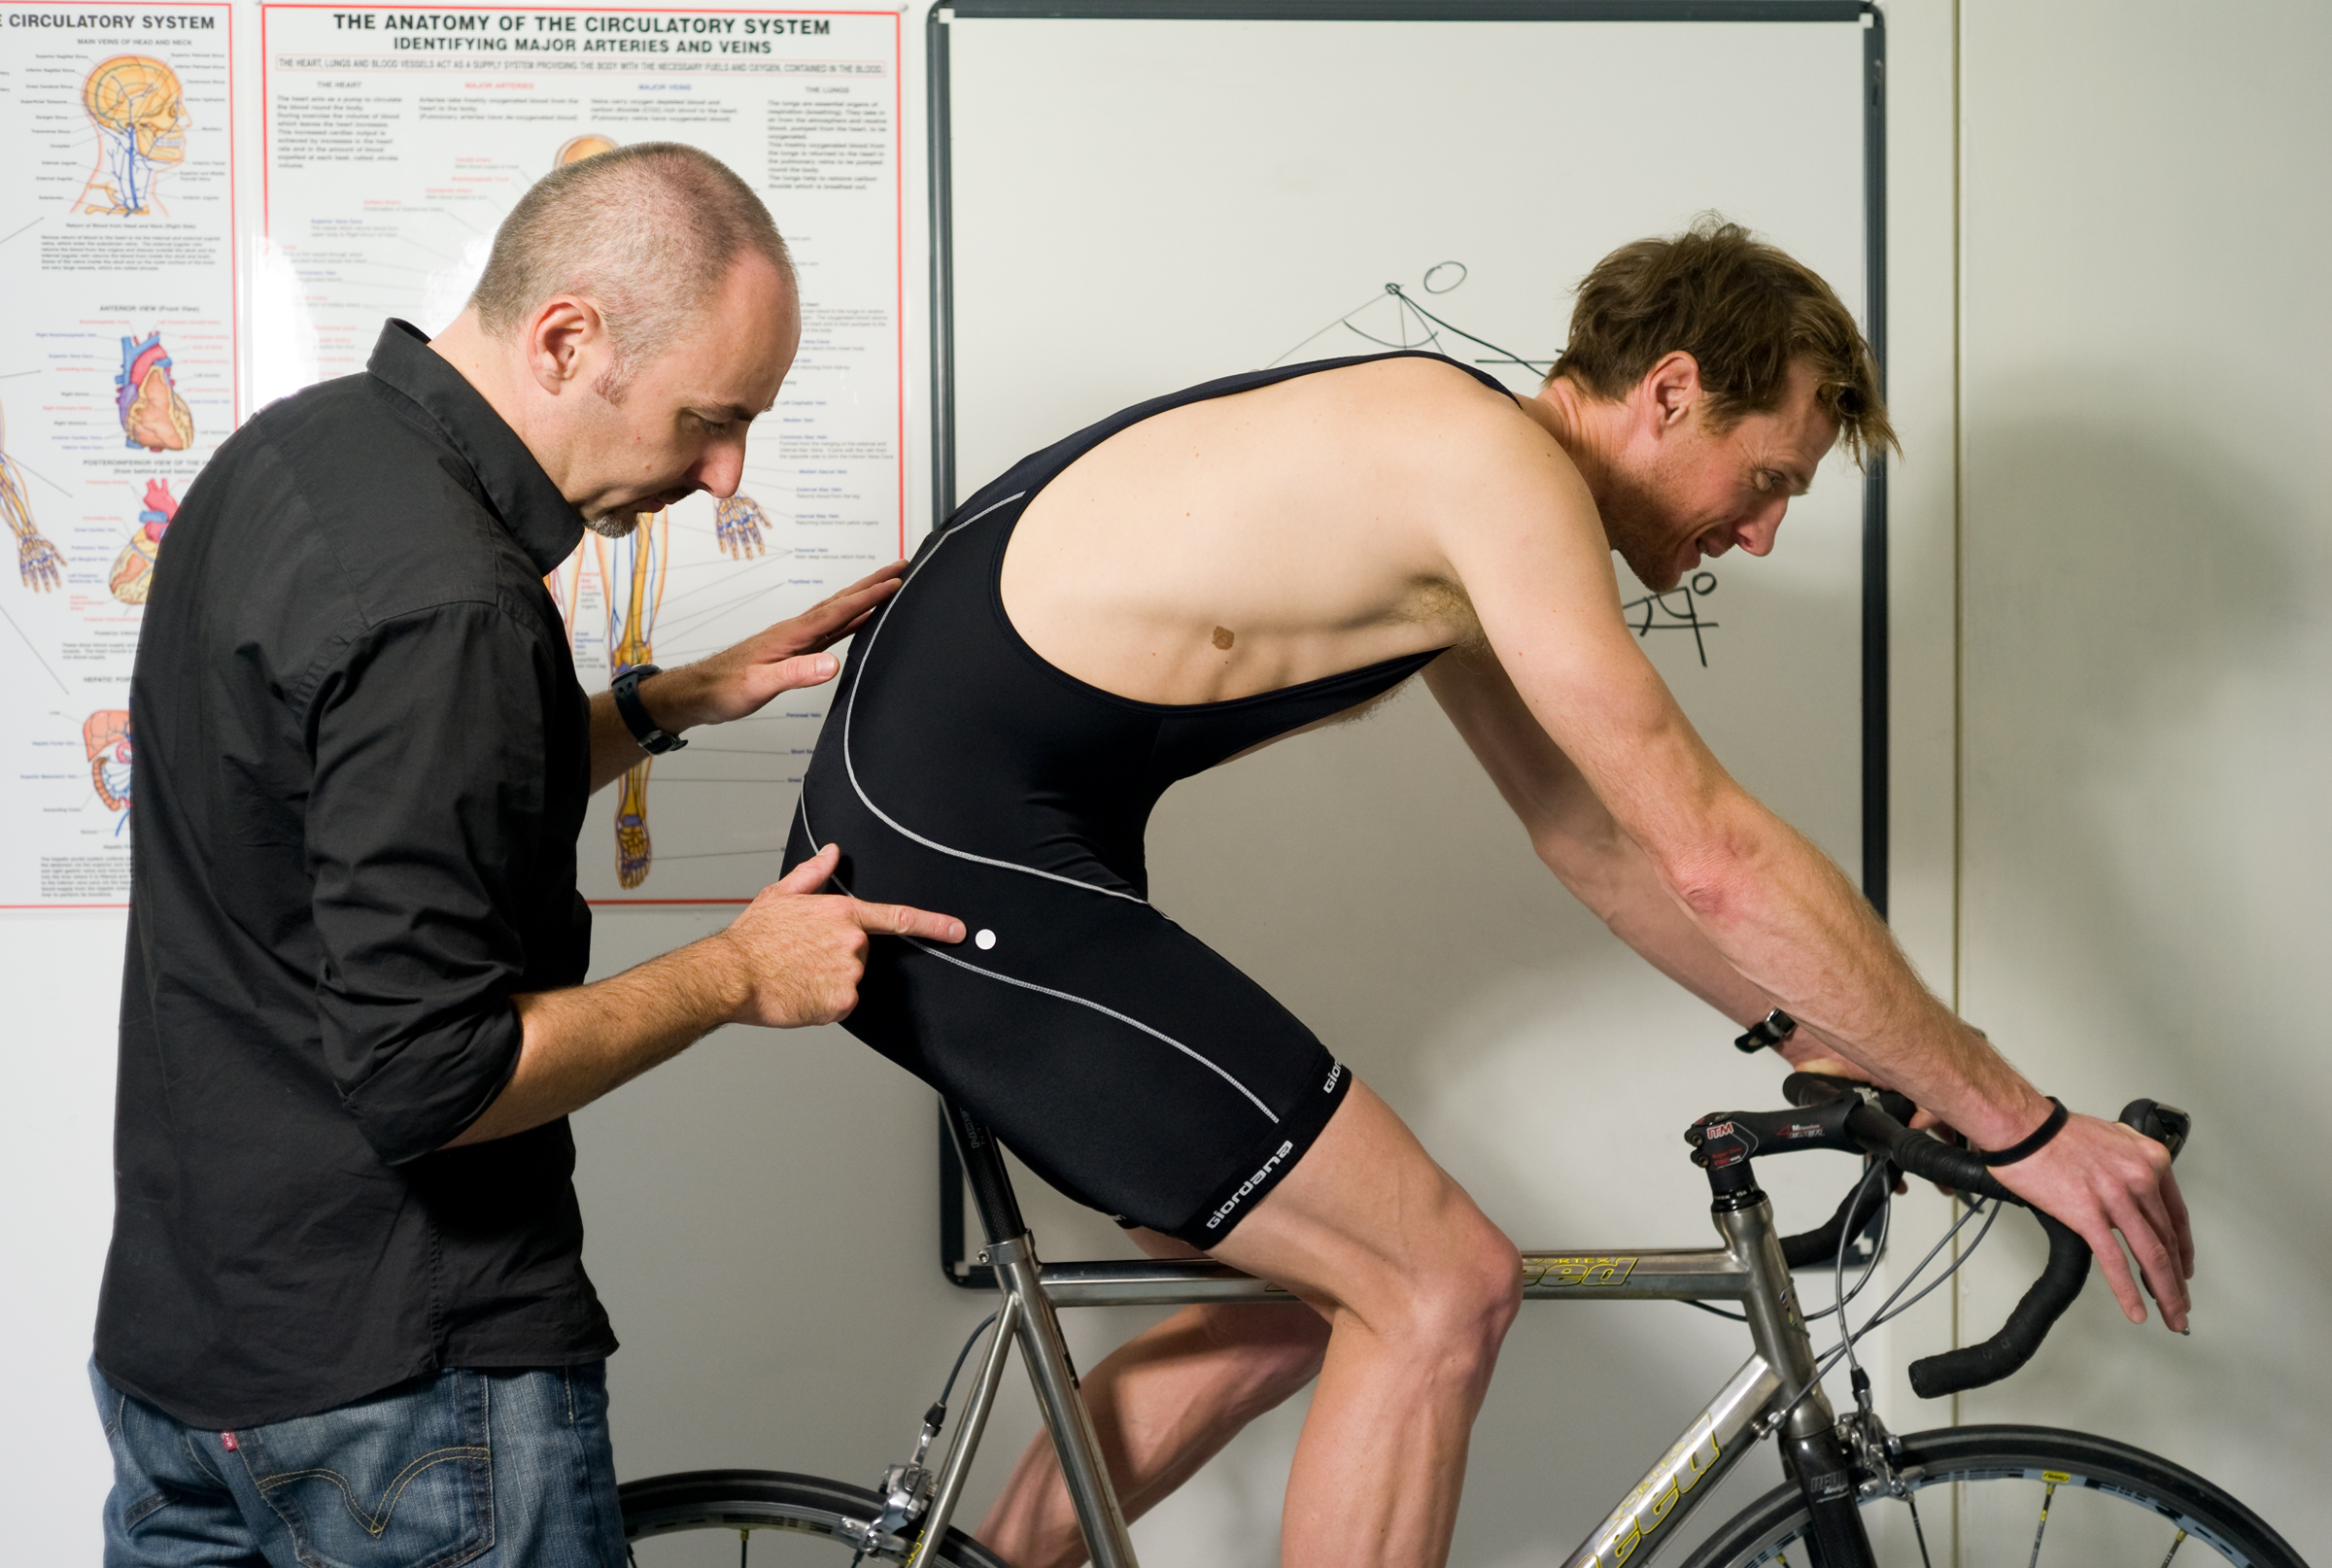
There are many variables to get right – saddle height, fore/aft saddle position, reach to the handlebar, handlebar height, the shape of the handlebar, crank length…
A bike fitter might change components – the stem or seatpost, for example – or could just tweak your setup. Think of it as a long-term investment in your cycling future.
Get padded shorts and gloves
If changing your components doesn’t provide the comfort you’re after, try new clothing.
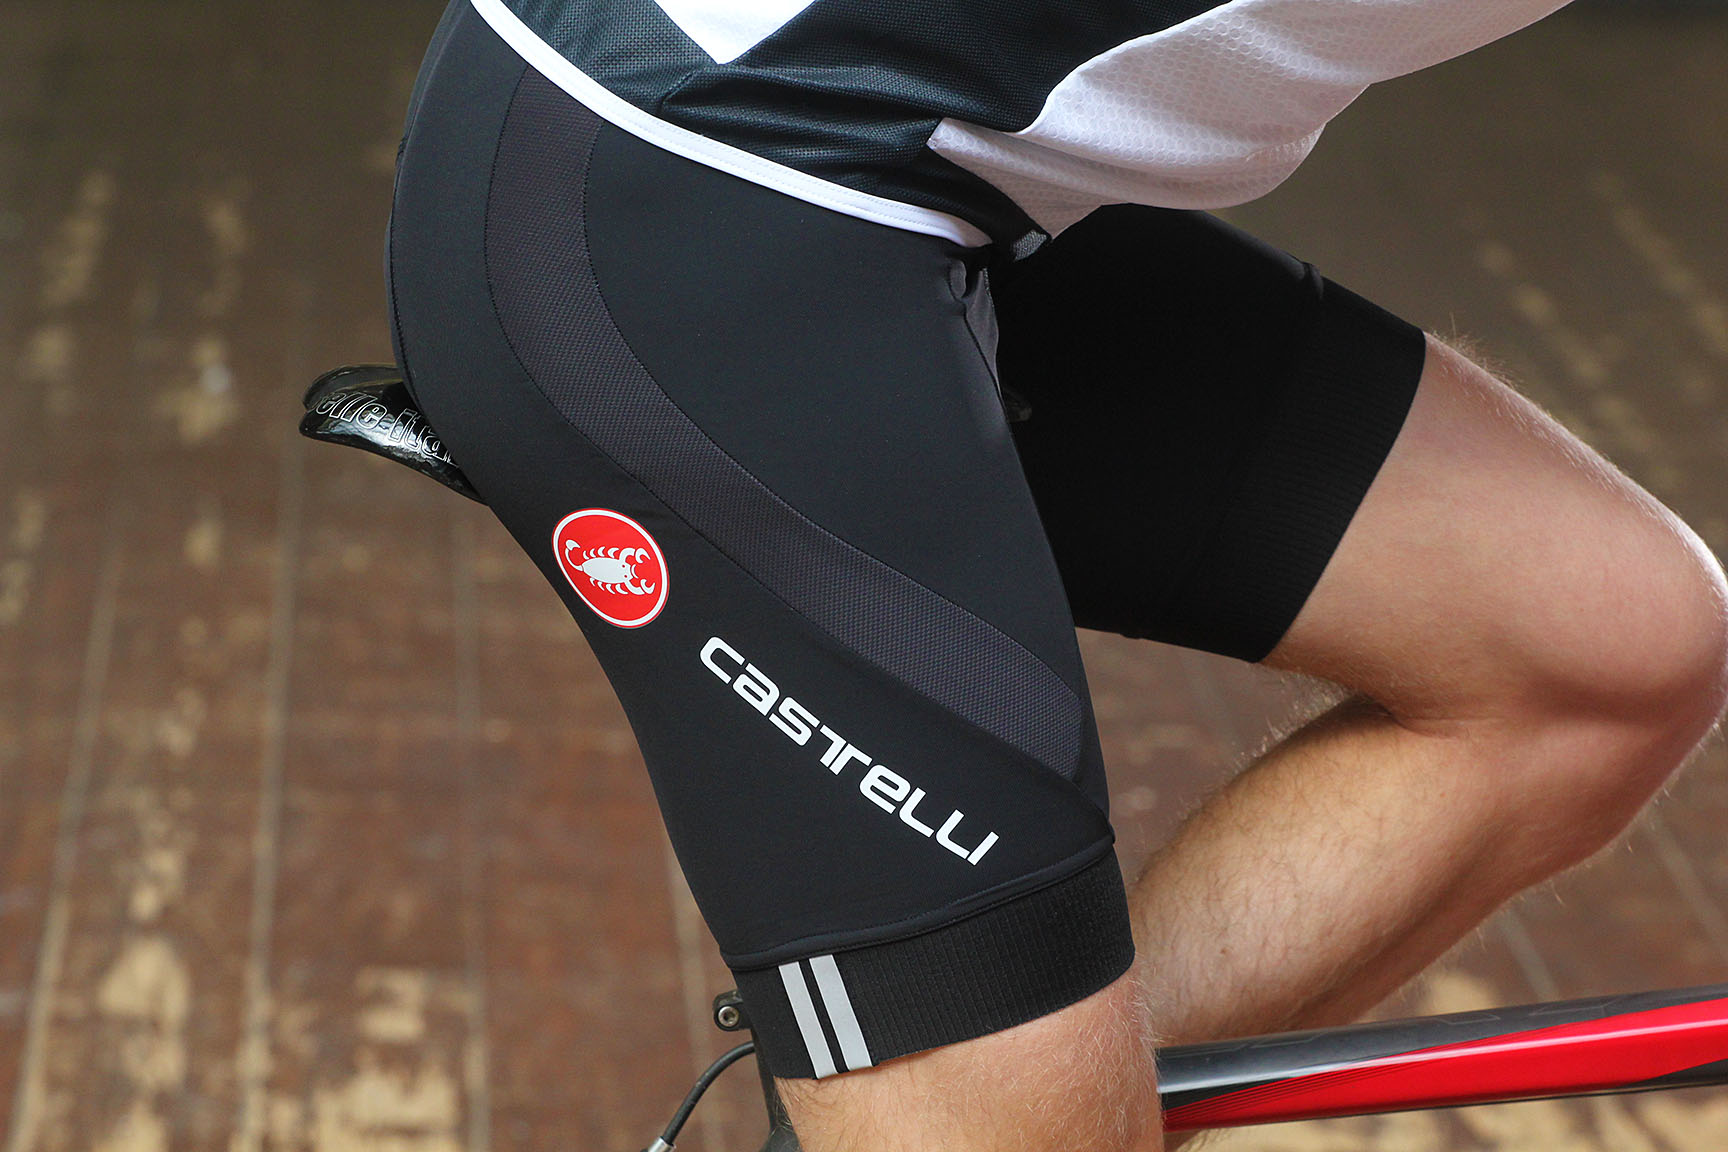
Well-fitting shorts with a cushioned seatpad will make a massive difference to your comfort. We have a feature that tells you everything you need to know about cycling shorts.
We also have loads of reviews of individual designs so it’s easy for you to find exactly what you’re after.
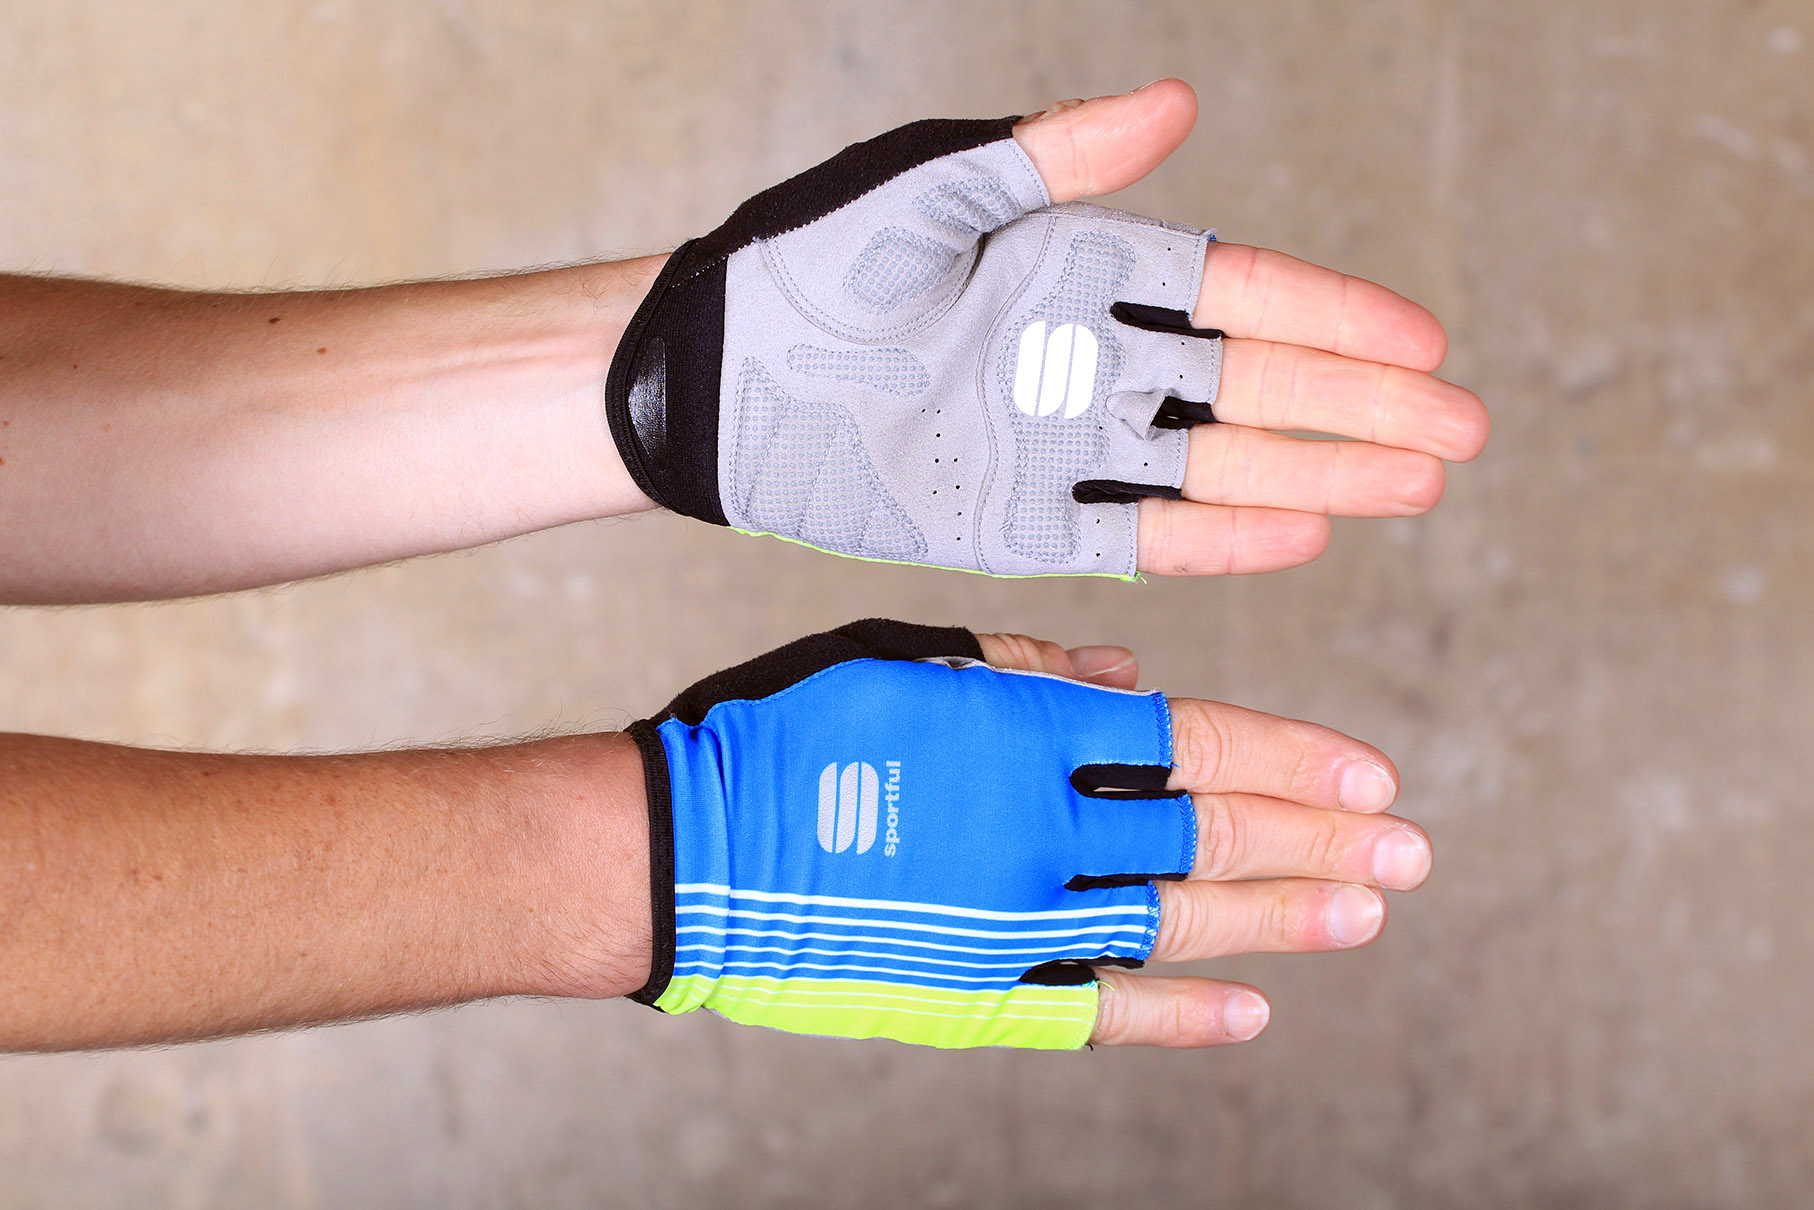
Mitts and full-finger gloves can help a lot too. Padded palms help to absorb vibrations from the handlebar (and they’ll also save your hands if you’re unlucky enough to come off).
Use chamois cream
Slap on the chamois cream to reduce the chances of saddle soreness. It reduces friction as you pedal and it’s usually antibacterial.
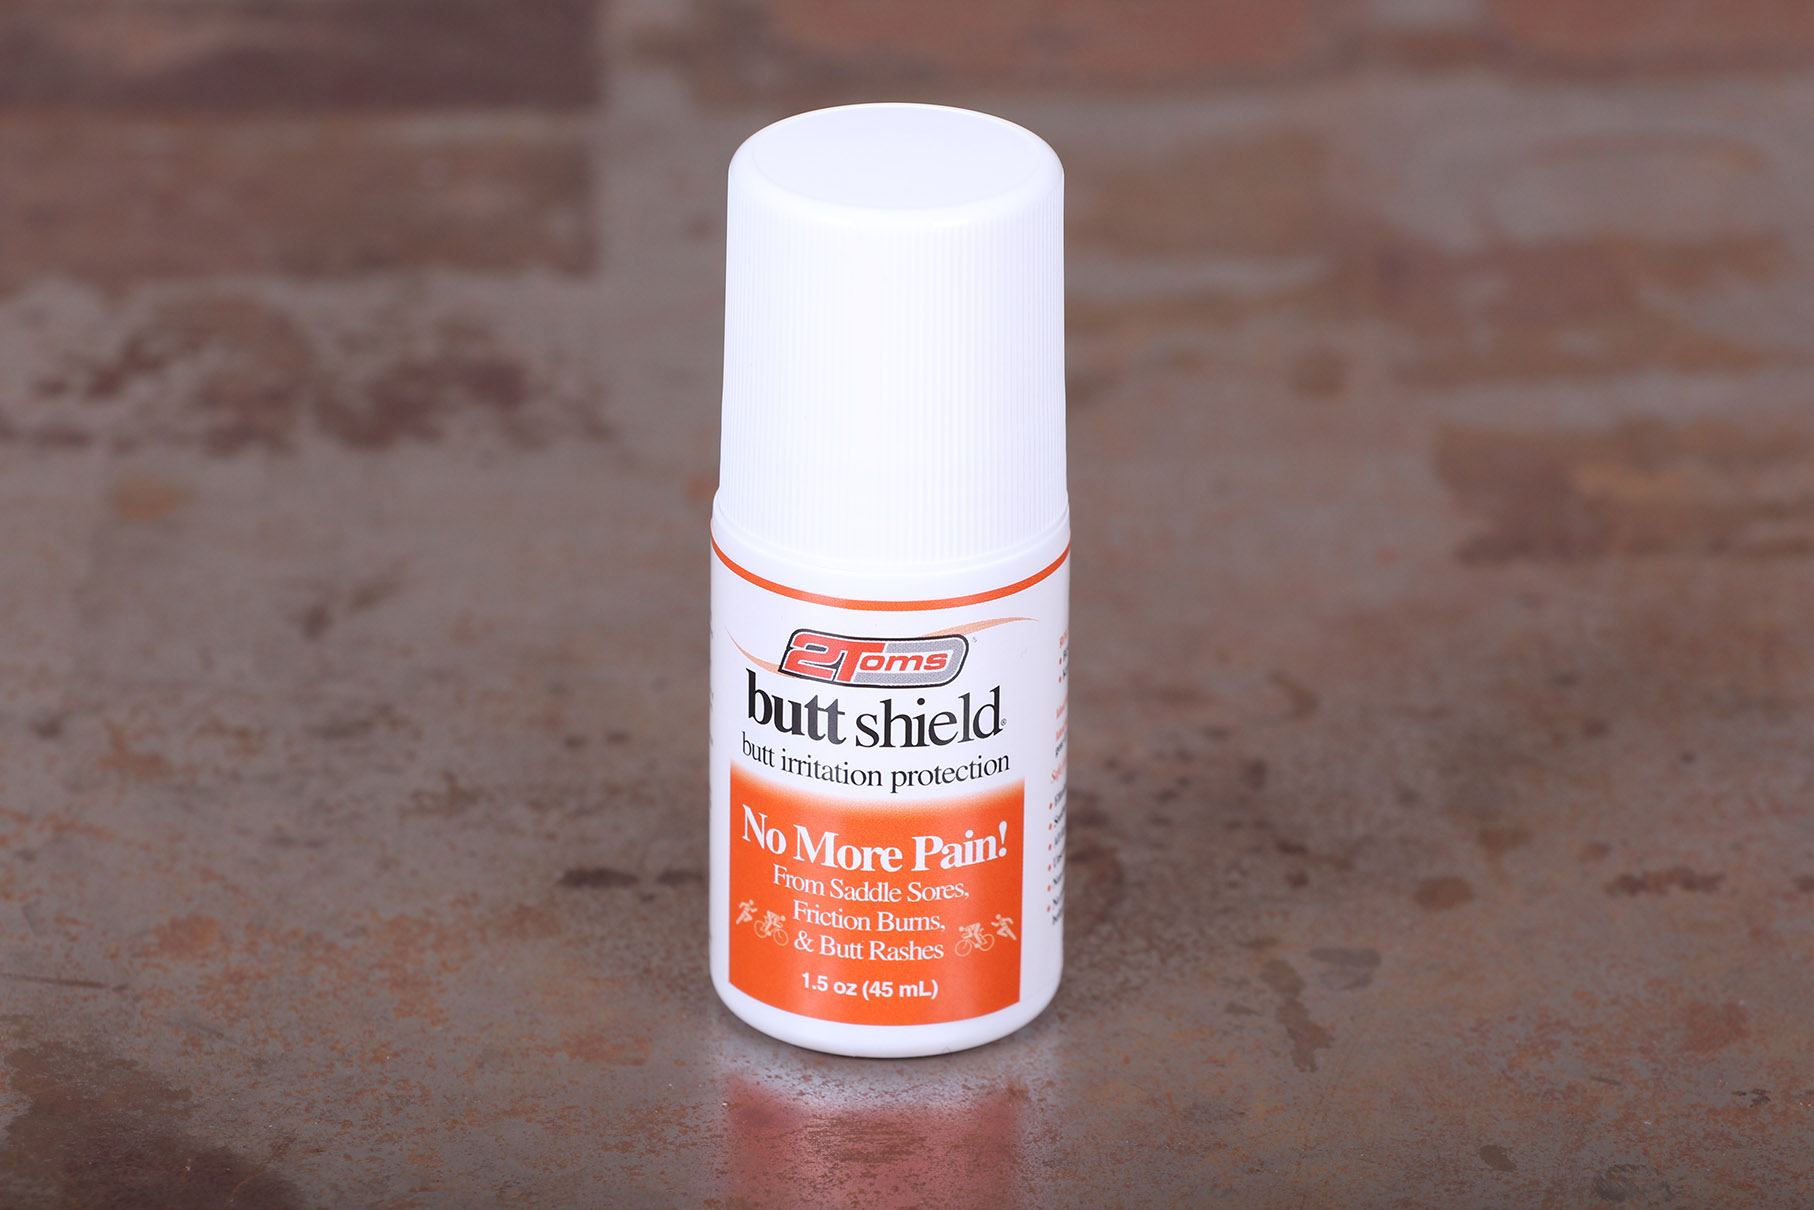
There are loads of different brands out there. 2Toms Buttshield (£15.99) works well.


37 thoughts on “Video: How to make your bike more comfortable – check out our 9 top tips”
Latex inner tubes
Latex inner tubes
Pifko wrote:
How latex give more comfort than ordinary butyl ?
You get the same air volume inside tyre casing with the same wheel
I don’t see how latex will help with this, placebo, maybe
Altimis wrote:
So imagine you used a hosepipe containing the same volume of air as an ordinary butyl tube? Would that be equally as comfortable do you think?
missionsystem wrote:
I’d agree with Altimis, it’s a tyre that is holding the pressure not the tube (try sticking 100 psi in a bare tube) so as long as the tube is pumped to the same pressure then the tyre will feel the same.
The only thing that surprised me about this article was that good shorts and gloves were so low on the list.
DrG82 wrote:
It’s the compliance of the tyre/tube system that is important.
Nick
Altimis wrote:
How latex give more comfort than ordinary butyl ?
You get the same air volume inside tyre casing with the same wheel
I don’t see how latex will help with this, placebo, maybe— Pifko
Try them – much better than butyl.
Nick
What’s with the half naked
What’s with the half naked bike fit? I don’t remember mine being like that…
geargrinderbeard wrote:
Indeed. I was completely naked for my bike fit (although I did insist on using two sheets of kitchen roll for my B17 saddle).
+1 for the Specialized Phat tape, by the way.
geargrinderbeard wrote:
Bike fitter didn’t fancy you. Try not to take it personally.
Perhaps you don’t look as
Perhaps you don’t look as good half naked, which is, on reflection, a pretty horrific thought….
I find a Brooks leather
I find a Brooks leather racing saddle to be fantasticly comfortable.
But the biggest surprise for me was that using SPD sandals would end up boosting my performance on strava segments. The sandals have a massive rubber sole which does a lot of wonderful shock absorption but standard-theoretically should be stealing watts on short power segments. My guess is that lack-of-comfort plays a role in limiting sprint output power especially for the aging (55) – the sub-conscious animal-brain is instinctively trying to protect the knees and joints from damage by limiting power – adding a little cushioning allows more power to be output with less knee/joint stress.
Are carbon handlebars more
Are carbon handlebars more comfortable than aluminium? By that I mean do they reduce road vibration more?
Just bought a new saddle and the options as regards getting a LBS to help were disappointing. My nearest only stocks one brand, another wanted £120 for some fancy arse mapping guff. I bought a Bontrager in the end which gives a money back guarantee for 30 days.
iso2000 wrote:
I have carbon integrated bar/stem on my road bike. It is very comfortable and certainly mutes the road buzz much more than an alu bar.
The road buzz isn’t really an issue on my winter/commute bike with alu bars – I have specialised bar phat beneath the tape which takes out a lot of the harshness (I also have this on the drops on my road bike as it helps dull out larger bumps).
The real killer with carbon bars is the cost… Wider tyres and bar gel do a very similar job at a fraction of the cost.
Canyon48 wrote:
No, the real killer with carbon bars is when they break unexpectedly due to either improper torque used to clamp the stem to the bar, or a problem in the manufacturing process, or had a previous accident but the bar looked good so you continued to ride it giving it no thought.
It’s not all about spending
It’s not all about spending money though, eh?
These things all help I’m sure (bike fit, certainly) but I reckon technique is just as important – observe the road surface and react to it by riding light through rough patches, using your arms and legs as suspension.
No point having all the above if you resolutely sit on your bike like a sack of potatoes, crashing the bike across the potholes, speed bumps and road ripples. Adding a bit of body language to your riding improves things no end, costs nowt and has no down sides that I can think of.
missionsystem wrote:
There is such as thing as a false economy, including naive “it ain’t broke don’t fix it” thinking.
Selective/affordable spending on some upgrades can be a wise investment, because it can increase comfort and control, thus safety, including in exceptional conditions, like unexpected surface conditions or weather, it can even save money over time! Better grips can reduce limb fatigue/damage, thus improve steering ability, better brake levers and brakes can save you from an accident, better wheels/tubes/tires can need far less maintenance and last a lot longer, a better seat can protect your crotch area and reduce butt/leg fatigue etc. a seat suspension post can deal with rough ground far better than any saddle or padding can; I got fed up and bought a Cane Creek seat suspension post! You should not rely on arms or legs for suspension, because that can cause cumulative joint damage…
Yes, some upgrades are only justified when a cyclist has sufficient skills/power to reveal limitations, but not all.
An inner tube adds extra
An inner tube adds extra thickness to the tyre casing. Tyres and tubes flex together.
Latex tubes and tubeless setups have lower rolling resistance and are more comfortable.
I’ve got a pair of Ergon
I’ve got a pair of Ergon grips on my hybrid (the big GP4 ones with bar ends). Bl**dy brilliant! 🙂
Which is first line of
Which is first line of defence? Saddle or shorts? How long should a saddle be comfortable for with minimal padding if it’s a good fit?
Yorkshire wallet wrote:
I reckon the saddle is way more important than the shorts. A poorly fitting saddle will be uncomfortable no matter what shorts you’re wearing whereas poorly fitting shorts will take time to become uncomfortable/chafe if the saddle fits nicely.
My arse is giving up after
My arse is giving up after about 2 hours at the moment, new saddle time?
Yorkshire wallet wrote:
Or a bike fit.
Yorkshire wallet wrote:
The clue is in your username, it is your arse that is the problem, it is too tight 😉
Yorkshire wallet wrote:
That’s the most likely issue (assuming you are happy with your current shorts).
Yorkshire wallet wrote:
Try a Charge Spoon. I found the Fizik saddle that came with my road bike horribly uncomfortable after a couple of hours. The Charge I did a six hour hundred mile sportive on and felt way better! As a bonus, they are also pretty inexpensive.
fincon1 wrote:
No point recommending anyone else your personal favourite saddle, everyone has a different preference.
I’ve got a Charge Spoon on my gravel bike, but the rest of my fleet all have Fizik Aliante versus, and these are far more comfortable than the CS.
Tried an Astute saddle on my turbo bike as I read good reviews about their comfort, lasted two sessions, before I took it off. Back to my Fizik.
maviczap wrote:
Fair point, but you can try a Charge for less than £30, whereas a Fizik will set you back the best part of £100 at a minimum. Pretty expensive if it turns out that, like me, it doesn’t suit you. Plus it’s not just my opinion, there are plenty of excellent reviews out there for the CS.
– ride a high-quality and
– ride a high-quality and well-fitted titanium or steel bike in the first place 🙂
Saddle covers? *ducks*
Saddle covers? ducks
I moved to a carbon handlebar
I moved to a carbon handlebar (cinelli neos) and seatpost a year ago. It does seem to reduce vibration a bit, but the bar flexes quite a lot and it creaks like mad too, think I preferred the firmness of alu. Will see how a decent aero handlebar feels when I get to that.
I’m not convinced that using
I’m not convinced that using Cork in the Ergon GP1P is a good idea for wear & tear, so recently fitted a newer MTB-specific Ergon GS1 pair; they are far more comfortable than even fresh neoprene foam grips because they I don’t have to grip much now due to plenty of palm support, so finger, front hand, and wrist-bending stresses are gone. I trimmed off the bar-end stop-edges to fit proper bar-thickness bar ends, because Ergon’s attempts are a too-thin joke.
urbane wrote:
I fitted Ergon GP4 grips on my hybrid, their biggest/longest, so I had a different position when hill climbing or cruising on the flat: sooo comfortable! Only downside is that my ride now looks like its entering the rutting season…
Seems legit….
Seems legit….
For a more expensive way to
For a more expensive way to get saddle comfort, call Dr. Ifade. The cheapskate’s answer is: push harder, boost those leg muscles, so your arse doesn’t put so much force on the saddle. Bonus: you’ll be faster too.
I’ve never tried double
I’ve never tried double wrapping a bar. By the look that Sky (?!) mechanic hadn’t either.
Slam your stem ,get a nice
Slam your stem ,get a nice drop height so your stretched out . Nothing hunched up or squished . I never have any issues whatsoever . No padding on my carbon seat the less things that move between your as and your saddle then then you have the least amount of friction . I never had a issue 100 miles or ten miles .
Things may not be comfortable at first but give your body time to adapt . That’s why most pros slam there stems and seem in a extreme position. It works try it I have been riding in ” extreme position for years ,no issues at all and never had a bike injury ” you can see one of my sub 4 kilo bikes in the bike photos section .
Buy a better bike ?♂️
Buy a better bike ?♂️