


In this article, I’ll be offering up a few handy tips on how to make your own versions of some popular workshop tools on the cheap for less money than it would be to buy the quality versions! There is a massive caveat here, which is that you’ll need access to some decent engineering tools, welding or brazing equipment, and have, or know someone with, the nous to use those tools. These are not exact step-by-step instructions, but a guide to the broad processes involved in making tools in a machine shop.
Nearly 20 years ago now, I enrolled on a night school course to learn about how to use a lathe, as well as some other workshop tooling and techniques. It was a fantastic year, and it set me up for any future projects that I’ve wanted to tackle. I mainly learnt using a Harrison M300 lathe, which had sharp tooling, and a fantastic tutor. So after I’d learnt about safety and how to order a task, which is about which cuts you take, and in what order, I decided to make a few workshop tools that were otherwise rather expensive.
As I’ve already mentioned, this article isn’t really for those looking to save a few quid quickly, or if you’re just starting out with home bike maintenance (you might be best checking out our beginners’ guide to building your own bike toolkit). If you enjoy practical tasks and don’t mind spending a bit more time on creating DIY tools that you can be proud of, then you will possibly be able to make some of the items below for less than going out and buying them at full RRP. A labour of love, but if you have the equipment and know-how to make it happen, it will be time well spent!
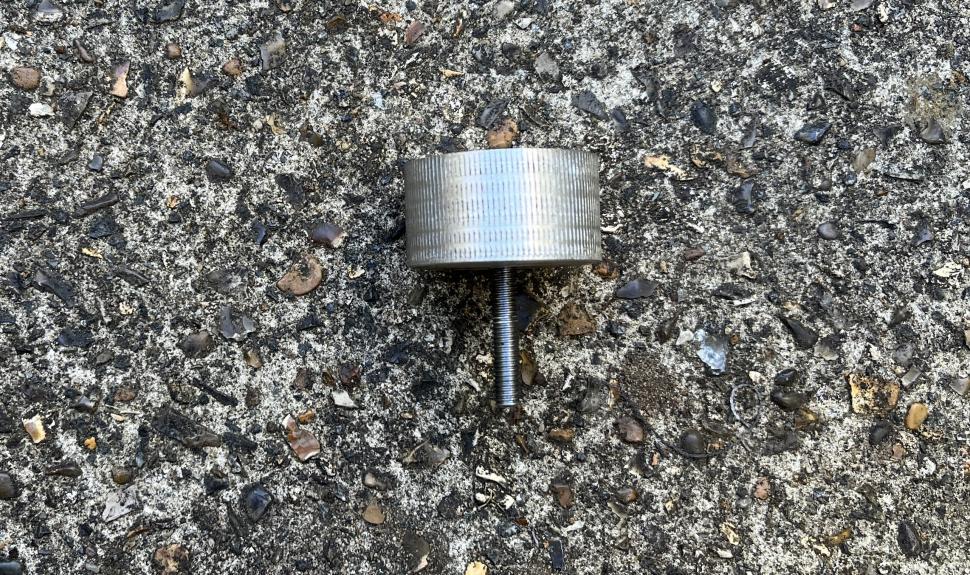
My first tool was a crown race setting tool. The Park Tool CRS-2M is about £80, and is broadly similar.
First, I measured the 1″ and 1 1/8″ crown races that I commonly use to work out the diameter of the tubing needed. I used an aluminium tube, which was faced off in the lathe and then turned to give a good finish. Then the correct diameter was cut to fit the crown races that I wanted to use.
Next, I decided to knurl the upper section of the tube. It looks fancy and adds some grip too.
As you don’t want to be hitting aluminium with a hammer too much, I made a steel top cap with chamfered sides to keep the hammer blows centralised down the tool.
It was made 0.1mm bigger than the tube to create a tight interference fit. I had also heated the steel up to red hot and quenched it in an oil bath to give it a protective finish before fitting it. 20 years on it still works well and is in regular use.
The Park Tool version has a removable base to allow a wider selection of different diameter crown races than mine. Maybe I’ll modify mine to do this one day?
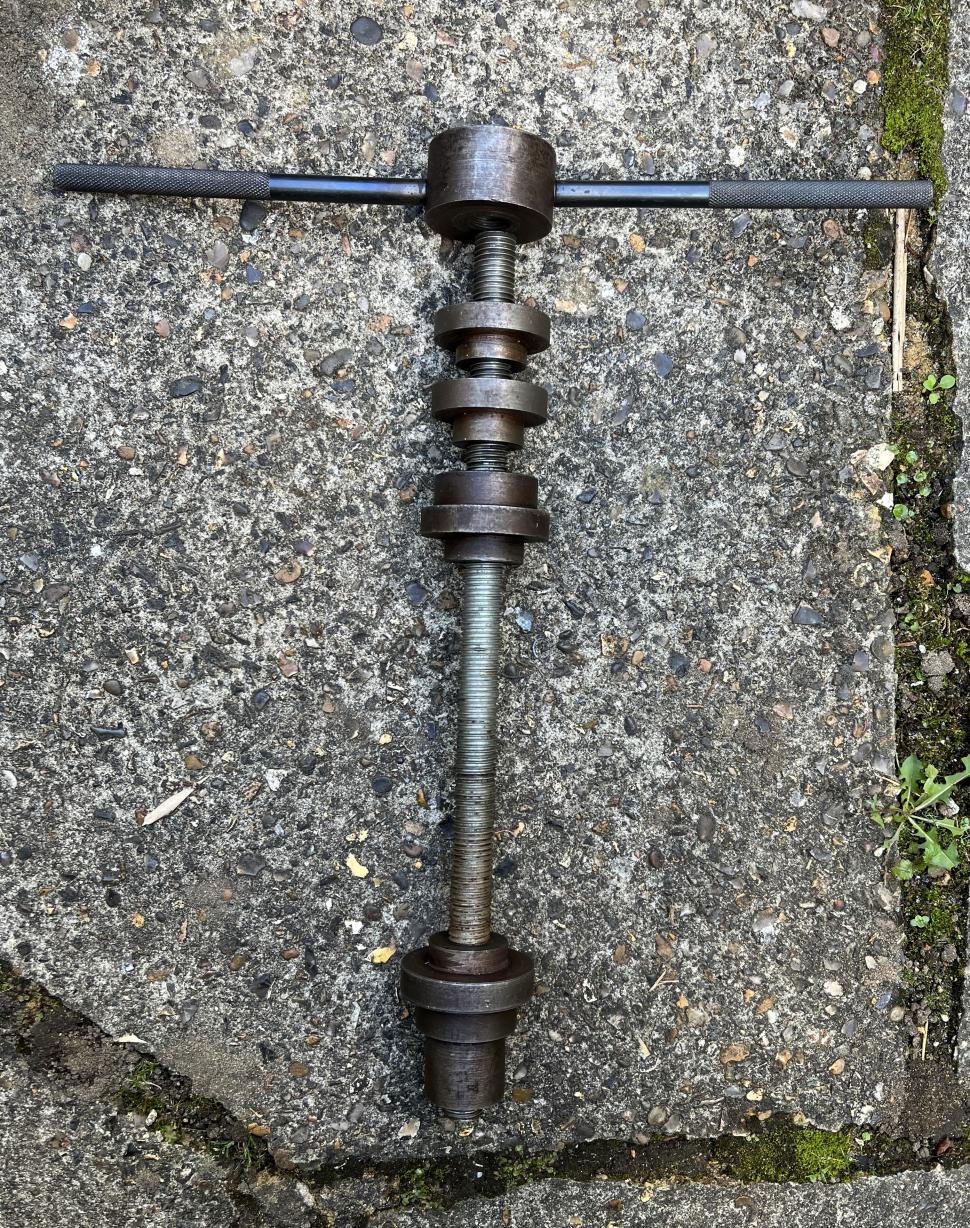
My next project was to make a headset cup setting tool. The Park Tool HHP-2 is around £200.
I used a section of 16mm x 2.0mm metric threaded rod as my starting point. I then turned the handle piece and threaded it, made the handles with knurling, drilled and tapped the holes for them and used Loctite to keep them in place.
Next was a simple threaded end stop, followed by two pairs of reversible setting tools. This meant that I can fit any type of 1″ and 1 1/8″ headset. The setting tools are able to slide on the thread.
In hindsight I should’ve angled the handles up, but the two unused setting tools at the top keep the handles from hitting the top tube.
My tool is a little slower to use than the Park Tool one, as it has a push button slider to get the setting tools in place quicker. But that’s ok!
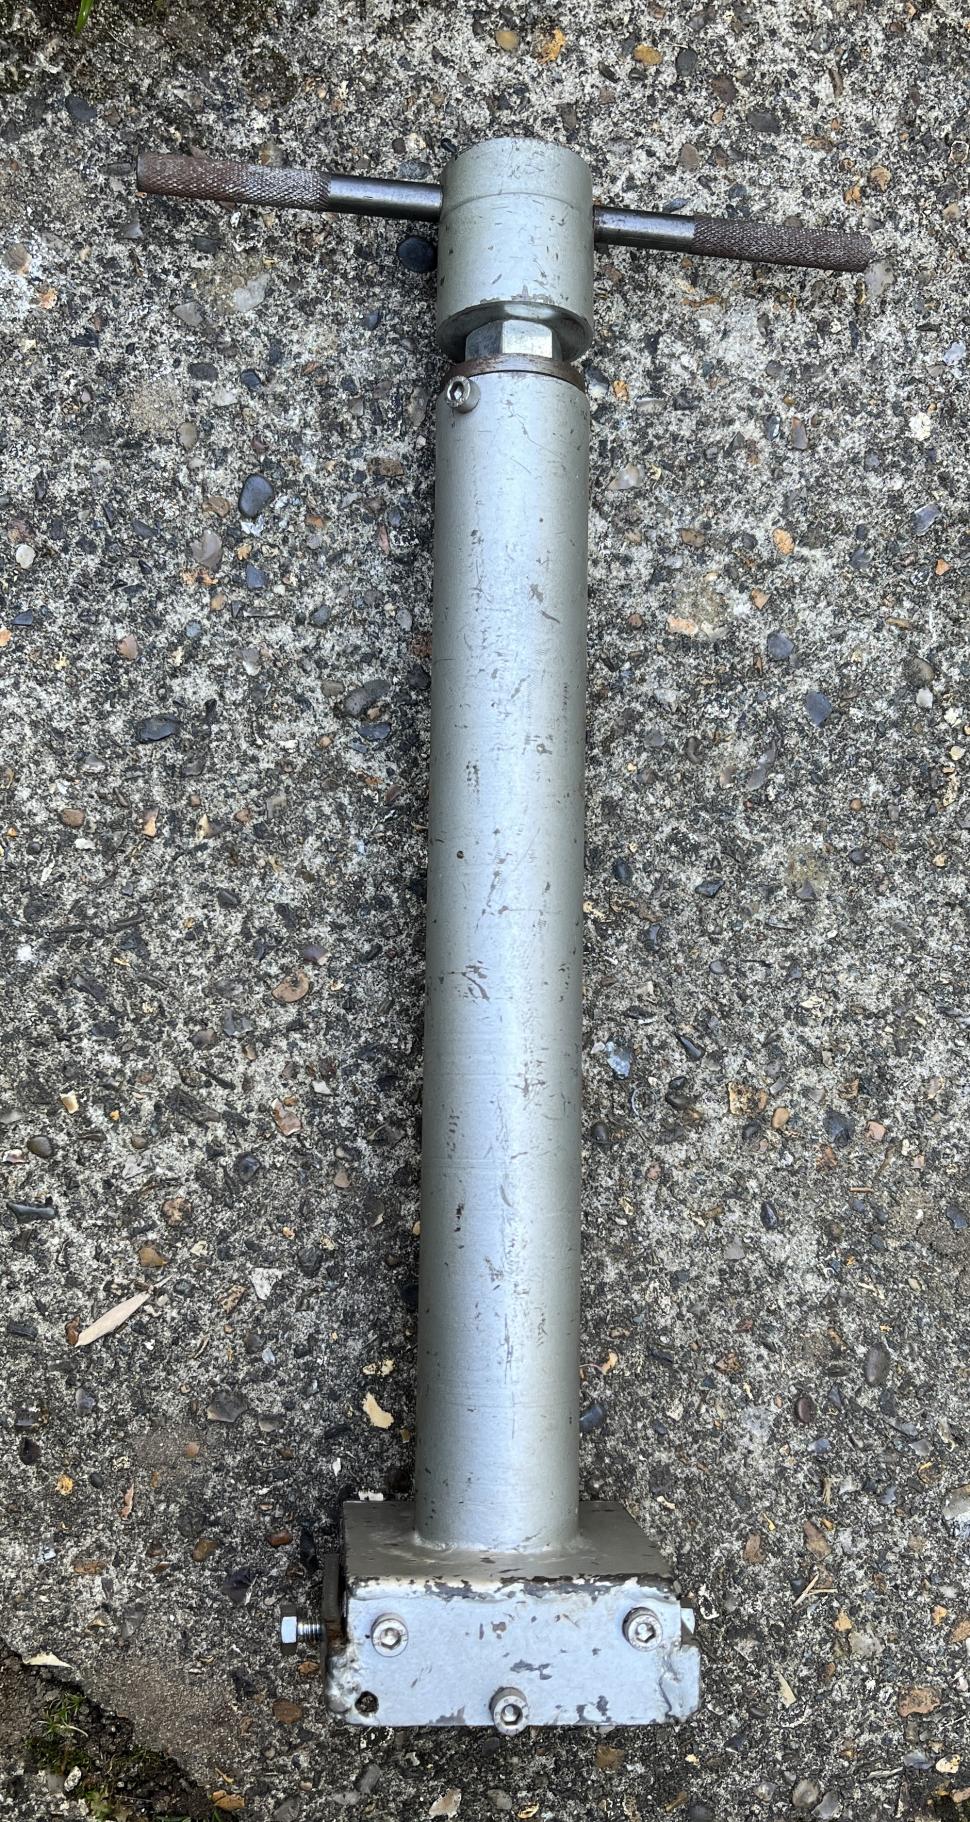
Having made these two relatively straightforward tools, I decided to be a bit more ambitious and make a crown race puller, which took a lot of effort and time to make (labour of love, as they say). The Park Tool CRP-2 is £300.
I decided that the jaws that lift the crown race needed to be in hardened steel, and as they have quite a specific shape, I bought them ready made. They may have even been Park Tool spares, but I can’t remember now.
The rest of the cradle I made using flat steel and welding or bolting sections together. This allowed for some easy fettling of the sliding jaw mechanism early on. This cradle was then welded to the main tube. The 16mm x 2.0mm threaded rod has a threaded section at the top, which was both interference fitted, as well as bolted, to give good strength. Again, the handles were knurled and oil quenched.
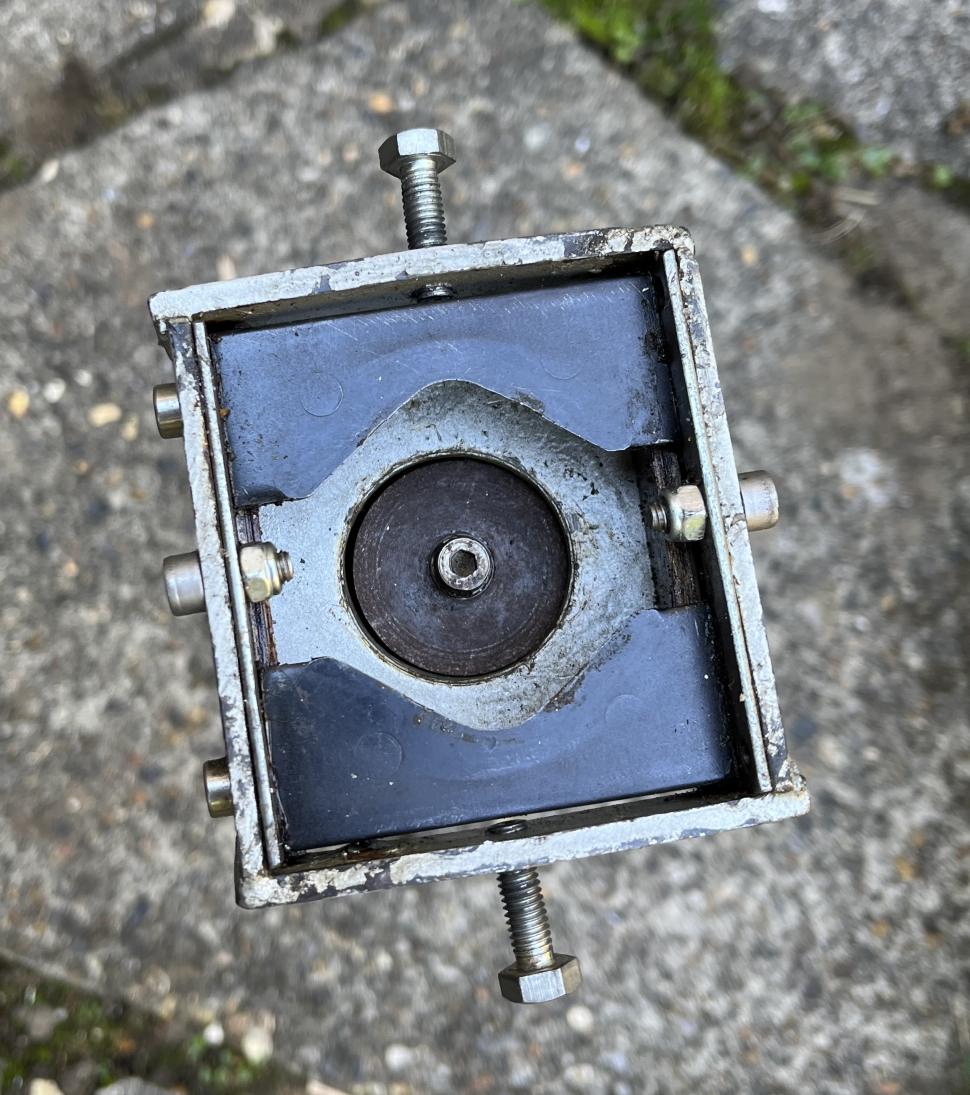
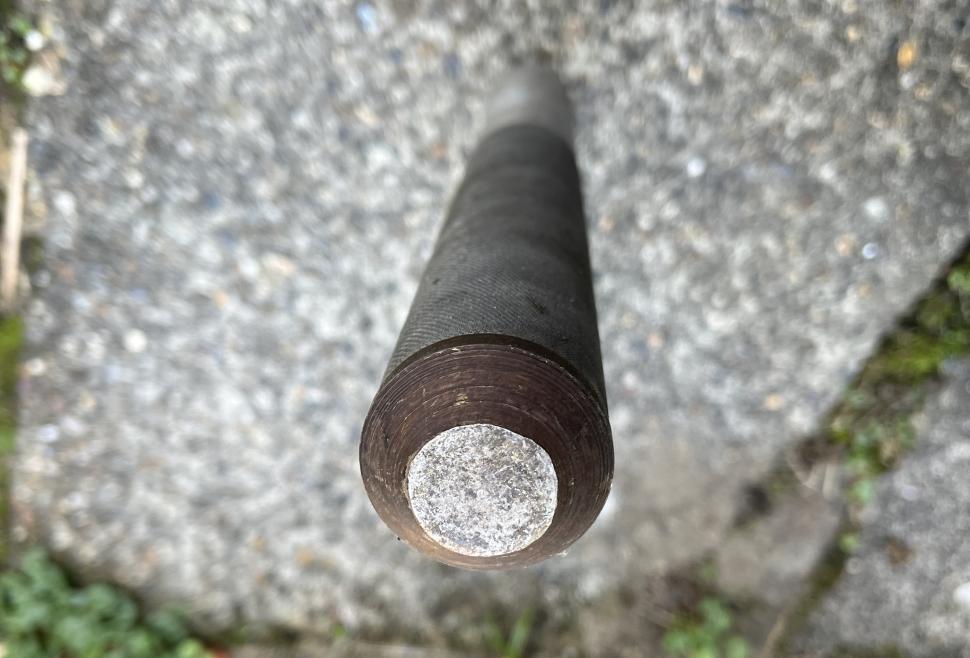
An interesting feature that I added is usually hidden, and it’s visible at the centre of the above picture. At the end of the threaded rod I added a steel disc, which can freely rotate. This was to stop any damage occurring on the top of the steerer tube. I particularly didn’t want any issues putting pressure onto 1″ steerer threads.
It has worked really well over the years, and you can apply precise pressure onto stubborn crown races, and remove them carefully and without damage.
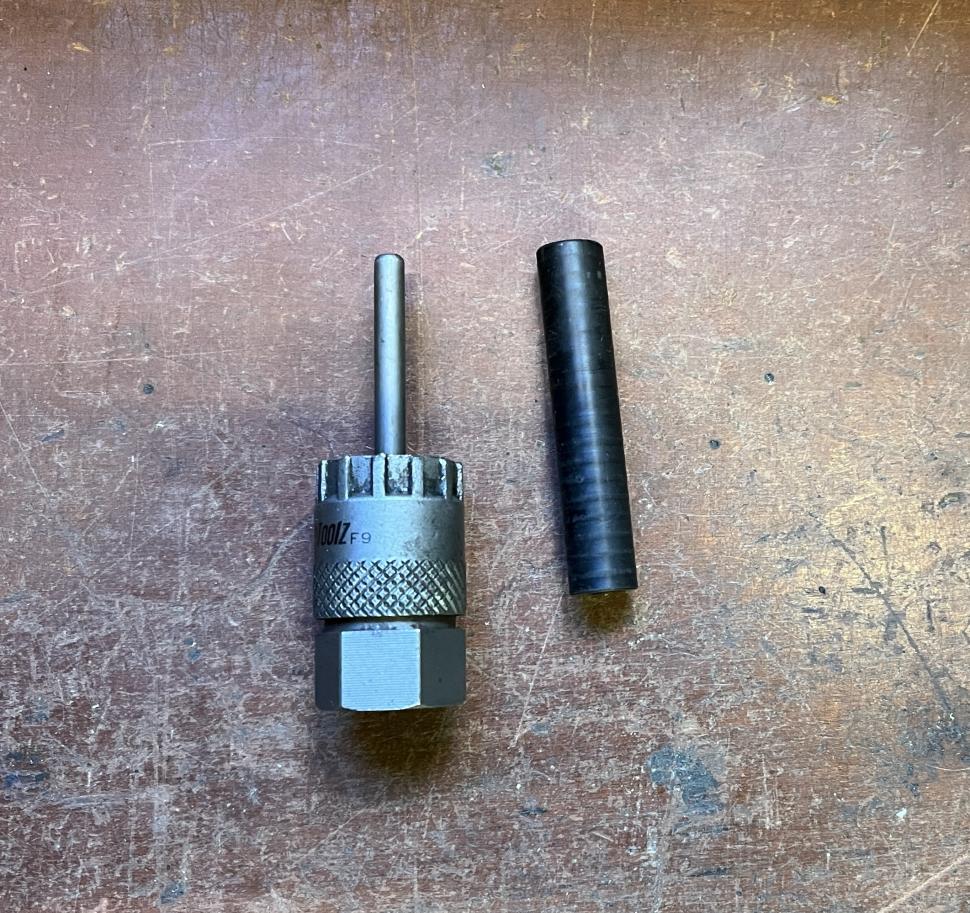
A simple little tool addition that I recently made was for my excellent IceToolz Shimano lockring tool, used for cassettes and centrelock disc brakes.
I love the pin that stops the tool from rolling out of the splines. It’s a good safety feature, as well as protecting the splines. But it doesn’t work so well on newer 12mm axle bikes. You could buy another tool for £15, or you could make a sleeve to slide over the narrower pin.
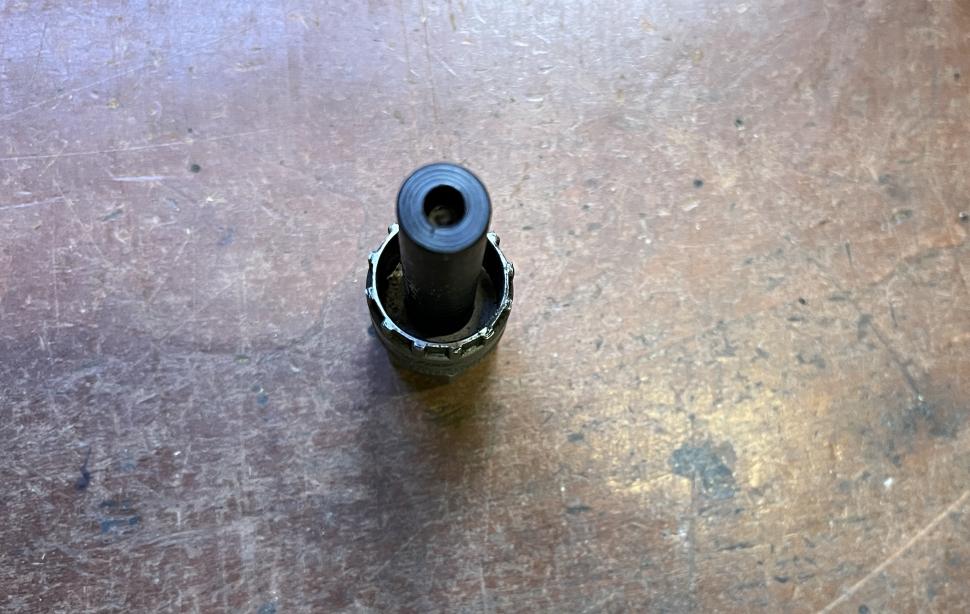
It doesn’t take any pressure, it’s a locating piece after all. I used some Delrin (a strong plastic), but aluminium or steel would’ve worked well too. I took me 20 minutes to make, saved £15, and means that I have one less tool to rummage through to find. Bargain!
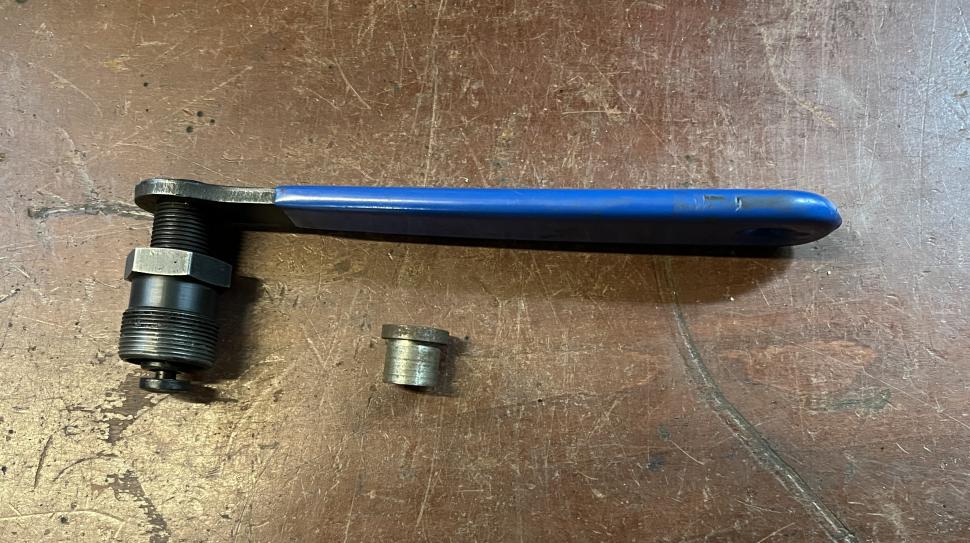
On a similar note, I made a small ‘top hat’ piece to allow me to use a Park Tool CCP-22 square taper crank puller on a friends’ Octalink cranks.
I don’t use Octalink myself, so it was a one-off job a few years ago. The ‘top hat’ piece sits in the axle hole, and allowed my puller to remove the crank easily. It only saved a few quid, but it took 20 mins to make, and I don’t begrudge it sitting unused in my toolbox. Who knows if it’ll ever be used again though?
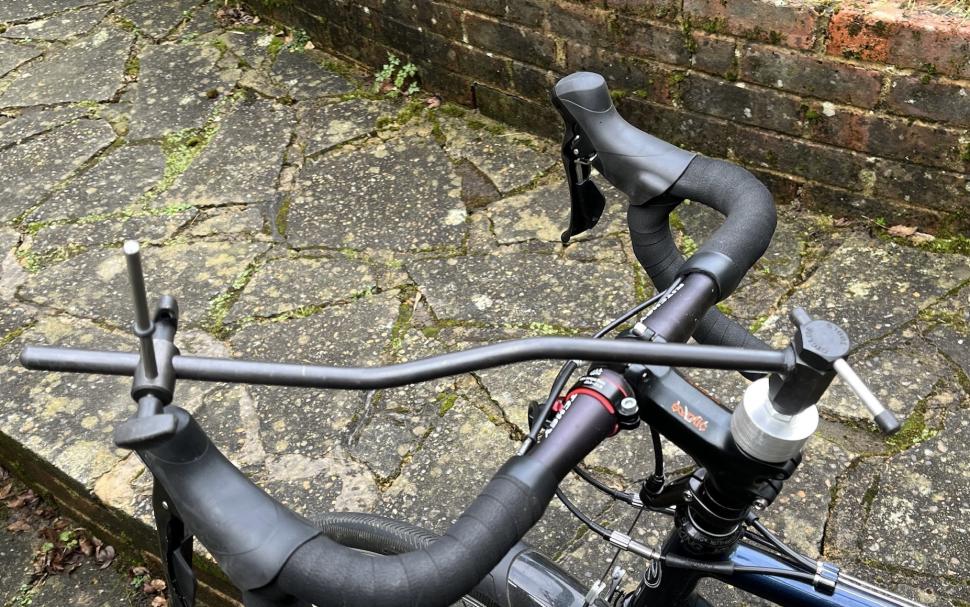
A really useful workshop tool is the derailleur hanger alignment tool. I use a Cyclus one which works very well. These tools cost between £20 and £70 depending on quality or brand, however, they can be used elsewhere on a bike, with a small adapter.
If you remove the stem topcap, screw in the adapter piece, then screw in the hanger tool, you can be certain that your brake levers are exactly level with each other.
Eyeballing them during a build will get them close, but it’s annoying if you notice them slightly off when riding. Or is that just me?
You create a cylinder (in aluminium), then drill a 5mm hole all the way through. Next drill an 8.5mm hole part way down that hole. Tap the smaller hole to M6, and then tap the wider hole to M10x1.0mm. Finally, Loctite an M6 Allen bolt in with the thread showing.
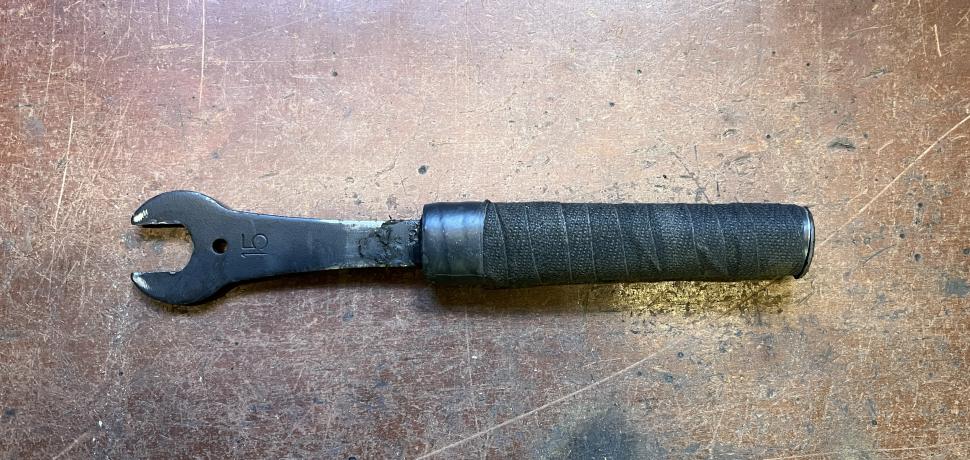
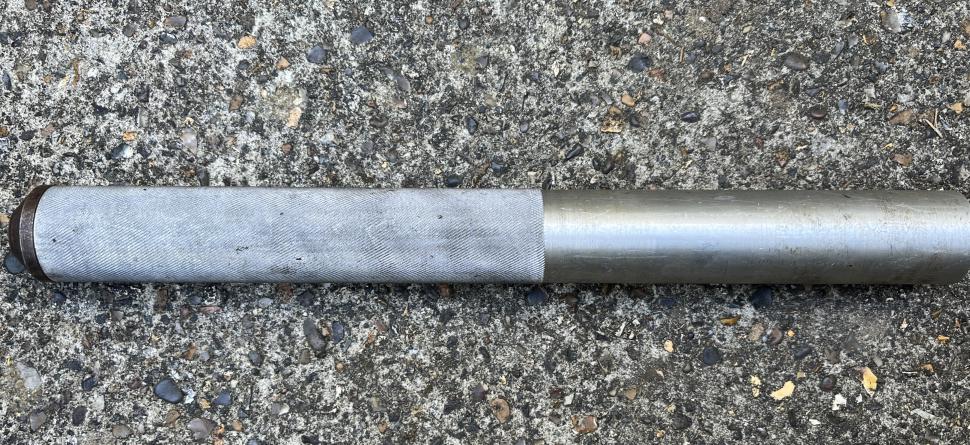
Finally, I had a short-ish but otherwise good pedal spanner, but the leverage wasn’t great. I wanted another 8cm of length on the handle, and I also wanted it to be more comfortable in the hand.
I had some steel tubing spare which was nearly the right diameter, but not quite. So, once I’d cut it to length, I ovalised one end using a hammer. Then, when the spanner fitted in the tube tightly, I heated both steel parts up, and brazed them firmly together.
Once cooled, I painted it, then used some old cloth bar tape to wrap the handle and held the tape with an old bar end plug. A nice little nod to the old days!
It has been incredibly useful, with the correct leverage for nearly everything, but less cumbersome than a Park Tool PW-4 (£30). However, the PW-4 does have the ability to remove just about anything…
If you’ve got this far, you may be thinking: “How wonderful, I want to do that too”… or maybe you’re thinking: “Why bother??”
Well, for me it was more about trying something a bit trickier than normal. The enjoyment in the making of, and the using of, tools that I’ve made yourself. The fact that they’ve lasted nearly two decades without adjustment or repair is pleasing too.
Saving some money is a bonus, but certainly not the primary motivation.
Made any tools yourself? Let us know in the comments, and if you have any questions about the creations mentioned above, drop them below and we’ll do our best to answer.


")


11 thoughts on “How to make your own versions of some popular bike workshop tools — a savvy cyclists’ guide to upgrading your tool collection”
“How to make your own
“How to make your own versions…..”
If you have a lathe and a furnace and an oil bath. And that’s just the first one. Bike shop I went to 30y ago used a tube fitting from a vacuum cleaner to set crown races.
yeah, if you have the
yeah, if you have the machinery and experience to make these things, you probably don’t need to be told you can make them yourself. I can appreciate the cool tool collection though, more power to the fella for making their own stuff
It does kind of read as
It does kind of read as though they said “I’d like to do an article talking about the cool tools I made”, and were told “that’s fine, but you’ll need to add a
clickbaitySEO-friendly headline and 1st para including things like ‘how to’ and ‘handy tips’ – y’know, for ‘engagement'”.I’ve always confirmed the
I’ve always confirmed the brake levers are level with each other by simply placing the bars with levers attached onto a flat surface – you’ll soon see if one is higher than the other
What would be useful is if
What would be useful is if you ran workshops on making the tools or made more yourself and the sold them at less than the park tool prices?
Step 1: Spend hundreds of
Step 1: Spend hundreds of pounds on metal working tools (and learn how to use them).
Step 2: Save hundreds of pounds by making your own bike tools.
Hmmm…. Not the best money-saving plan ever.
Chris RideFar wrote:
I don’t think anything in this article is about saving money, it’s more to do with having the equipment and skills to make precision things from metal, and the fun that it probably is to do.
I have a friend who has in his workshop equipment including a lathe, milling machine, pillar drill, etc along with the prerequisite skills to use them proficiently. He’s always turning pieces of aluminium and steel into useful objects. I once needed a part to repair my lawnmower, when he’d expertly crafted it while I gratefully waited, he mentioned that he’d have been very disappointed if I hadn’t asked him first. I think he enjoyed the challenge and the process more than me.
Chris RideFar wrote:
welcome to Snark City.
I totally get this (although
I totally get this (although I don’t own a lathe …. yet).
I recently spent probably the cost of a decent new bicycle on woodworking tools (machine and hand). So far, the only product has been a lot of repairs to e.g. rotten windows around the house, half a kitchen (don’t ask) and some garden chairs. If you divide the cost of the tools by the number of chairs, it would have been cheaper to buy them (but only just). However, I enjoy using the tools probably as much as I would have enjoyed riding the bicycle I didn’t buy with the money and there’s a sense of satisfaction you get from using a jig you’ve made yourself from plywood and offcuts that you just don’t get from using a pretty one you bought.
I made a derailleur hanger
I made a derailleur hanger adjustment tool with a piece of 25mm square tube and a 10mm fine thread bolt. The pointer (measuring device) from a bit of 6 mm rod and 6mm o rings to hold it through a simple bracket. It seems to work fine, well I fixed the shifting problems on my road bike using it
I like the repurposed
I like the repurposed derailleur tool, but what about something to align the bars with the front wheel? I tried making one with an old cat laser toy but never worked out how to brace it accurately on the bars