


I feel a little awkward turning up at a steel frame-building course on a carbon bike. Carbon frame, wheels, bars, chainset, seatpost, saddle rails. Ahem. Luckily no-one seems to mind as the very moment I arrive I have a large plate of chili slid in front of me for supper.
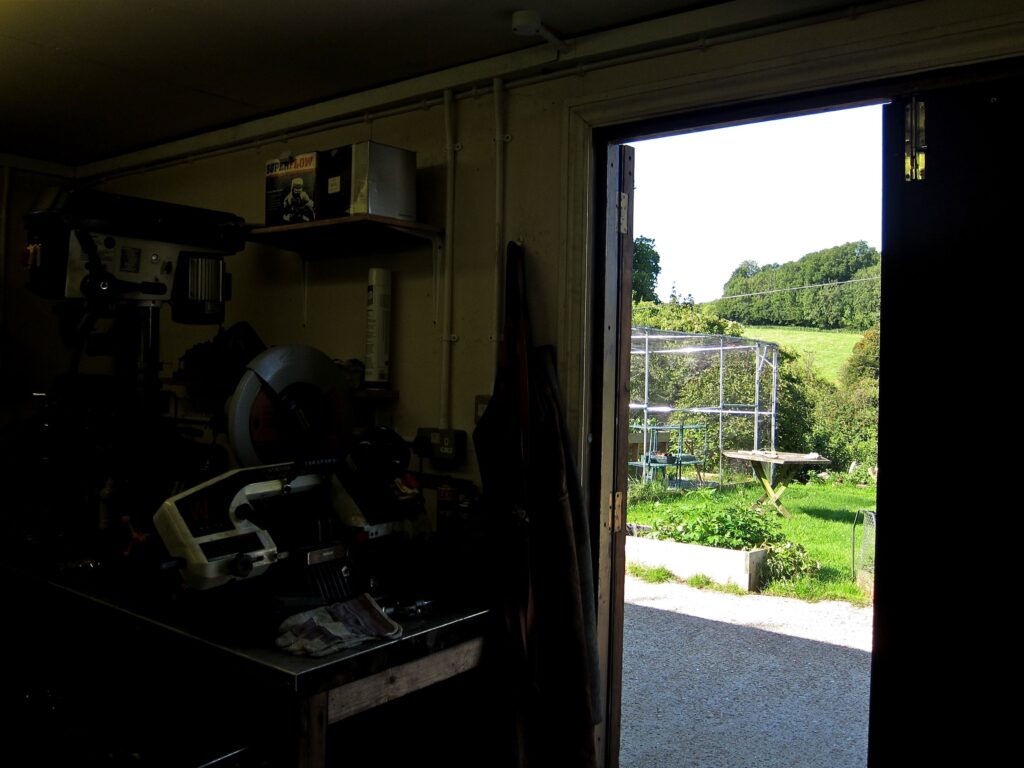
I’m at Downland Cycles, a bike shop and training centre secreted in a hidden fold of the lumpy hills of Kent about ten miles south of Canterbury, that even with precise directions tucked into the hem of my shorts takes some finding riding from the train station against a sinking sun. I’m here for the eight day ‘Intermediate’ frame-building course that falls nicely between the ‘Short’ 6 day and 11 day ‘Advanced’ courses. Intermediate is something I constantly strive towards after all.
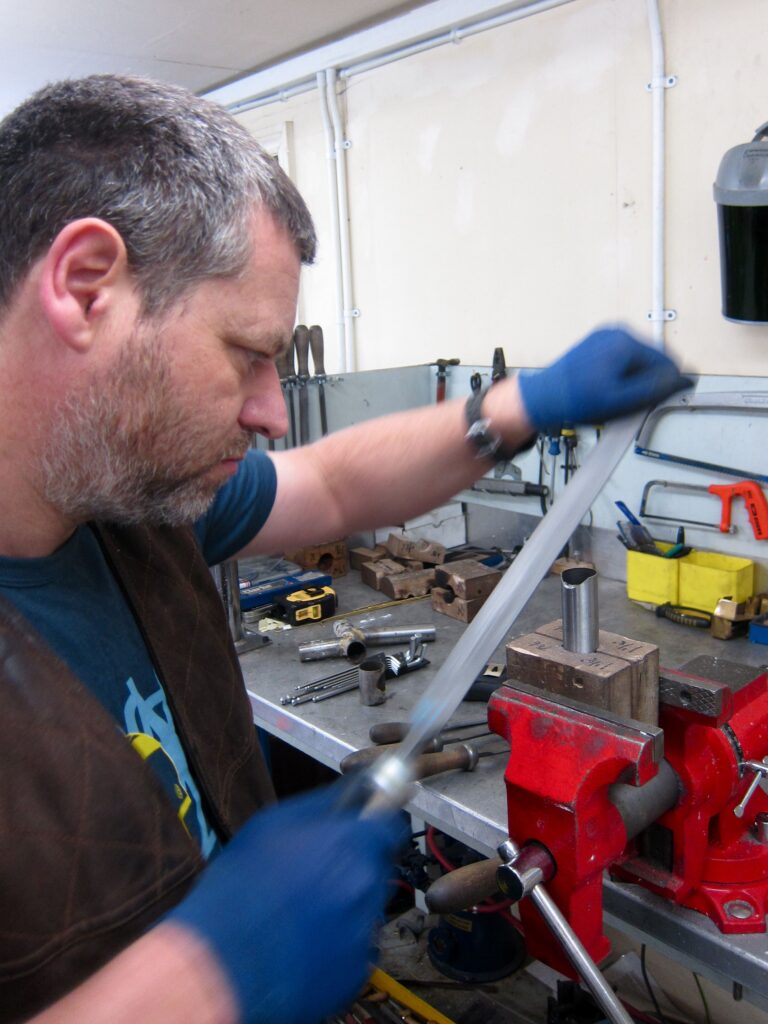
The next morning we meet Bryan who is going to show us how to join steel tubes together, hopefully without setting ourselves on fire or any major injuries and get to the end of the week with something that resembles less a 4th Form metalwork sculpture project and more a rideable bicycle frame. Bryan designs and builds frames under the Invicta name and has seen almost 300 frames built with his instruction, so we should be in a safe pair of welding gloves.
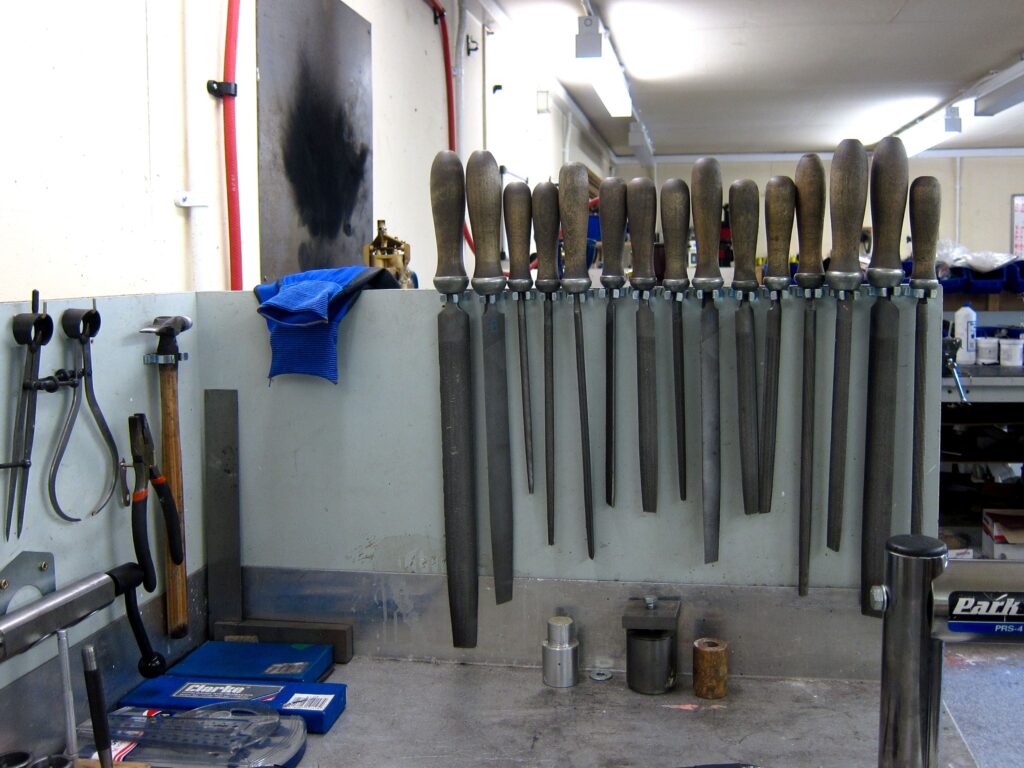
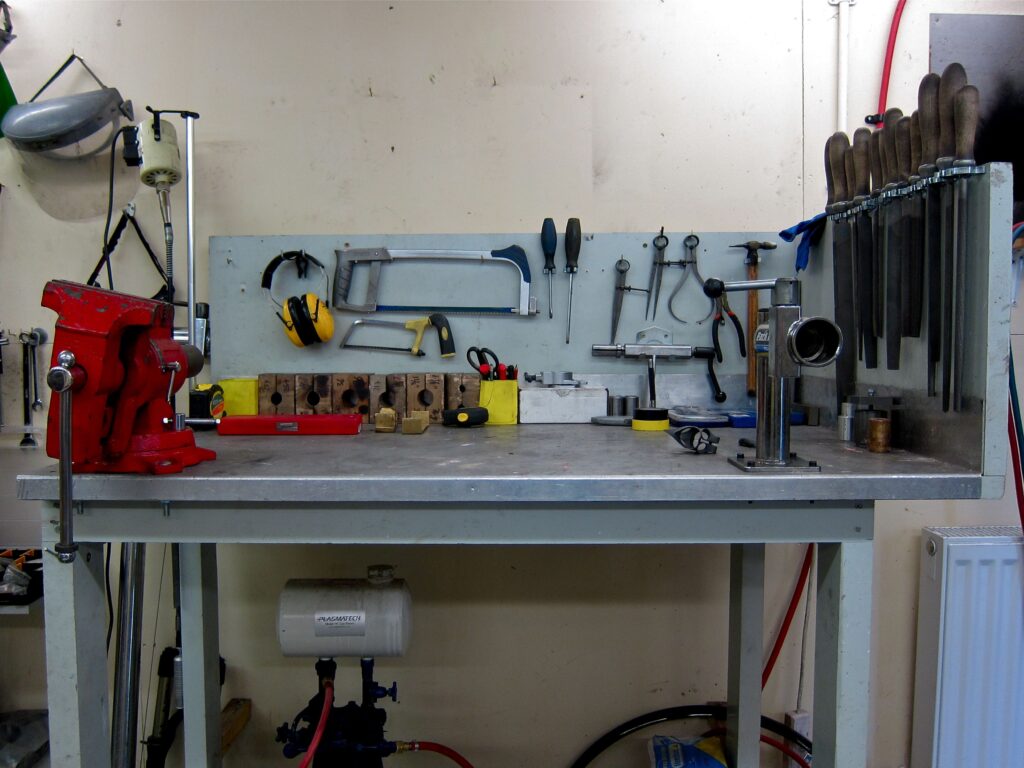
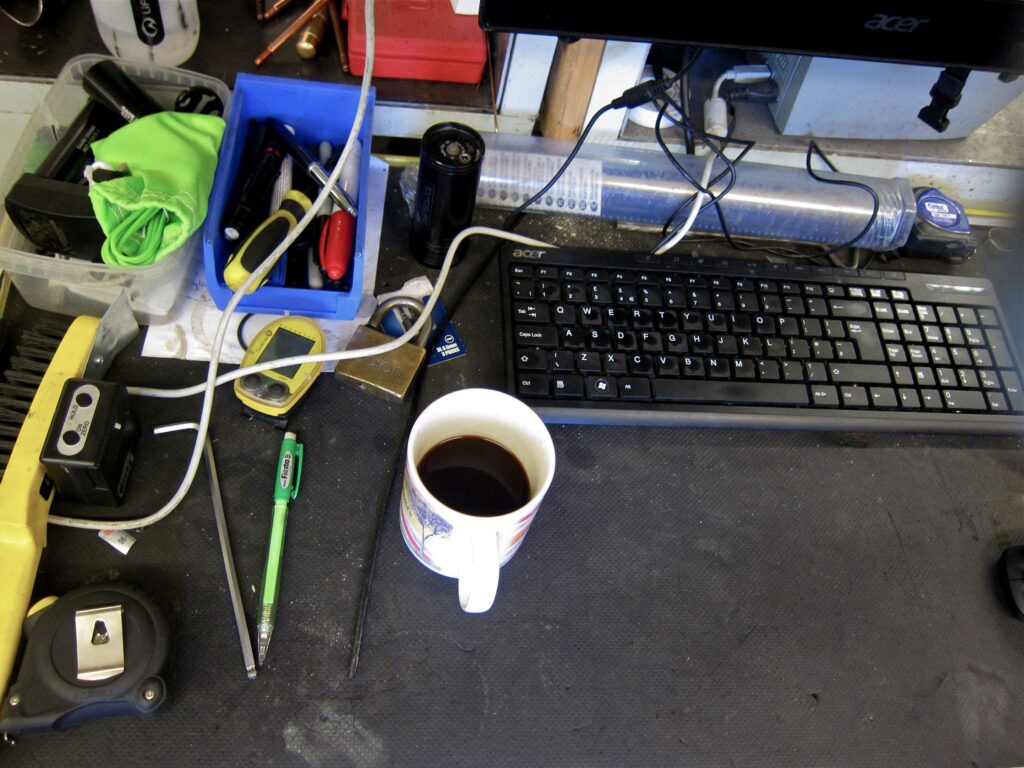
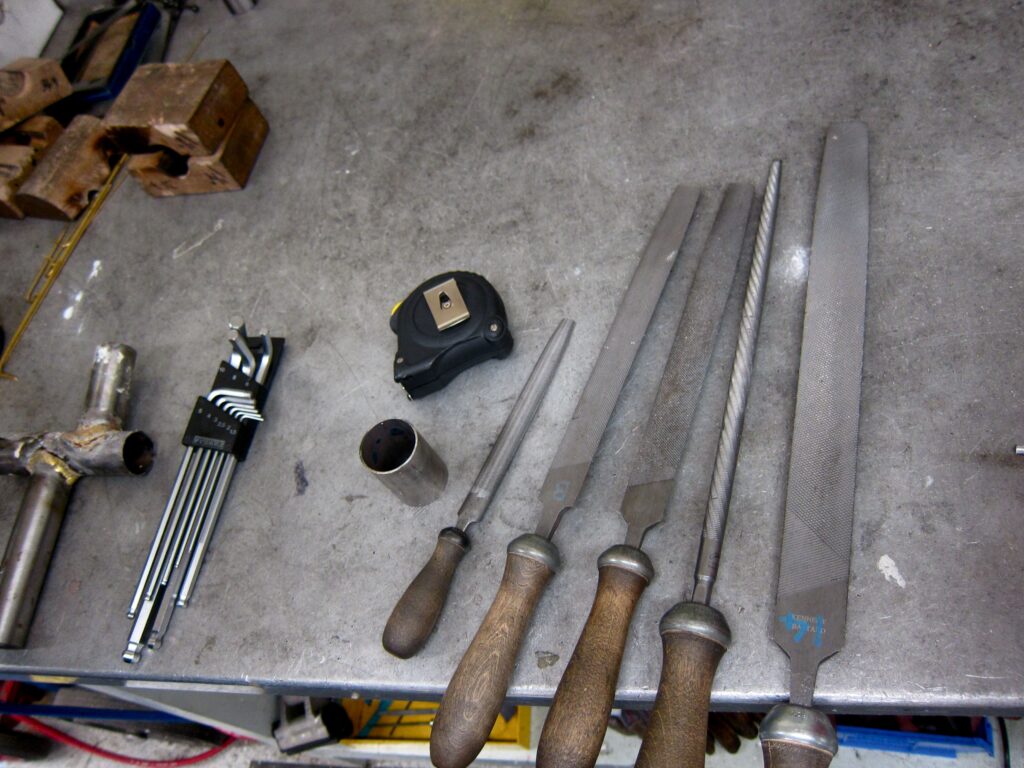
First off we’re introduced to our work stations and what’s around the frame-building room. There’s the slightly grubby order you’d imagine from a construction process that’s part craft and part science. There are a lot of tools, and just….. stuff. Here are the files, you’d expect files, I’ll end up with my favourites apparently, there are squares for checking on the jig and the bench, a protractor – crude but accurate, a hammer – the smaller the better, pliers, calipers, punches and scribes, a lug vice, a tube cutting guide, and imperial and metric tube blocks, hacksaws, ear-defenders, tape measures and pens, electrical tape, soft jaws for the vice, and that vice is adjustable so you can swivel it around on the work-bench, oh my.

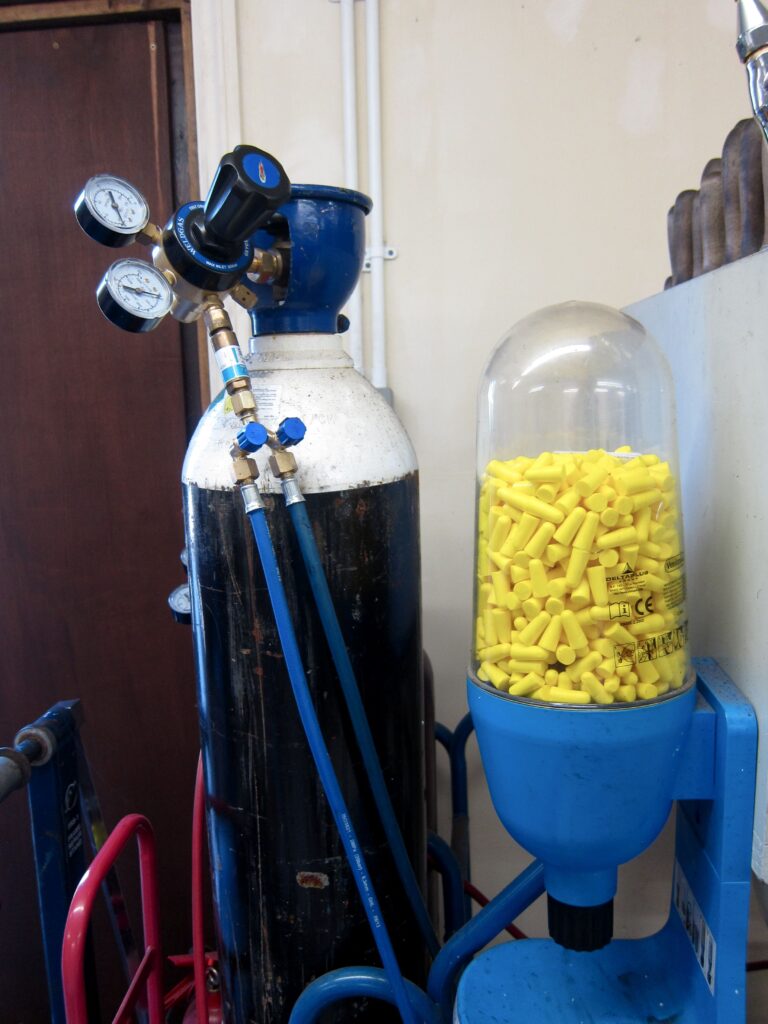
Steel rules, a foot operated industrial Dremel thing, kick the pedal under the desk if you’re not using it so you don’t stamp it on by mistake, a stack of strips of sandpaper of all different grades and degrees of wear, a Park tool clamp, different gloves, little files, riffler files, spanners, allen keys, boxes of lugs, braze-ons, rear ends, BB shells, tubing. Welding masks. Aprons. First aid kit. Noted. A container full of yellow ear-plugs that looks like an ark of Minions. Wheels for checking in the frame, boxes of fork-ends, bridges, top-eyes. Different kinds of flux, kettles for boiling water to soak the flux off, brushes for the flux. Fire extinguishers. Noted. A bigger vice, lathes, milling machines and a computer with a CAD bike frame program on it.
I like tools, I like a series of tools to use for a specific job along the timeline of building a frame. I like it here already.
I want to build a fixed-wheel frame on the Downland Cycles course, a proper Winter fixed-wheel training bike, not a trendy fixie but an old-fashioned mudguard friendly nippy angled machine with a single fixed gear. With two sets of brakes because I might want to put a singlespeed freewheel on to give my knees a rest once in a while. I’d like to do this mainly because I seem to have all the bits for it in the shed, and more specifically that very nice fixed rear wheel that’s been doing nothing for too many years, and a near enough matching front one too. There’s the Campagnolo chainset from the old road bike, and the headset, and bars, those brakes in a box, collar-and-cuffs seatpost and stem from that other bike that’s not around any more. A Parts Bin Special, in the true tradition of a Winter bike. The other person on the course this week, Terry, still isn’t exactly sure what he wants to build, a mountainbike fatbike trike is briefly discussed but it’s most probably going to be a 650B hardtail MTB to razz about his Welsh trails.
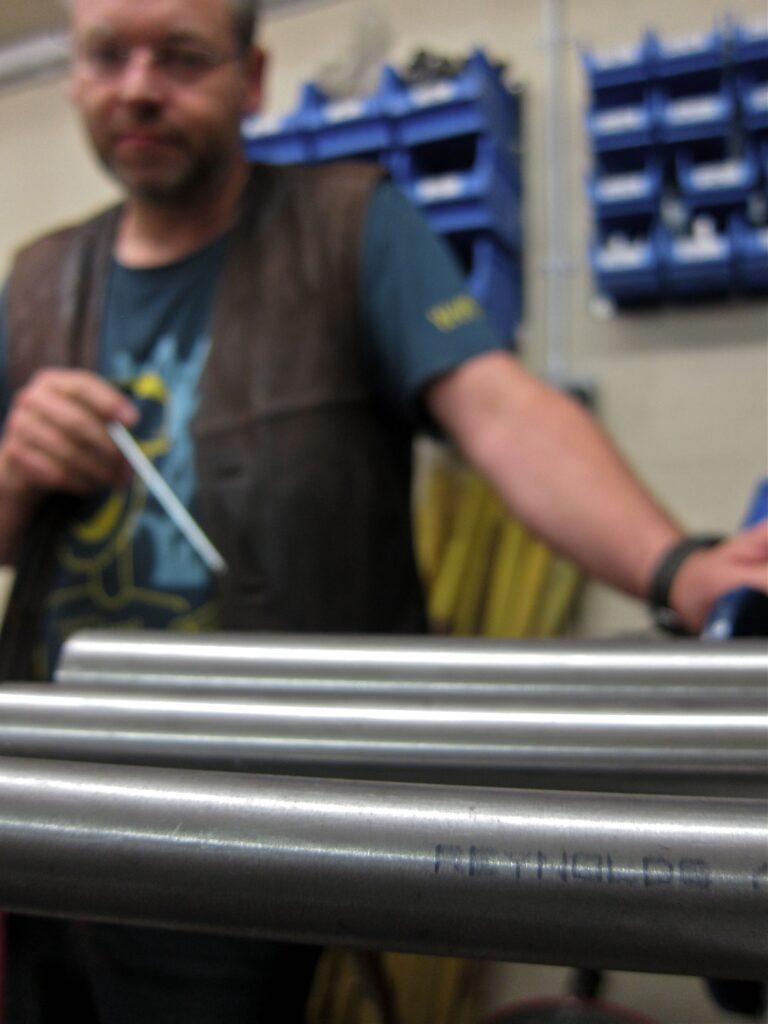
Fingernails itching to play with tools on metal we move on to talk briefly about steel and the varieties of tubing, and the posh ones we won’t be using. There is talk of Gigapascals, Young’s Modulus, how all steels are exactly the same when it comes to certain qualities, because steel is steel no matter how you fluff it up, and how a bike feels mostly comes down to tubing selection and angles. Bryan gets us to ride a pair of steel bikes made differently up and down the road to comment on how they feel to prove his point. I get most of it, I think, and the ride nuances between the two steel bikes are defintely there, but there are moments where my brain starts to struggle like it did at school those times. I’ll need to read about it again in a book to make it sink in, several times.
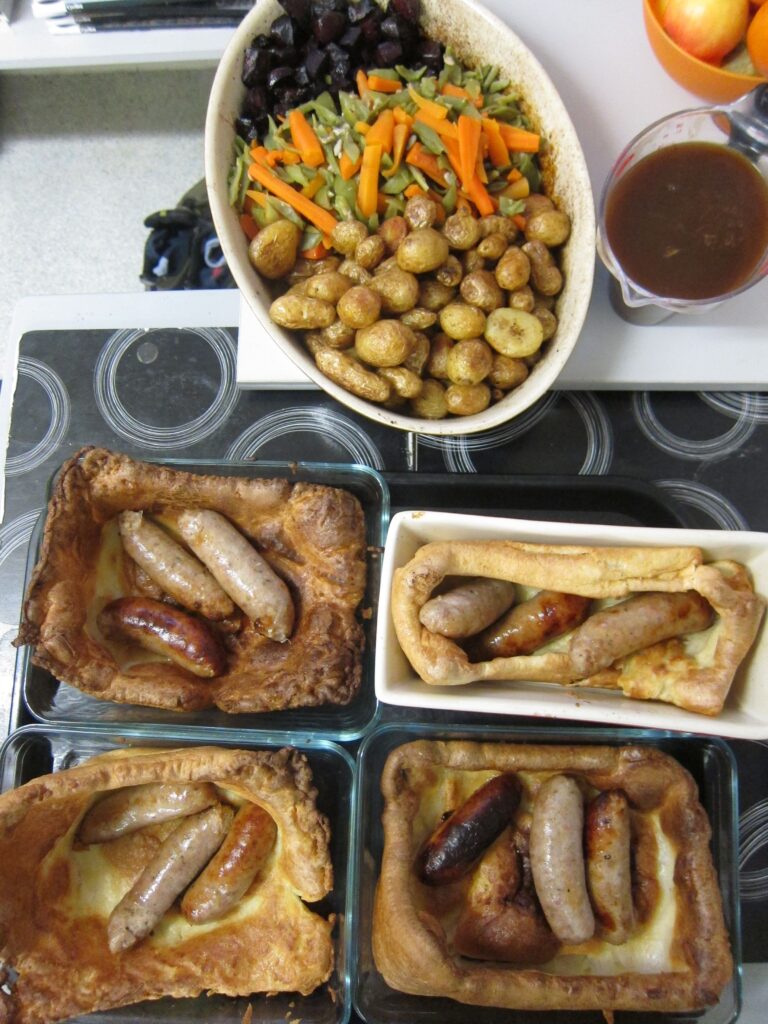
There’s a pause for tea and bacon sandwiches. Stopping regularly for tea and something is an important part of the Downland week. As well as the standard three meals a day there’s elevenses and afternoon tea, all with homemade cake, or sandwiches, or scones. All food is sourced as much as possible from the vegetable garden, and all meat comes from the local farm shop, and it’s all done to a cyclist’s standard portion size too.
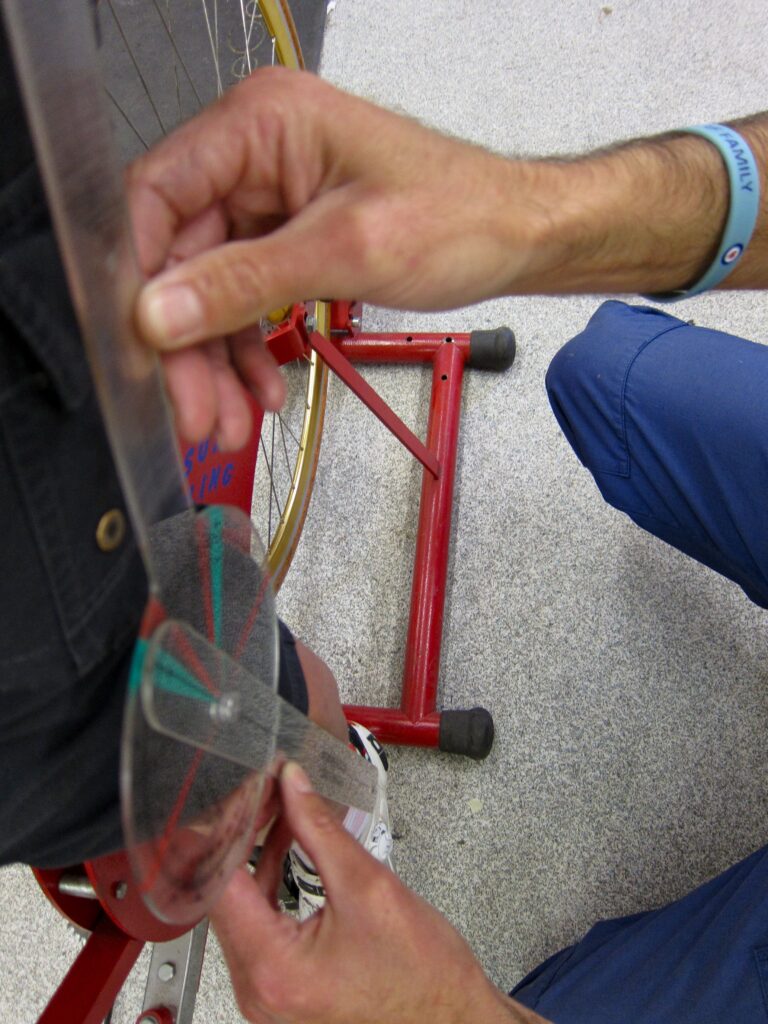
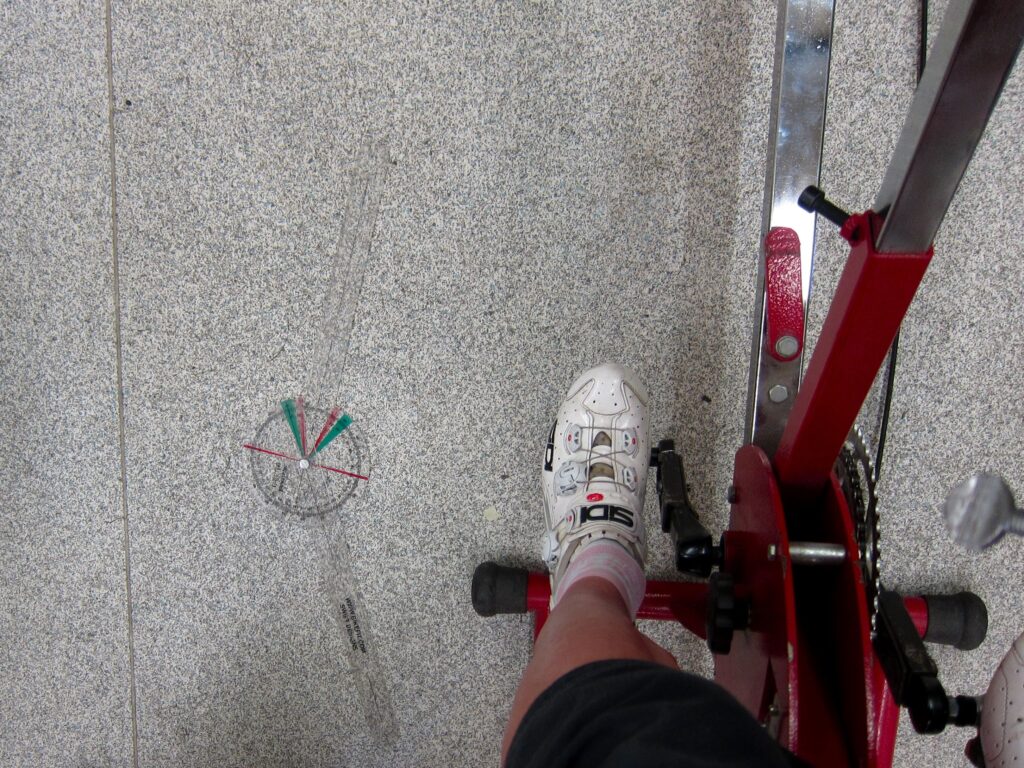
Suitably sustained we move on to making sure the frames we’re going to build will fit us. We start by putting the bicycle saddle that I use onto the bike-fitting jig, different saddles have different lengths which can alter the measurements, as can different width bars, the contact points and where they lay is the important thing. First measurement to get right is the saddle height, pedal away on the static bike with the saddle set at about the ballpark and look at the angle of the foot as it rotates around its stroke. With the foot at it’s furthest point from the body, which isn’t at the bottom of the stroke at 6 o’clock but in line with the seat tube the angle of the knee relative to the ankle and hip bones are measured with a special protractor. According to this I’m right in the middle of where my body should be for my level of cyclist. Then there is considerable consideration to how it actually feels, because the human body isn’t an exact set of figures to be rigidly forced to adhere to. The saddle’s fore and aft position is fiddled with, a plumb line is dropped from my knee to see where it lays relative to the pedal axle with my foot, but again things are adjusted with an eye to feel and comfort, and then things are wiggled again to stop me shuffling back in the saddle any time I want to put some seated power down, something I like to do. The saddle goes up, the saddle goes down, then up again until everything feels just about ok and we set about dialing reach and drop.
This is all calculated again with the mix of science and feel and the bars and stem are moved up and back and forward and down in every combination until it looks and feels comfortable both to myself and Bryan’s experienced eye, although I’m sure there’s one or two times where nothing is really moved and bolts are undone and done up and my opinion asked to how it feels just to double bluff me.
All the numbers are written down, saddle height, saddle set-back relative to the bottom-bracket, saddle tip to centre of the bars, saddle tip to the hoods, the saddle to bar drop and drop to the hoods. For fun, interest and to tease the general cynicism I have with the glut of embroidered polo-shirt bike-fits these numbers are transferred to the carbon Bianchi I rode here on, the bike I’ve been riding for the last year, a bike that was hoiked out the box and ridden with minimum fiddling, saddle height set to what I’ve been riding, stem taken down a spacer or so until it felt about right. Turns out it’s a gnat’s crotchet off the bike fit measurements. I’m quite happy that my suck-it-and-see approach matches the combination of body science and know-how of Bryan.
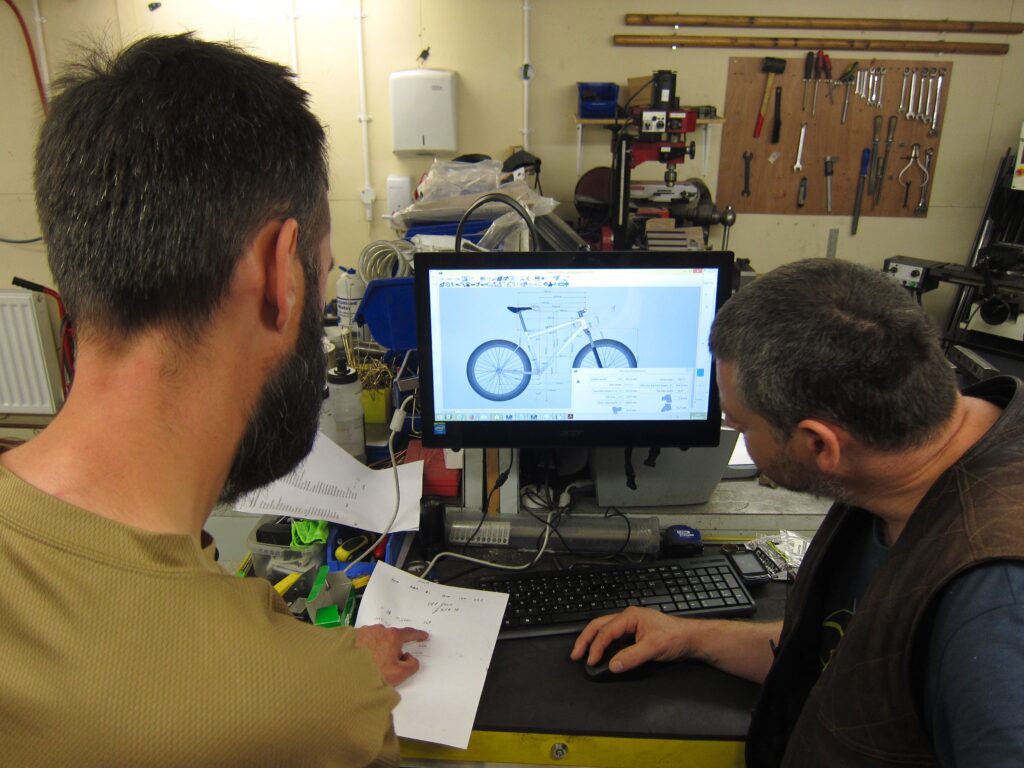
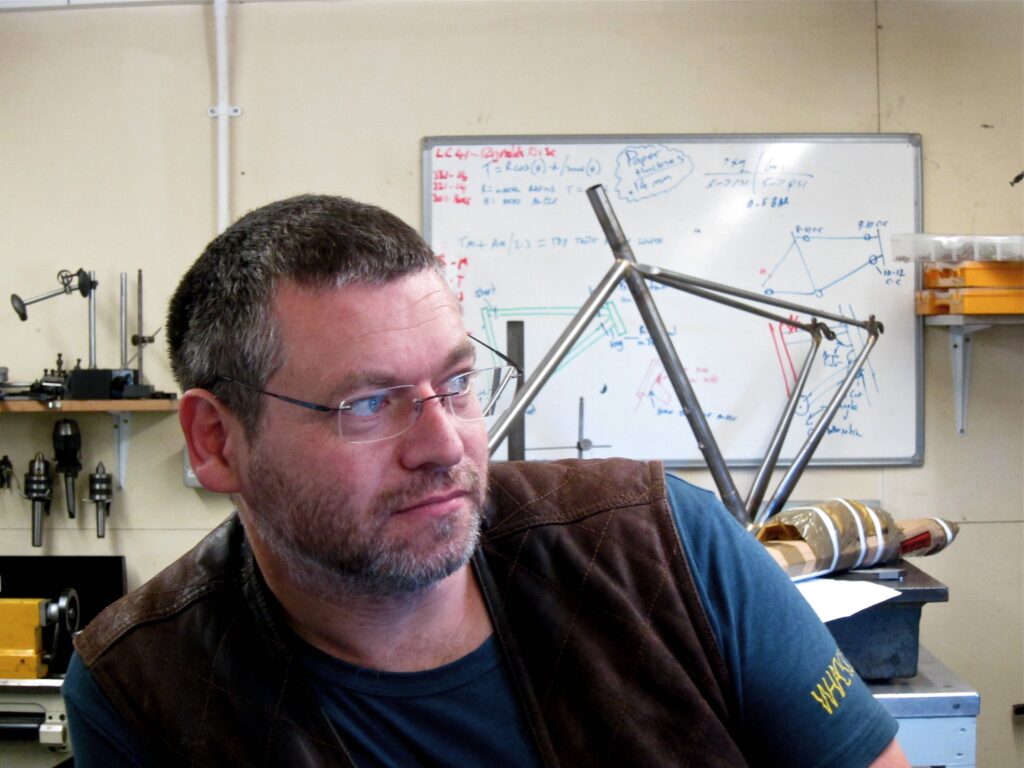
After an important afternoon break for tea and cake the numbers of our bikes are plugged into the CAD program and each of our frames are designed. Not by seat-tube or top-tube length but by stack and reach. Oh, I’ve always been a go-by-the top-tube-as-a-guide person. Bryan explains that stack and reach are more accurate ways of measuring a frame, a system that’s gaining more ground in the mountainbike community rather than the road where the seat and top tube are the more usual sizing guides, although Cervélo do use this way to measure their frames. The bike is measured using the bottom bracket as the starting point, with the stack being the vertical distance from the centre of the BB to the top of the headtube and reach being the horizontal length from the bottom-bracket to the center of the headtube. Oh.
To prove Bryan’s point as to how this is a more accurate way to size a frame we look at various bike companies geometry charts and compare various sizes and the differences between each and every one, and even the random sizing anomalies in certain frame manufacturers own ranges. That explained there’s run through of rake and trail, the difference the size of a tyre can make, chat about bottom-bracket drop and chainstay length and how people are obsessed by the shortness of it. It’s all interesting stuff, and again something I’d probably like to sit down further with a pencil and a bit of paper and work it out clearer in my head because right now it’s chock full of diagrams and a little fuzzy with numbers. Thankfully we’re done for the day, tomorrow we’ll get our hands dirty but now it’s time for a quick bike ride and then some dinner.
Day Two and it’s time to get physical. Before we’re let loose on costly metal tubes we have to do some practice first with a bit of mitering on tubing off-cuts. Bike tubes join other bike tubes in all sorts of funny angles and curves and that connection has to be near-on seamless before you can consider joining them together. Molten metal is quite a good way to fill a gap, but it can’t be that cavernous, If you can get your thumb-nail into the join it’s not good enough is a handy rule of, um, thumb to go by.
So filing a neat and accurate mitre is essential, we need to learn how to do this, and so we need to learn how to use the files. This isn’t a frame-building course apparently, it’s a filing course. I haven’t used a hand tool for a while, I’m really not the handyman, but I do spend a lot of time agitating a pencil around a piece of paper in the name of some sort of art in my other job so I’m hoping I’ll be able to transfer some of that manual dexterity into manipulating steel. Tools is tools. Maybe.
Bryan gives us a quick demonstration and a word on file technique. You can blunt a file real easily by rasping it back and forth, you should just file the one way, away from you. I didn’t know that. Four decades on the planet and no-one ever told me this before. Man-skills are low here.
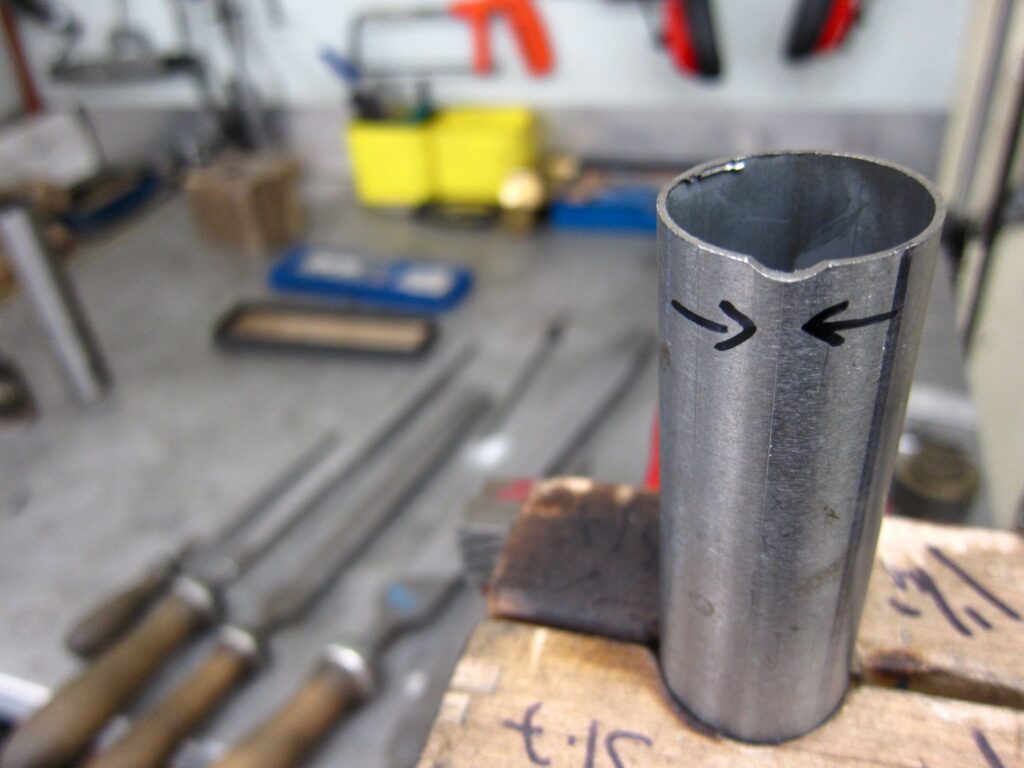
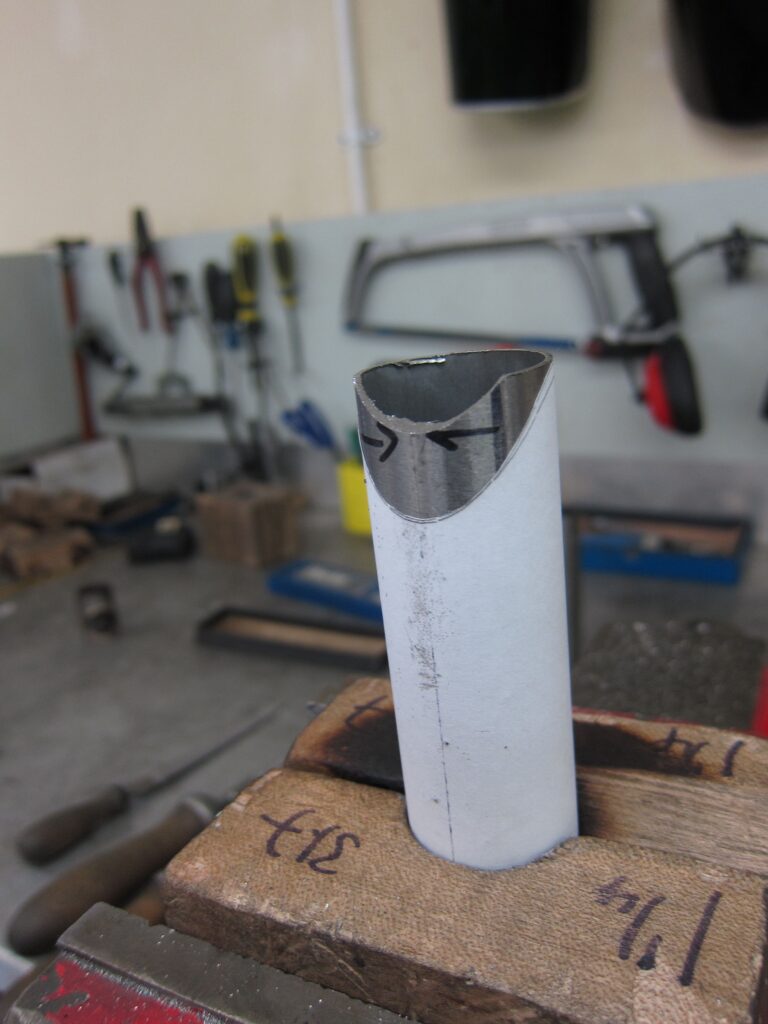
We’re given a piece of scrap tube to mitre. Start off using a round file to make a small dip for the big file to key into and then file away, hopefully to an angle of about 73 degrees. To help with this you can make a paper template; plug the tube diameters, thicknesses and angle into the computer and it will print out a paper template for you to use as a filing guide. Wrap that around the tube and work away. Very handy.
The first rasps of the file on the tube are nervous and hesitant, like an awkward first kiss, but with steel. Jittery with just one of the practice tubes, not one of those needed to make an actual bike frame, that’s going to be a whole other bag of nerves.
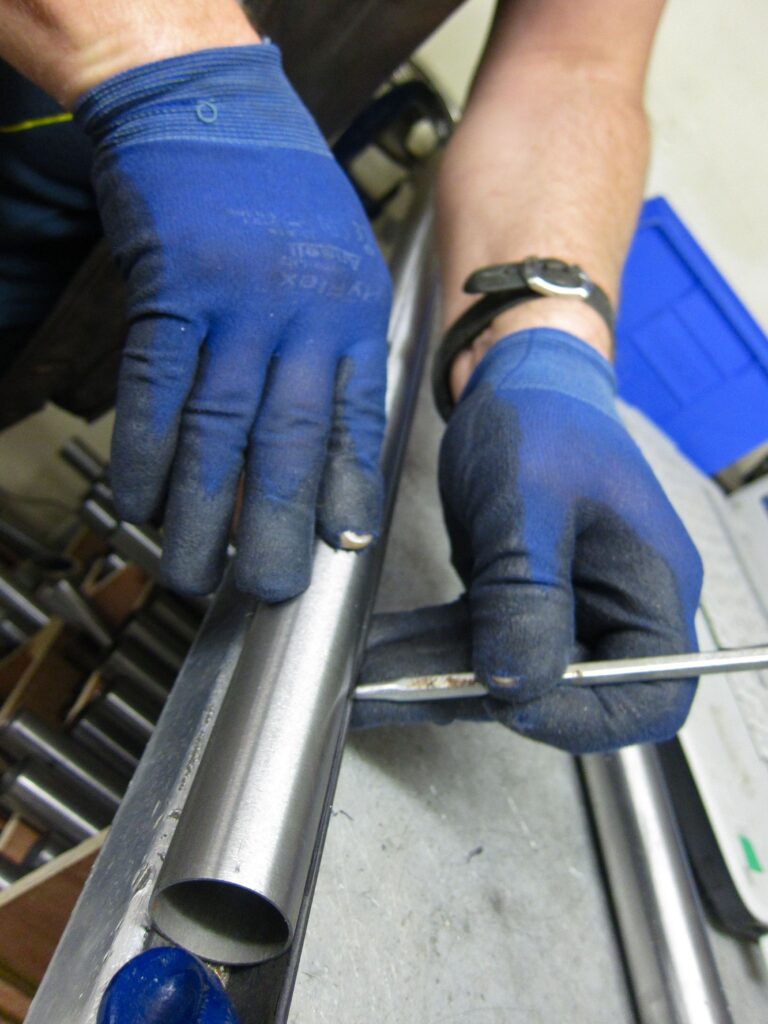
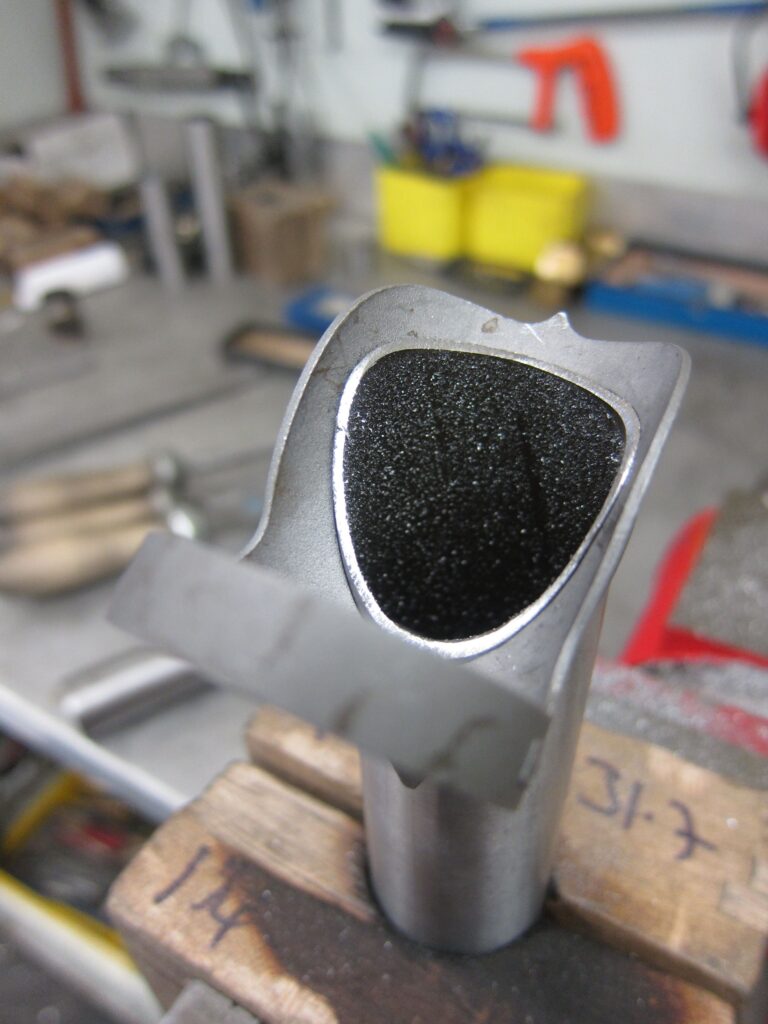
We learn about the importance of the centre line of the tube, as obvious as it sounds, necessary to get the mitres at each end in alignment and for more mundane things like bottle bosses. This centre line can be marked by a pen, but that can be rubbed out by accident, or far more satisfactorily scored with a scribe. Been a while since I’ve used a scribe, probably 4th Form metalwork, I like a scribe. Heavy in the hand, tool.
Adding to the general head hurtiness of filing a perfect mitre is that you’re not just shaping the tube into a neat scallop, the inside edges of the mitred tube need to be subtly chamfered so it butts perfectly onto the curve of the partner tube and wraps around it in a tight embrace. The downside to this is that the metal is a little thinner here so easier to be burnt if you’re heavy handed with the brazing torch later on.
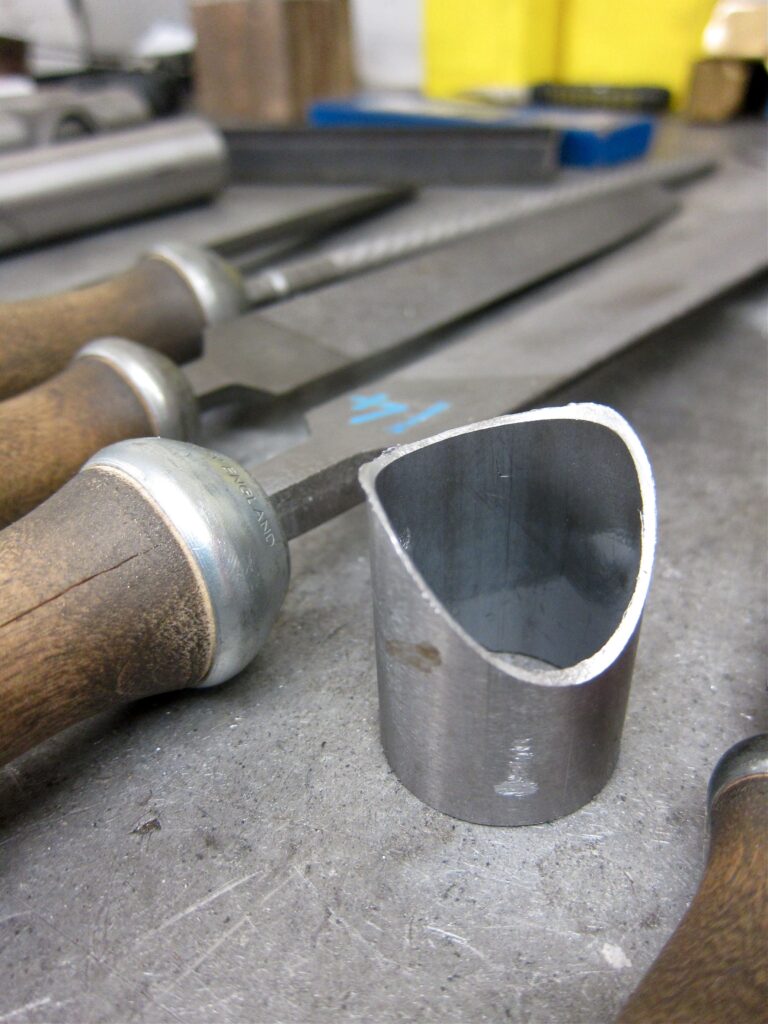
My first mitre goes ok, tentatively, but ok, there’s room for improvement as you might expect, and accuracy between the tubes isn’t perfect, it’s quite cavernous in frame-building terms, probably okay for a Bike Shaped Object or a patio chair though. The second practice mitre goes well to begin with, the initial hesitancy and lack of confidence replaced with realizing that there’s a need to be forceful and brave with a file and to let the metal know who’s boss, in a nice way.
Bryan has a very hands-off teaching style, letting you gently make mistakes, and learn from them. I find it far easier to wrok in this environment than someone breathing down my neck, ready to pounce and correct on any error. I work well by learning through mistakes. I’m making a mistake.
For some reason practice mitre number two is taking forever. I’m chasing the file around the edge of the tube and I’m having trouble making everything match to the template. Bryan notices that it’s taking quite some time and shows me a neat cheat, as I’m filing this mitre for a lug I can use the lug as a guide, which I do and it still doesn’t help.
It takes the different eyes of Terry wandering over from the other side of the room to work out that thanks to a wonky filing style (Is being left-handed an excuse? No? Bugger) I’m taking away the back of the tube whilst I’m concentrating on the front so I’m slowly yet effectively working my way down the tube. Given enough time I could have worked through a foot of steel and turned it into rusty dust on the floor.
Inspired use of a black Sharpie pen on the back edge of the tube immediately shows when I’m doing it wrong as a errant file quickly shows shiny metal beneath, so I adjust my style and with a big sigh of relief and a lot more effort than it should have really taken I’ve completed two mitres. Fooof. It must be time for a cup of tea now?


")


, Portland’s world record ambitions, another e-bike brand goes pop + more")


1 thought on “Getting into the right mind of frame”
Great article
Any more Jo? Pictures of finished bike and how it rides?