

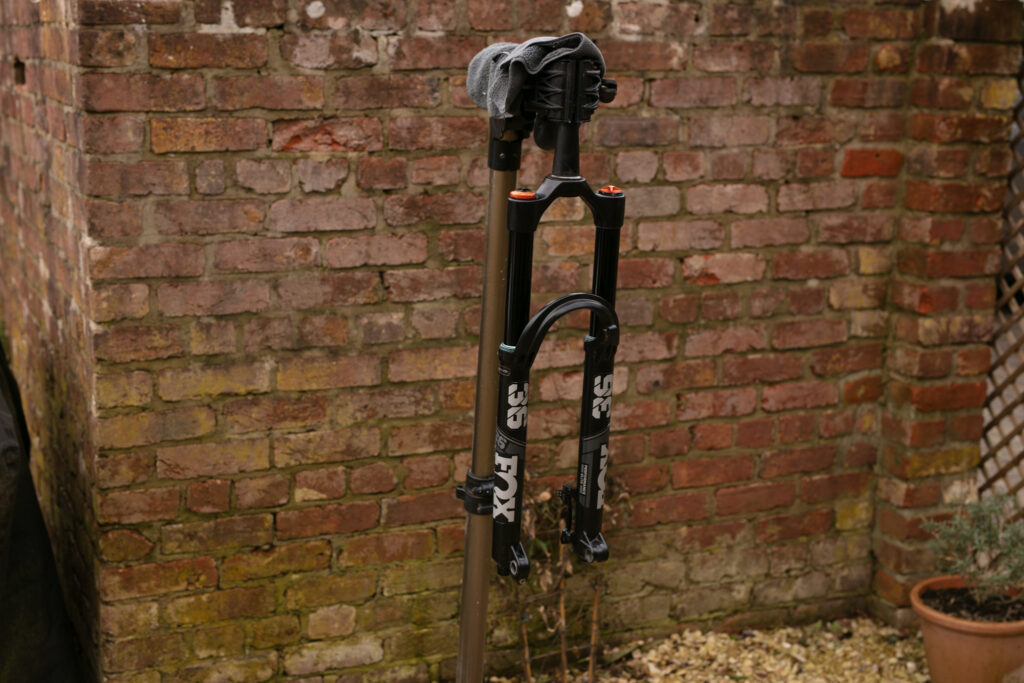
Suspension components are under constant motion out on the trail and need regular maintenance to ensure optimal performance. Although seriously complex components, a lower fork service is relatively simple enough to do at home, and it’ll extend the life and performance of some costly parts. Here’s how it’s done.
- Welcome to Home Mechanics’ Week – a DIY extravaganza
- How to set up your mountain bike suspension – suspension set-up explained
- How to clean disc brakes on a bicycle
How do I know if I need to service my fork?
There is no visible sign that your fork lower is due for a service, but as a rule of thumb, it should be refreshed every six months. RockShox recommends a lower leg service after every 50 hours of riding, and Fox recommends a full service after 125 hours. However, lower-leg services can be performed on any fork and provide some key benefits.
Neglecting to service your fork lower can be costly. You’ll know you’ve gone too long without a service when you see the anodising of your fork stanchions wearing away around the start of the stroke. At this point, you’re beyond the help of a lower leg service and will need new stanchions fitted and a full air cartridge and damper service at the very least.
However, if you service your fork regularly, you will notice a boost in smoothness and sensitivity to small bumps.
Note – While this is a relatively straightforward process, it is rather involved and there are some delicate parts. It can take around an hour. If you don’t have time to play with or confidence in opening your fork, take it to a qualified mechanic.
What you’ll need
Every fork is a little different, so put in a little research before gathering your tools. You’ll need a socket that matches the nut at the bottom of each leg – Manitou forks require an 8mm Allen key and an appropriate spanner.
You’ll need a service kit for your particular fork, which includes fresh wiper seals, foam rings, and crush washers. A soft-faced mallet and wiper seal setting tool are also must-haves, although you could use make-shift tools. Additionally, you’ll need a flathead screwdriver – I choose to wrap the end of mine with gaffer tape (and you’ll find out why in a bit).
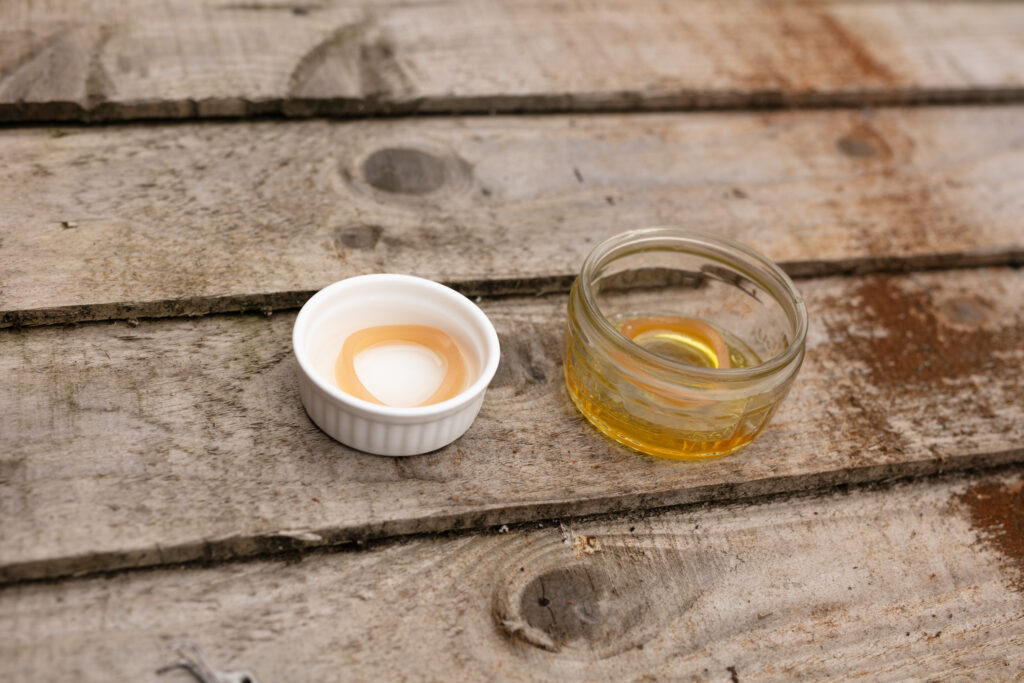
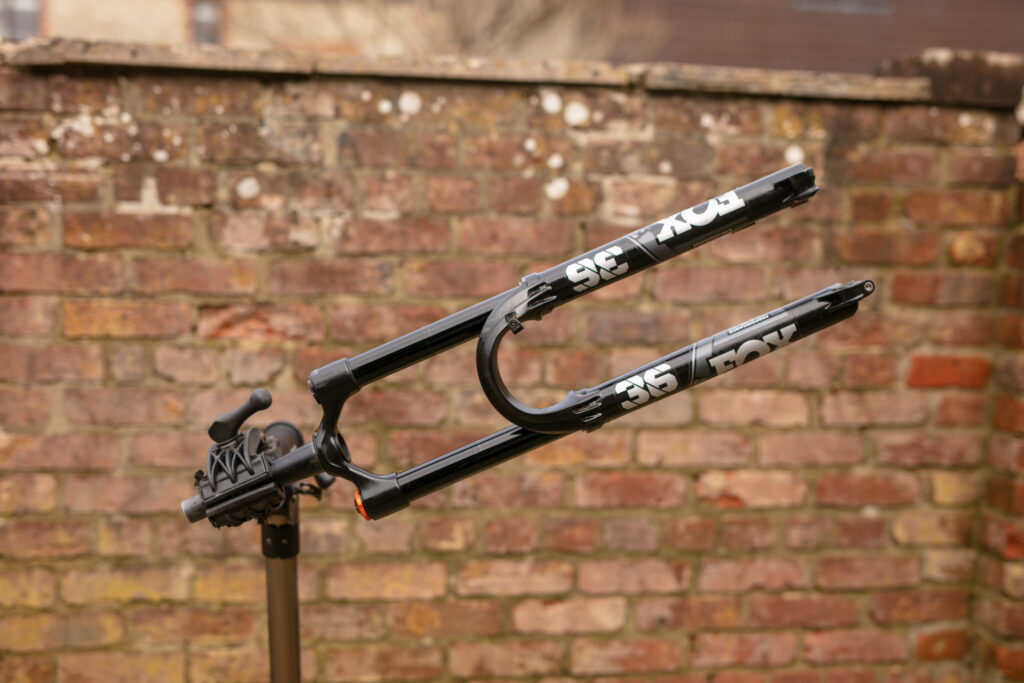
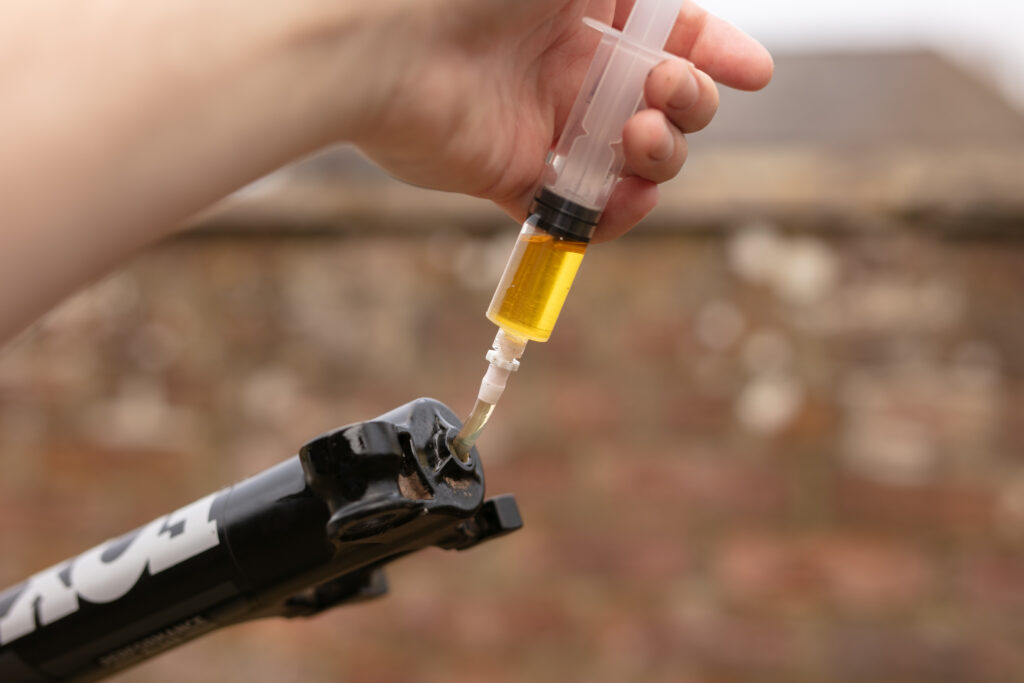
Importantly, you’ll need fresh bath oil for your fork. Here, I’m servicing a 2021 Fox 36 which requires Fox 5wt Teflon Infused bath oil for the damper-side and Fox 20wt Gold oil for the air-side bath. Your fork manufacturer’s website will have all the details you need, including oil volumes. You’ll need a syringe with tubing to inject the oil into the fork without making a mess.
Additionally, you’ll need a vessel to catch drained bath oil, plenty of clean rags, and something to clean the interior of your fork lower. A workstand makes the job a whole lot easier, too. A degreaser, isopropyl alcohol and a rag will help with the cleanup.
Before you start
Remove your fork from the bike. A fork service requires that you hold the fork at different angles so being able to do that without the bike attached makes the whole job easier. While you’re at it, soak those fresh foam rings in some new bath oil – if your fork uses different oils per side, soak the rings in the appropriate oil.
Give your fork exterior a good clean, especially if it’s dirty. The idea behind a fork lower service is to give everything a good clean. If the exterior of the fork is dirty, it’ll up the chance of introducing more dirt to the inside of the fork.
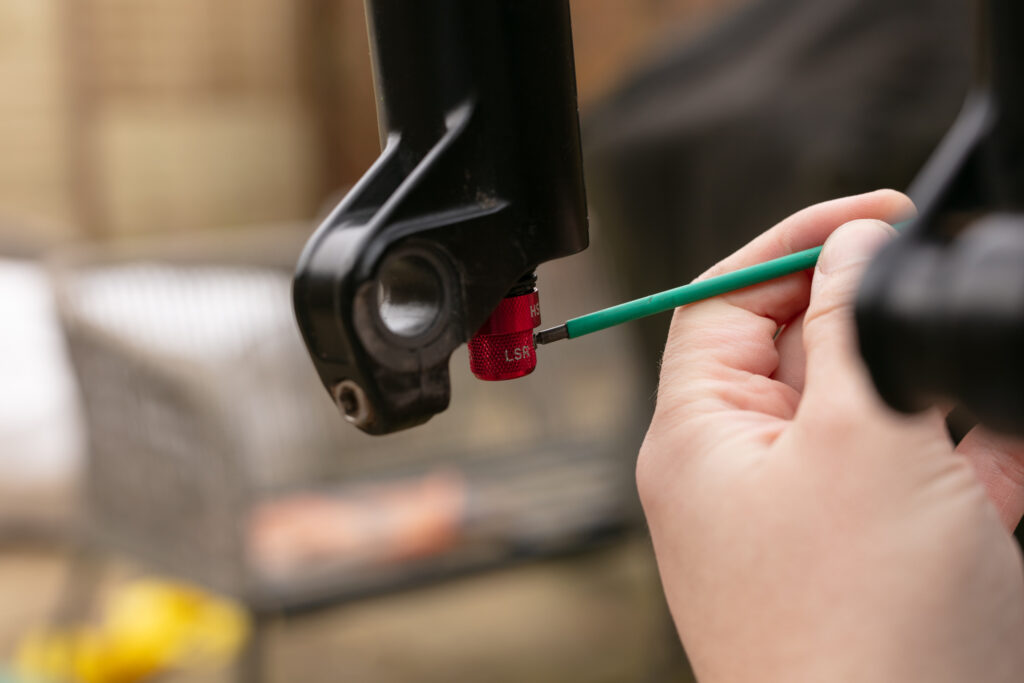
It’s also super handy to note your fork’s settings before releasing the pressure in the air chamber. Once you’re set, release the pressure from the fork air spring – this can be done with a pressurised air cartridge but for safety’s sake, it’s best to do it with an empty air spring.
1.Remove the lowers
Firstly, remove any rebound dials or caps from the shafts at the bottom of the fork.
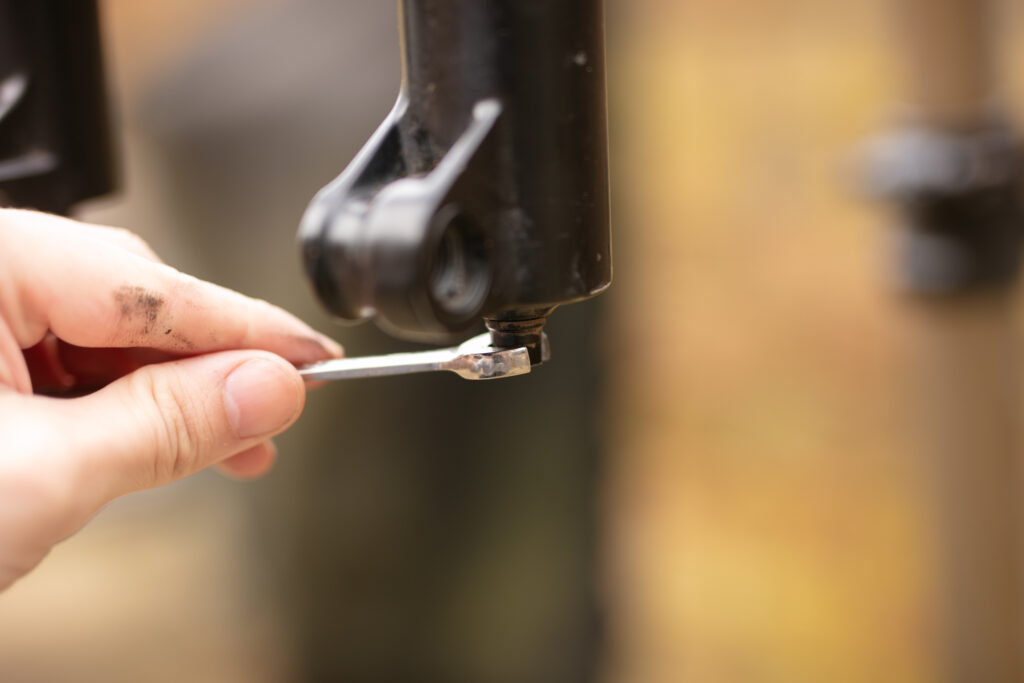
With an old paint tray or similar to catch discarded oil from the fork placed under the fork, use the appropriate socket to undo the nuts at the bottom of each side of the fork. Remove each nut and the used crush washer and tap the threaded parts lightly with a soft-faced hammer – there is a specific tool available for this part of the job, but it can be done by replacing the nut in place and lightly tapping it. This dislodges the shafts or base studs from the lower.
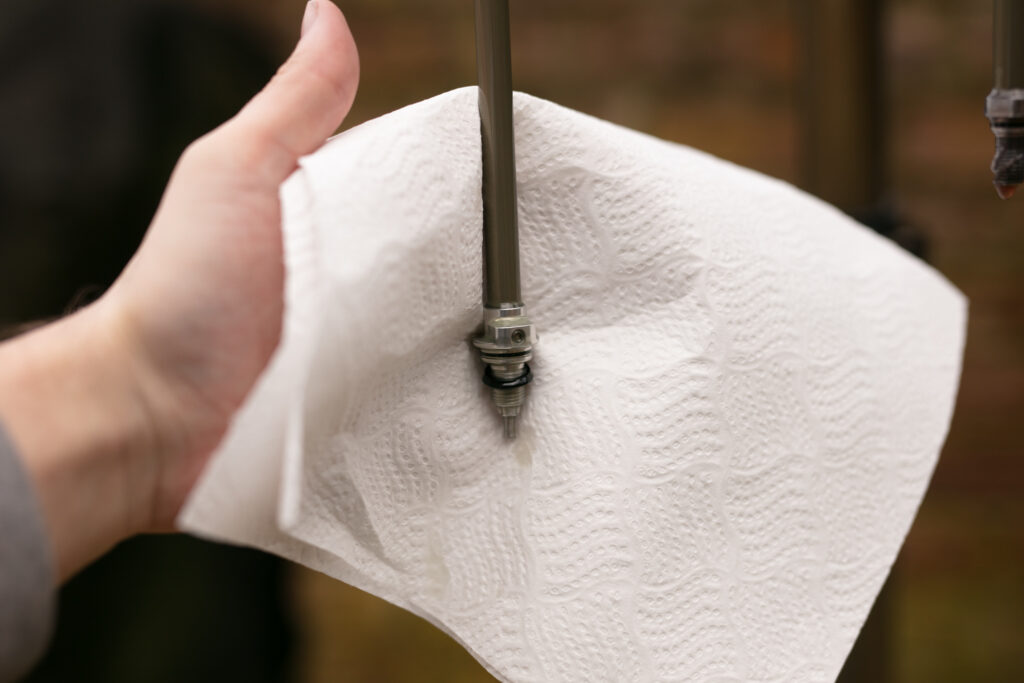
With the damper and air spring released from the bottom of the fork, you’ll be able to pull the lower from the upper. Discard loose oil into whatever you’ve chosen to catch it and wipe the upper clean.
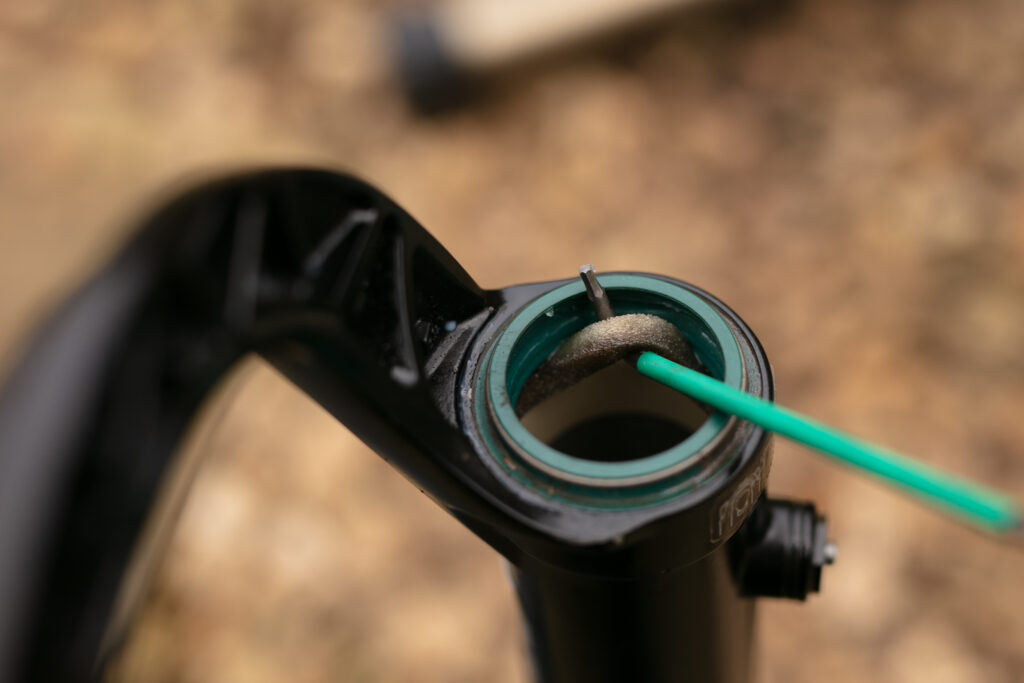
2. Remove old foam rings and wiper seals
Using a pick or similar, pull out the old foam rings. While these can be cleaned and refreshed that is only to a point. It’s best to replace these outright.
Using a flathead screwdriver with tape around the end, pry out the wiper seals. Adding some protection to the end of the screwdriver will minimise the risk of scratching the inside of the fork as it can require a bit of force to remove the seals.
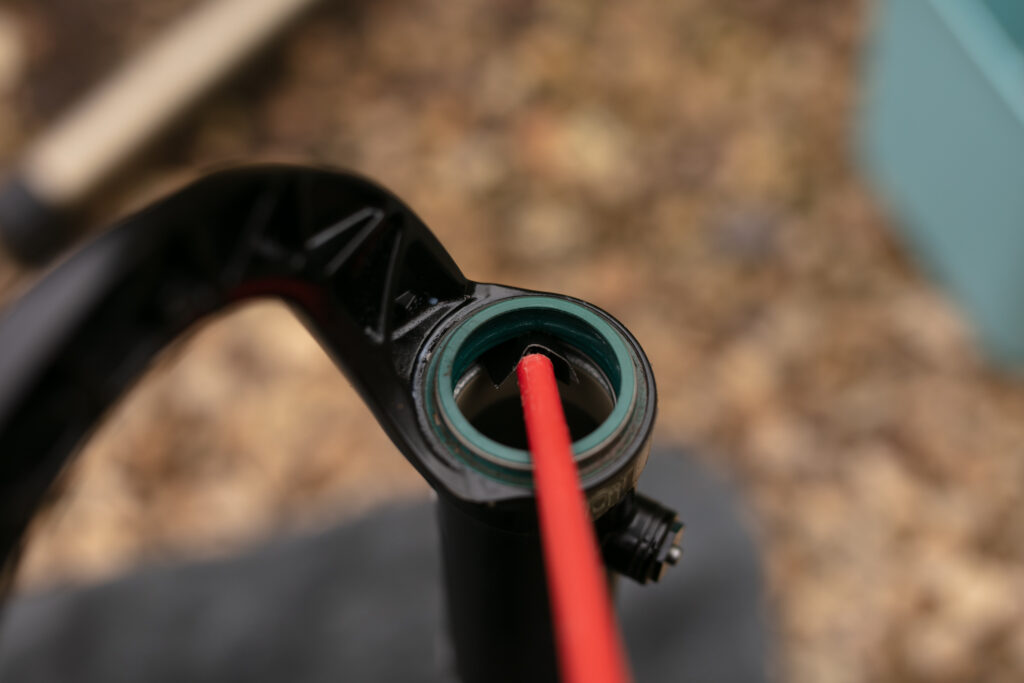
Note – This whole process can be done without replacing the seals and foam rings but if you’ve gotten this far, it’s only beneficial to go through those extra steps.
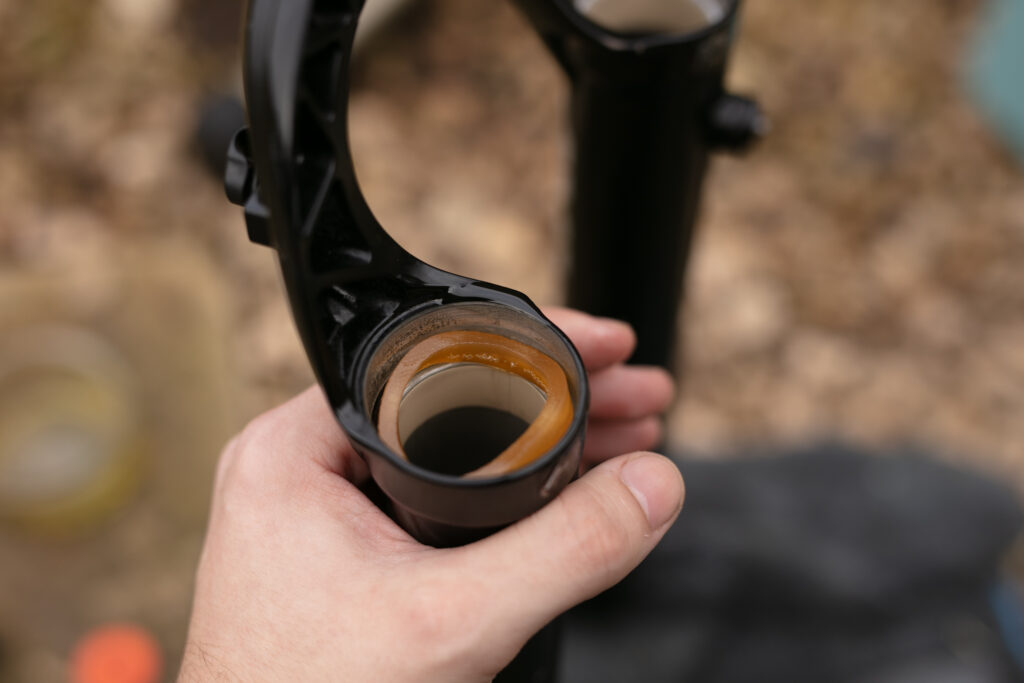
3. Clean the interior
Here, it’s helpful to have a long thing to wrap a cloth or some blue rollover that can be poked into the legs. At this point, we’re just cleaning the inside of any used and old oil.
4. Install the new foam rings and wiper seals
Place your new and oil-soaked foam rings into their seats.
Once they’re in place, put a new seal on either fork leg and push it in by hand, making sure they are level. When secure, insert your seal drive tool and tap it home with a mallet. Do this on both sides and don’t forget to make sure the seal springs are in place.

Once the seals are set, apply a film of light suspension-specific grease.
5. Reinstall the lower onto the upper
With everything clean and fresh seals in place, tilt your fork in the stand so it’s horizontal. Slide the lower over the stanchion, ensuring the seal isn’t folded over on itself. It helps to reinflate the air spring a little for the next step.
Before sliding the lower on all the way, fill your syringe with the required amount of the appropriate oil and insert it into the corresponding side, if your fork uses two types of bath oil. Rinse, and repeat before making sure the base studs are seated through the holes at the bottom of each leg.
Slip a fresh crush washer over each base stud and thread the nuts back in place – If you’re servicing Manitou, there are no crush washers. Torque to the manufacturer’s spec.
As we’ve cleaned the fork inside and out, we might as well give the fork steerer and thru-axle a degrease. Finish up by coating the thru-axle with a fresh coating of grease.
Reinstall the fork onto your bike and set it up using the settings you noted.
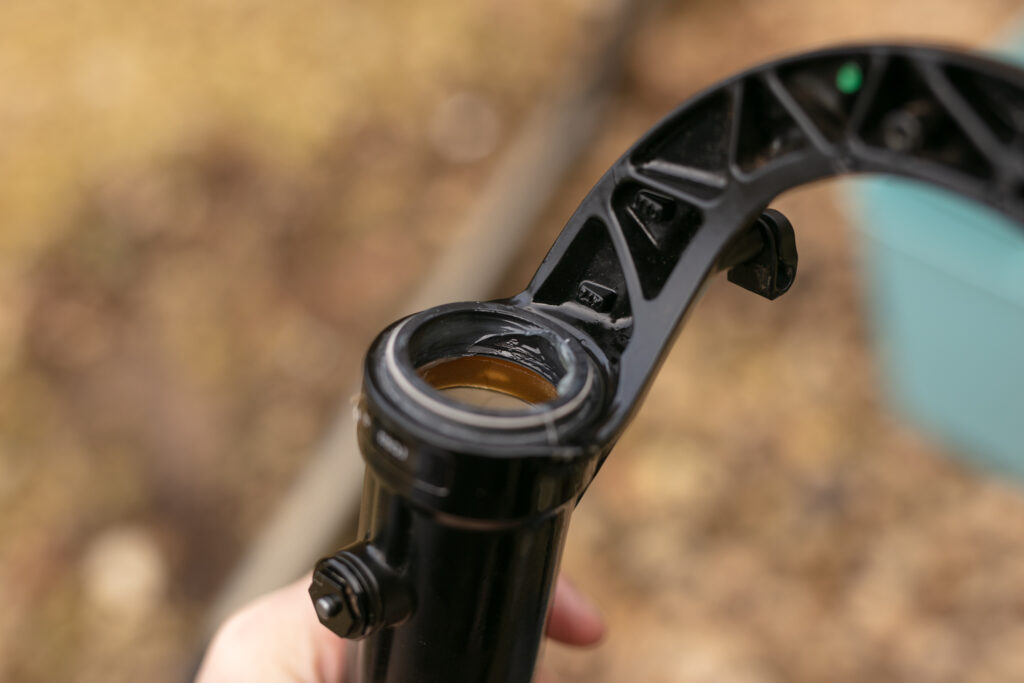
Note – As you’ve taken the fork off your bike, this also makes a great time to check over your headset bearings and perform a quick headset service. Read all about that in our how to service a headset and replace headset bearings article.


