

For a cyclist, there are few happier days than New Bike Day. You’ve spent ages calculating how far you can push your budget and the patience of your bank manager and/or partner, even longer obsessing over what to get before finally taking the plunge. However, now you have your hands on it, the job isn’t finished yet.
- Five mountain biking myths that just aren’t true
- Buying your first mountain bike: the complete guide
- Five mountain bike tech topics that split opinion
Here’s our guide to getting your new bike really ready. Some are serious, some are less so, but all are vitally important – at least we think so…
1. Get rid of the plastic crap
See all that plastic stuff that’s hanging off the bike? The reflectors on the spokes? The plastic thingy that goes behind the cassette? Those mark your bike out as being three things: unridden, owned by a total newbie and complying fully with road regulations concerning cycling, none of which are cool.
Okay, so the latter thing is fairly important – but if you’re using your bike off-road, then it’s a matter of time before those reflectors get smashed off and end up littering the countryside, doing a disservice to cyclists everywhere. Legally, you’re only supposed to have them fitted if you’re riding on the road any time from sunset to sunrise, but back in the real world, a proper set of lights is a much better idea for that eventuality.
As for that thing behind the cassette? They’re actually pretty useful to stop a poorly adjusted mech feeding your chain into the spokes, but they look rubbish, start rattling about annoyingly after a bit and you should have your derailleur adjusted properly so that doesn’t happen in the first place – so get rid of it. That brings us neatly to our second point…
2. Double check all the bolts
There are many bike shops that are extremely good and thorough and will have made sure your bike is in a totally safe condition before letting you take it away from the shop. There are some that are less scrupulous, however – and even the best can make mistakes from time to time. That’s why unless you’re happy putting your faith in a stranger or don’t really like the way your face looks at the moment, it’s worth checking that all the bolts are nipped up properly to spec.
The basic check is the ‘M check’ – check your front wheel and brake, then your bars, stem and controls, then the cranks, pedals and chainrings before moving onto the saddle and seatpost and then finishing on the rear wheel, rear brake and derailleur. If you’ve got a bike with suspension then check the pivots are all secure and if you’ve got lots of lovely carbon fibre on the new whip then definitely use a torque wrench on these extra sensitive bits.
Your dentist doesn’t need a second home in the South of France thanks to your misfortune.
- 11 tools every home bike mechanic should own
- What’s the best way to clean disc brakes on a bicycle?
- Which disc brake pads are best for mountain bikes? Sintered or organic?
3. Make sure your gears are aligned properly
Getting gears running properly can confound even experienced mechanics – nevermind the Saturday boy that might have built your bike – so it’s worth checking that they’re shifting smoothly and aligned correctly before leaving the shop, as nothing will ruin a first ride more than skipping gears.
As a minimum, should shift into the largest cog on the cassette and then grab the body of the mech with your hand and see if you can push it further over towards to spokes. A properly adjusted mech will be set against the limit screw and won’t move. A poorly adjusted one will allow it do do so – and that means there’s a good chance you’ll end up with your shiny new mech in your shiny new spokes and not very shiny sad face on you.
- Your complete guide to SRAM MTB drivetrains, from AXS and XX1 Eagle to NX
- Your complete guide to Shimano mountain bike drivetrains – Tourney, Altus, Acera, Alivio, Deore, SLX, XT, XTR 12 speed
4. Grease the greasy things that won’t have enough grease in them from new
Grease is the slippery friend of everything that moves on your bike, be it the headset or your hubs. It’s also very good at stopping things getting permanently stuck to other things, such as axles in bottom brackets or bottom brackets and seatposts and frames.
I know this might be a bit more than you signed up for, but making sure all these things have enough grease in them is an extremely good form of insurance that’ll make everything live longer and your life much easier when things to wear out. Greasing things is messy and time-consuming, which is why your bike will probably have come from the factory with a bare minimum of the slippery stuff in all these important places – especially as most bikes are destined for places much less soggy than the fair isle of Britain and our delightful ‘summer’.
The basic rule is that if it moves and you want it to keep moving, use plenty of grease. If it doesn’t move normally but you might like to move it at some point, use anti-seize and if you really don’t care, use nothing and reap the whirlwind of maintenance pain..
5. Setup your saddle angle and your lever positions
Unless you’re on extremely close terms with your mechanic, it’s very likely that he or she won’t have the slightest clue about how you like your bars, levers and saddle set up when they assembled your new bike. On the flip side, most riders will have a pretty good idea of how they like their controls.
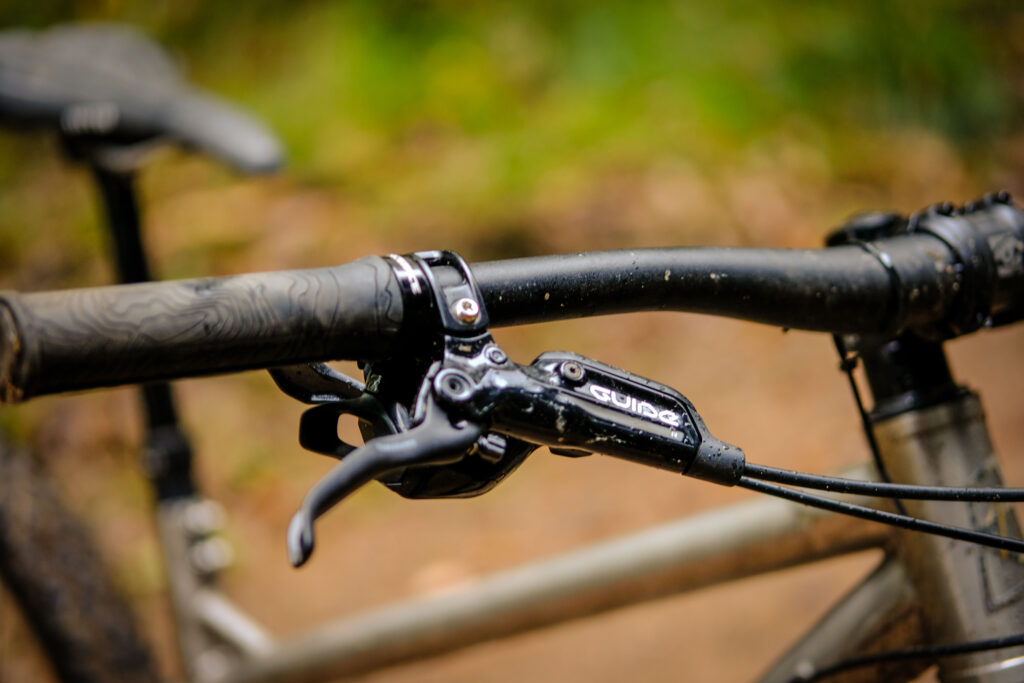
Most disc brakes – apart from rubbish ones – allow single finger braking, so make sure you’ve set them up so this is possible without hanging off the end of the grip – and get the lever reach in a place you like while you have a ball-ended Allen key to hand instead of doing it half a degree at a time with the tiny pointless thing on your multitool. The same goes for saddle angle and height. Don’t mess about in the woods as precious time is a wasting – just do it before you go on a proper ride.
See how your riding buddies don’t hate you now? We know – no need to say thanks.
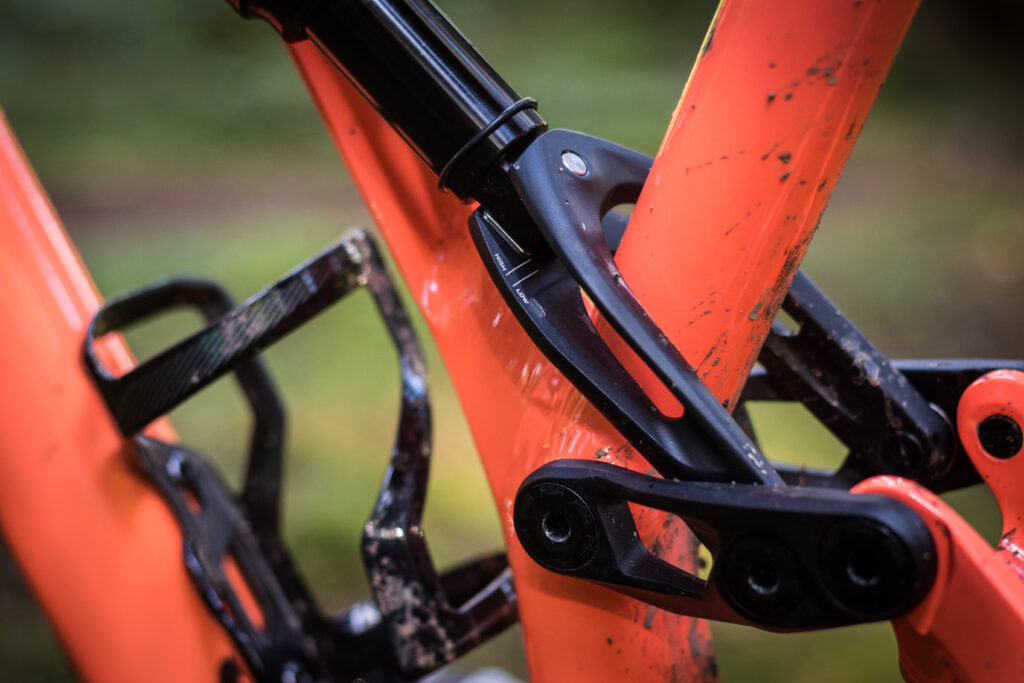
6. Put any geometry adjustment in the low and slack setting
I have ridden many, many test bikes with adjustable geometry and I can count on the fingers of one finger the number of times I’ve ridden a bike in the ‘high’ setting and thought it was better. Take my word for it and just put the bloody thing in the lowest and slackest setting and get riding.
You can always put it into the ‘high’ setting later. What’s likely to happen is that you say “ooh, that doesn’t feel as nice – I’m glad I haven’t spent the last five rides riding it like that”. If you happen to prefer it that way around, then I’m very sorry – but it was statistically unlikely.
7. Instagram

Your bike should now look ready to go, even if it isn’t totally ready to go – remember this list goes up to 11 – but you have a new bike and friends, family and casual acquaintances need to know this so get on Instagram or Facebook or Twitter or MySpace and share the good news with those less fortunate with you. Disregard any comments from non-biking friends asking how much it cost and then their surprise/horror once you tell them and simply repeat to yourself that it was extremely good value and you deserve it.
Of course, if you’re pulling the old ‘replacing-an-old-bike-with-a-new-one-that’s-the-same-colour’ trick in order to pull the wool over the eyes of a partner then skip this step. And shame on you.
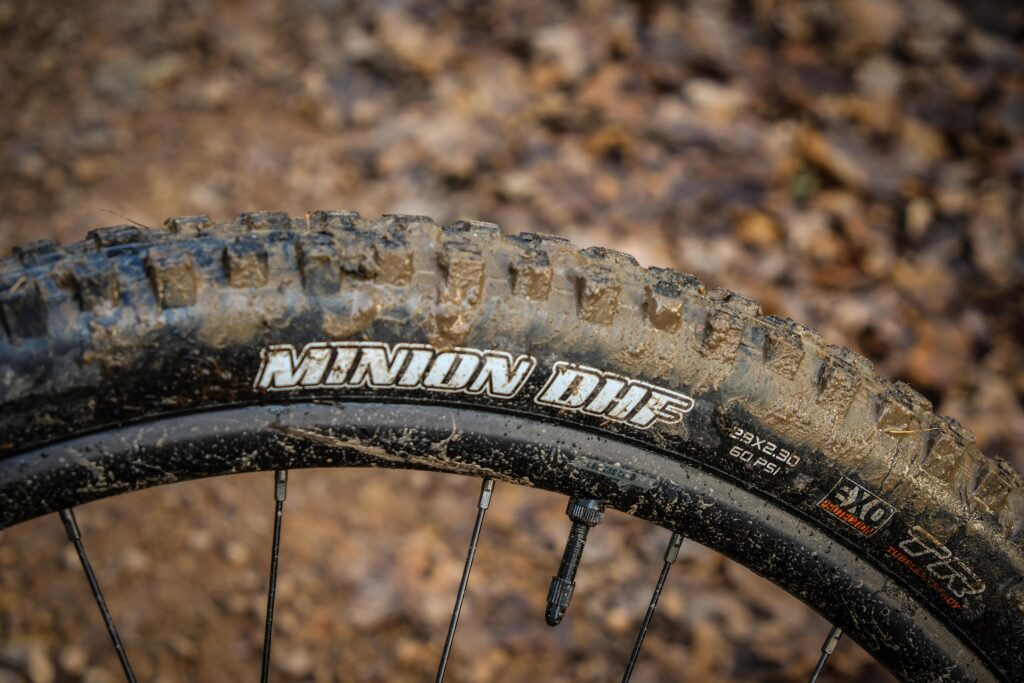
8. Set up the suspension and tyre pressure
If your new bike has suspension at one or both ends, then you need to get it set up before you go anywhere. The main things to do are the sag – how much the suspension sits into the travel under your static weight – and the rebound damping – which is how fast the suspension returns after it’s been compressed.
Your bike and fork manufacturer will have suggested guidelines for how what settings you should start with, so use them and then double check by sitting on the bike and measuring sag – there are plenty of guides on how to do this on YouTube from suspension manufacturers – who are probably a better source than random vloggers, FYI.
Rebound is a touch more involved, but the basic rule is that if you bounce with all your body weight on the suspension, you want it to compress, then extend back up to full travel before settling at the sag point once again. Too little rebound will mean it doesn’t extend to full travel after compressing – speed it up using the adjustment dials – and too little means it’ll pop the wheel up into the air or bounce a number of times before settling back at the sag point. Riding off a kerb can help give you a feel for this.
9. Bed in the brakes
Most modern off-road bikes have disc brakes and they’re fantastic. Only mad people (and some roadies) think otherwise. There’s oodles of stopping power at your fingertips and they work in rain or shine.
In fact, the only time they don’t work is when they’re new from the factory, so save yourself a pant-wettingly terrifying moment as you slam then on during your first excursion only for nothing to happen by bedding them in properly.
Bedding in is the process of getting the shiny new pads and shiny new disc rotor interacting properly with each other so you get maximum braking power. The disc’s surface will often be smooth and shiny from the factory, while the pad itself won’t be totally even – you need to get it so that they both match each other.
Find a safe place away from traffic and hazards and get yourself up to a moderate riding speed before applying the brakes and then feeding in more pressure as you slow, but don’t stop. Once you’ve got a handle on how they’re biting, repeat this process a few times – five or six usually does the trick – and apply as much braking force as you can safely, but don’t come to a complete stop while braking. After a few tries, you’ll notice that the braking power has increased and one it starts to feel consistent, the job is done.
10. Do a wheelie
Have you completed step nine? Are you sure? Good, because if you’ve ever tried this step without doing that one, you’ll know that it’ll end in tears. Anyway, think of this as smashing the champagne bottle against the hull of the ship. It’s not launched until that happens and your new bike isn’t good to go until the front wheel has gone in the air. It doesn’t matter how high or how long for, but you need to do the wheelie. Okay? Good.
11. What are you waiting for? Go and ride it!
This one is pretty obvious, isn’t it? What have you been hanging about for? Get out, feel the wind on your face and enjoy the rich and varied pleasures riding your bike. We’ll see you out there…


")


, Portland’s world record ambitions, another e-bike brand goes pop + more")

