

When you’ve bought a new bike, or your first ever, it’s all too easy to get overexcited and pull your bike out of the box, nip up some bolts, and head out for a spin. But all bikes are specialist pieces of kit, gravel or mountain, so please, don’t make these mistakes before your fresh tyres hit dirt.
- How to go bikepacking: a beginner’s guide to getting started
- How many spacers should I install on my bottom bracket?
- The best mountain bikes for under £600 – our top picks
Don’t follow a tyre’s recommended pressures
Perhaps the most misleading nugget of advice you’ll find anywhere is the pressure recommendations on the side of nearly every tyre on a bike. They’re there for safety’s sake, but really, they’re best ignored… even for safety’s sake.
They’re simply just too high. Running the recommended pressures will result in very hard tyres that won’t be comfortable or grippy when riding off-road. They will roll quickly, but apart from that, you won’t have a good time with them.

Instead, it’s worth doing a bit of theoretical and practical research. Experiment with different pressures to find what works for you. Depending on your weight, mountain bikers and gravel riders should be using pressures between 18 and 30 PSI. If you’re heavier or a hard charger, more pressure will offer better puncture and pinch flat protection than someone who’s lighter, who doesn’t need that much pressure.
But tyres work at their very best when they’re able to conform to imperfections in the trail or road. That’s how they gain traction. This is where some experimentation needs to happen. The goal is to go as low as possible, for traction and comfort, but without going so low that the tyre feels wobbly and unsupported.
Without going too deep into the subject, your chosen tyre pressure should also depend on the casing type you’re using. Tyres with beefier protection provide more support, so you won’t need as high pressures. Lesser-protected casings might need more pressure to make up for the lack of puncture resistance. Again, experiment.
Uninflated suspension
This is a pet peeve of mine. A bike’s been hauled out of the box and ridden on as fresh as it can be. But like tyres, most modern suspension utilises air springs to account for the rider’s weight. Not inflating your suspension to the correct pressure means that it just will not work for you at all.

This is where sag comes in. It’s the measurement in which the suspension fork, or shock, compresses under a rider’s weight, but it’s vital to correct performance. With too much sag (too little air), you’ll be riding deep in the suspension’s compression, and you’ll bottom it out frequently. Too little sag (or too much air) and you won’t be able to utilise the whole of the suspension’s travel.
Like tyre pressure, this is a balance, but unlike tyre pressure, definitely follow the recommendations either printed on the fork or found in a bike’s manual. These will offer you the best pressure to inflate your suspension to and work from.
But again, experiment. Yep, another can of worms to dive into, but there’s a lot of trickery that can be done to your suspension to make it work in certain ways and achieve different performance, but that’s a topic for another article.
Super low brake levers
Remember those BMX days where you tilted your brake levers low on the bar, nearly vertical? That was mainly to get them well out of the way for any rowdy shenanigans that you would typically get up to on a BMX, and as they’re much smaller bikes, they were much easier to grab when the time came.
However, brakes are vital tools in mountain biking, and other than suspension, wheels and tyres are the most frequently used components when tackling all kinds of trails. That’s with good reason, too, because modulating your speed keeps you safe, within your limits, and a solid braking technique can make you a faster rider.
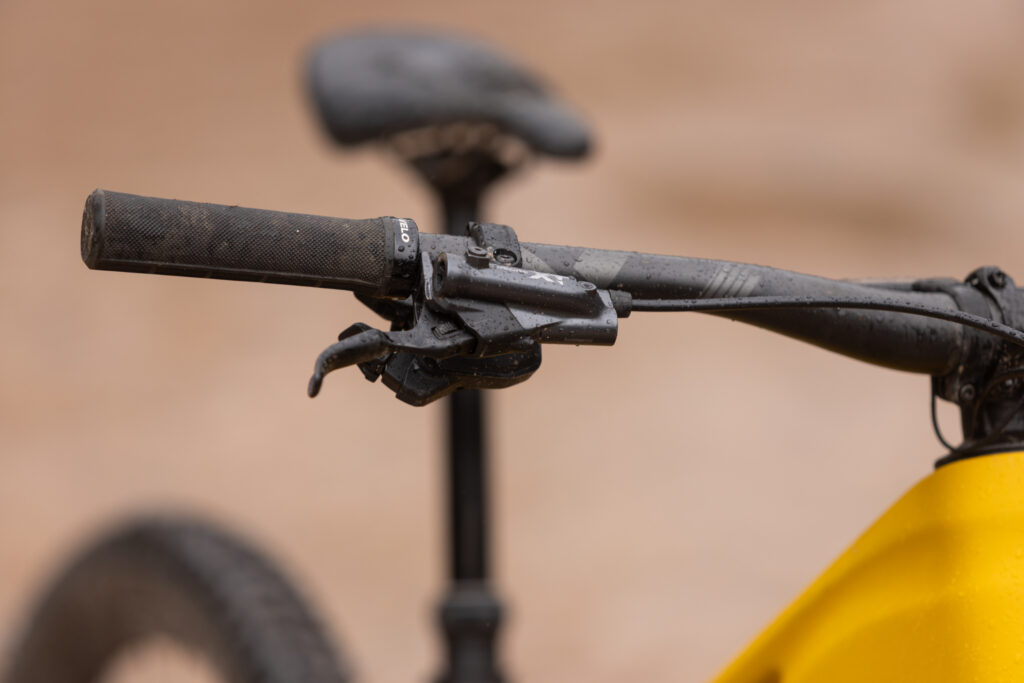
But the way in which you mount your brake levers plays a surprisingly large role in your body position over a bike, and comfort. Tilt them too low, and you’ll be throwing a lot of weight over the front of your bike in order to reach them, and you’ll end up unnecessarily straining your wrists. Place them too high, and you’ll be placing your weight more rearward, and you’ll still be uncomfortable.
The rule of thumb is to clamp your brake levers in line with your forearm in your most adopted position when riding. If you’re standing most of the time, they’ll be a bit lower than they would if you spend most of the time in the saddle.
But as with everything bike setup related, consider this a starting point. For example, if you ride a lot of steep terrain, mounting your levers in a flatter position will help you reach them, and modulate your braking properly. If you find yourself struggling for front wheel traction, tilting them a little lower will help claw some back. Find what you’re comfortable with.
Saddle height too high, or too low
We see this all of the time. Folks with their saddles as low as possible for ‘comfort’, and sometimes a little too high. The former may be comfortable to the layman, but you’ll be sacrificing your ability to use your leg muscles efficiently. The latter can cause hip, knee, and ankle injury, so get your saddle position dialled to avoid both.
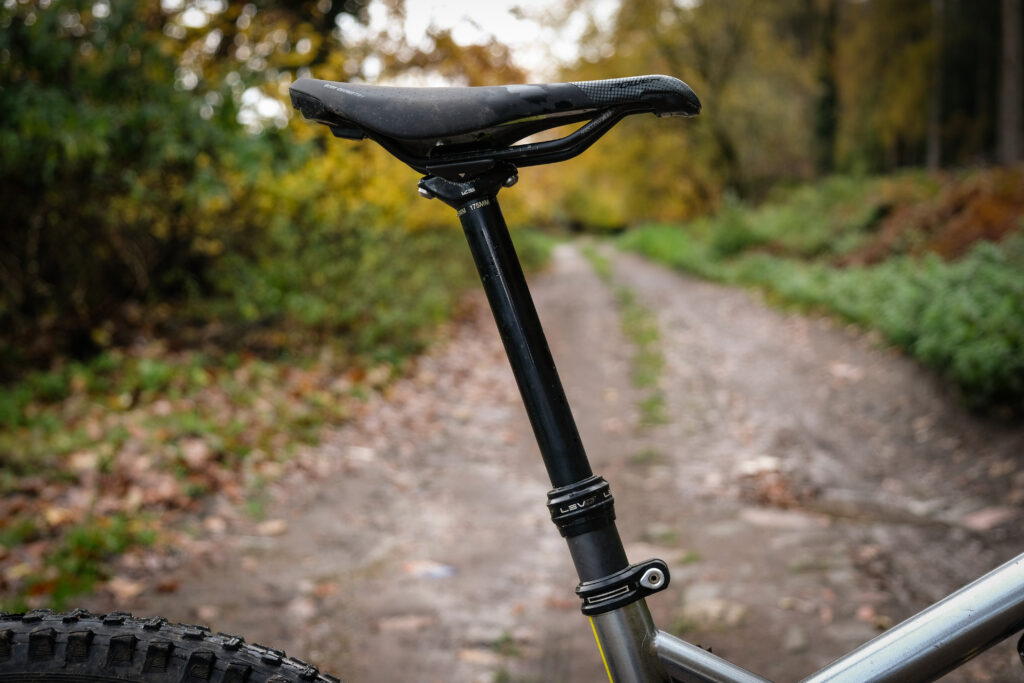
Doing so is super simple. With your bike leaned up against a wall or something sturdy, raise your dropper post (if you have one), jump onto the bike, and place your heel on the pedal at the six o’clock position. If your leg is bolt-straight, your saddle is too high. If it’s very bent, it’s too low.
What you want to achieve is a slight bend in the knee. Once you’re in your proper riding position, you’ll have the perfect saddle height that’ll keep you pedalling efficiently, while avoiding any pedalling-related injuries.
Running a dry and dirty drivetrain
Your derailleur, chain, chainring(s), and cassette should all be seen as consumables, and they can be mighty expensive to replace. Neglecting to clean and lubricate all of these moving parts will destroy them pretty quickly, especially if you’re riding an e-bike of any kind.
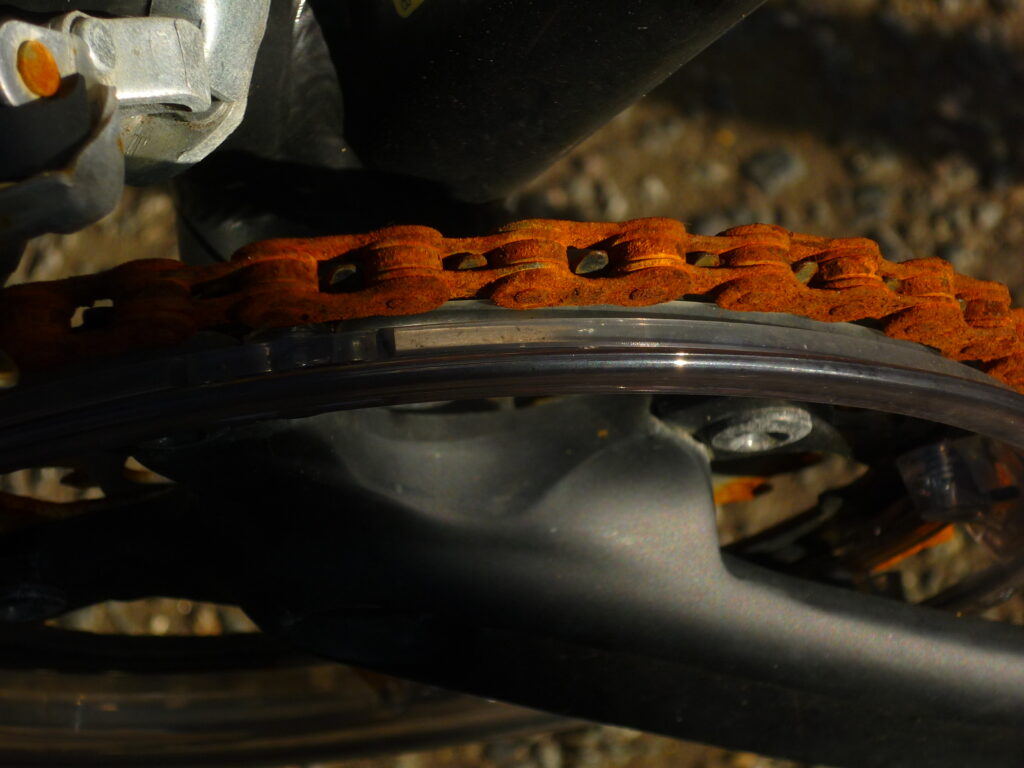
That’s because they’re all some kind of metal, rubbing against more metal. When grit from the trail or road gets involved, you’re left with a gunk that’ll grind against all of these pieces, and increase the rate at which they’ll wear, meaning that you’ll need to spend a good chunk of cash to breathe new life into your drivetrain.
However, keeping these vital components running smoother for longer is really damn easy. Once you’ve wrapped up a ride, get your chain through some degreaser and give every drivetrain component a good scrub. Then, when dry, apply your favourite chain lube to the chain only.
There are loads of lubricants to choose from, too, all of which provide their own benefits and downsides. Wet lubricant stays put when riding through wet trails, but it really does need regular cleaning. Dry lubricant doesn’t attract dirt as easily, but it can wash off easily. Then, chain wax requires a more involved process to apply.
Keep your drivetrain clean and lubricated, and you’ll save cash in the long run.
Service your suspension!
The most damning of cardinal bike sins is not servicing your suspension. Yes, it’s expensive to do so, but putting it off can become even pricier. Let’s face it, suspension components on any off-road going machine are constantly moving, and when dirt’s thrown into the mix, like on a drivetrain, that’ll wear some really important, and very expensive internal components.

Brands publish service intervals on their forks, shocks, and dropper posts for a reason, and if you ride a lot, signs of neglect don’t take long to show. You’ll find scarring on your stanchions with time, and your suspension just doesn’t work nearly as well as it really should.
While some suspension care can be done by yourself, when it comes time for a full service, send it over to a qualified service centre where they’ll clean everything up, replace the seals, add fresh oils, and replace any parts that need it. But if you’ve kept on top of your service intervals, not much should need replacing!
Following your service intervals goes throughout your bike, too. Replace wheel bearings before they develop loads of play, keep your headset clean and greased, and top up your tyre sealant every few months.
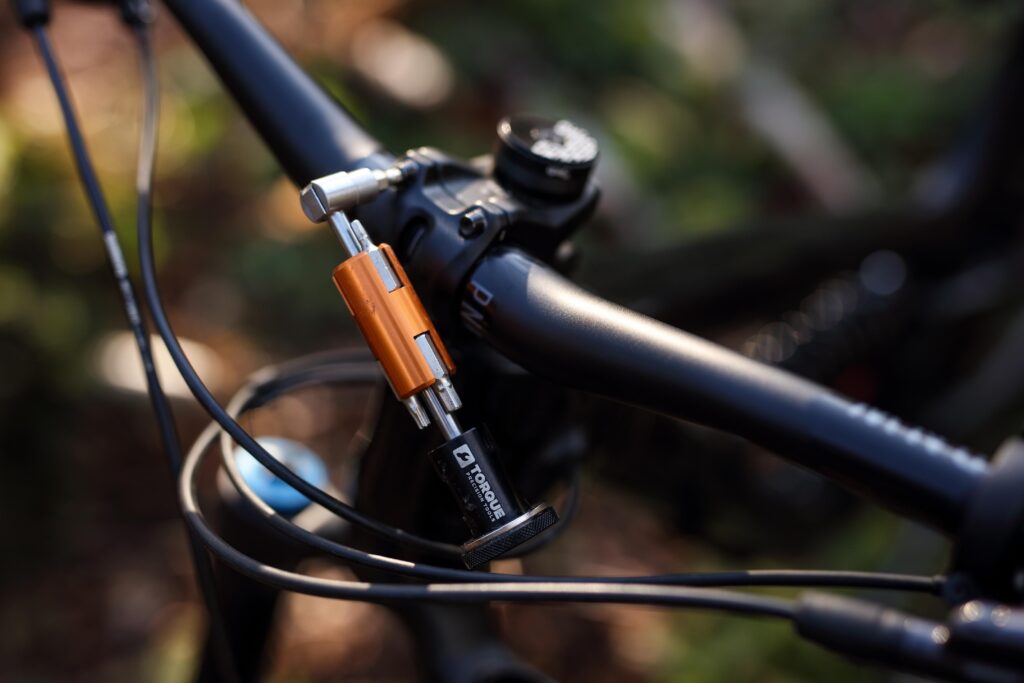
Torque those bolts
Every bolt on the bike has a recommended torque rating. If they’re tightened too much, or too little, they can fail. That can lead to a snapped carbon handlebar or a component that’s just not clamped well enough, both of which can lead to a pretty painful crash.
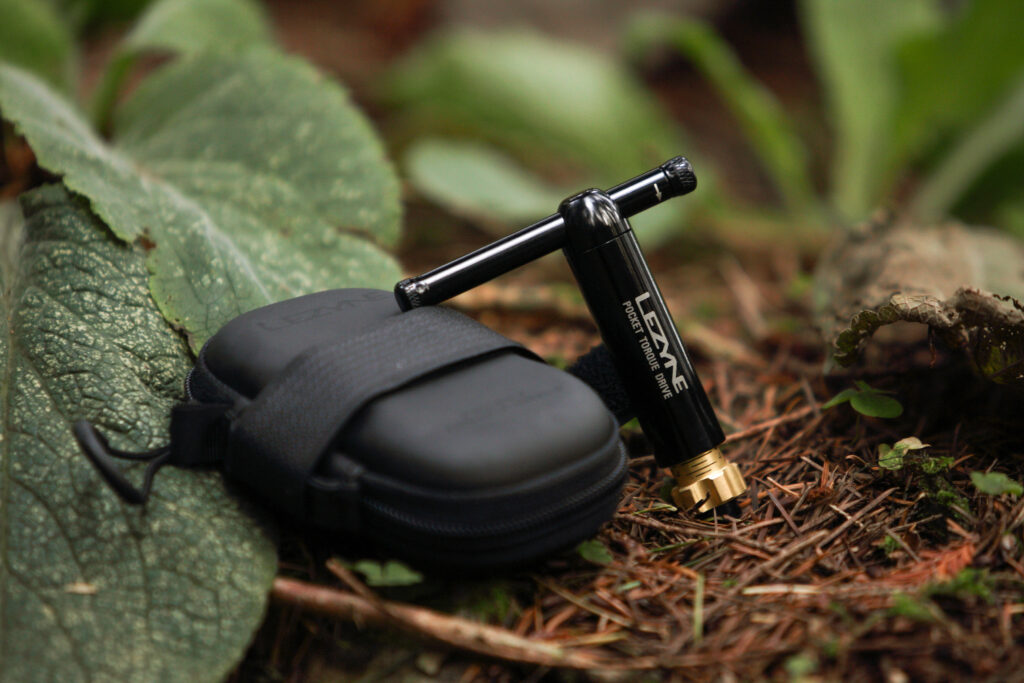
Keeping on top of all of the bolts around the bike is a great thing to do. It’ll help keep your bike from rattling itself to pieces, keep it in good working order for longer, and save you from any potential and easily avoided crash. It doesn’t take much to get everything torqued up correctly, either.
You will need a torque wrench, and really, they’re not too expensive if you look in the right places. With it, perform something known as the M Check. Start with your fork’s thru-axle, move up to the cockpit, check every bolt you find down to the bottom bracket, back up to the saddle, and then to the rear thru-axle. That’s all while nipping up each and every bolt you come across to the recommended torque value.
These values can sometimes be tricky to find. Most often, they’re printed on the bolt itself or the component a bolt is on. If not, head over to the manufacturer’s website, where it’ll show you exploded diagrams of each bolt type and its specified torque.


Comments are closed.