


A bit of care in setting it up will make your helmet as comfortable as its makers intended, and keep it in place if you crash. Here’s how.
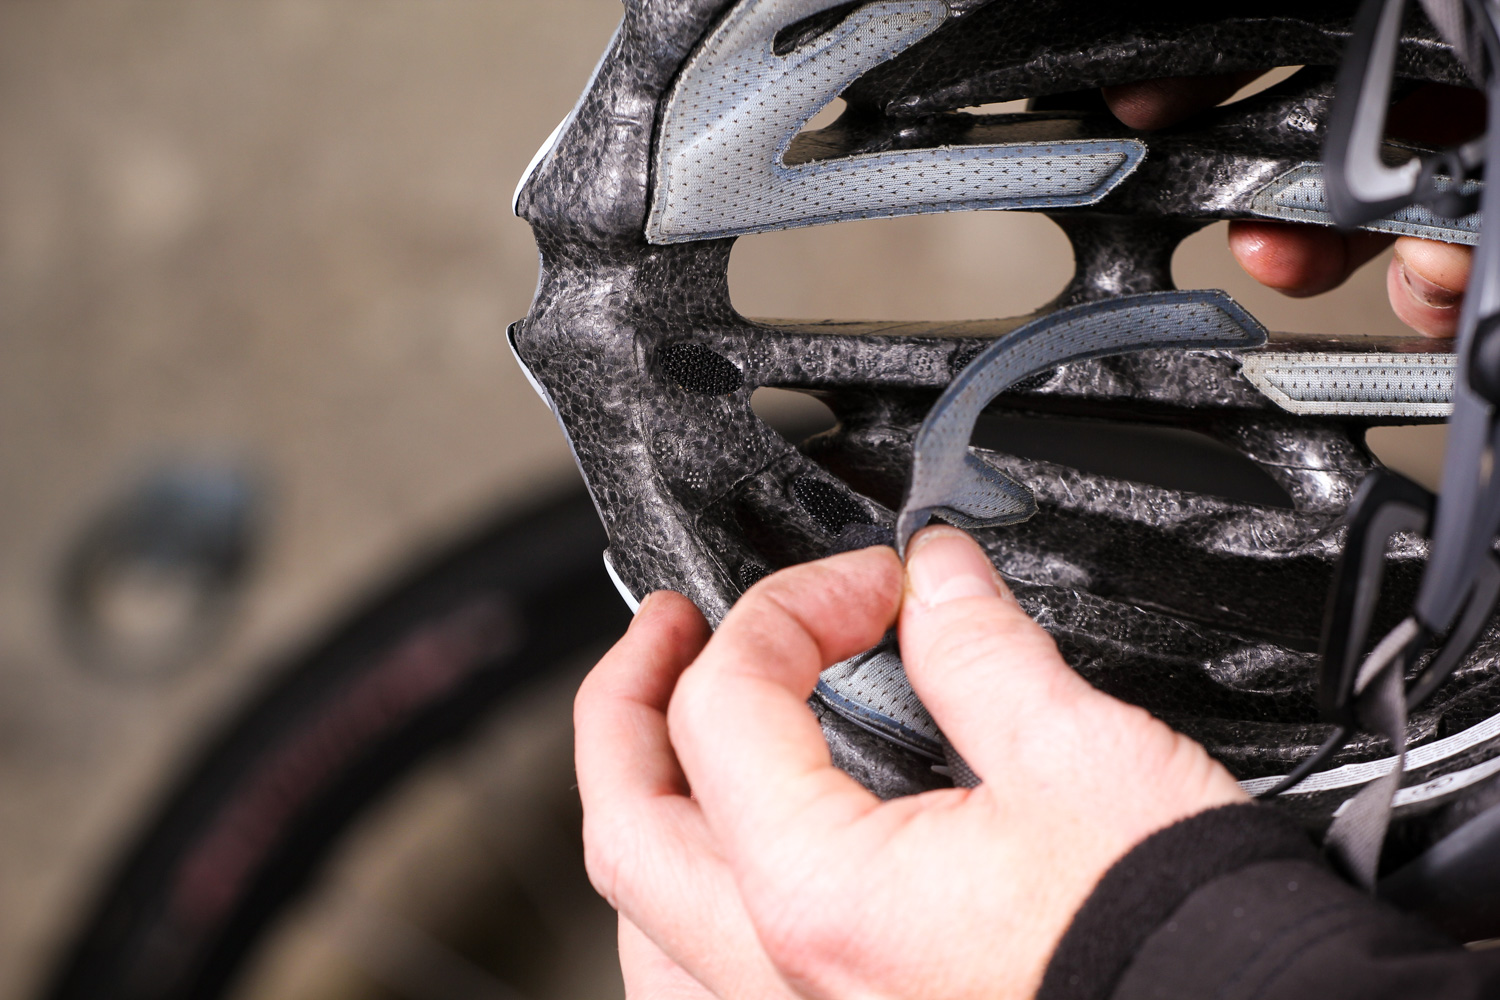
1 Tweak the pads Helmets come with sweat absorbing pads attached to the polystyrene liner with small Velcro tabs. This means you can tweak their position (around the vent gaps obviously). You can also add extra padding if required. Most brands add spare pads in the box. The most important thing to know though, is that they’re machine washable, for when they’re stinky.
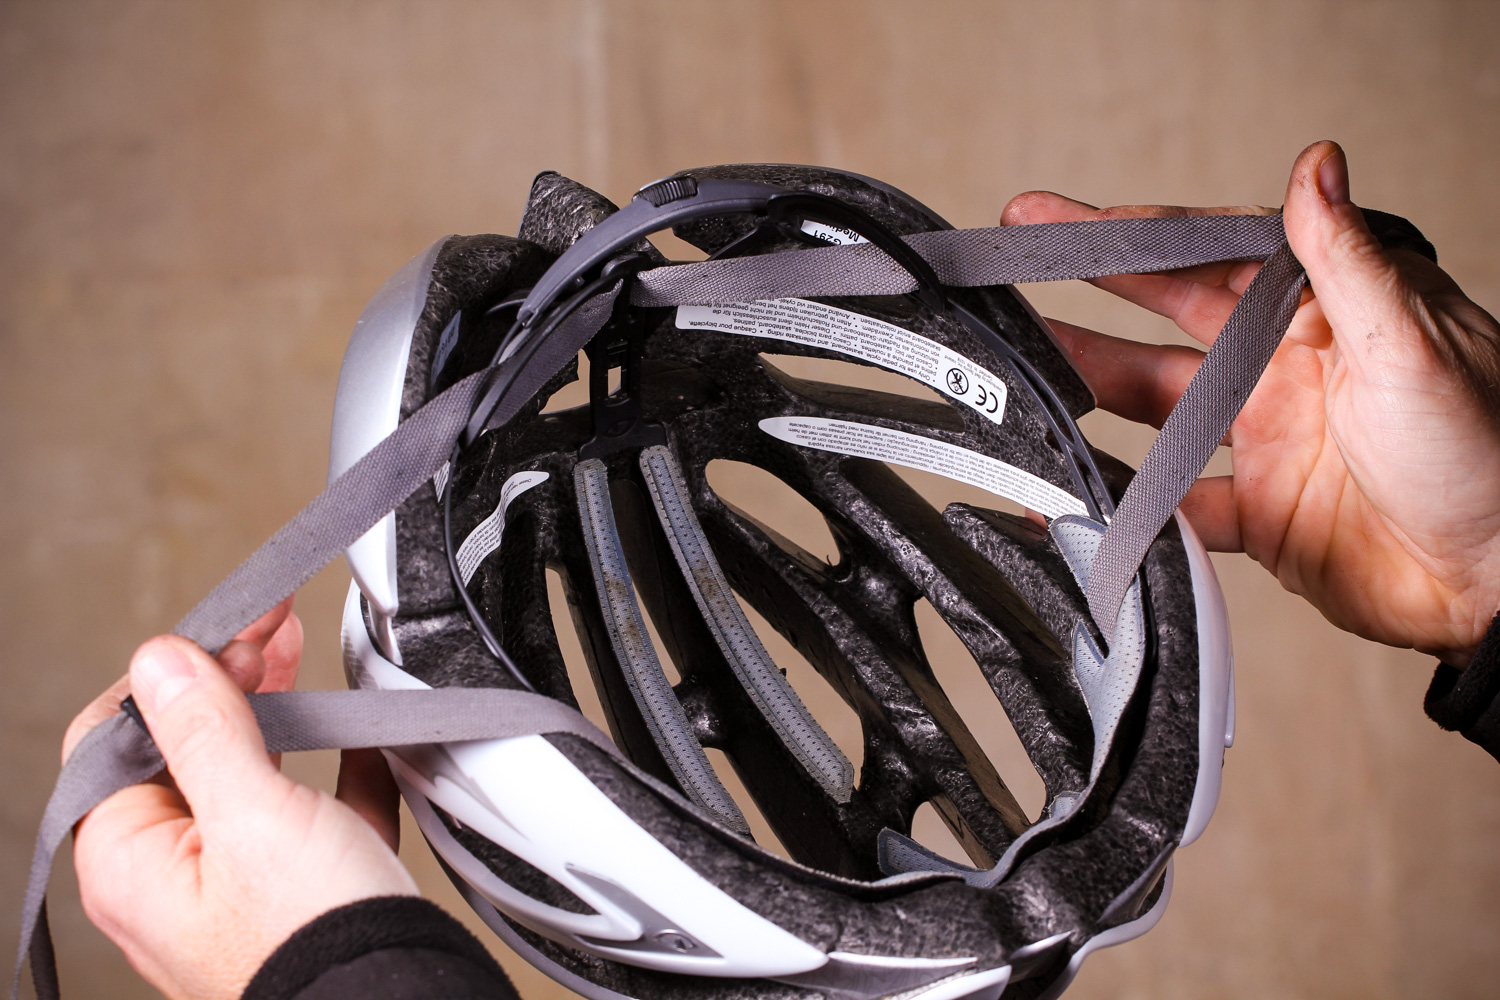
2 Tidy up the straps The helmet straps are anchored inside the helmet. They’re not removable so the only way to clean them is to hand wash them, which is a bit of a shortcoming in helmet design. Anyway, the straps should be untwisted and should follow the manufacturer’s intended pathway through the occipital cradle (the bit that grabs the back of your head to stabilise the helmet).

3 Adjust the occipital cradle Before you reach for the straps, the first step is to reach behind your helmet. There you will find a rotational dial, or a pair of ratcheting buttons. In the case of Lazer helmets you’ll find their Roll-Sys dial on the top rear part of hte helmet shell. Twist the dial, as above, or close the buttons together, to snug the cradle against the back of your head, under your occipital protuberance. This cradle keeps the helmet on your head; some helmet makers use a full 360 degree band.
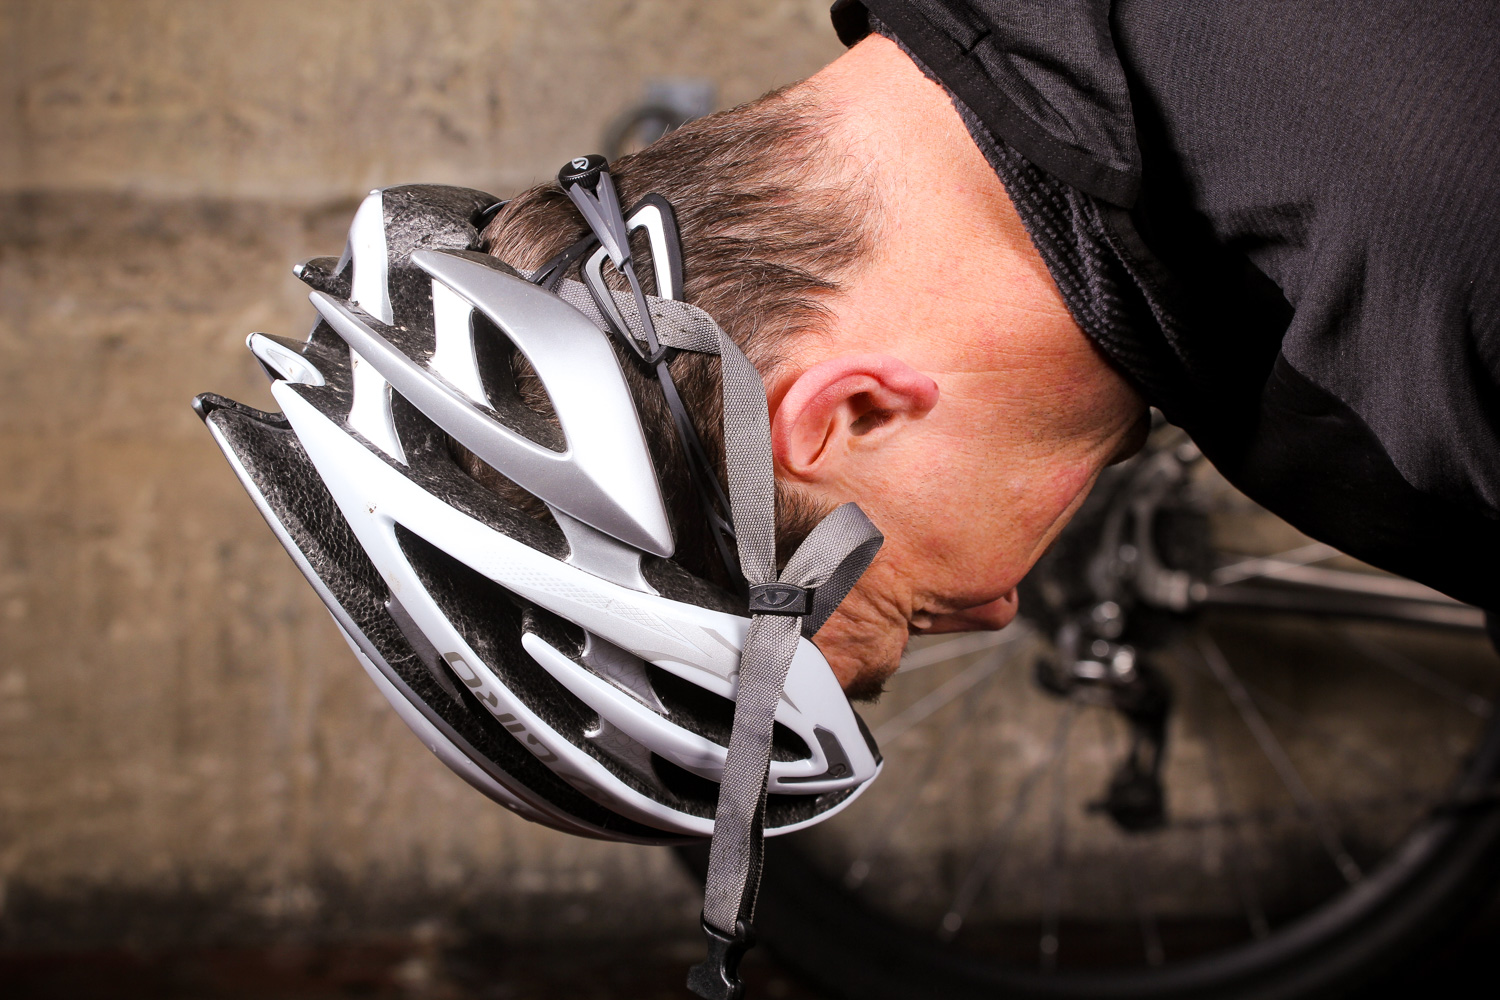
4 Test the fit With the occipital cradle comfortably adjusted you should be able to tilt your head fully forward, with the chin straps unbuckled, and the helmet shouldn’t move.
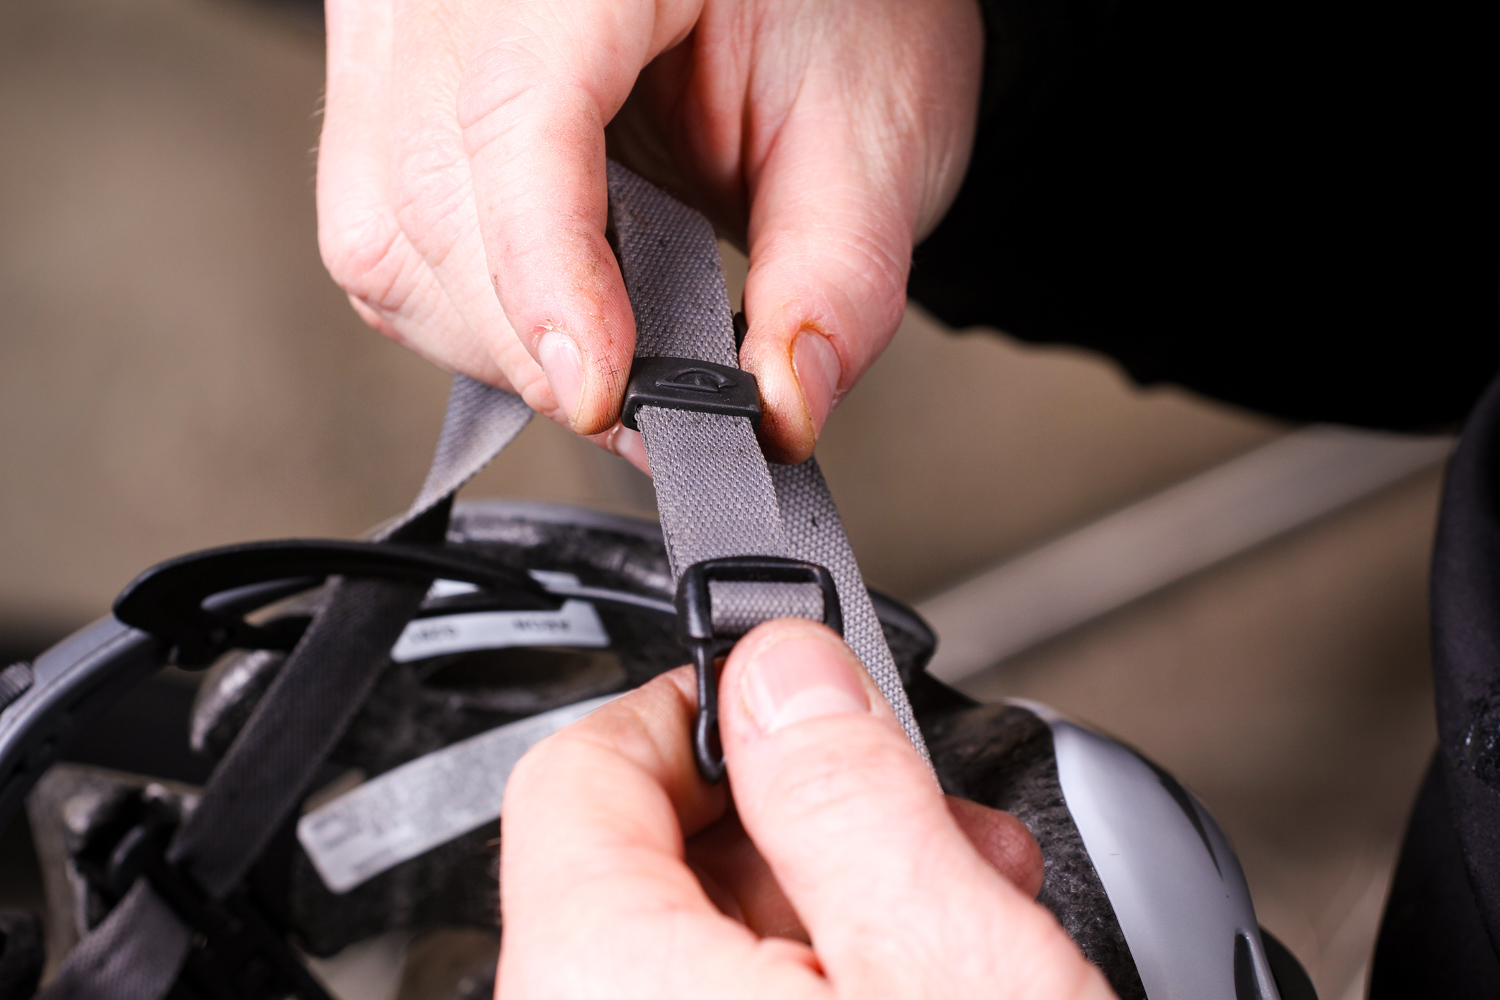
5 Adjust the straps With the cradle sorted out, it’s important to adjust the chin straps. First thing to do is open the locking flap so you can make slide adjustments to the straps independently. In the old days these were just ladder dividers and straps would go out of adjustment every ride. The little locking flaps ended that.
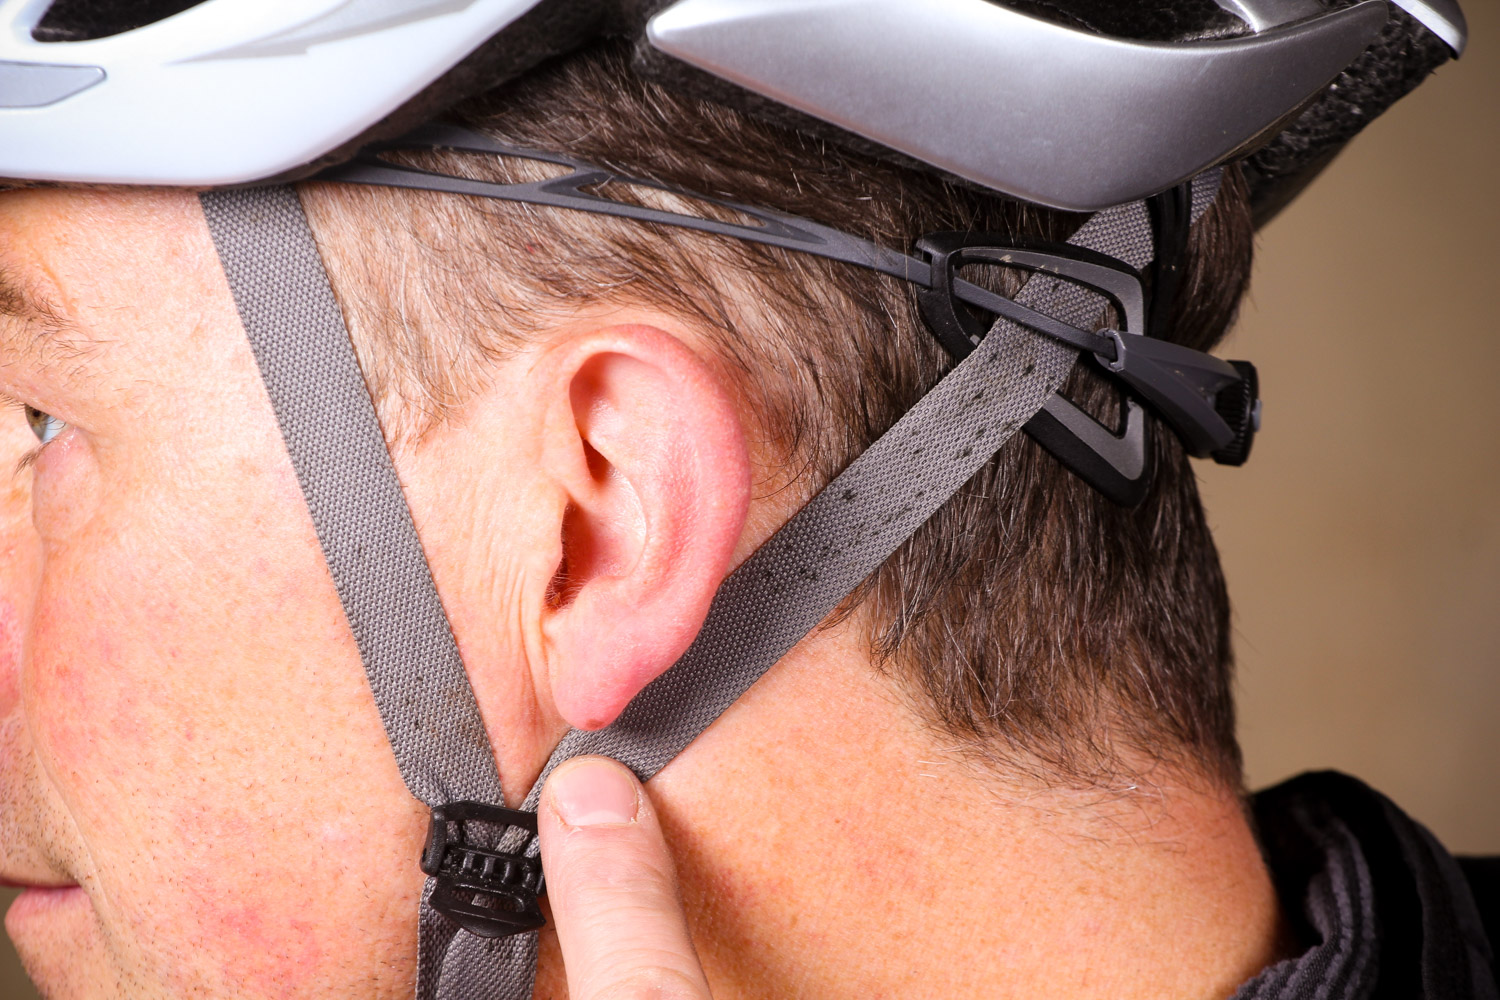
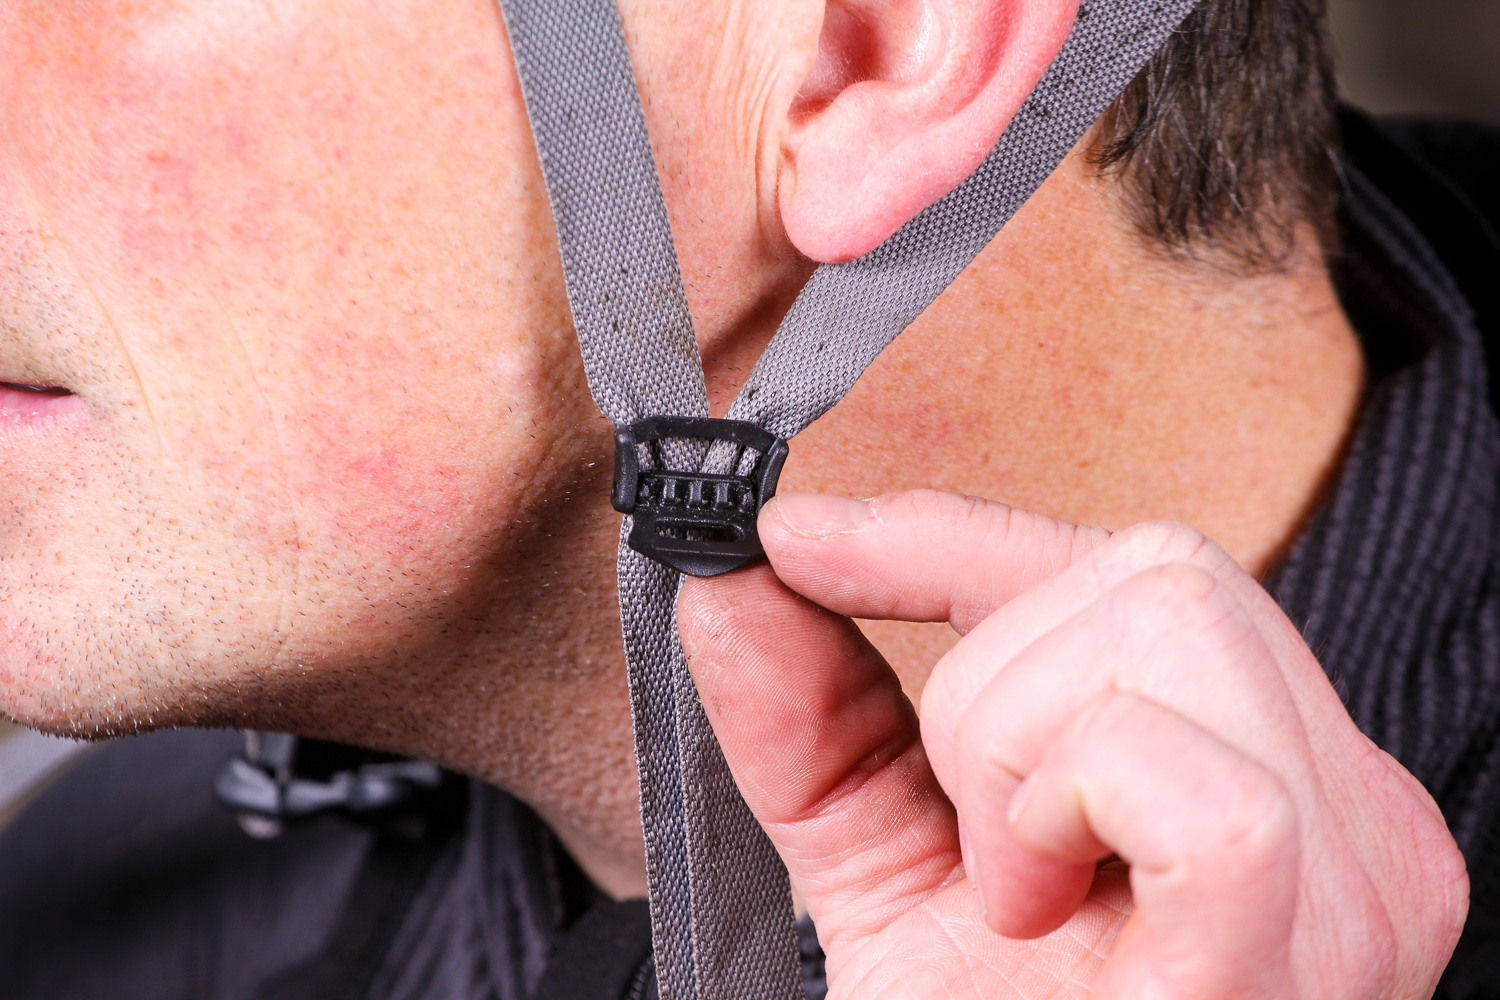
6 Position the buckles You’re looking for the properly adjusted straps to fit as flat to the head as possible. The buckle should be under and slightly forward of your ear lobe. It can take a bit of messing about to get both sides just so. Stick with it because well fitting straps make a safer and more comfortable fit.

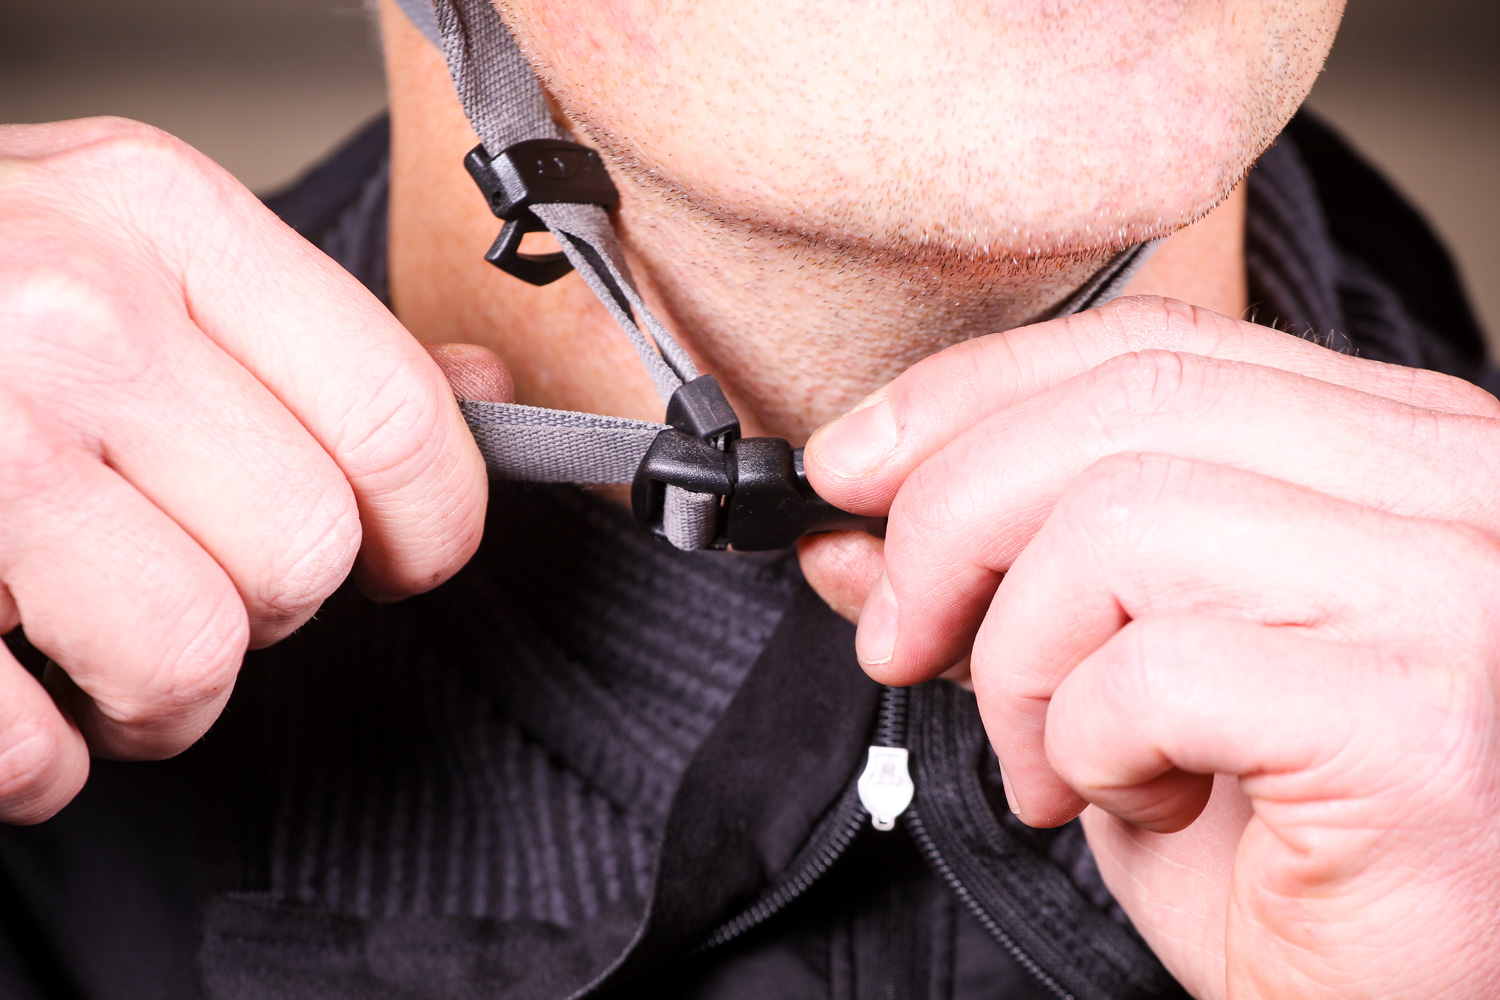
7 Get to know the buckle The strap will probably close with a two part snap-lock buckle, though some brands use a ratcheting plastic closure, others a self-aligning magnetic clip. Operating your helmet buckle by feel is an important skill to master.
8 Adjust the chin strap Once the buckle is closed, the two loose strap ends can be be pulled to tighten them under your chin. You’ll find this easier if you gently hold the buckle with the other hand, otherwise the straps can bind on their ladder buckle. In this pic you can see the rubber retaining band, under which you’ll pop the loose ends of the straps. It’s a bit low here and will get in the way of making a proper adjustment.
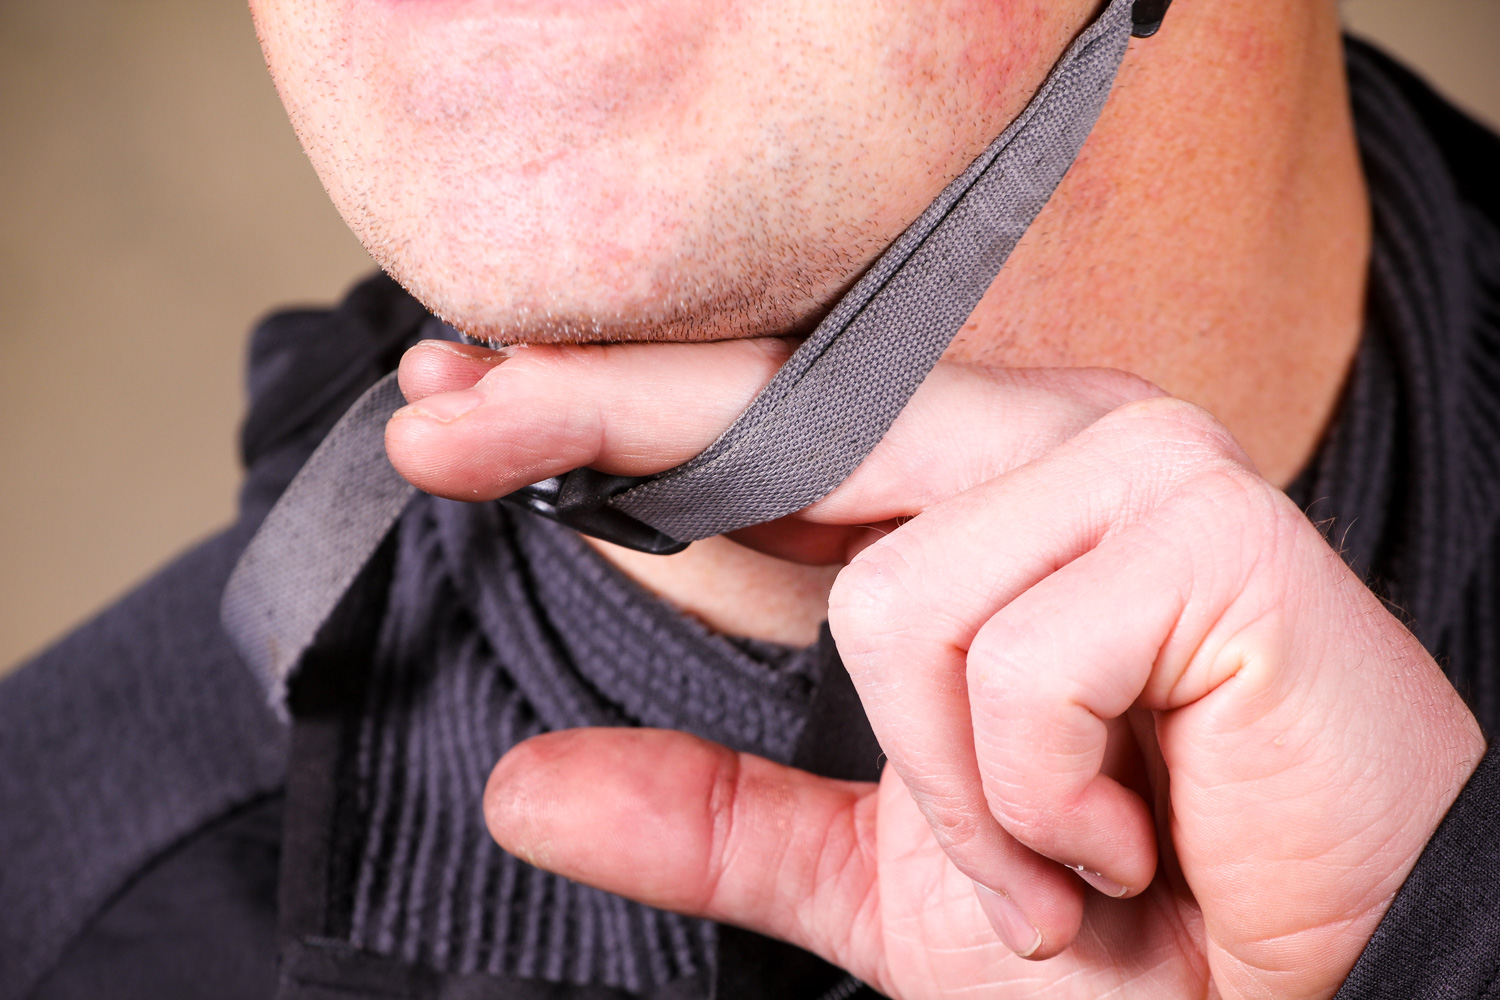
9 Correct strap tension The chin strap doesn’t need to be super-tight because the occipital cradle does most of the work of keeping the helmet in place. As a general rule, you should be able to poke two fingers easily between the buckle and your chin. if not, you’re going to find the helmet is in danger of feeling too tight, especially when you get hot on a ride.
10 Tidy up the ends Tuck the loose ends of the strap under the retaining buckle. This stops them from flapping about and looking bad but more importantly it stops them from coming loose.
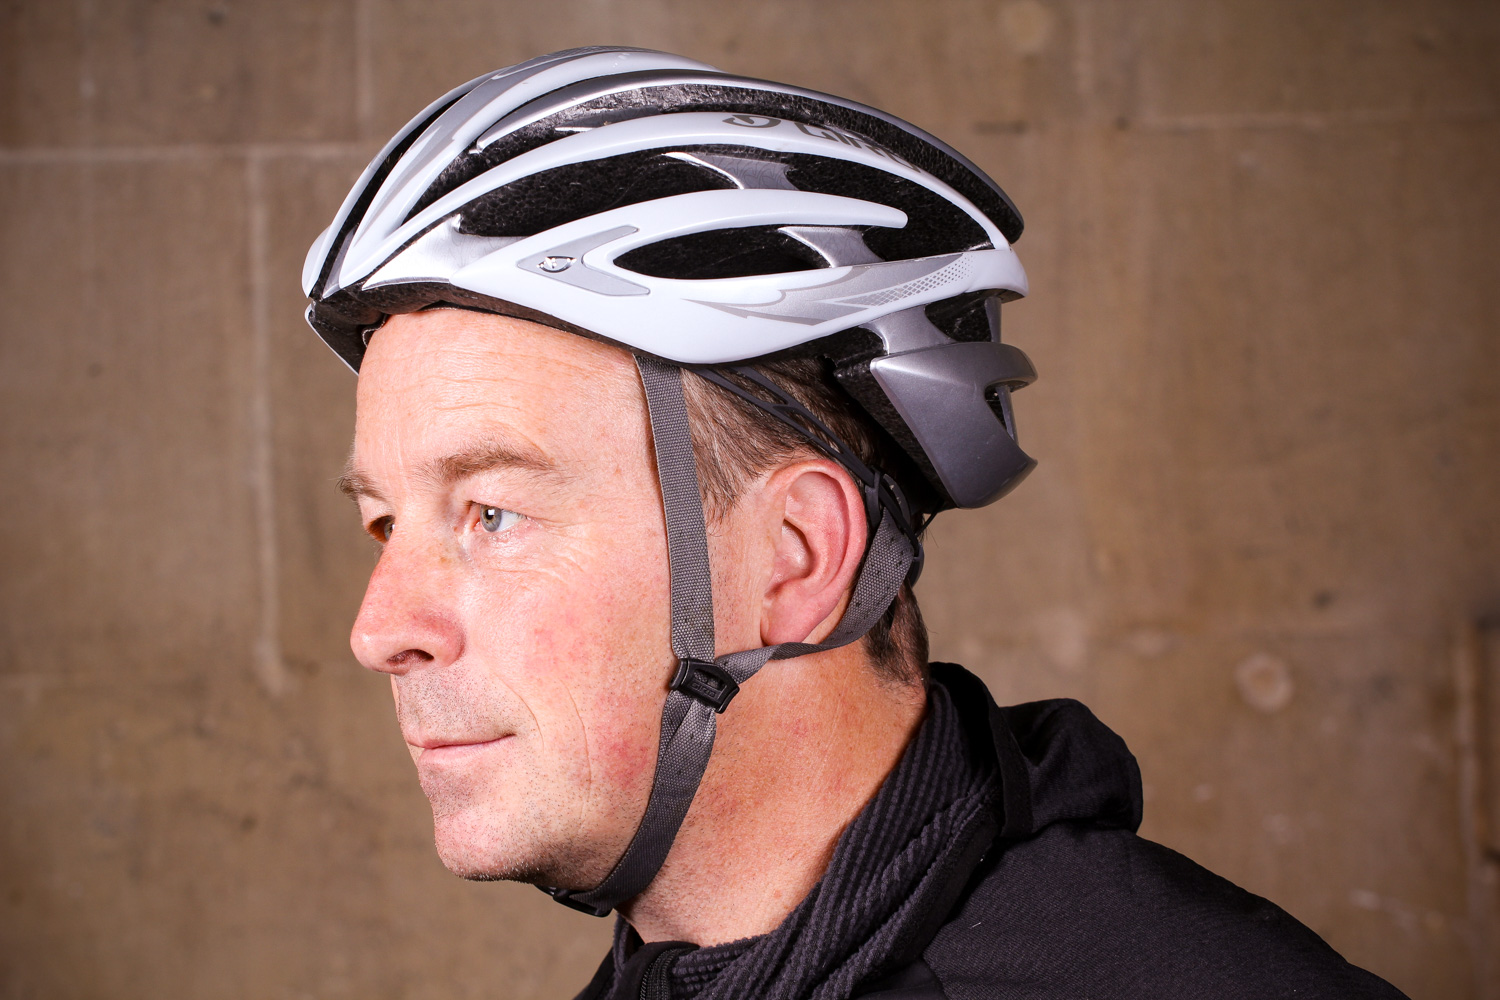
11 Too far back You might have the cradle and straps well adjusted, but we are constantly amazed how many people we see riding with their helmets poorly adjusted for position on the head. Most common is the tilt to the rear. This exposes your forehead in such a way that it could hit the ground instead of teh helmet if you go head-first over the bars.
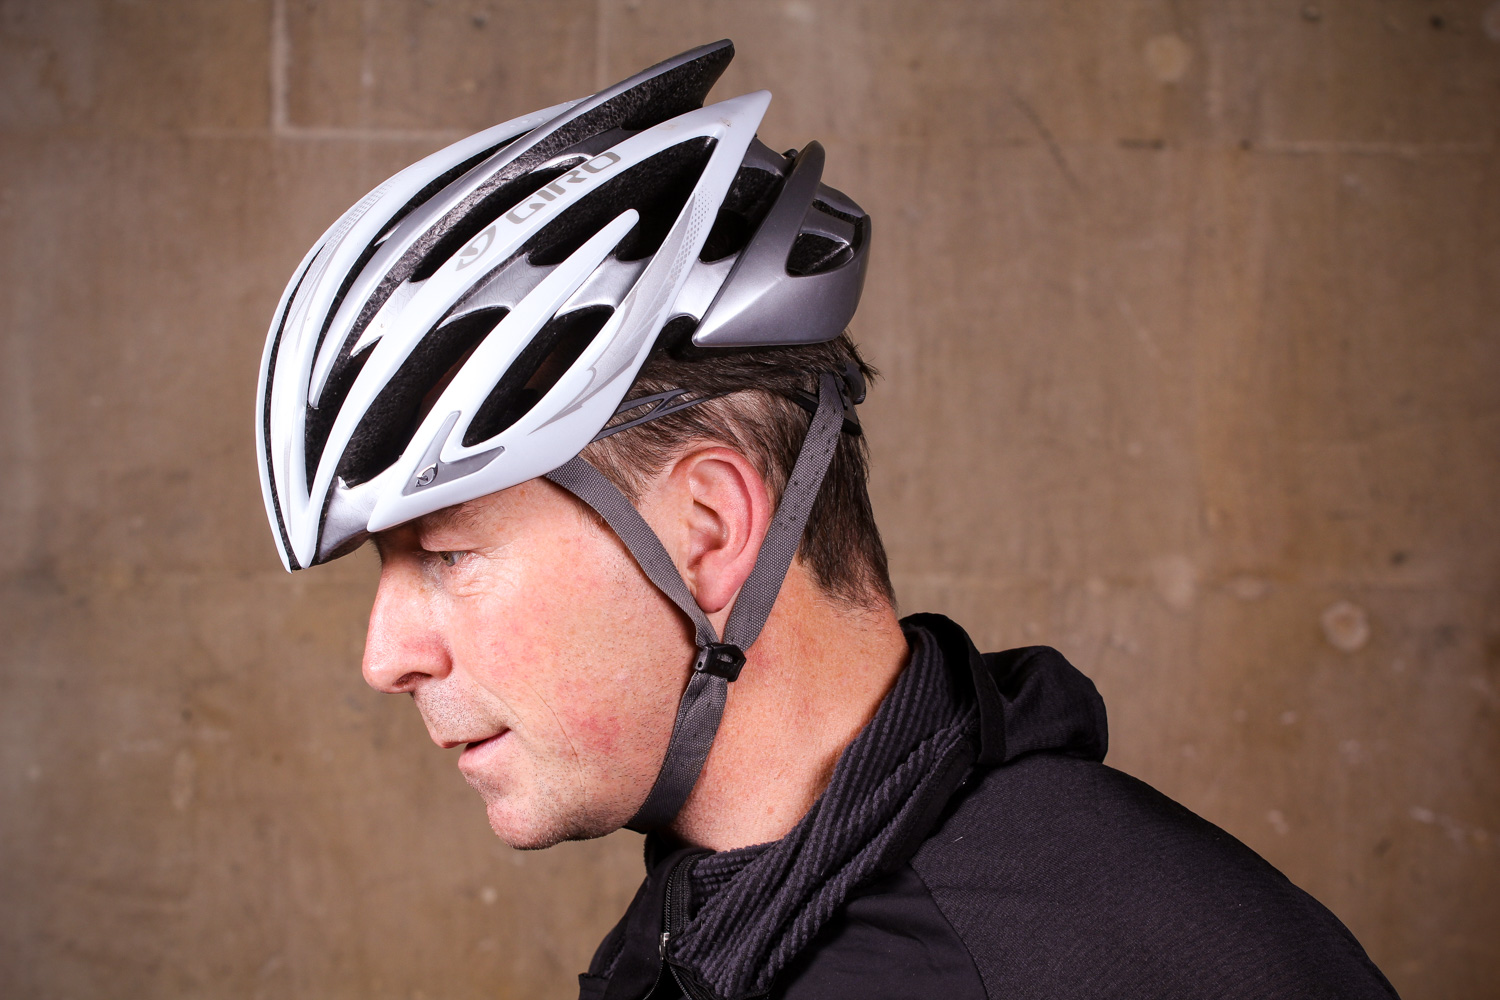
12 Too far forward Less common, but also less than ideal is the forward tilt. Some helmet shapes make this position a bit too easy (I have a Bell helmet that fits perfectly but which constantly requires a push back). There’s less wrong here from a safety perspective, but it’s handy to be able to look ahead when you’re riding head down.
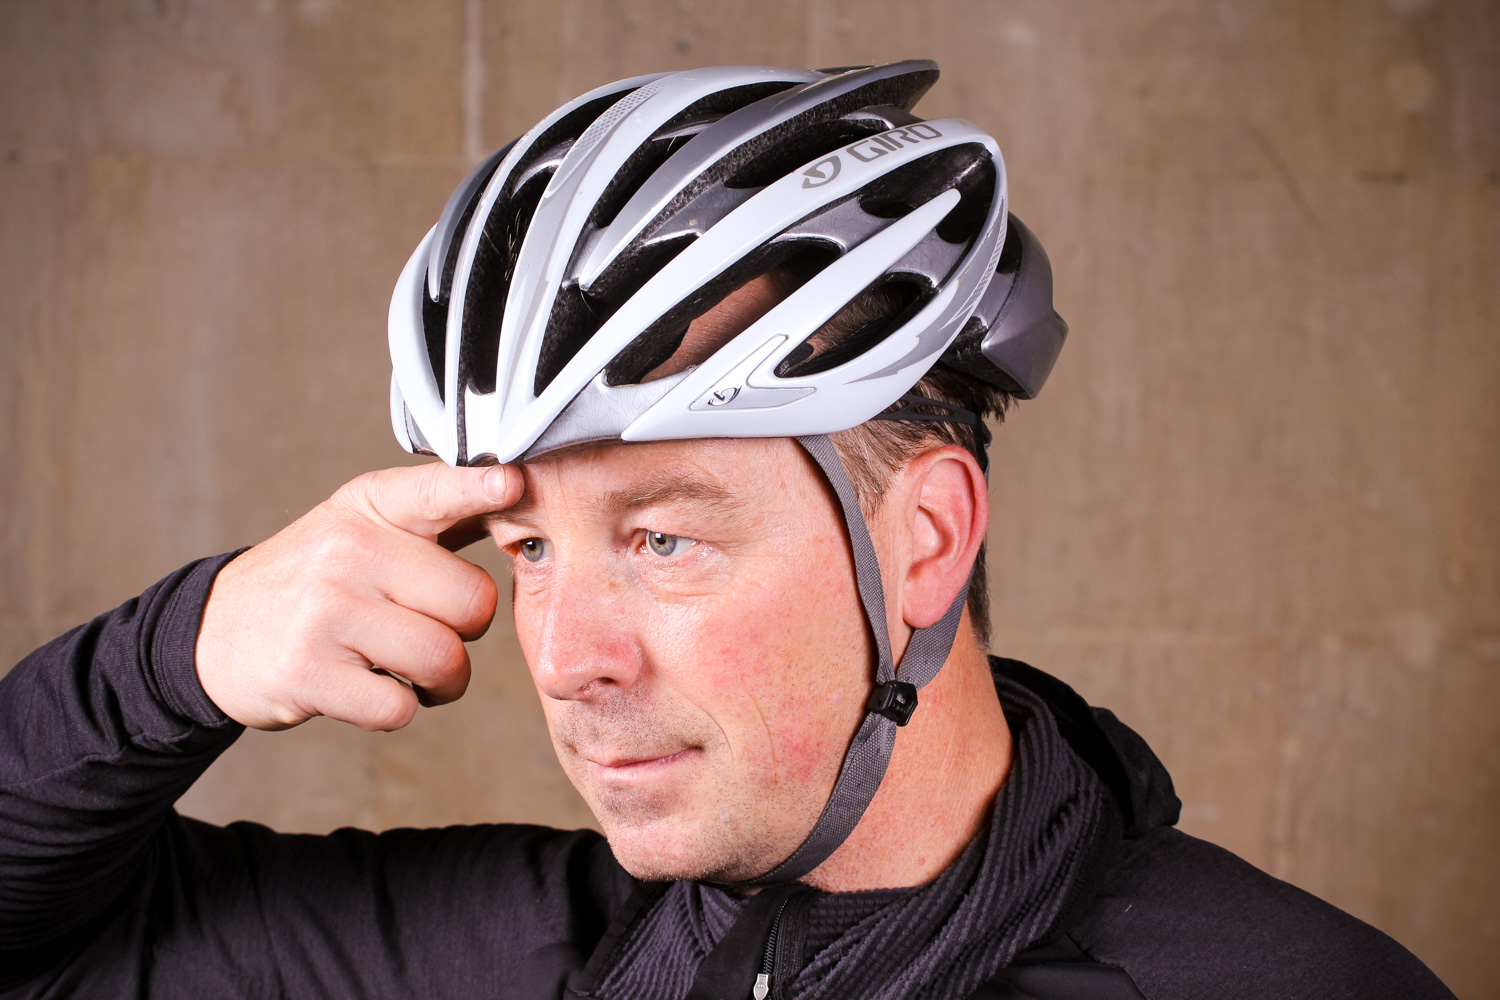
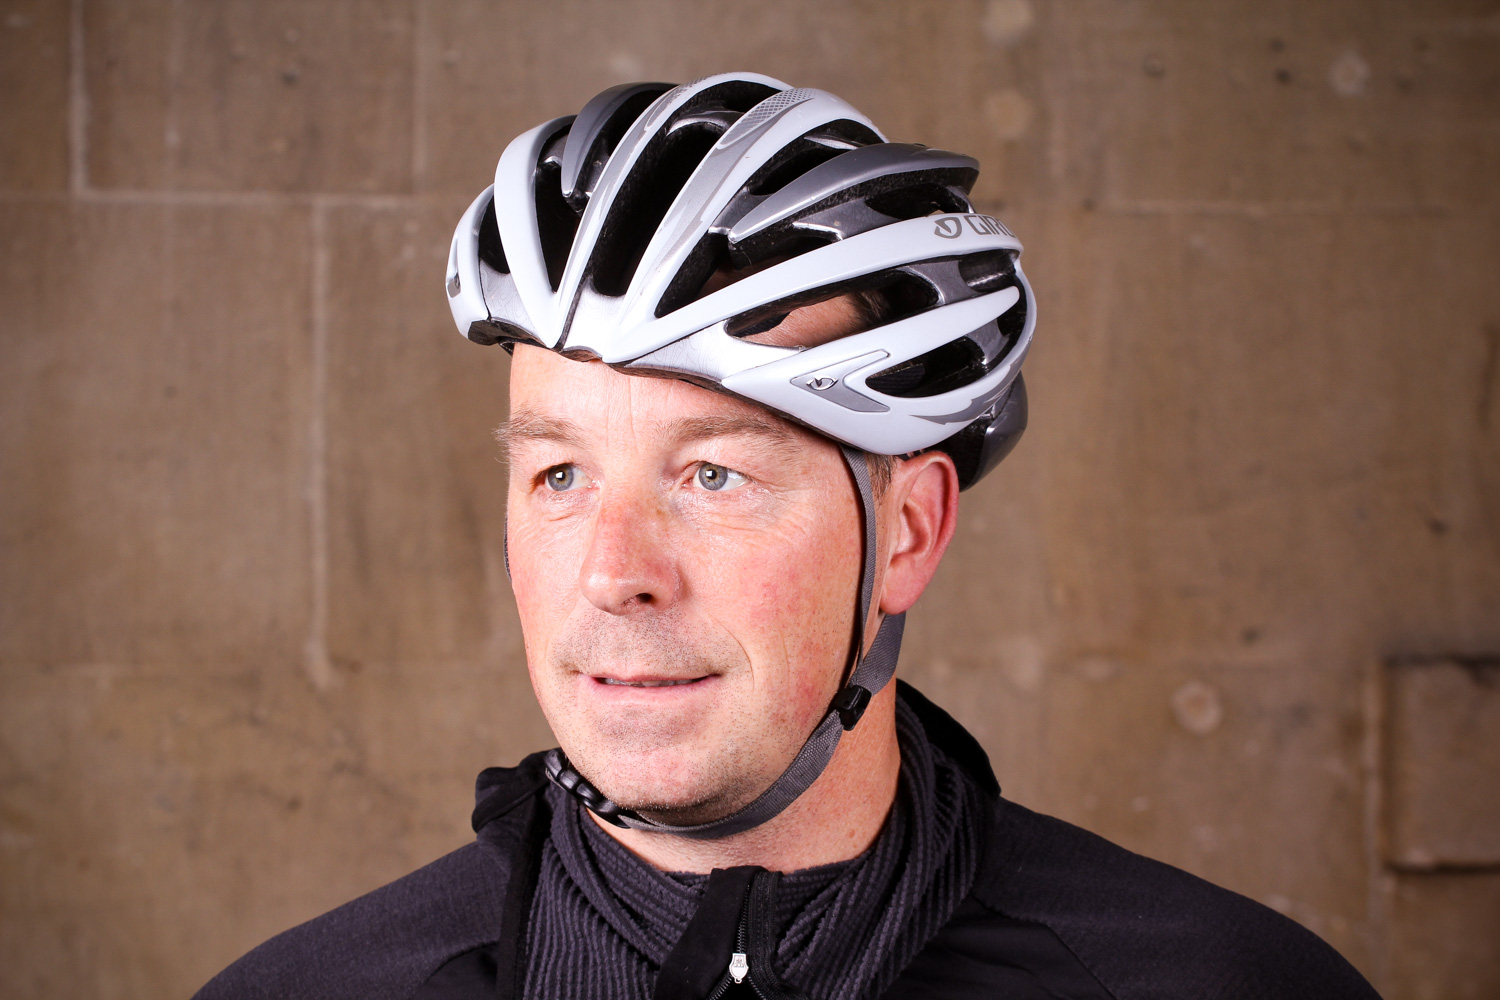
13 Just right To get the tilt right, adjust your helmet so that there is a finger width between the top edge of your eyebrow and the lower edge of the helmet brow. Aye-Aye, Captain.
14 Offside Remember when we said that most new helmets have a little poly bag in the box with some dull paperwork, a sticker and some spare pads? Well the jaunty side-slip look is also a common issue usually attributable to a rider with a narrow head using a wide helmet. This is uncomfortable, doesn’t offer the best protection and looks, well, naff. To cure it, add some of these spare pads to the inside to bulk it out and add some side-to-side friction between the head and helmet.
>> Read more: The full archive of road.cc maintenance articles


")


, Portland’s world record ambitions, another e-bike brand goes pop + more")


