

Every year, the seemingly constant wet weather of winter brings fresh and very slippery challenges. However, many of them can be mitigated if you prepped properly and set your gravel bike up for the trials and tribulations of riding in the wet. Here are some handy tips to get your gravel bike ready for winter.
- Winter bikepacking: 8 essential tips for a successful adventure
- Winter cycling clothing – everything you need to stay warm
- Cycling in winter – six tips for riding outside in the cold
Wet weather brings wet conditions and slippery riding surfaces and while you can get away with riding your gravel bike with a standard summer setup, things can get mighty scary owing to the fact that there’s simply not as much traction available. Of course, winter riding is often wet, cold and a challenge in its own right. But there are a few things you can do to your bike to keep the miles coming through the wetter months.
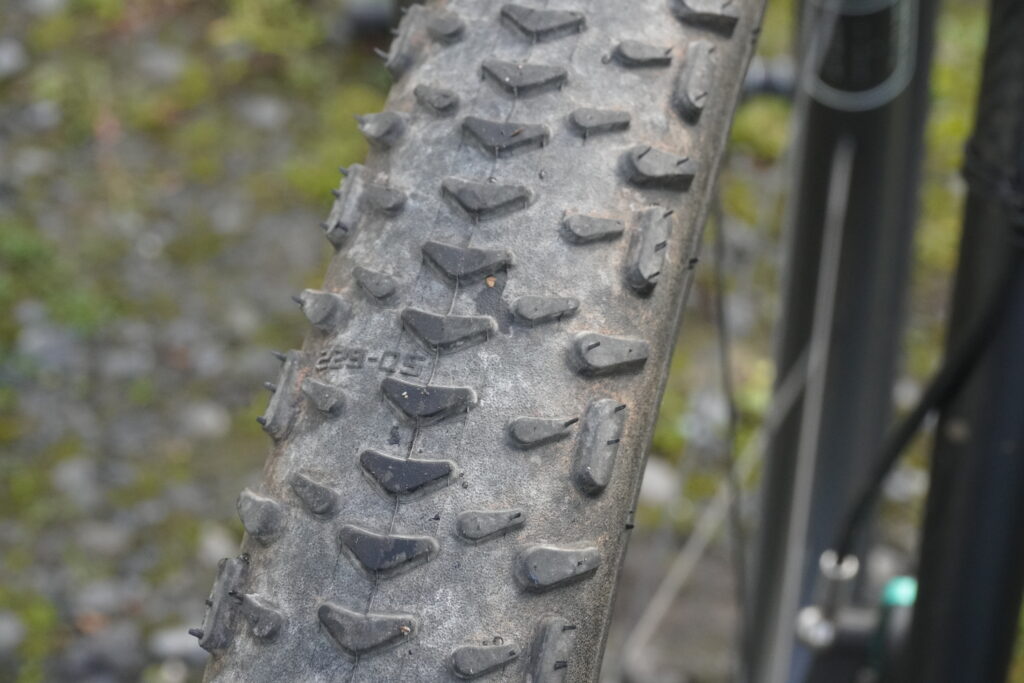
Choose fatter and knobblier tyres
Unlike mountain bikes, gravel bikes don’t typically come with suspension and chunky tyres as standard. However, when it comes to the soft and grip-sparse gravel roads, you’ll need all the help you can get. First, start by looking for tyres with a more aggressive tread pattern. This will help the tyres bite into whatever surface you’re riding on, resulting in more grip.
Choosing knobblier tyres will harm your bike’s overall rolling resistance, making it slower and harder to pedal. But riding in the wet is generally slower anyway, and you’ll be compensating for that lack of pedalling ease through a serious boost in traction.
Wider tyres are becoming increasingly popular in gravel as they’re now reaching mountain bike sizes. They bring more comfort and more traction, which is even more important when riding through the wet and sloppy conditions of winter. Additionally, wider tyres don’t need as high tyre pressures thanks to their volume. Dropping the psi a touch then helps the tyre conform better over uneven terrain, which will pay back dividends in the wet.
Consider tyre inserts
Tyre inserts can be thought of as pretty extreme for gravel, but as gravel bikes tend to use narrower tyres, they can literally save a ride as they protect your rims against any harsh impacts. In the wet, tyre inserts really come into their own as, like with wide tyres, they allow for lower tyre pressures, which in turn boosts traction.
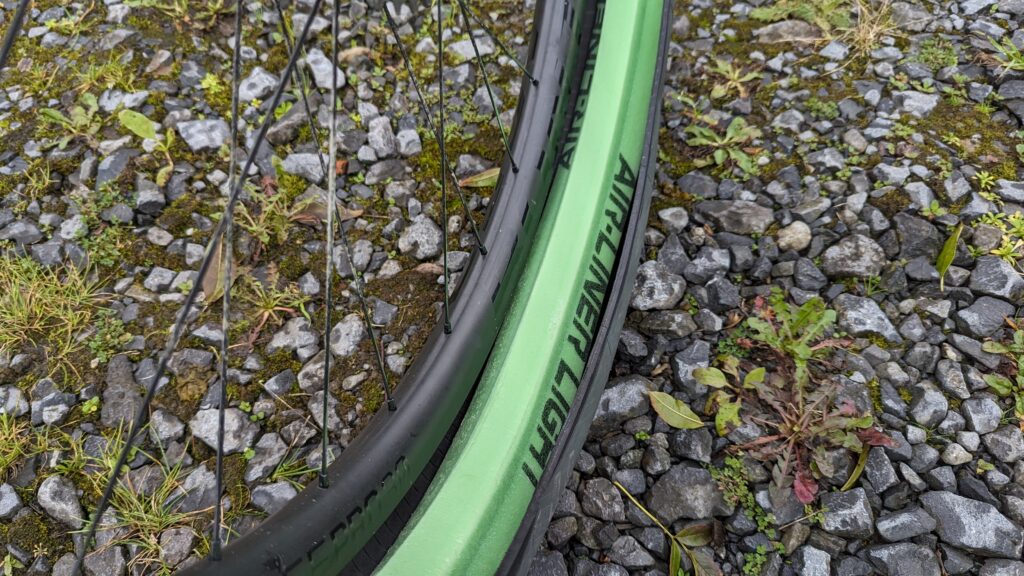
However, with these even lower pressures, you won’t need to worry as much about punctures and damaging your wheels thanks to the protection that tyre inserts offer. They’re also handy for when you inevitably get a puncture and find yourself without the means to fix it, and while it’s not recommended, they can be ridden on in an emergency.
Grip tape your brakes
Cold, wet and slippery doesn’t just apply to the ground. Generally, the brakes on drop bar gravel bikes don’t provide all that much traction when they get wet, and when wearing thick, waterproof and insulated gloves, they may not provide all that much in terms of feel.
A roll of self-adhesive grip tape can be picked up for a little more than a fiver. Cut out a couple of appropriately shaped slivers, stick them to your levers (and shifters, if you like) to boost the feel of your brakes, and provide a useful hint of traction.
There is a bit of a drawback here, however. Adding abrasive (essentially) sandpaper to where your fingers spend a lot of time will wear your gloves out faster.
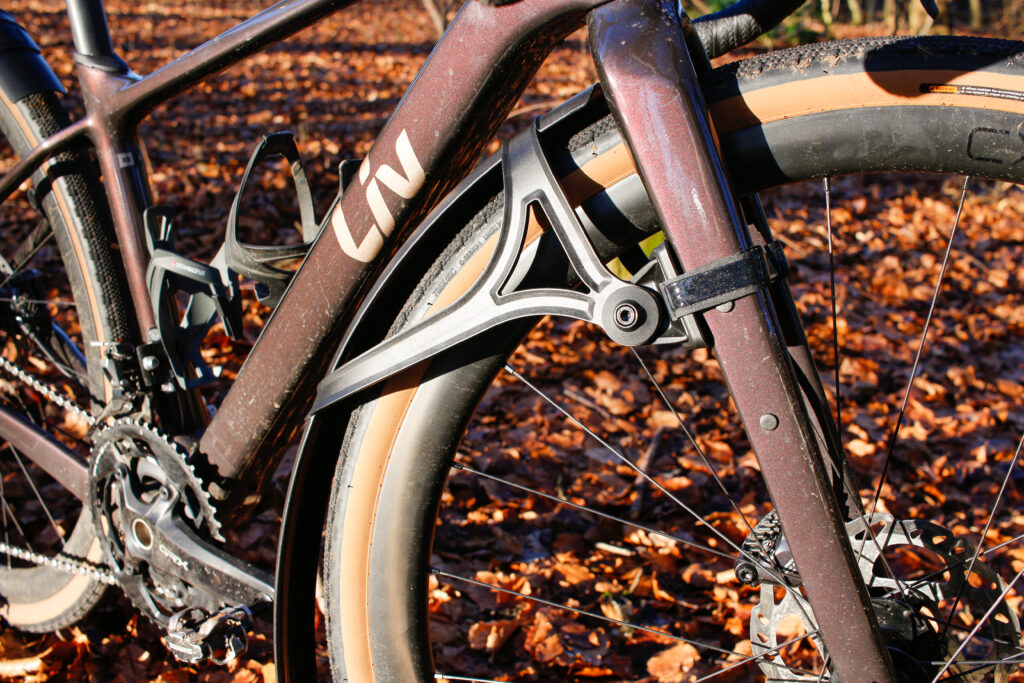
Go for mudguards
Mudguards are a must-have for any winter ride, but as you’re always moving at quite some speed on gravel, you’ll quickly receive a face full of water, mud and dirt if you choose to ride without. Now, some may opt not to go for mudguards in favour of weight saving,s but decent mudguards for gravel bikes often don’t pose that much of a weight gain, and the aforementioned face full of cack can get rather dangerous. Mudguards also keep your vision clear and your glasses dry.

It’s not just about the front of the bike either. While unfashionable in the MTB space, rear mudguards on gravel bikes don’t hold as much of a stigma. Throwing a mudguard onto the rear of the bike will keep your whole back dry, helping you stay more comfortable on the bike for those lengthy gravel spins.
Switch to a wet chain lubricant
In the summer, there’s no doubt that you’ll have been enjoying the extra efficiency and mess-free properties of a dry lubricant. However, when it’s wet out, it’ll quickly wash away, leaving you with a noisy, inefficient and poor-shifting drivetrain.
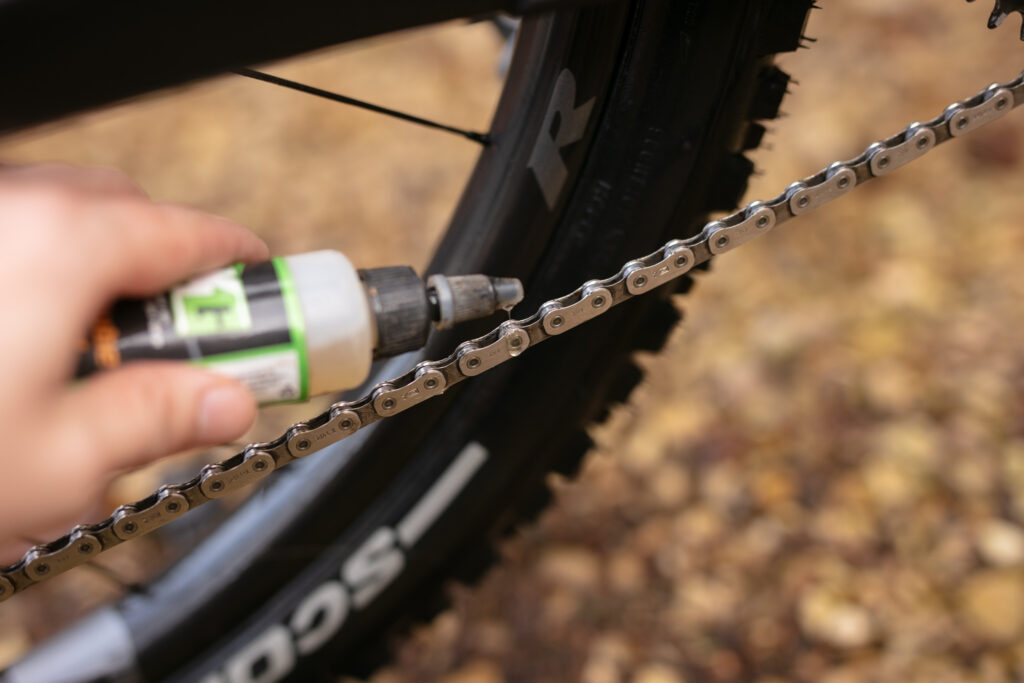
Wet lubricants are more viscous, so they stick better to your chain’s links and, importantly, they won’t wash away nearly as quickly. This will leave you with a longer-lasting and smoother riding gear set that’ll shift slickly and smoothly. However, wet lubricants take a little more effort to clean, so have some degreaser at hand when cleaning your machine.
Kit your bike out with a bag
At least in the UK, the winter means very changeable weather. That could be either in temperature, or it could start raining at the drop of a hat. If you’re not one for carrying a backpack, add a frame or bar bag, or a seat pack to ensure that you’ve got an extra layer on hand, should the worst of the UK’s weather rear its head.
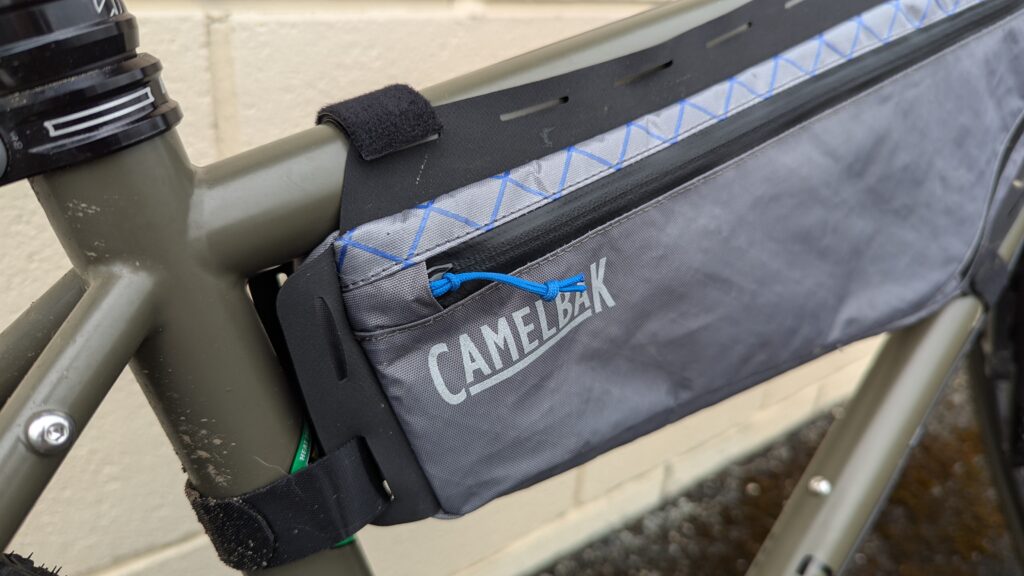
All of these options come with their pros and cons, with a favourite of mine being the bar bag. Generally, they’re super stable and don’t move around on a bike while smashing through lumpy terrain. They’re not as straightforward to access on the move as a bar bag, however. Though bar bags are often smaller, you may not be able to fit larger outer layers. Seat packs can get fairly big, but if they’re not installed correctly, they can sway as you ride but you can stuff a lot more into it should you need to.
Get some lights
Throwing a set of lights onto your gravel bike primes it for any eventuality. Although you may not intend to ride in the dark, you may misplan or mistime your ride, or some of your riding time may have been taken up by a repair, so making sure that you can see where you’re going is incredibly important.

Additionally, it’s generally darker in the winter, and chances are, your gravel loop involves a bit of road riding. Making sure that you’re visible to other road users is vital for safety, and being over-equipped with a set of lights never hurts anyone. Just make sure they’re charged before you leave, that is, unless you’ve gone for a dynamo light.
Think about a ceramic coating
The post-ride wash may be one of the biggest challenges of winter riding. Even after a few kilometres, your gravel bike can be loaded with mud, grit and other nasty stuff that doesn’t bear thinking about. Unfortunately, that doesn’t mean you can just blast it with a hose and call it good, like you can in the summer. You’ll have to get handy with the brushes.
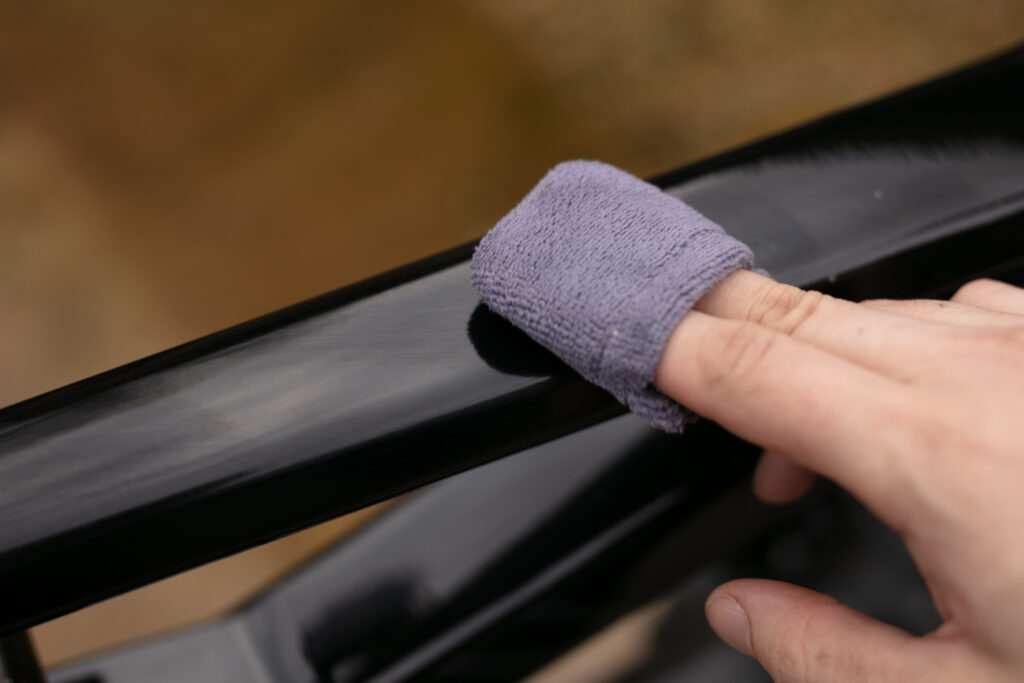
That said, bike cleaning can be made a little simpler if you equip your bike with a ceramic coating. These products are invisible to the naked eye, but they grace your bike with an extra slipper coating that mud and water struggle to cling onto. They make washing your bike much easier, as mud falls off with a gentle jet of water.
Ceramic coatings are rather pricy, however but there are alternatives like silicone sprays and protective solutions. These come cheaper, but they can wash away, so they’ll need more regular reapplication.
It might not be cool, but experiment with flat pedals

Coming from a very roadie background, gravel bikers tend to choose clipless pedals for their security and additional efficiency; however, winter gravel riding poses less traction and a lot of slipping around. If you’re new to gravel, the constant slip and grip can become very scary and being mechanically attached to your bike can knock confidence.
Although it may not be seen as cool by the general gravel community, opting for flat pedals brings a lot of freedom to a ride. They’ll allow you to get on and off the bike without the faff of learning to clip in and out, which then helps you dab a foot if you’re feeling particularly off balance. Also, if you are about to fall, riders can completely eject from the bike easily, which can make for a safer fall, and perhaps one that’s easier to avoid.
However, for the best time with flat pedals, you’ll need to invest in a pair of appropriate shoes. Shoes built to be paired with flat pedals are built with gripper soles while balancing a good deal of stiffness, whereas any old trainers may not be as grippy, and they certainly won’t be as supportive.


