
Chains wear out over time, and if you’re a strong rider or frequently tackling dirty miles, it could wear out faster than you think. When a chain wears, it stretches, and its pitch – the distance between the rollers – becomes elongated. This accelerates wear on the sprockets and chainrings, which are costly components of your drivetrain. To save money and keep your transmission running smoothly, it’s a good idea to replace your chain before significant wear sets in. Here’s how to do it.


Our guide below shows you what we believe is the best method to replace a chain. We’ve included a list of the tools and materials that you will need to complete the job. If there are others that you prefer then feel free to let everybody know in the comments.
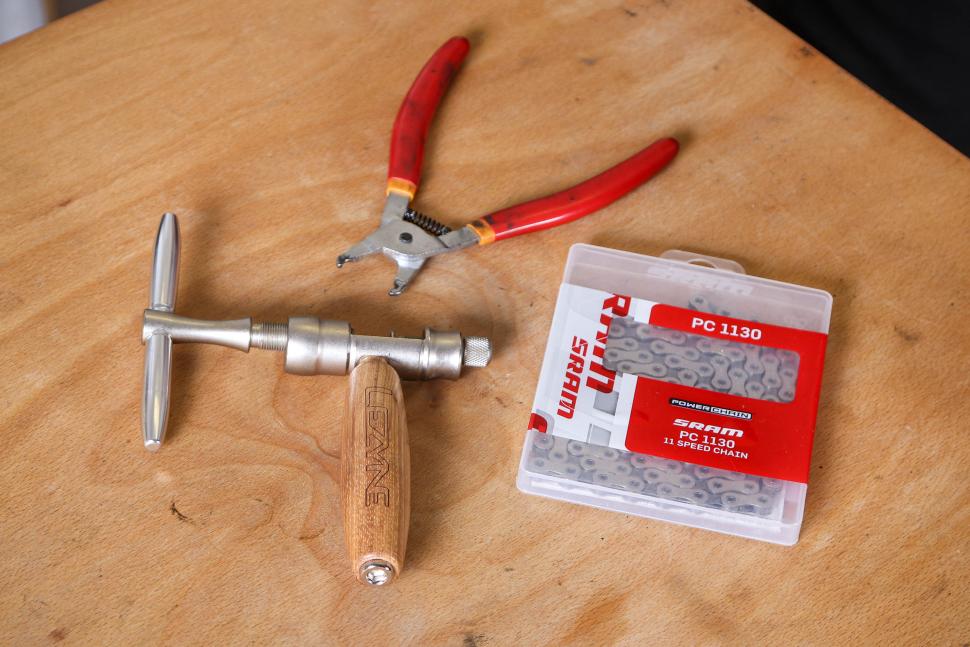
What tools and materials do you need to replace a bike chain?
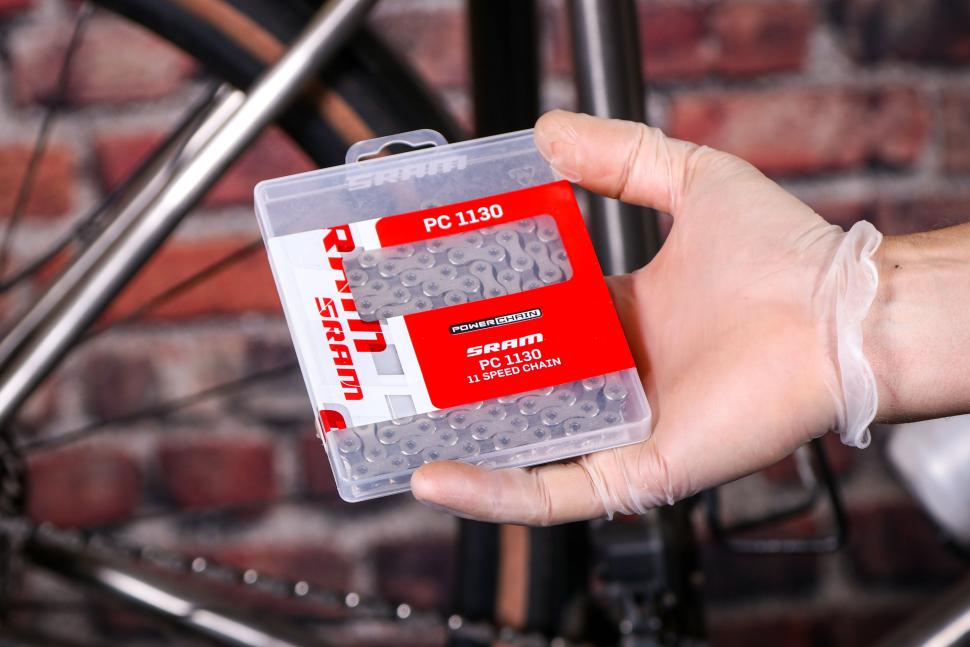
- New bike chain
- Chain link-splitter tool
- Chain wear indicator tool
- Quick link (if applicable)
- Pliers
- Cleaning supplies
- Gloves
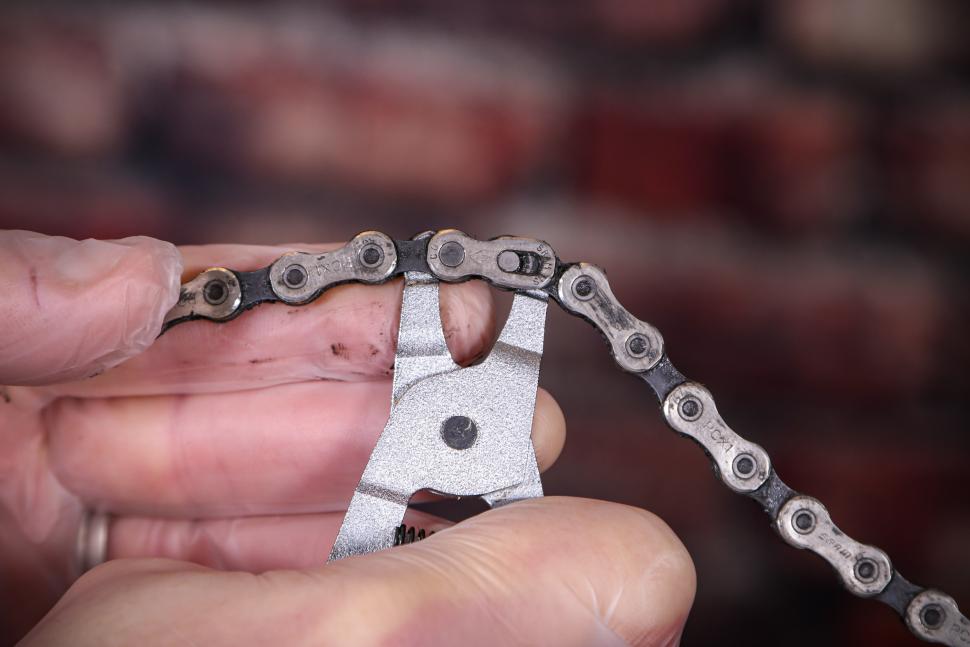
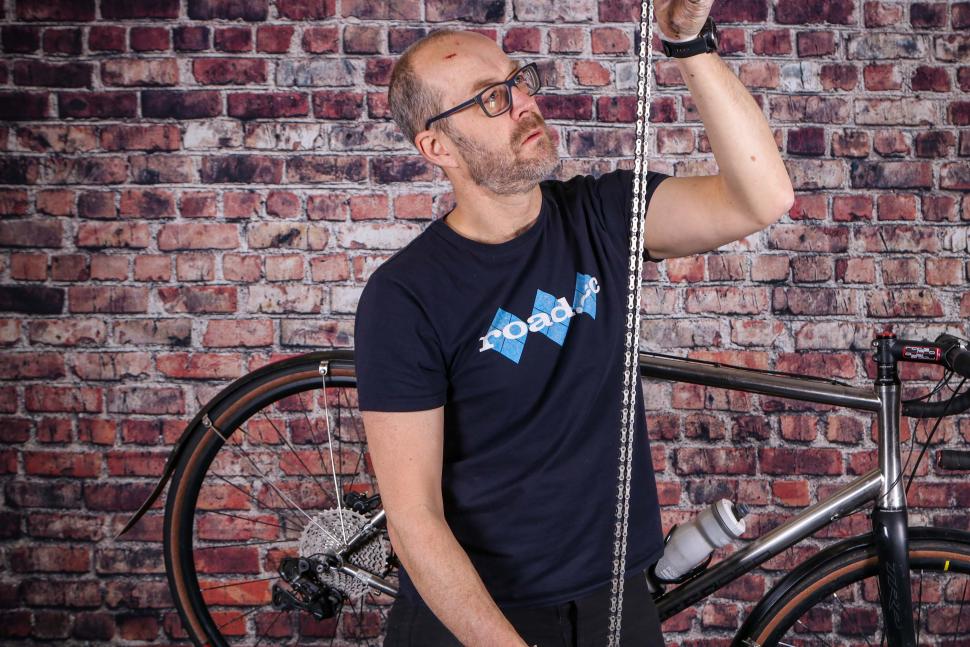
Step 1: Check if your chain needs replacing
> Must-have tools for your first bike tool kit
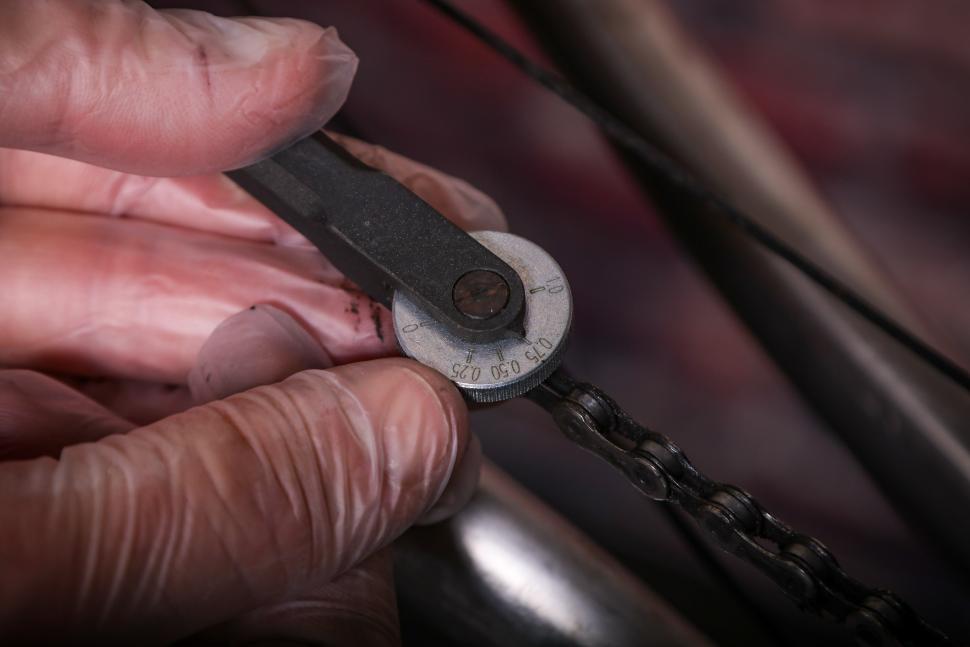
Chains have specific wear limits depending on their speed. For chains that are made for an 11, 12 or 13-speed cassette, replace the chain when elongation reaches 0.5%. If it stretches to 0.75% or more, you’ll likely need a new cassette as well.
For some 10-speed chains, replacement is typically needed at 0.75% elongation. If the stretch reaches 1%, the cassette will likely need replacing too.
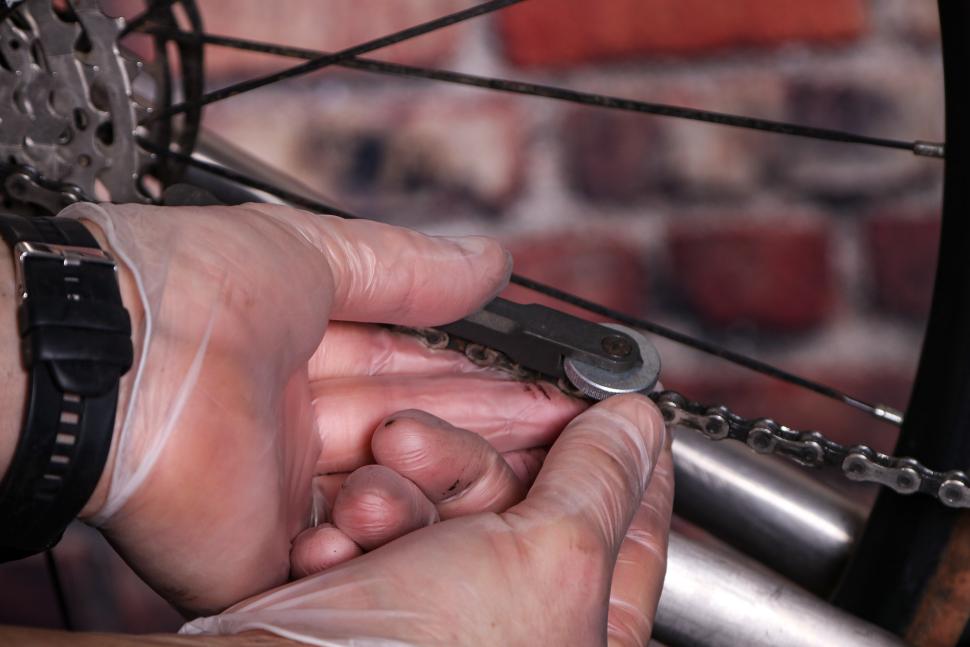
The best way to check if your chain needs replacing is to use a chain wear indicator tool.
Hook the curved end of the tool against the rounded centre portion of a link roller and lay the tool along the chain. Add a little pressure to the pedals to pull the chain taut. The other (gauge) end of the chain wear indicator tool should stand proud (slightly on top of) the link below it. If this is the case, the chain is fine.
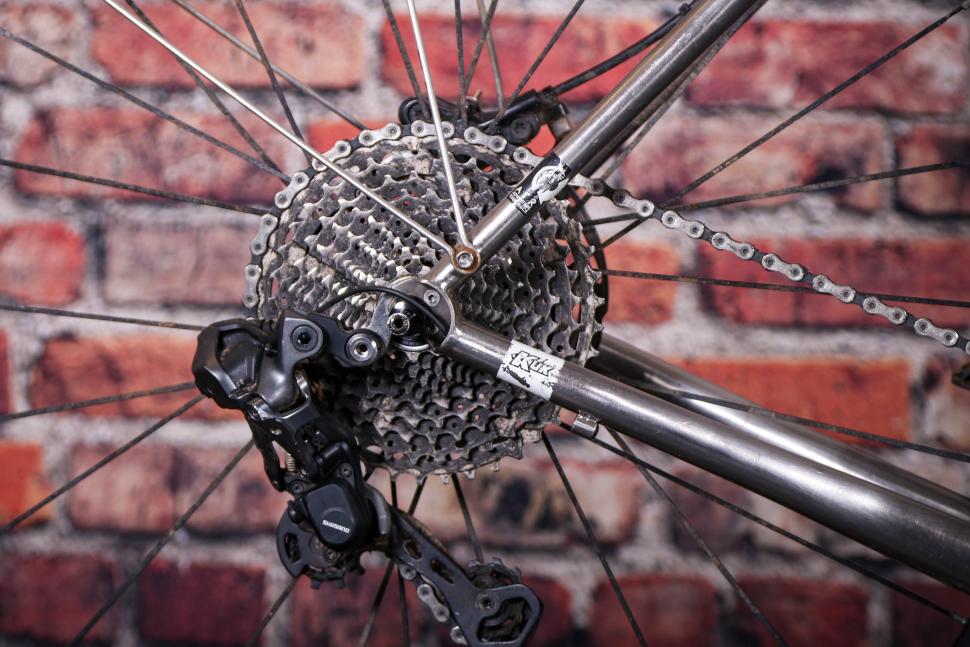
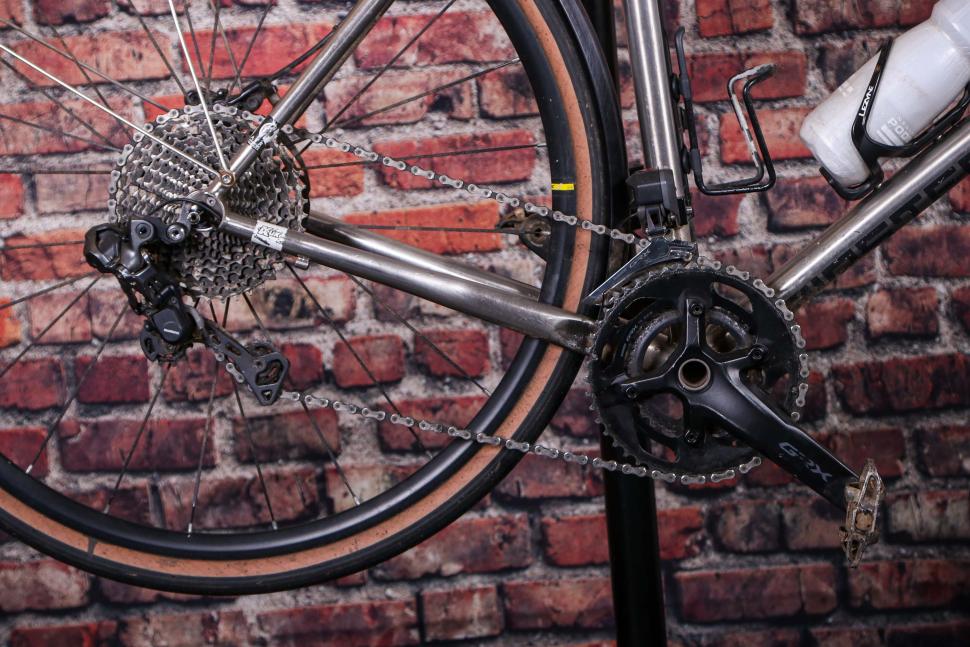
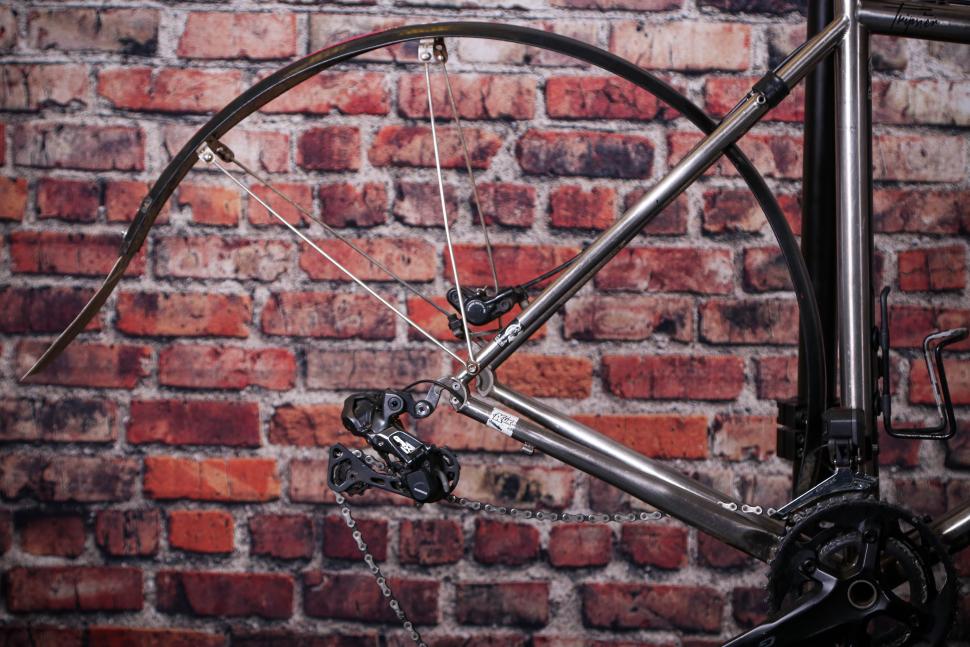
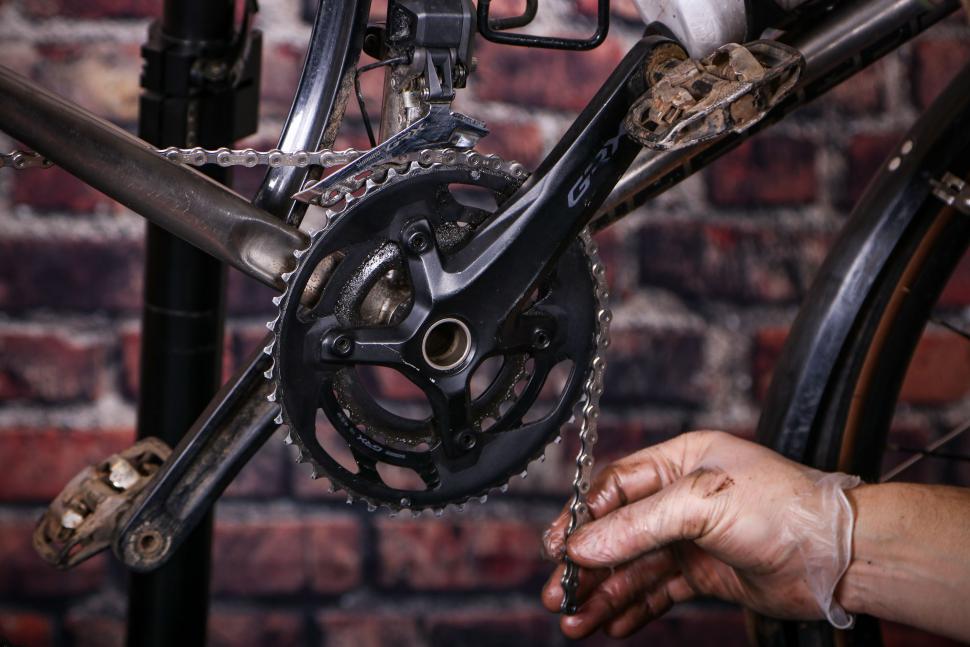
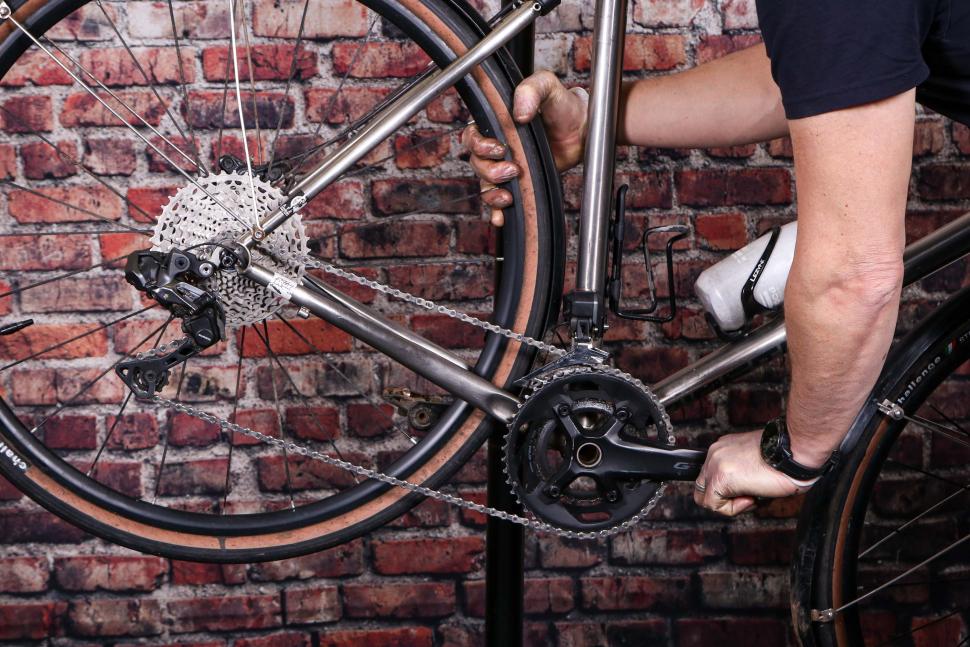
Step 2: Drop the chain or remove rear wheel
Trying to split the chain or access the quick link while it’s on the chainrings and under tension can be tricky.
Either drop the chain off the chainrings to create some slack or remove the rear wheel to make the process easier.
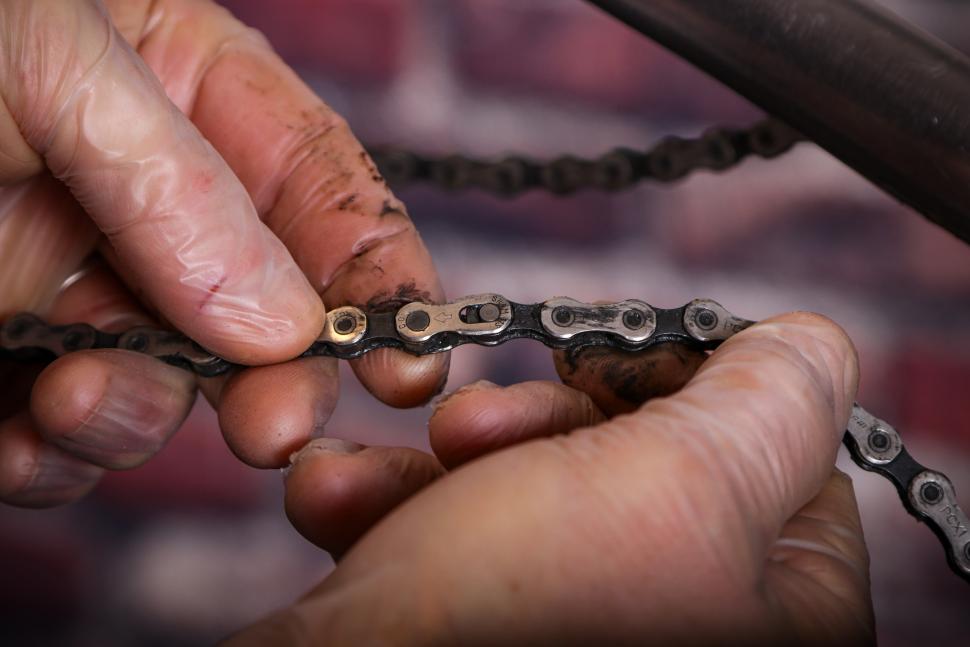
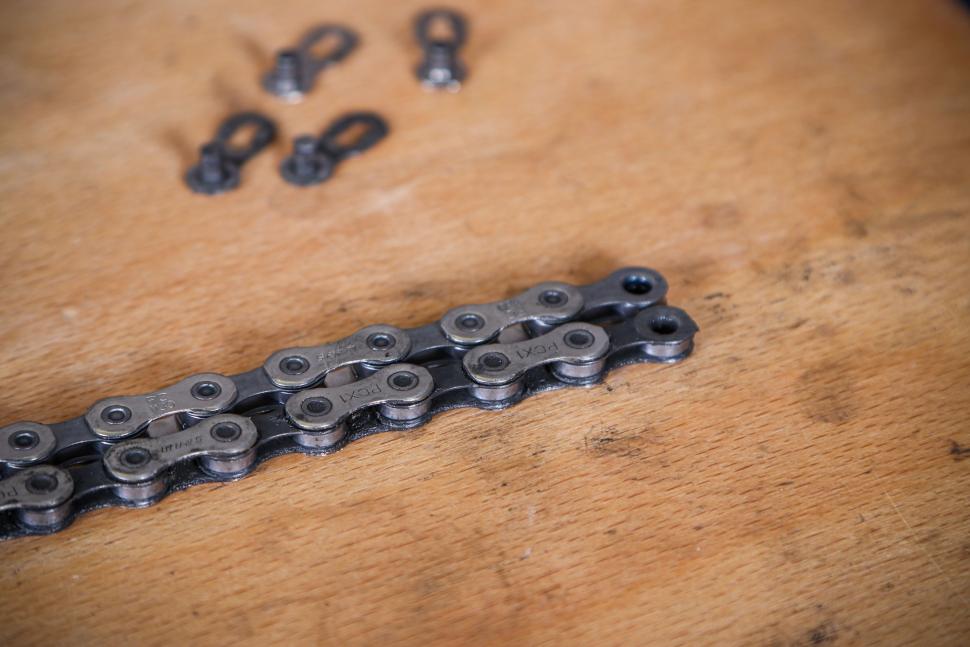
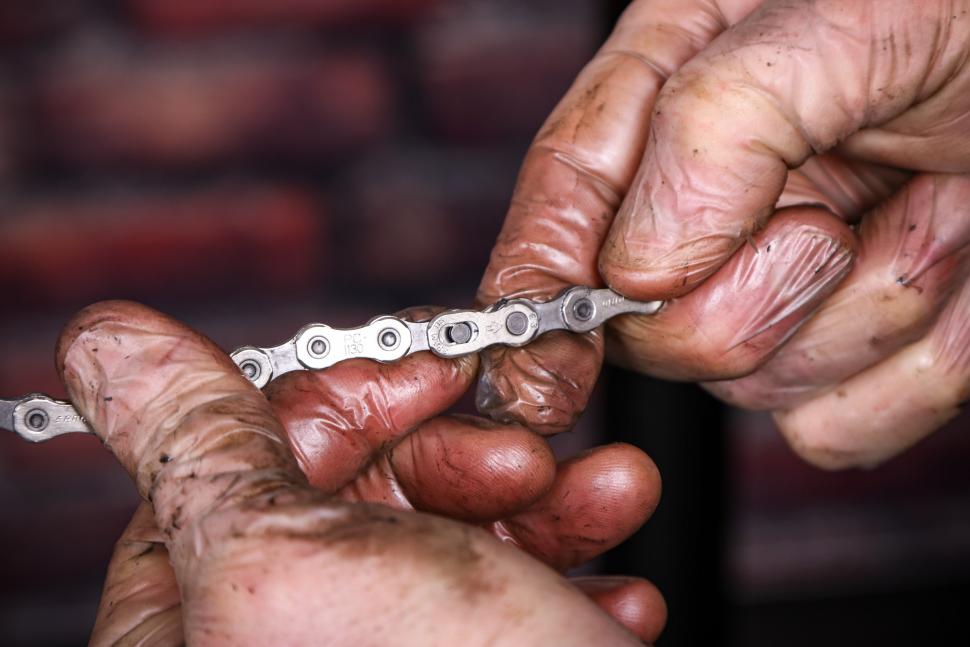
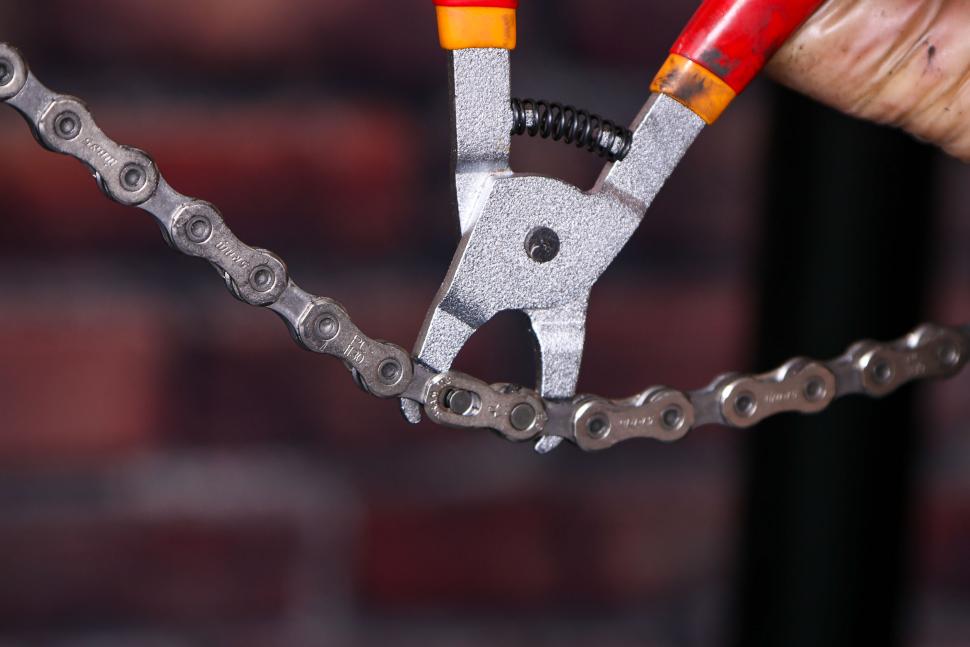
Step 3: Locate the quick link or use a chain splitter tool
This is a split chain link, a two part ‘breakable’ link used to make the splitting and joining of a chain an easier and more accurate job. It could be black, gold or silver depending on the brand of chain you use. All work the same way.
Locate the roller axle pins through the two rollers. Press the opposite sides of the quick link plates together and in opposite directions at the same time. The link plates should slide apart, though they’ll sometimes need a bit of persuasion especially if the chain is dirty. A set of quick link pliers makes this a lot easier, particularly on a worn chain.
> Smoother shifting: Top causes of bike gear problems and how to fix them
Note: Keep the old quick link from the outgoing chain as an emergency spare even if the rest of the old chain is heading to the bin. We generally tape it to a bit of brake or gear cable, or sometimes under the saddle, so you never get caught without it. You’ll be glad you did when you, or a fellow rider, breaks a chain while out on a ride.
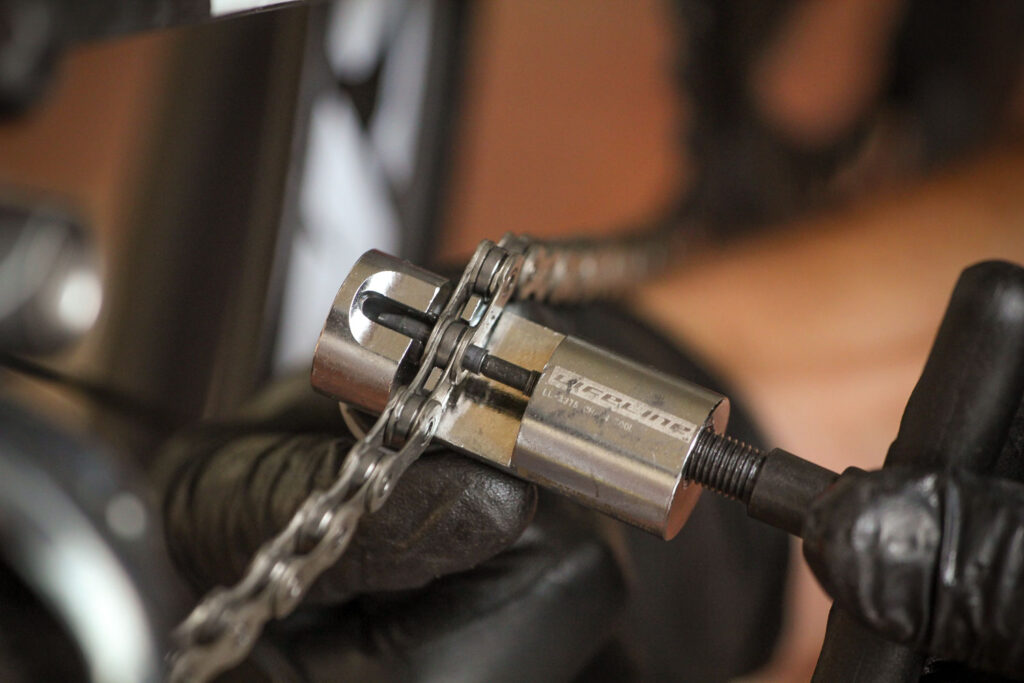
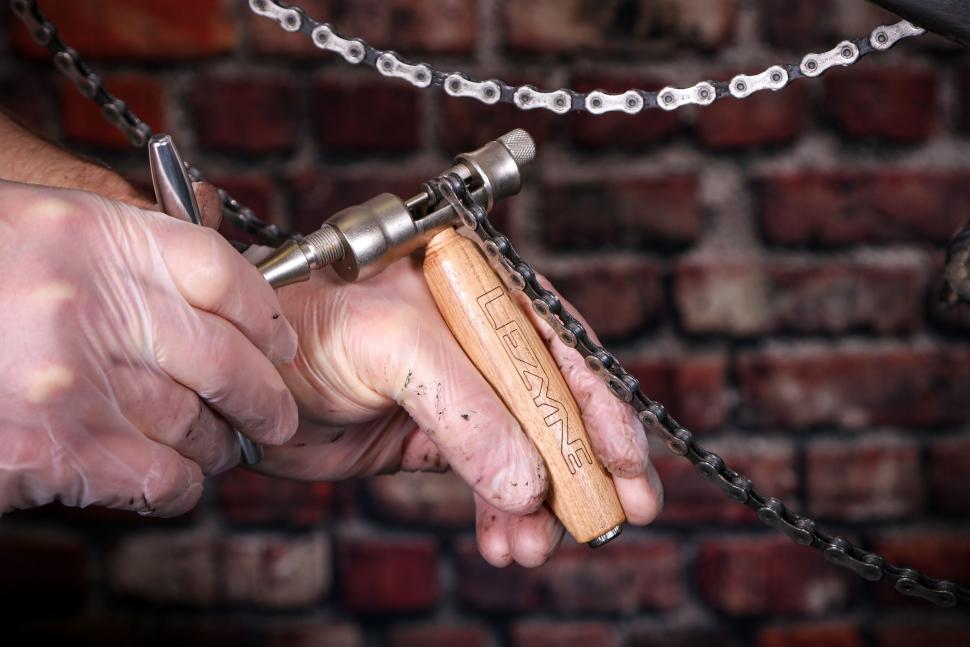
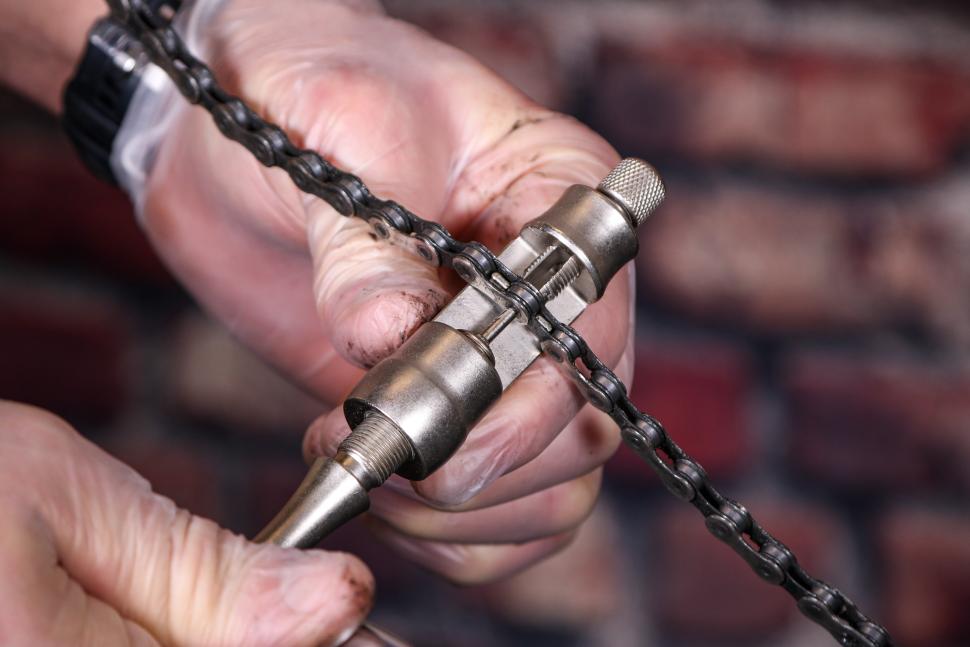
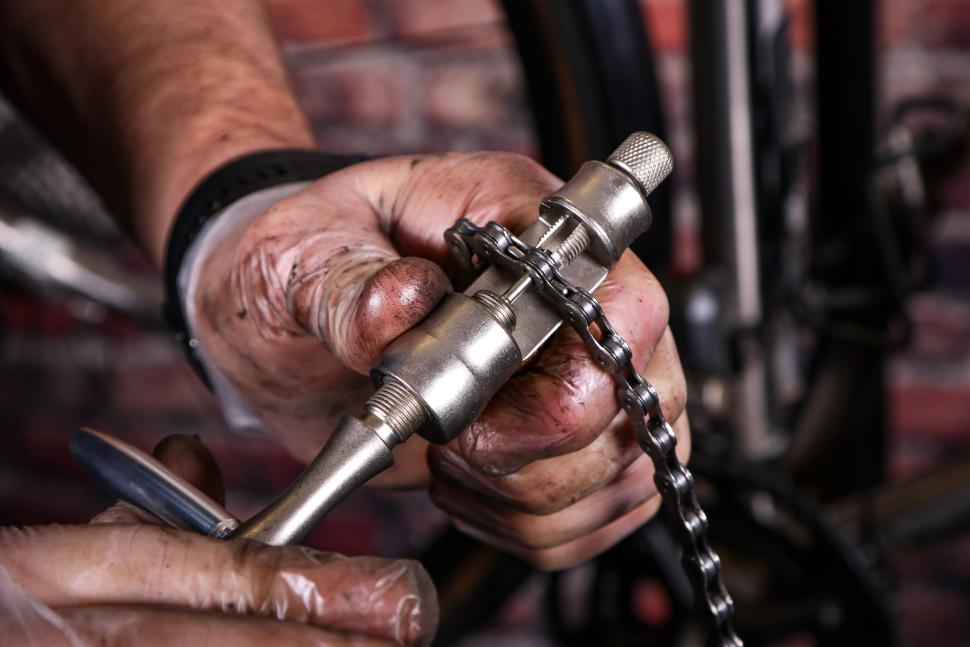
If your chain isn’t one that uses a quick link, you’ll need to use a traditional chain splitter tool. Insert the chain into the recessed housing of the tool ensuring the links are exactly perpendicular to the tool’s drive pin, to avoid damaging the edges of the holes.
Screw the handle of the chain tool into the body of the tool, to allow the tool’s drive pin to locate squarely onto the head of the chain’s link pin. When it’s all square, drive the link pin out. Don’t be tempted to rush and mis-drive the head of the pin, as this can cause the hole in the outer link plate to be damaged and potentially make the fresh join less secure.
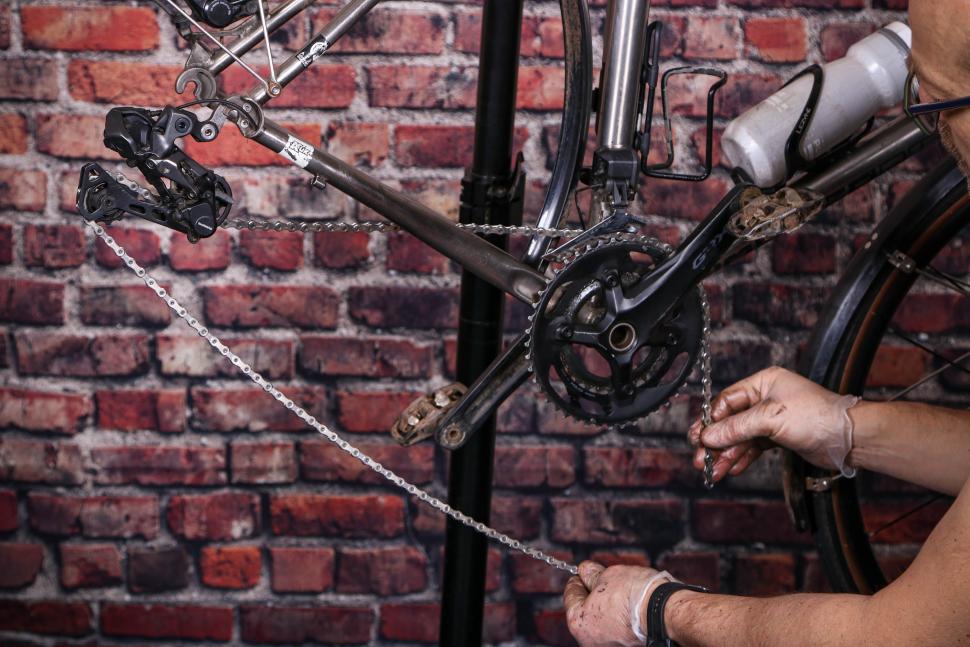
Step 4: Un-thread the chain
The chain can now be unthreaded from the transmission. If you’ve never bothered to study the route the chain takes around the sprockets, chain rings, and jockey wheels of the rear derailleur do so before removal. Also don’t forget to thread it through the front derailleur cage – we’ve seen it done when rushing. You’ll need to get it right when you thread the new one back into the transmission. There is only one way that will result in functioning gears and forward drive.
Step 5: Shorten the new chain
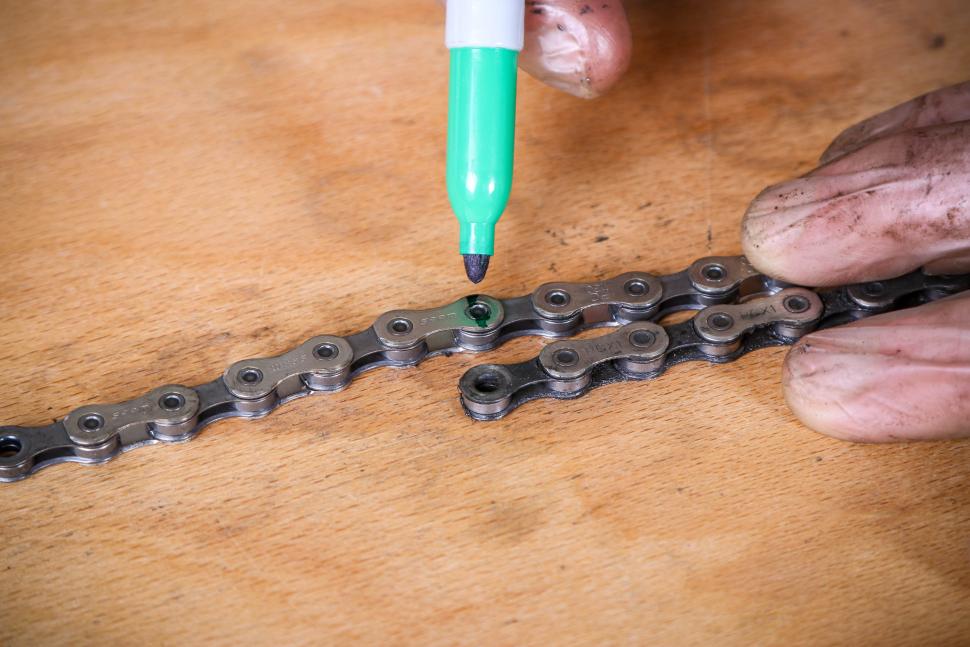
You’ll now need to shorten the new chain to the length of the one it’s replacing (assuming that was correct). Don’t measure the new chain against the old chain as it will have stretched. Instead, count the number of links and then take off the extra links on the new chain using a chain tool.
Most modern road bikes will require five or six links removing, depending on chainstay length and gearing.
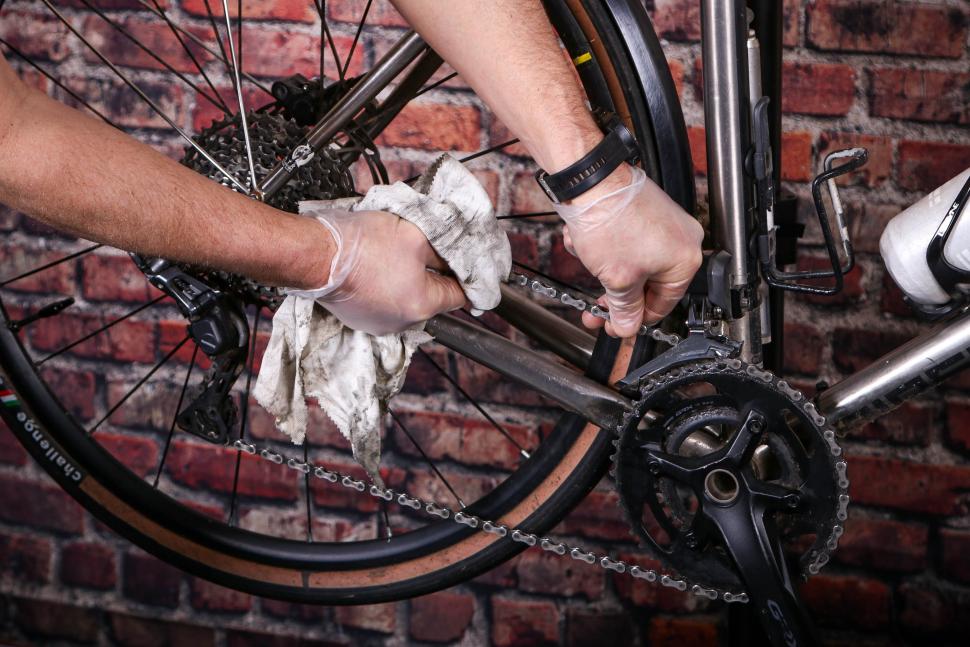
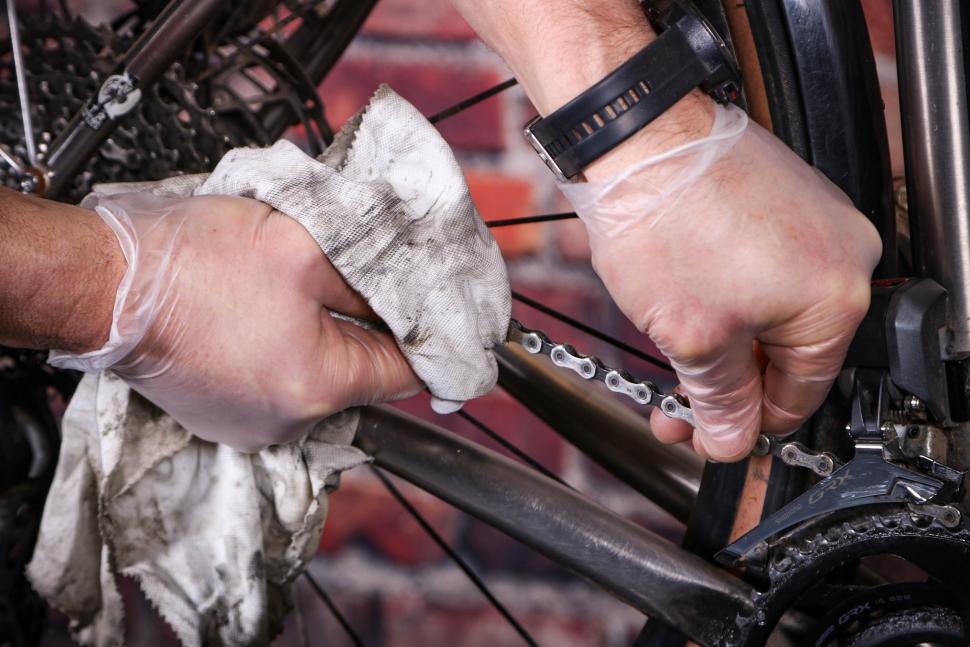
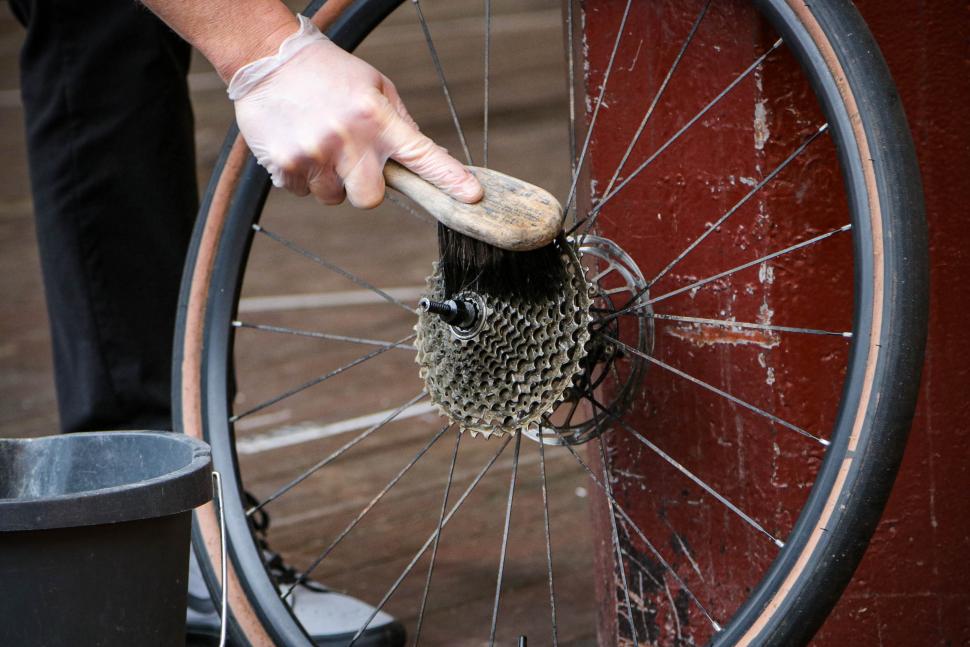
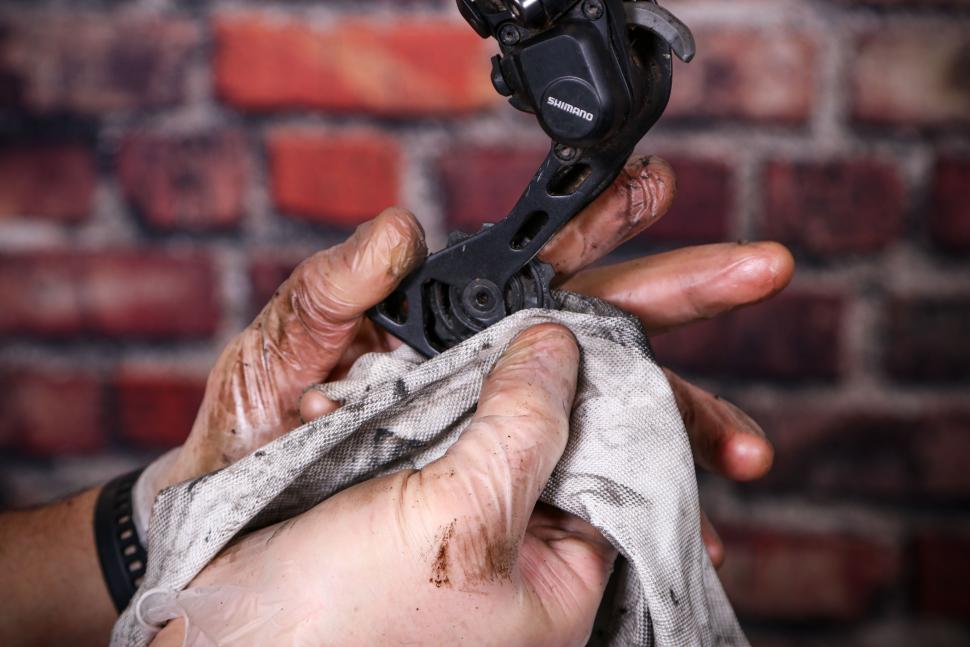
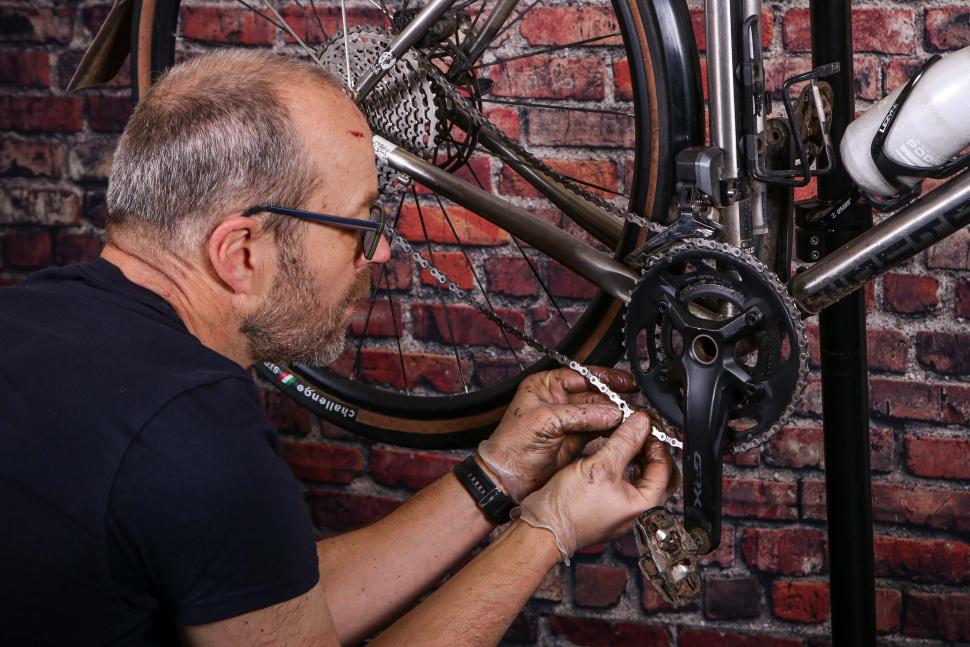
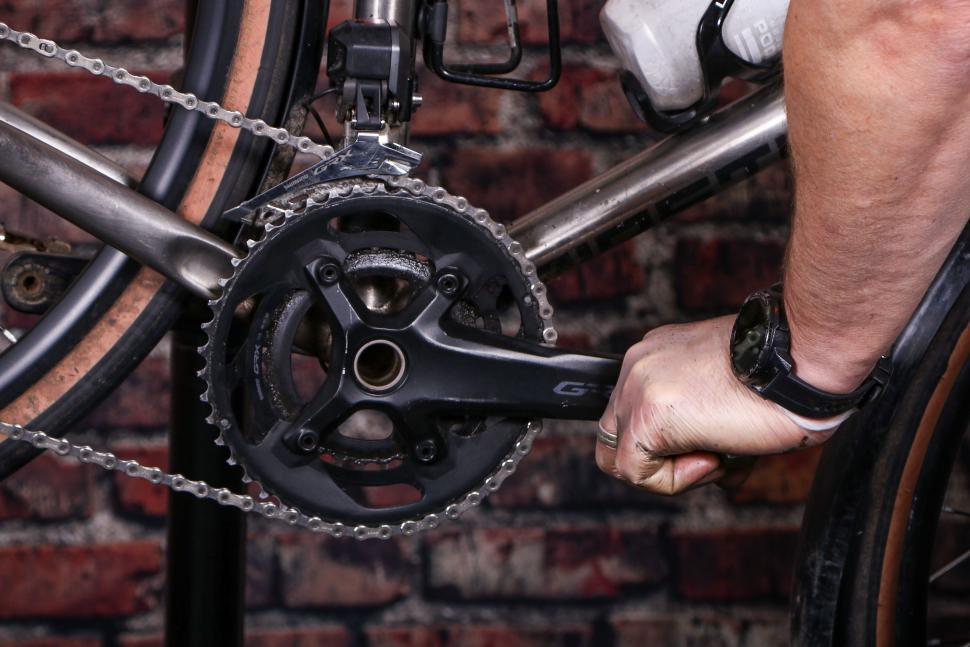
Step 6: Clean your drivetrain
Before fitting your brand-new chain, take the time to thoroughly clean the rest of your drivetrain.
Focus on the cassette, jockey wheels, and chainrings, as there’s little point in transferring old grime onto a fresh chain. A cleaner drivetrain ensures smoother operation and prolongs the life of your new chain, so the cleaner the better.
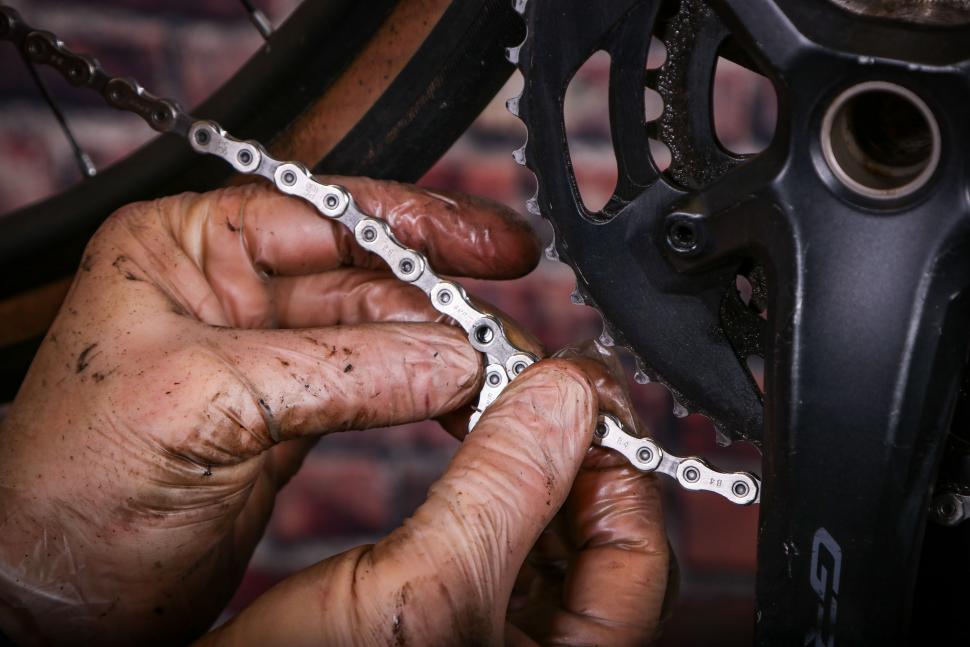
Step 7: Re-thread the new chain
Some Shimano 10-speed chains are directional and must be fitted with the Shimano logos on the outward face of the links. SRAM’s AXS 12-speed chain is also directional.
Loop one end of the chain through the front derailleur, the other around the rear sprockets, over the top of the upper jockey wheel and behind the front chain deflector tab in the jockey cage and to the rear of the lower jockey wheel, and inside the rear chain deflector tab. The two loose ends can now be joined.
Option 1: Using a quick link
If your chain has a quick link, you hook the two ends together and position it in the top run of the chain. To lock the link, put the bike on the floor with the brakes on and stand on a pedal so the link clicks into place. Alternatively, use master link pliers.
Option 2: Using a joining pin
Some chains use a special joining pin, with a snap-off pointed leader. Bring the male and female ends of the chain together, line up their respective pin holes and insert the pin into the chain. Only the pointed leader section is joining the chain. This must now be pushed home with the chain splitter tool.
Fit the chain tool to the chain in the normal way, to drive the new pin home. Ensure you’re well lined up before cranking the chain tool handle. The new pin should slide home with ease, only the last millimetre or so will feel firm at the handle. You’re looking to leave the tiny rim at the end of the new pin visible, the same as the other factory fitted ones on the other links. Over pushing the pin will result in the chain link jamming and potentially a chain failure.
With the new link in position you’ll need to remove the leader section. This requires a pair of pliers and a sharp angled twist of the wrist to break the leader free. Some cable cutters have a crimper behind the cutters that works well for this job.
Step 10: Free up a stiff link
Sometimes the freshly joined link will run free first time, but occasionally the new join will be a little stiff. This can lead to skipping gears. When this happens we usually use our thumbs to apply a little side pressure to the link, which usually frees the link so it runs and shifts smoothly.


22 thoughts on “How to replace a bike chain — simple steps to a smooth transmission”
A good guide although I don’t
A good guide although I don’t see the point of cleaning the old chain. Unless of course you’re looking for some bike related neck wear! Just take it off and then clean the cassette, jockey wheels and chain ring.
sm wrote:A good guide
Second that. In fact I’ll put my hand up to having put a new chain on early this spring because I didn’t want to clean one gunked up with winter crud and wet lube.
Wouldn’t get the scrubber out
Wouldn’t get the scrubber out (though of course I have scrubbed before realising I needed a new chain) but a very good wipe never goes amiss, don’t want to get too filthy counting link, at least twice, and then comparing lengths.
And then giving rest of drivetrain a very good clean, of course.
You are about to start playing with the brand new shiny chain.
Basics never buy a chain
Basics never buy a chain without split link. Use an angle grinder(probably cheaper than chain tool) to cut off old chain.
CXR94Di2 wrote:Basics never
and how do you trim the chain to the correct length?
mrmo wrote:CXR94Di2
Easy, grind off the pin head on the link and punch it through. I have done several chains this way. Angle grinder is a much more versatile tool 🙂
CXR94Di2 wrote:mrmo
Easy, grind off the pin head on the link and punch it through. I have done several chains this way. Angle grinder is a much more versatile tool 🙂— CXR94Di2
Punch it through with what exactly?
Seems like your taking a gun to a knife fight here, you can sort the length out with a decent tool in a matter of seconds and not have to worry about using power tools.
farrell wrote:CXR94Di2
Easy, grind off the pin head on the link and punch it through. I have done several chains this way. Angle grinder is a much more versatile tool 🙂— mrmo
Punch it through with what exactly?
Seems like your taking a gun to a knife fight here, you can sort the length out with a decent tool in a matter of seconds and not have to worry about using power tools.— CXR94Di2
Well take your pick, a nail or if your like me and have a selection of punches . Regarding speed I would say it’s just as fast probably quicker. I replaced my daughter’s chain last week cut it off in 5 seconds, new chain shortened and fitted in less than 5 mins
If you don’t know how to work
If you don’t know how to work a chain breaker just say, I’d recommend YouTube to find out how
KMC chains are good and come
KMC chains are good and come with master link, lots easier to take chain off for a good clean than with a shimano pin.
Shimano 10 speed road chains
Shimano 10 speed road chains are asymmetrical, so “directional” (shimano logo facing outwards)
Shimano 11 speed road chains are symmetrical, so “non-directional” (can be fitted either way round)
Would suggest using master link pliers to remove master links, makes life much easier especially on a worn, dirty chain
KMC make master links suitable for other brand chains, using master link on Shimano chains make it less likely to damage the chain during installation.
When using a master link, you are just cutting the chain to length, rather than pushing a special pin, which if using a chain tool with a wonky pin, or just being a little cack handed, deforms the chain plates, typically causing a broken chain at some point.
I’d also add – when using
I’d also add – when using pin-joined chains, push the joining pin in from the “inside” so in the event you push it slightly too far in, the nose of the pin isn’t trying to push the chain off the ring it is currently on at the back… It is no fun at all to ride a bike that has the chain constantly fighting the dérailleur for which gear it wants to be in.
Why no gloves on the hands of
Why no gloves on the hands of the person measuring the chain? Bit slack. Who wants filthy dirty oily hands? Nitrile gloves are a must. £5.48 for a box of hundreds on Amazon. Chain link pliers such as above Park ones are a must if you want to make life easier for your self.
Also don’t bother joining the chain with a chain pin – waste of time. Just use a quick link. Carry several spare pairs in your under saddle pouch with tubes spare piece of tyre.
Don’t measure the new chain against the old one as the old one is stretched – d’oh! Just count the links of it and then take off the extra links on the new chain using a chain tool.
Keep a notebook of all the essentials of your bikes then you will know each time so no faffing about.
Dunk new chain in chain saw oil and hang over night to allow excess to drip off before fitting it.
As mentioned clean all the other transmission components as well. Jockey wheels as well. Best to remove them all and clean. The results are worth it. Also if rear hub has done many miles and never been re-greased you will probably need to do this as well. A clean and freshly greased rear hub is so nice to ride on with a clean and freshly lubed transmission. I get about 5,000 miles out of chains before they are worn out so 2 chains each year. I don’t push heavy gears.
1. Unless you are 100%
1. Unless you are 100% certain the chain was the optimal length previously, it’s best to measure it up on big-big + 1 full link (2 sections).
2. Buy a master link tool – they are less than a tenner, and make the job fool-proof.
3. Swap out your chains at 0.6% chain wear – the only reliable way to measure this is with a good ruler or digital caliper:
5 full links new = 127mm
127-127.5mm = OK
127.5-127.8mm = change it now
128mm+ = your chainrings and cogset will be stuffed too, and a new chain will only last maybe 1/3 what you’d expect.
The above wear limit is accepted wisdom* distilled from thousands of mechanics and millions of chains. People saying they get 5000 miles out of one chain are such extreme use cases of genteel pedalling as to be irrelevant. General club riding about the place on a Tiagra-level groupset, chains last between 3000-4000km before being worn to the 0.6% replacement point. And after three chain swaps, it’s time for new cogset, two cogsets and it’s new chainrings.
* No-one fucks with Saints Sheldon and Brandt. No-one. I don’t care how much time you spend in your shed, or here, or on YACF or whatever. I don’t want to hear your anecdote, or about your miracle chain solution made of foot oil, salad dressing and hair tonic. You do not know more than these two guys did.
To update this advice,
To update this advice, different chains have different wear limits. 11 speed and above recommend changing at 0.5% and Campag 10 speed recommended 0.5%.
MTBs typically get far less mileage out of a chain, and if ridden on the road, the tendency to ride in a single high gear often trashes the cassette regardless.
Word of warning – Shimano and
Word of warning – Shimano and other Quick Link manufacturers sell their links as single use.
Single use does not mean lifetime of the chain, it means a single link closing event. In reality people do open and close them several times without issue, but if you are the sort of person that cleans the chain after every ride by removing it, you are going to go well over the design parameters of a link. Think in terms of a handful of times at most.
There are some QL designs that are reusable – e.g. Wippermann, they have a shaped hole. I’ve seen Amazon selling knock-off KMC links as completely reusable and yet they aren’t even engineered to KMC standards but are the same basic design (without the KMC numbering they show in the photos – yes, that bad a knock-off), so don’t trust them.
Anyway, the advice in the article is dubious, a QL is also a wearing part like the rest of the chain. Better to keep a fresh quick link for an emergency spare than depend on an old one to get you through the Fred Whitton.
My KMC single speed are
My KMC single speed are single use, I will follow that advice. Their 8 speed were reusable, I would try to keep the reuse to about 3-4. Same with my SRAMs, both 8 and 9s, after I had a good 9 speed one go at the quicklink.
New ones in the carry round toolkit, best not to take chances, a few pence really. Even given one away to someone on the trails who needed it.
“quick link pliers” – one of
“quick link pliers” – one of my best tool purchases 😀
I don’t think I’ve ever
I don’t think I’ve ever replaced a chain and not had to adjust the gears afterwards.
Not following that one. Why
Not following that one. Why would the barrel adjuster now be out of alignment ?
Unless your sprockets are too worn.
“the old chain is heading to
“the old chain is heading to the bin”; recycling?
Like so?
Like so?