


Getting start as a home cycling mechanic doesn’t require a vast toolbox filled with every bike-specific tool imaginable. In fact, many essential tasks can be tackled with just a few good quality standard tools and a couple of bike-specific ones. In this guide, we’ll cover the must-have tools for your toolkit that will help you become more self-sufficient with your bike maintenance. There’s also some linked to tool-specific buying guides, so you can easily find the right tools for the job and your budget.
Building up your own bike tool kit lets you fix those little niggles that come up regularly and, over time, you’ll almost always save money compared to paying for servicing.
With the right tools, there are loads of jobs you can tackle from your own home, though the specific tools you’ll need depend on the types of things you’re prepared to do. Each bike’s different, but there are many tools common to almost all bikes. Bear in mind also that the adage ‘buy quality, buy once’ really does apply when it comes to bike tools. Good tools work better, last longer and are less likely to damage the parts you’re working on. Think of them as an investment, not a cost.
Having a tool kit doesn’t mean you have to do everything yourself, and we’re by no means here to discourage you from taking your bike to an experienced mechanic at your local bike shop when the situation calls for it. Attempting a ‘big job’ by yourself with little experience could end up costing you more than paying a professional, so choose you battles wisely.
> How to keep your bike running smoothly
Plenty of us here at road.cc still use our bike shops regularly, as investing in specialist tools you’re only going to use once or twice a year sometimes isn’t economical. On the other hand, buying some good Allen keys to tighten things, or a decent pump and tyre levers to fix a puncture, will start to pay off very quickly.
It’s worth noting that this guide isn’t for experienced home mechanics with a pro mechanic-level bike toolkit, and the tools listed here will not handle every mechanical emergency. Instead, it’s designed for those who are just starting out or are ready to move beyond relying on their local bike shop, and begin tackling some basic maintenance tasks on their own. Still, if you fit into the former category and are still reading this, feel free to pop any advice in the comments.
Of course, another option instead of purchasing individual items is to buy a ready-made tool kit. Some kits include many tools that you may not necessarily need, so we recommend looking for one that includes items listed below.
Without further ado, here are some essential tools to consider investing in for those simpler tasks that will help you get started…
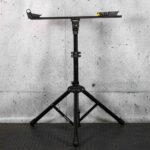
Workstand
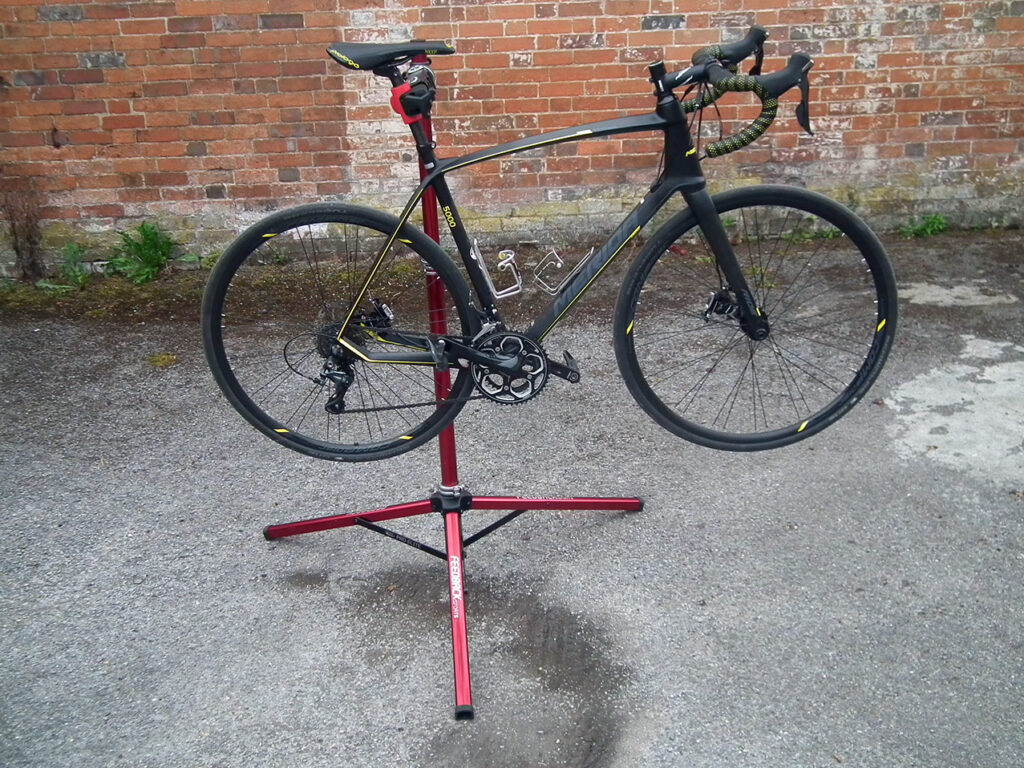
First and foremost, if you’re going to do any work on your bike, whether it’s a simple adjustment or a bigger repair, a workstand is an essential piece of equipment. The good news is, you don’t have to spend a fortune to get a good one either.
Being able to hold your bike steady and clear of the floor makes any job easier and your back will thank you for not leaning over a bike for hours on end too.
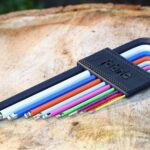
Allen keys
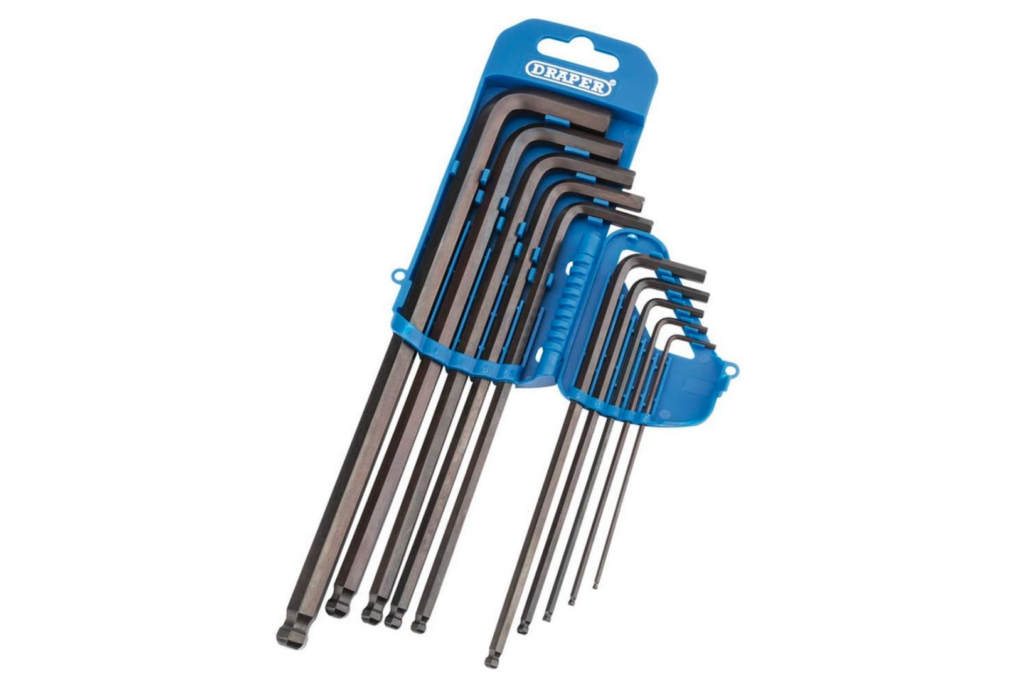
A good set of Allen keys are simple to use, and will allow you to carry out a wide range of adjustments, since many components on bikes rely on hex bolts. If you can only have one set, we recommend opting for a set like the one above, featuring a ball-end on one side for easier access to hard-to-reach places, as well as a straight end to help prevent rounding off bolts.
Unlike standard Allen keys, which only work when inserted straight into a bolt, ball-end Allen keys have a rounded tip that allows you to turn a bolt from an angle, making it easier to reach awkward bolts, like mudguard mounts on the inside of fork legs, speeding up many jobs.
Don’t skimp on Allen keys, as you’ll be using them a lot. As well as being harder and more accurately made, and therefore less likely to mash the bolts you tighten with them, high-quality keys have a narrower neck for the ball, and therefore work at steeper angles, making them more versatile.
Torx keys
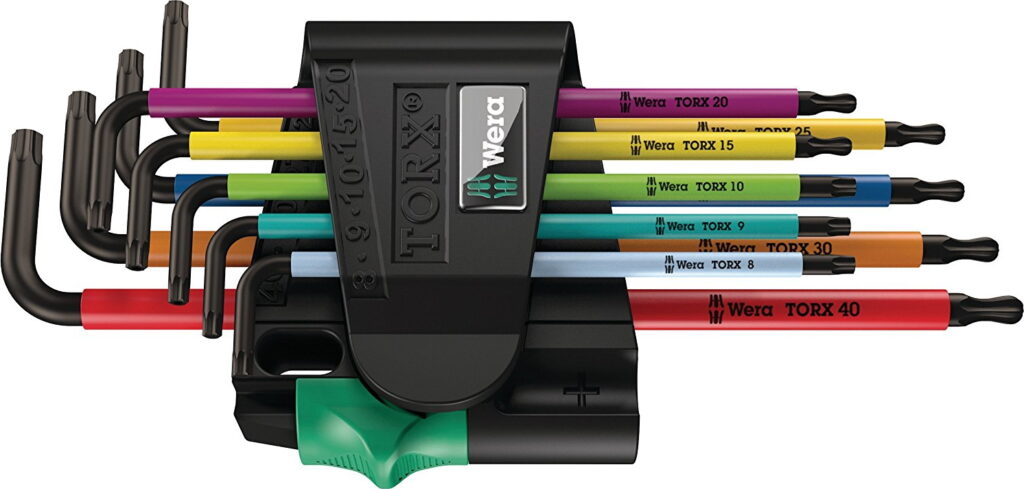
It may well be that not all bolts on your bike are compatible with Allen keys, especially if you ride a newer bike, so you may need a set of Torx keys as well. Torx fittings are becoming increasingly common on bikes, and like Allen keys, they come with both plain or ball-end versions.
Torx keys have a six-pointed, star-shaped tip that often provides better torque transfer than Allen keys, reducing the risk of slippage and minimising the chance of rounding off your bolts.
Torque wrench
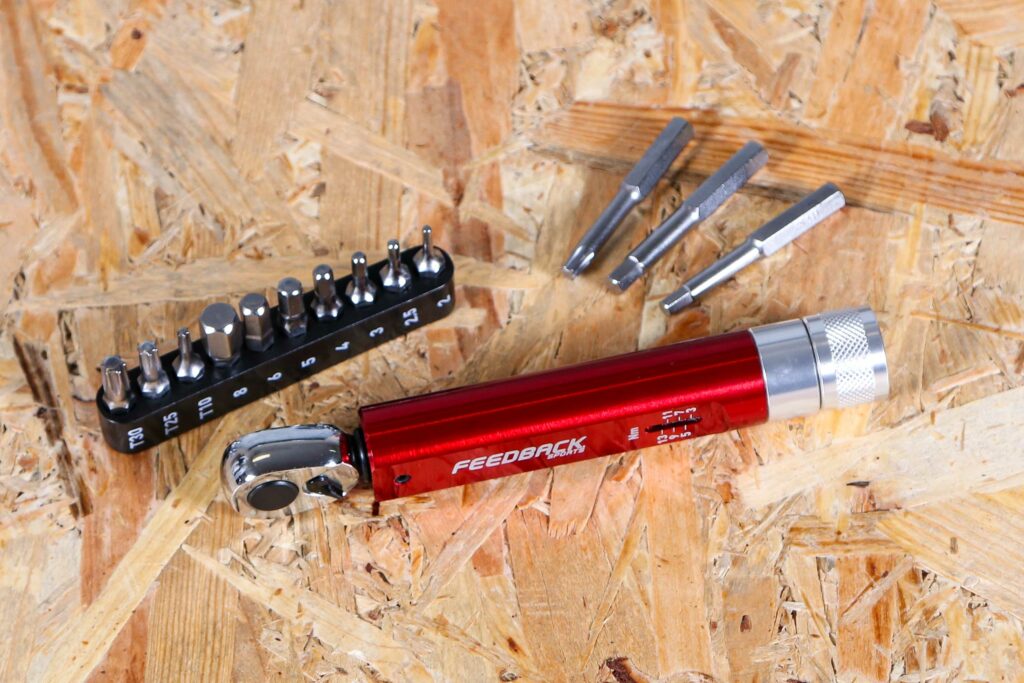
Like Allen keys, a torque wrench is a vital tool for handling most bike maintenance tasks. Most bolts on bikes, particularly carbon bikes, have a stated torque tolerance. A torque wrench helps prevent the risks of over-tightening, which can be costly and dangerous. With a torque wrench, you can get the bolts on your bike as tight as they need to be and — importantly — no tighter.
Over-tightening can strip threads, damage components, or even cause them to fail, while under-tightening can lead to parts coming loose, which can also be dangerous. By following the manufacturer’s recommended torque settings, you can avoid these issues.
Torque wrenches don’t have to be expensive either. For example, Ritchey offers a torque key with 4 or 5Nm settings, ideal for tasks such as adjusting stem and seat post bolts.
Pedal spanner

Depending on what pedals you have, it may also be worthwhile adding a 15mm pedal spanner to your growing collection of tools. If you look at your pedals from the inside of the cranks and there’s a hexagonal socket on the end of the spindle, you will likely need an 8mm Allen key.
Pedals can be notoriously stubborn, and it’s worth remembering that one of them has a reverse thread so that it doesn’t undo when you’re riding along. A proper pedal spanner will give you a better chance of leveraging off pedals, and is usually thinner than a regular spanner to fit between the pedal and crank arm. A standard 15mm spanner will fit some pedals, but others need the thinner jaws of a specific pedal spanner.
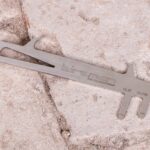
Chain wear gauge, chain tool and quick link pliers

You can keep an eye on the wear of your chain by measuring its length over 12 full links with a good quality ruler (or 10 if yoiu prefer metric measurements). If it’s stretched by 0.5% on an 11- or 12-speed chain it’s time to replace it, and on 10-speed or below you can get away with 0.75%. A wear gauge makes this easier by telling you when your chain needs ditching. You don’t need a specific tool for this job, but at a few quid you might as well.
If you want to then replace your own chain, you’ll need a chain tool to remove excess links to get the right length for your bike. Most new chains come longer than needed, so you’ll need to shorten it by pushing out the pins with the chain tool. You’ll need to check that the chain tool is compatible with your chain though.
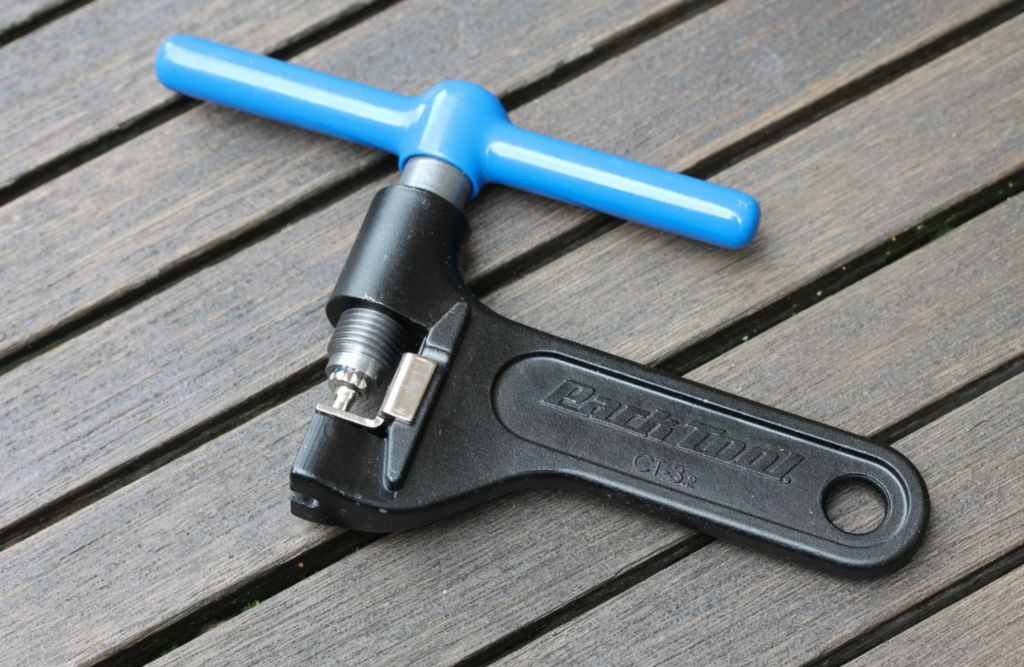
> Do you need a new chain? Find out the easy way to tell
Adding a quick link to your chain can be incredibly handy. A quick link replaces a chain link with a pair of interlocking plates with in-built pins that can be installed or removed without a chain breaker.
You can open a quick link without a dedicated tool, but using a pair of quick link pliers will make this process much easier.
It’s also useful to carry a spare quick link with you on rides in case your chain snaps. You can then make a quick roadside repair with the quick link and complete the ride. For some more tips on what to tools to take with you on your rides, check out our cycling essentials guide.
Cassette tool and chain whip
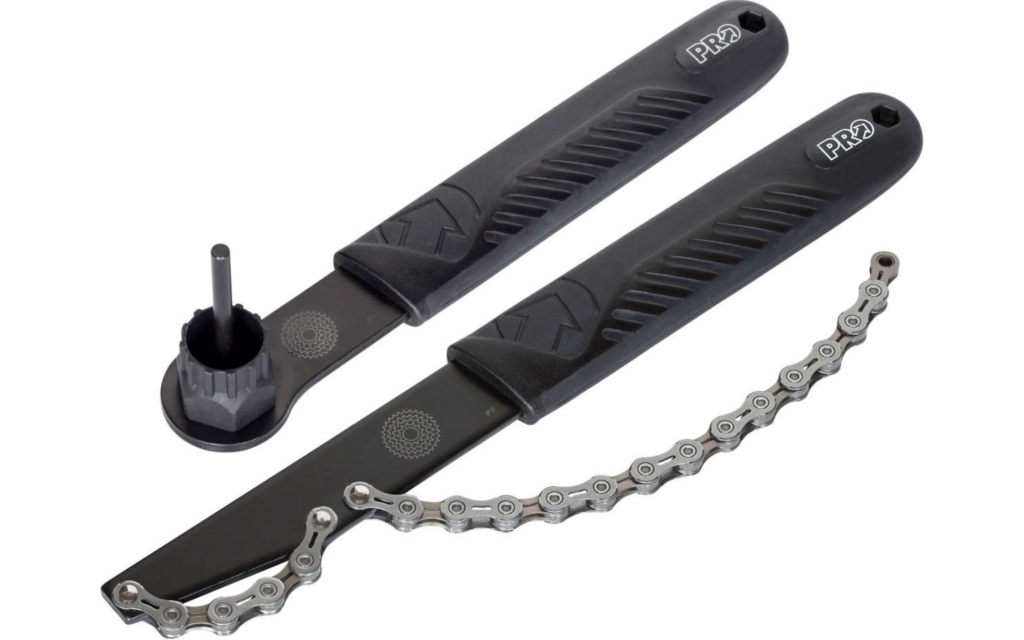
As you gain more experience with bike maintenance, adding a cassette tool (also known as a lockring tool), and a chain whip to your toolkit can be quite beneficial. Although you might not need to replace your cassette frequently, these tools are essential for removing and installing it.
The chain whip helps hold the sprockets in place while you use the cassette tool to remove the lockring that keeps the sprockets together on your bike’s freehhub.
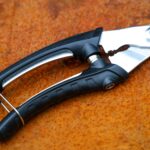
Cable cutters
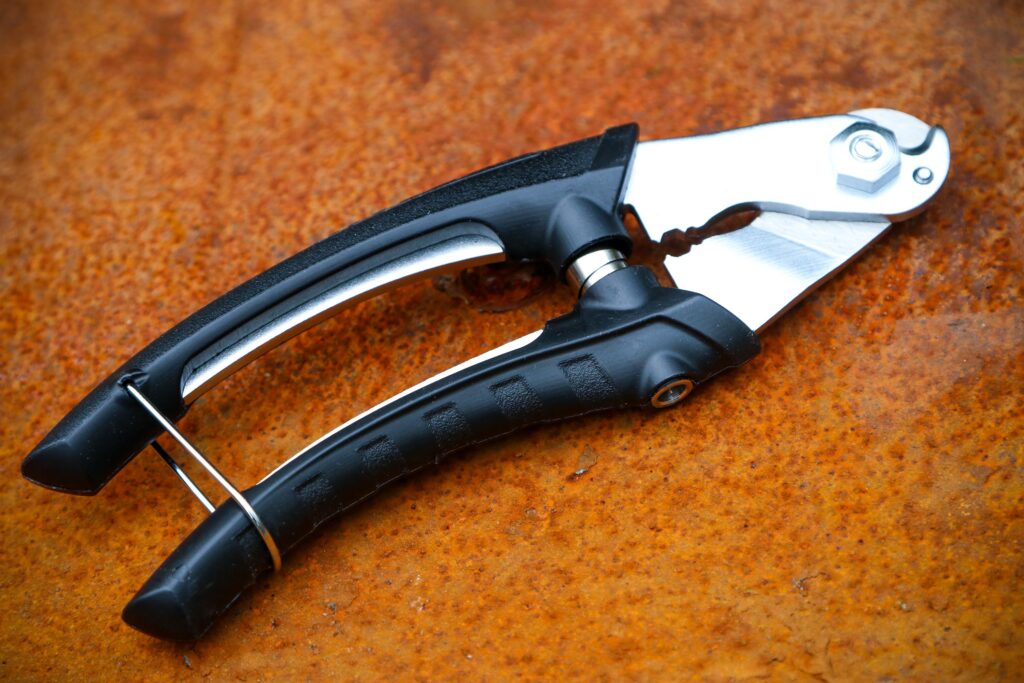
If your bike has brake and gear cables, it’s worth getting a proper set of cable cutters with blades shaped to keep the cable strands together.
Do not try and cut cables with pliers, scissors, sidecutters or any other vaguely sharp snippety-chop tool you have kicking around, as you’ll just make a mess of them.
Grease
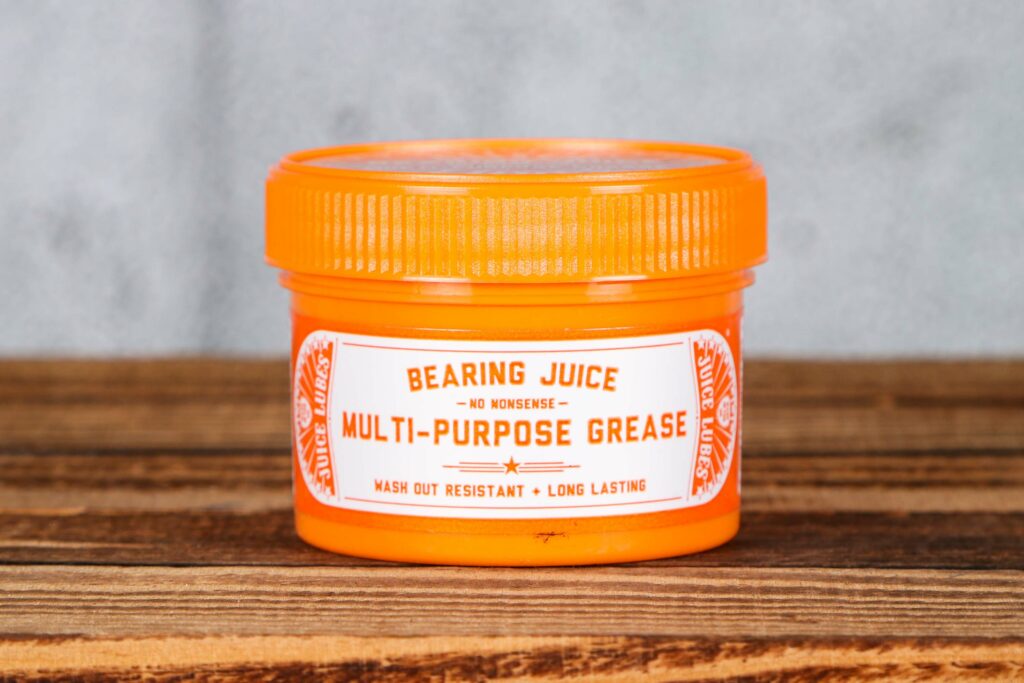
This next one isn’t a tool as such but a grease or anti-seize compound is essential for any jobs that you are going to be carrying out that require tools.
Grease is key for reducing friction and preventing wear on moving parts, like bearings, pedals and the threads of bolts, while anti-seize helps to prevent components from seizing up or corroding like bottom brackets, seatposts or pedal threads.
Electrical tape
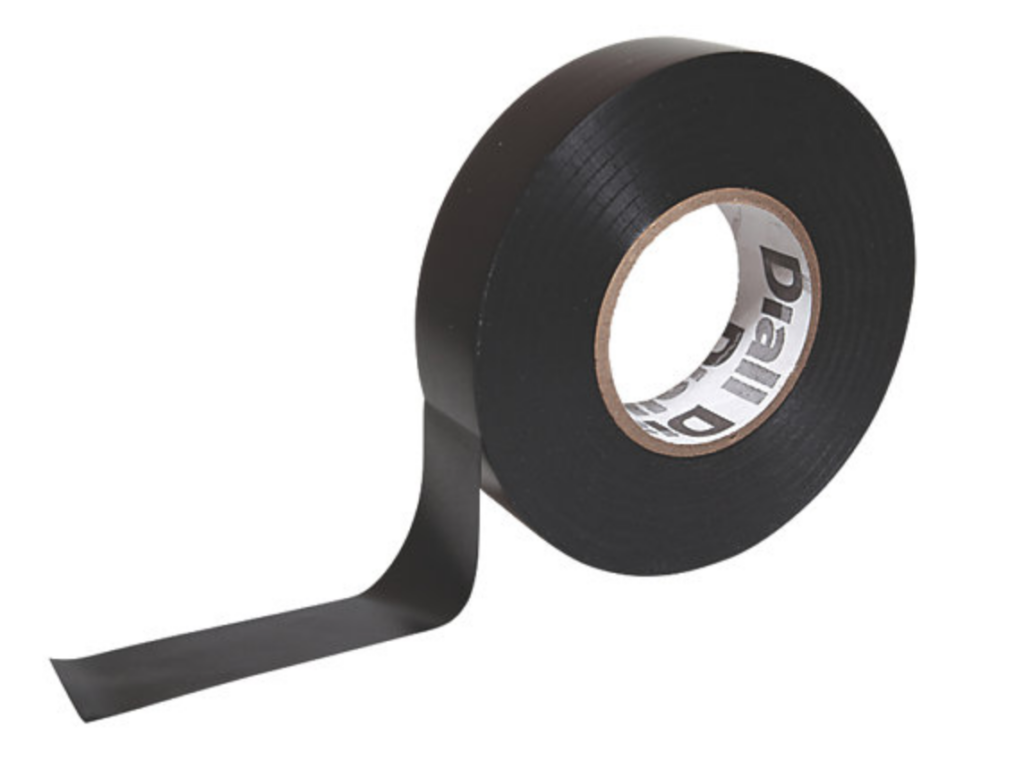
Again, this isn’t strictly a tool, but to secure small bits, stop annoying rattles from inner tube valves, and finish off applying bar tape, it’s worth having some decent electrical/ insulation tape – preferably in black!


24 thoughts on “How to build your own bike toolkit, a beginner’s guide — must-have tools for cyclists to carry out basic repairs”
A breaker bar. Removing a
A breaker bar. Removing a cassette lock-ring or BB will be much easier, and less risky to slicing skin off knuckles, if you use a good long, strong breaker bar – so much more control. Torque = force x distance, use the physics Luke.
Old flat bar or seat post
Old flat bar or seat post works just as well.
Maybe, but it will wiggle
Maybe, but it will wiggle about. Just get a breaker bar, whose drive can go directly into your lock-ring tool.
Better off with one of these
Better off with one of these than a chain whip
https://www.decathlon.co.uk/p/chain-whip-cassette-remover/_/R-p-200?mc=8309913
A million upvotes for this.
A million upvotes for this. Gamechanger.
Though the Pedro’s Vicewhip
Though the Pedro’s Vicewhip looks far cooler. Much more expensive though…
Chain breaker – Nope – use
Chain breaker – Nope – use your portable one.
Torque wrench – nope – use your judgement. most torque settings are either just above pinch tight or heave like buggery.
Torx – just get the couple of bits you need for a hex driver.
Workstand – if you cant find one for ~£50 you are paying too much.
Secret_squirrel wrote:
Or, you can tighten until you hear a crack noise and then stop just before that happens
More seriously, handlebars and seat posts are tricky to set up without a torque wrench (assuming they’re CF) as you don’t want them under-tightened, so you can’t just go for “above pinch tight”. (You’d typically be using CF assembly paste as well to stop things slipping/sticking)
Agreed on the workstand. My
Agreed on the workstand. My Decathlon one was £55 and does the job.
Disagree on the torque wrench. They’re not wildly expensive and worth it for the peace of mind for both too loose/too tight.
You forgot soap, rubber
You forgot soap, rubber gloves and a healthy helping of “When that wrench SLIPS is there anything in the way that’ll open up part of my hand?”
Most useful tool in my
Most useful tool in my collection…decent track pump.
No mention of any bottom
No mention of any bottom bracket tools. Either a bearing press or a bb specific tool if threaded. Massive oversight since it’s a pivotal piece of equipment. Also no mention of brake bleeding kits. Another pretty important tool if you’re doing your own maintenance or build. All well and good cutting your own hoses but the tool to put the barb and olive on is critical of that hose ain’t doing anything. And you still have to be able to put the hydraulic fluid in correctly.
For me both of those jobs are
For me both of those jobs are when the bike shop gets called to see when they’ve got space available.
Also add to that any job to do with a headset.
Isn’t the point of this
Isn’t the point of this thread to say the jobs you can do at home easily? If you choose to take it into a shop that’s your choice but brake bleeding is a periodic task that’s far simpler than people who have not done it might think. Shimano brakes are extremely easy to do. And I would recommend it’s something people do or partially do when they replace pads since it’s better to open the system before you start pushing back pistons for new pads. Or do you take your bike into a shop every time your brake pads need changing? That’s going to be costly and a place money can easily be saved.
as for the bottom bracket, you might need to remove it just for access to cables. I’ve known plenty of times people have accidentally pulled the battery for di2 off and the cable has fallen back down the seat tube. Only way to access it is to remove the bottom bracket and feed a cable or something to attach it to in to pull it back out the top. No way of removing the BB means you’re visiting a shop just to put your battery back on. I’d rather have the tools to fix that myself.
I didn’t know that there’s a
I didn’t know that there’s a tool for fitting the olive and barb onto hydraulic hoses. I just push the olive on first and slide it down out of the way, then hold the cut end of the hose carefully with some ordinary pliers and gently tap the barb into place with a small hammer. The olive then gets compressed into place when you assemble the hose (assuming you remembered to put the screw on bit onto the hose before doing the rest).
There is a tool for the barbs
There is a tool for the barbs. Same as there are specific cable cutting tools. I could use a pair of side cutting pliers but they ain’t specialist tools. This is meant to be taking about tools required to do it yourself and brakes are an easy job made to look harder then it is.
Decent cable cutters are
Decent cable cutters are definitely recommended as otherwise you almost always end up with frayed ends. I got a hydraulic hose cutting tool in with some brake bleed kit – it does the job and ensures that the cut isn’t at some strange angle – looks similar to this:
Pretty sure I said I have a
Pretty sure I said I have a hose cutter. Dunno why you’re telling me this.
Smoggysteve wrote:
This is a thread about tools that may be wanted for home bike maintenance/building, so I thought it would be useful to show others what a hose cutting tool looks like as you didn’t include a pic or link to your own.
My comment was intended to be of use to others – it’s not just about you, you know.
Generally when you’re
Generally when you’re addressing a room of people you don’t talk directly at one person. So in REPLYING TO ME instead of, ya know, starting a new post, you look a total dumbass.
I’d say if anything makes one
I’d say if anything makes one look a dumbass, it’s getting unnecessarily irate about an entirely inoffensive forum reply.
There is a tool for the barbs
There is a tool for the barbs. Same as there are specific cable cutting tools. I could use a pair of side cutting pliers but they ain’t specialist tools. This is meant to be taking about tools required to do it yourself and brakes are an easy job made to look harder then it is.
I have a tool that cuts hoses clean, and holds the olive close to the end of the hose when inserting the barb. That way it is close to the end and will compress uniformal. I’ve had times when the olive slips down the hose when inserted into the lever and when I’ve tightened up the hollow bolt it buckles and fluid leaks. Never had it happen using this tool as I know the olive is definitely on the end and will compress flush.
The FIRST thing you need to
The FIRST thing you need to do for this article, is define what you mean by “Beginner”! Beginner budding bike mechanic, where all but the most expensive, least used tools are used (for your and friends bikes.)? Beginner home mechanic where medium and above jobs go in the shop (or where you don’t have the time)? Beginning casual rider? Once the definitions are in order, what is and isn’t necessary for a ‘beginner’ fall into place.