
[Sponsored by Kenda]
Converting your wheels to run tubeless mountain bike tyres is one of the most effective upgrades to improve performance. However, it can get very frustrating very quickly due to many factors but, fear not, we’ve rounded up some tips from WTB and Stan’s to make the job as easy as possible.
- Best tubeless sealant 2025 – tyre sealant for MTB, gravel and road
- How to add sealant to your tyres
- Mountain bike tyres – Everything you need to know about off-road rubber
What you’ll need
The parts list for a tubeless conversion is rather small and can be bought from many brands. You’ll need a tubeless conversion kit that will include tubeless-specific rim tape, tubeless-specific valves and tubeless sealant. These kits can be picked up for less than £50.
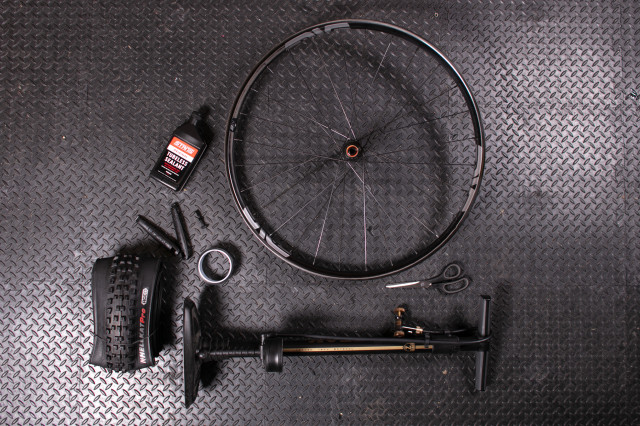
Additionally, you’ll need a pair of tubeless-ready tyres, which can be identified with things like ‘tubeless ready’ hot patched onto the tyre.
A good pump capable of seating tubeless tyres makes the job easier, as does a pair of tyre levers and scissors to cut rim tape. You’ll also need to remove the wheels from the bike, so the appropriate Allen keys will make that happen. Rags and isopropyl alcohol wipes or a spray are handy, too.
How it’s done
A lot of wheels (new bikes and aftermarket sets) already come with tubeless tape installed, so feel free to skip to point four. But before doing so, check your current rim tape for holes and other signs of damage, as they will compromise a solid air-tight seal.
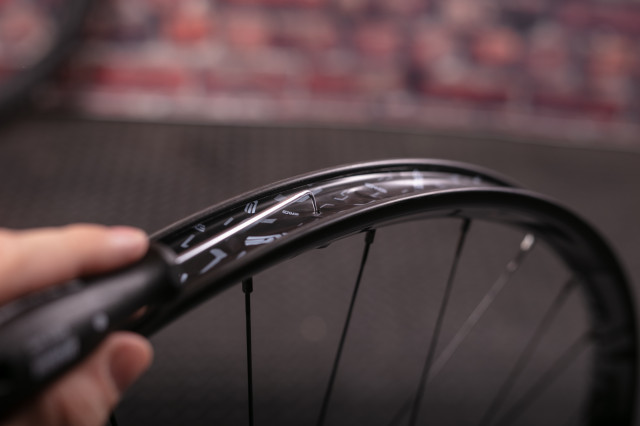
1. Clean the rim
Whether your rim is brand new or you’re replacing your rim tape, rubbing it down with an isopropyl wipe or spray will ensure the best possible surface for the tape. Typically, rim tape isn’t tacky for ease of replacement, so every little bit helps.
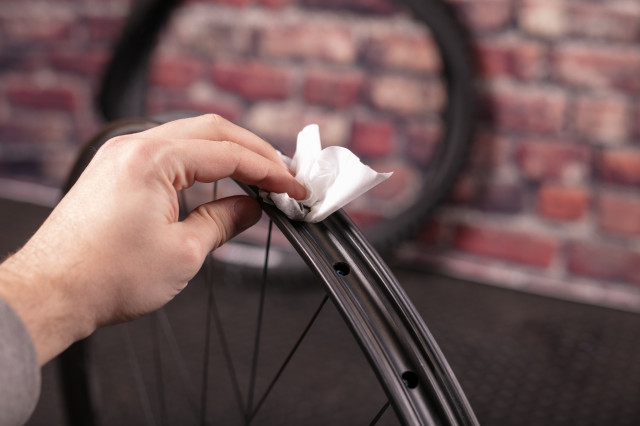
Carbon rims fresh from the factory can be left with dust and carbon particles. This is where cleaning the rim is an extra important step.
2. Apply rim tape
Perhaps one of the more daunting steps of the task is installing the rim tape. It’s a vital component that makes the rim airtight, but in reality, it’s mighty simple.
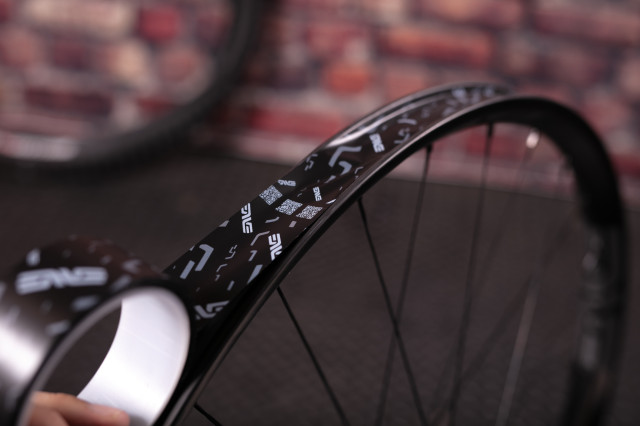
Starting over the valve hole, unroll and stick the tape with gentle tension as you go. Make an extra effort to keep the tape running evenly between the rim’s beads, keeping the tape as central in the rim as possible.
As you get to where you started, leave enough tape to go over the valve hole again by a few inches and cut.
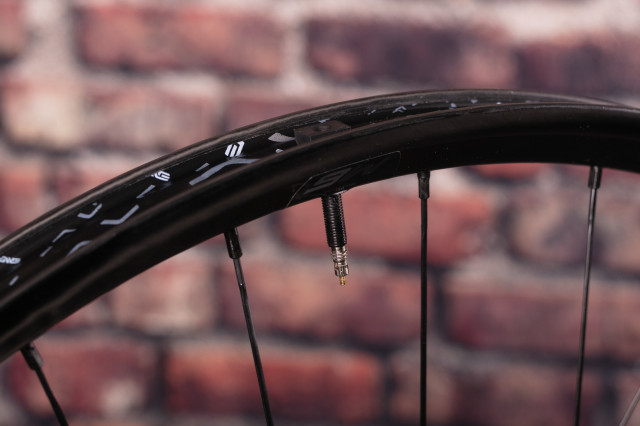
3. Install a tubeless valve
Before reaching for your valve, poke a small hole in the tape over the rim’s valve hole. There are many methods from heating a pick to forcing the valve through the tape. Making sure there’s a hole there first will ensure a good seal around the valve without causing excess damage to the rim tape.
With a hole neatly in place, push your valve through it and wind on the valve nut on the inner part of the rim. Finger tight will do – don’t put excess torque on a valve nut as this could damage the rim tape and the rim itself.
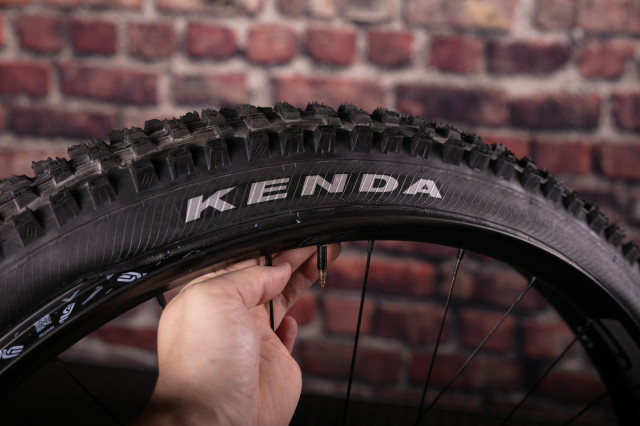
4. Install your tyre
Place your wheel completely into the tyre with both beads over each side of the rim. If you’re fancy, this is where you’ll line up your valve with the brand logo on the tyre.
From there, slip one of the tyre beads in place. This will get more difficult as you get closer to wrenching the whole bead onto the rim – a tyre lever will help get that last bit in place.
Making sure that the first bead is sat in the deepest part of the rim’s well, get to work on the second bead. Again, as you get to the final portion of the second tyre bead, it’ll get difficult. Check over both beads to ensure they’re placed in the middle or the deepest part of the rim. This will give you enough slack in the tyre to pull the last bit of the bead onto the rim, often without needing a tyre lever. However, if it’s still tough, get a tyre lever involved.
5. Insert your tyre sealant
Pouring your tyre sealant into the tyre can be done in one of two ways: either by injecting it through the valve via a syringe or pouring it into the last bit of uninstalled tyre bead before pulling it onto the rim.
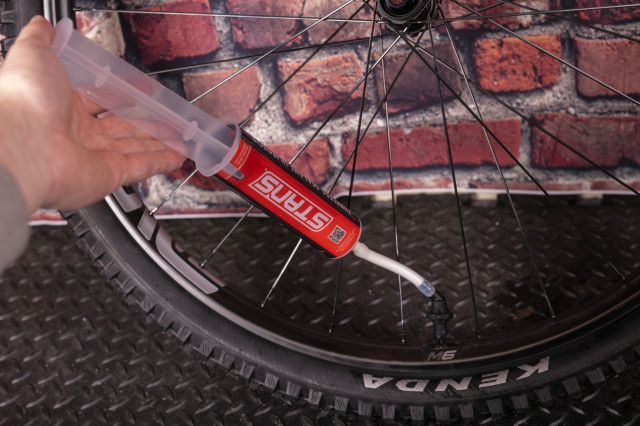
If using the syringe method, remove the valve’s core using a valve core tool, put the nozzle of the syringe or sealant pouch onto the open valve and gently squeeze the sealant in.
Once done, reinstall the valve core.
If you’re pouring the sealant directly into a tyre, turn the whole wheel so the open bit is at the top to allow the sealant to flow into the bottom, and wrench the bead onto the rim.
6. Inflate to seat the tyre
This part can be done with the valve core in the valve, but removing it will allow more airflow and make seating the tyre easier.
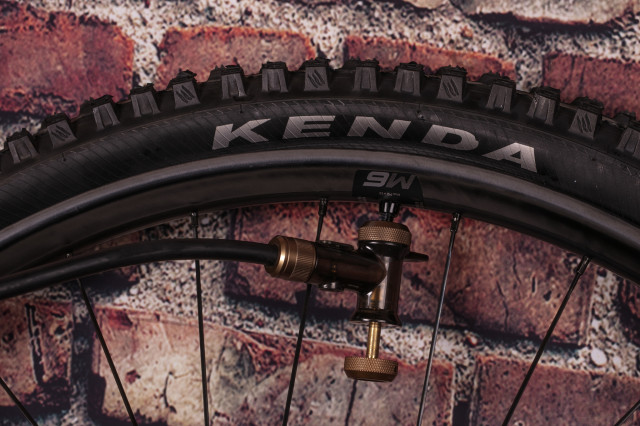
Attach your chosen pump to the valve and get pumping. You’ll need to pump quickly to deliver enough air into the tyre so the beads slip into the hooks.
Doing so will take some effort, but keep going until you hear several cracks and pops as the air pressure forces the tyre beads into place. This is often around the 30psi mark, but you might need to add more air.
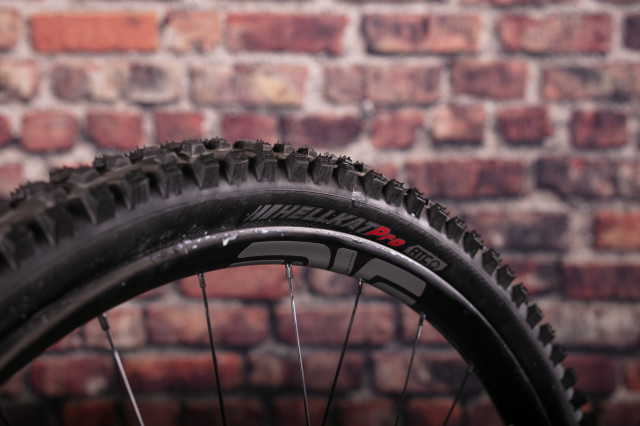
7. Check the tyre for correct seating and shake the wheel
You’ll know if the tyre is seated properly if the gap between the rim and strip marking is even around the wheel. Many tyres have little strips close to the bead, which help determine this.

If you’re happy, shake the wheel to move the sealant around the tyre and the rim. This will allow the sealant to find any holes and seal them.
That’s a successful tubeless conversion, done and dusted.
Tubeless conversion top tips for difficult setups
Spray some soap around the bead
When seating, the tyre can be stubborn as the rubber can stick against the rim tape. Applying soapy water around the tyres bead will add a bit of lubrication, allowing for easy seating.
Add a little more sealant
If you’ve successfully seated your tyre but it’s still releasing pressure, adding extra sealant and giving the wheel a thorough shake will help seal any gaps.
Use a tubeless inflator pump or CO2
Sometimes a tyre won’t inflate using a regular pump, no matter how good that pump is. Often, the tyre needs a larger and faster delivery of air for it to seat properly.
If that’s the case, products like the Airshot, Topeak Joe Blow Booster or a simple CO2 cartridge and inflator will do exactly that. However, if using CO2, inflate with regular air as CO2 can escape, and you’ll lose pressure after some days.
Heat the rim before taping
As mentioned before, tubeless rim tape isn’t especially tacky and for good reason. But because of that, cold alloy rims aren’t always the best surface for adhesion. Warming the rim will help the tape stick.
Give your wheel a shake mid-inflation
Commonly, you’ll find air seeping from the valve while seating your tyre onto the rim. If this happens, tighten it up and give the wheel a good shake – this will coat the area with sealant and seal any holes.
Add a second layer of rim tape
Not all wheel and tyre combinations are created equal – they all fit differently. If you’re having difficulty seating the tyre and finding air escaping from under its bead around most of the wheel, consider applying a second layer of tape. Doing so will provide a tighter fit and a seal that’s easier to achieve.


")


