
The Exposure Boost 3 is a lightly upgraded version of the Mk2, with a small case change and max power going from 350 to 600 lumens. The extra power (or run-time, if you prefer) makes it more useful, but unfortunately the needlessly complex controls and high price remain.
The Boost 3 is very small and light, yet easily bright enough to get you seen, whether you’re using flashing mode or a solid beam. It’s worth noting that it only puts out 600 lumens in Pulse mode – the brightest Constant setting is only 400 lumens.
Nevertheless, that’s a truly useful amount of light. Even the previous version, the Mk2, was bright enough at 300 lumens (on Constant) to get you through completely unlit sections with a bit of care. With the extra power, the Boost 3 is usable as a headlamp in fully dark areas. It’s a fairly narrow beam, but it’ll keep you safe at 18-20mph through unlit rural voids… unless you’re in the wrong mode when you get there, when it’ll be awkward at best – more on that in a second.

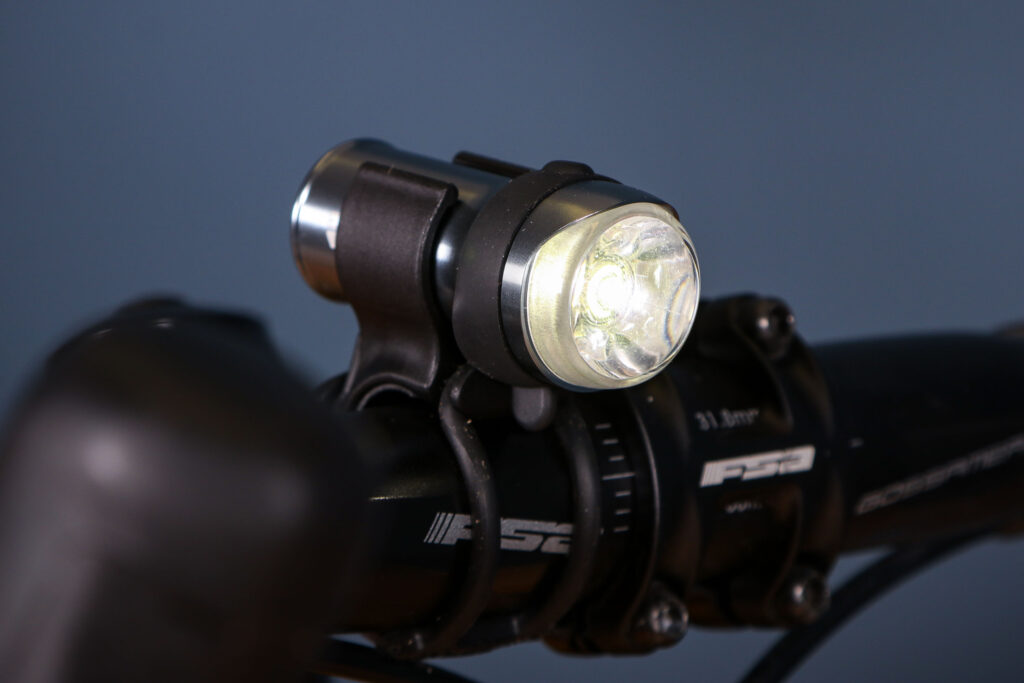

The 600-lumen DayBright setting (Exposure’s name for its flashing pattern) is more than up to getting you noticed, even on bright days, while the 270° lens means you’re visible from the side too. It’s all rated IP67, so is completely sealed against dust and capable of laying underwater for at least 30 minutes. Basically, you don’t need to consider the weather.
Pleasingly, the extra power has not reduced the run-time – roughly two hours on max – thanks to a 200mAh bump in battery capacity to 1600mAh. I’d hoped for a Mk2-matching power setting as the middle brightness of the three, but unfortunately it steps right down to 135 lumens and, lastly, 75. The 135 setting is good for urban riding as a be-seen light, but had it been 250-300 lumens, it would have covered you for both lit and unlit sections while burning usefully longer than two hours.
This is especially true as the Boost 3 shuts off without warning when flat. The best I got at full power was 2h10m at room temperature, while on a windy 2C ride, it was under two hours.
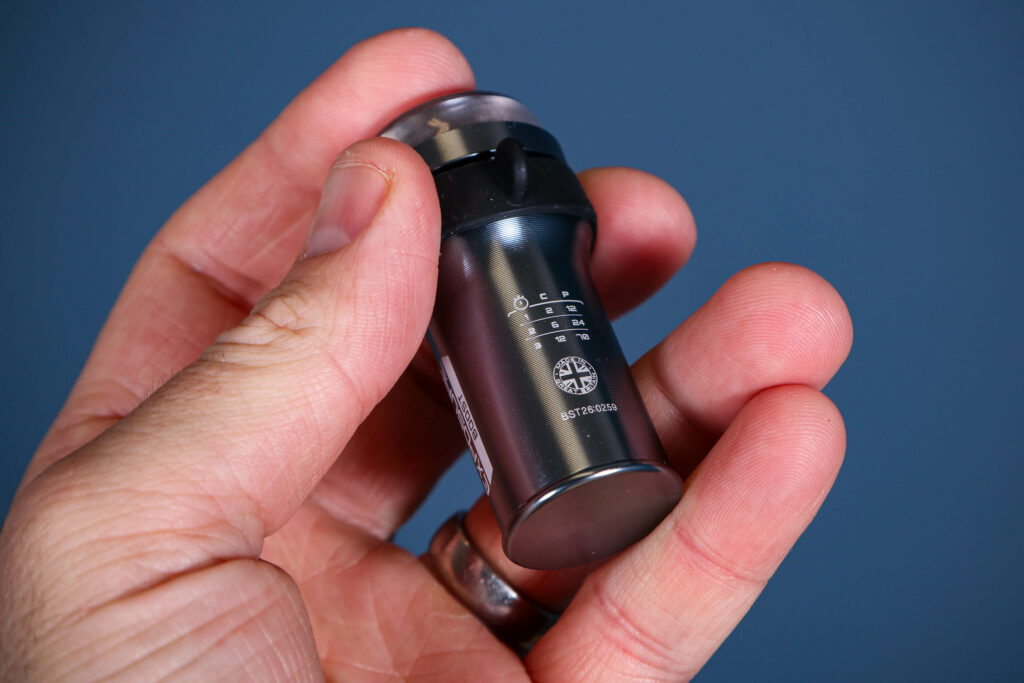
Full power run-times wouldn’t matter so much if changing the brightness was easy – but it’s not. The light seems designed to be set before riding and left alone. While most lights cycle their power outputs with single clicks, Exposure tucks that option away in a programming mode you can only access with the light switched off. To use it, you must remember the right button presses and the meaning of the flashes that follow, and you may need to refer to the table etched into the bottom of the light. (You’ll need a second light to read the table.)
I can’t honestly think of a benefit to doing it like this.

Here are Exposure’s instructions on changing the brightness:
“The lights have three programs with different intensities and run times. To select a program, start with the light off. Hold the Function Button down. The light will then start to emit single flashes. Count these flashes and release the button on the number of flashes that correspond to the program you want to be in. The Runtimes in each program are etched onto the product in the bellow [sic] table.”
For comparison, here are the instructions for Knogg’s Blinder Pro 600:
“Quick press – change mode.”
Like many modern lights, that Knog uses a long press to switch on and off, whereas the Exposure only turns off that way – to turn it on requires a double press. This means the Knog is free to assign the double press to switching to flash mode, meaning it – like so many competitors – does everything without needing a separate programming mode. It achieves this without being turned off, and without asking the user to memorise or count flashes or refer to a table.
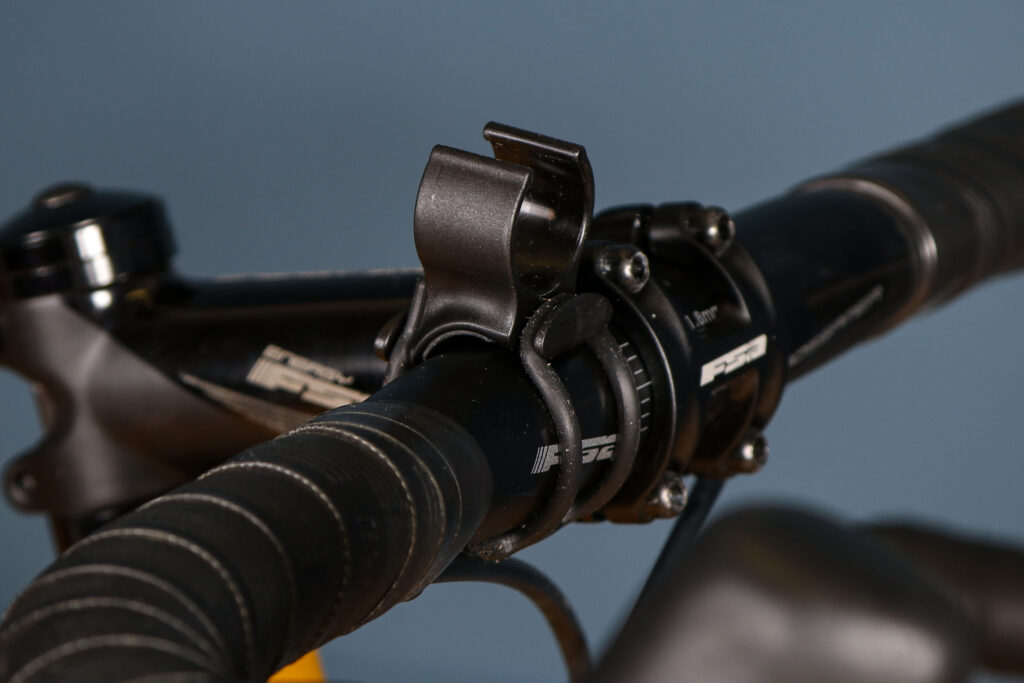
It doesn’t help that the button (Exposure calls it an Optimised Mode Selector, or OMS) is quite small and stiff. When riding in thick gloves, it’s not that easy to find, as the Boost 3 will spin and slide back and forth in the clamp as you prod. The button… sorry, OMS is not lit or even coloured. You have to get a firm pinch on the lamp itself to actually press it, which isn’t that easy with such a tiny light.
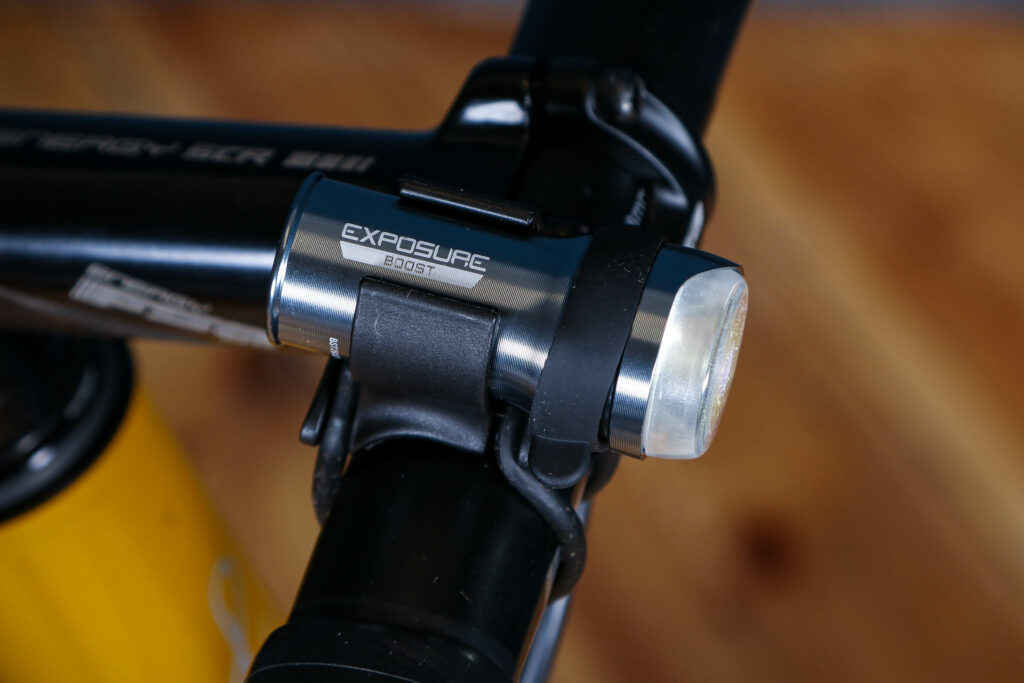
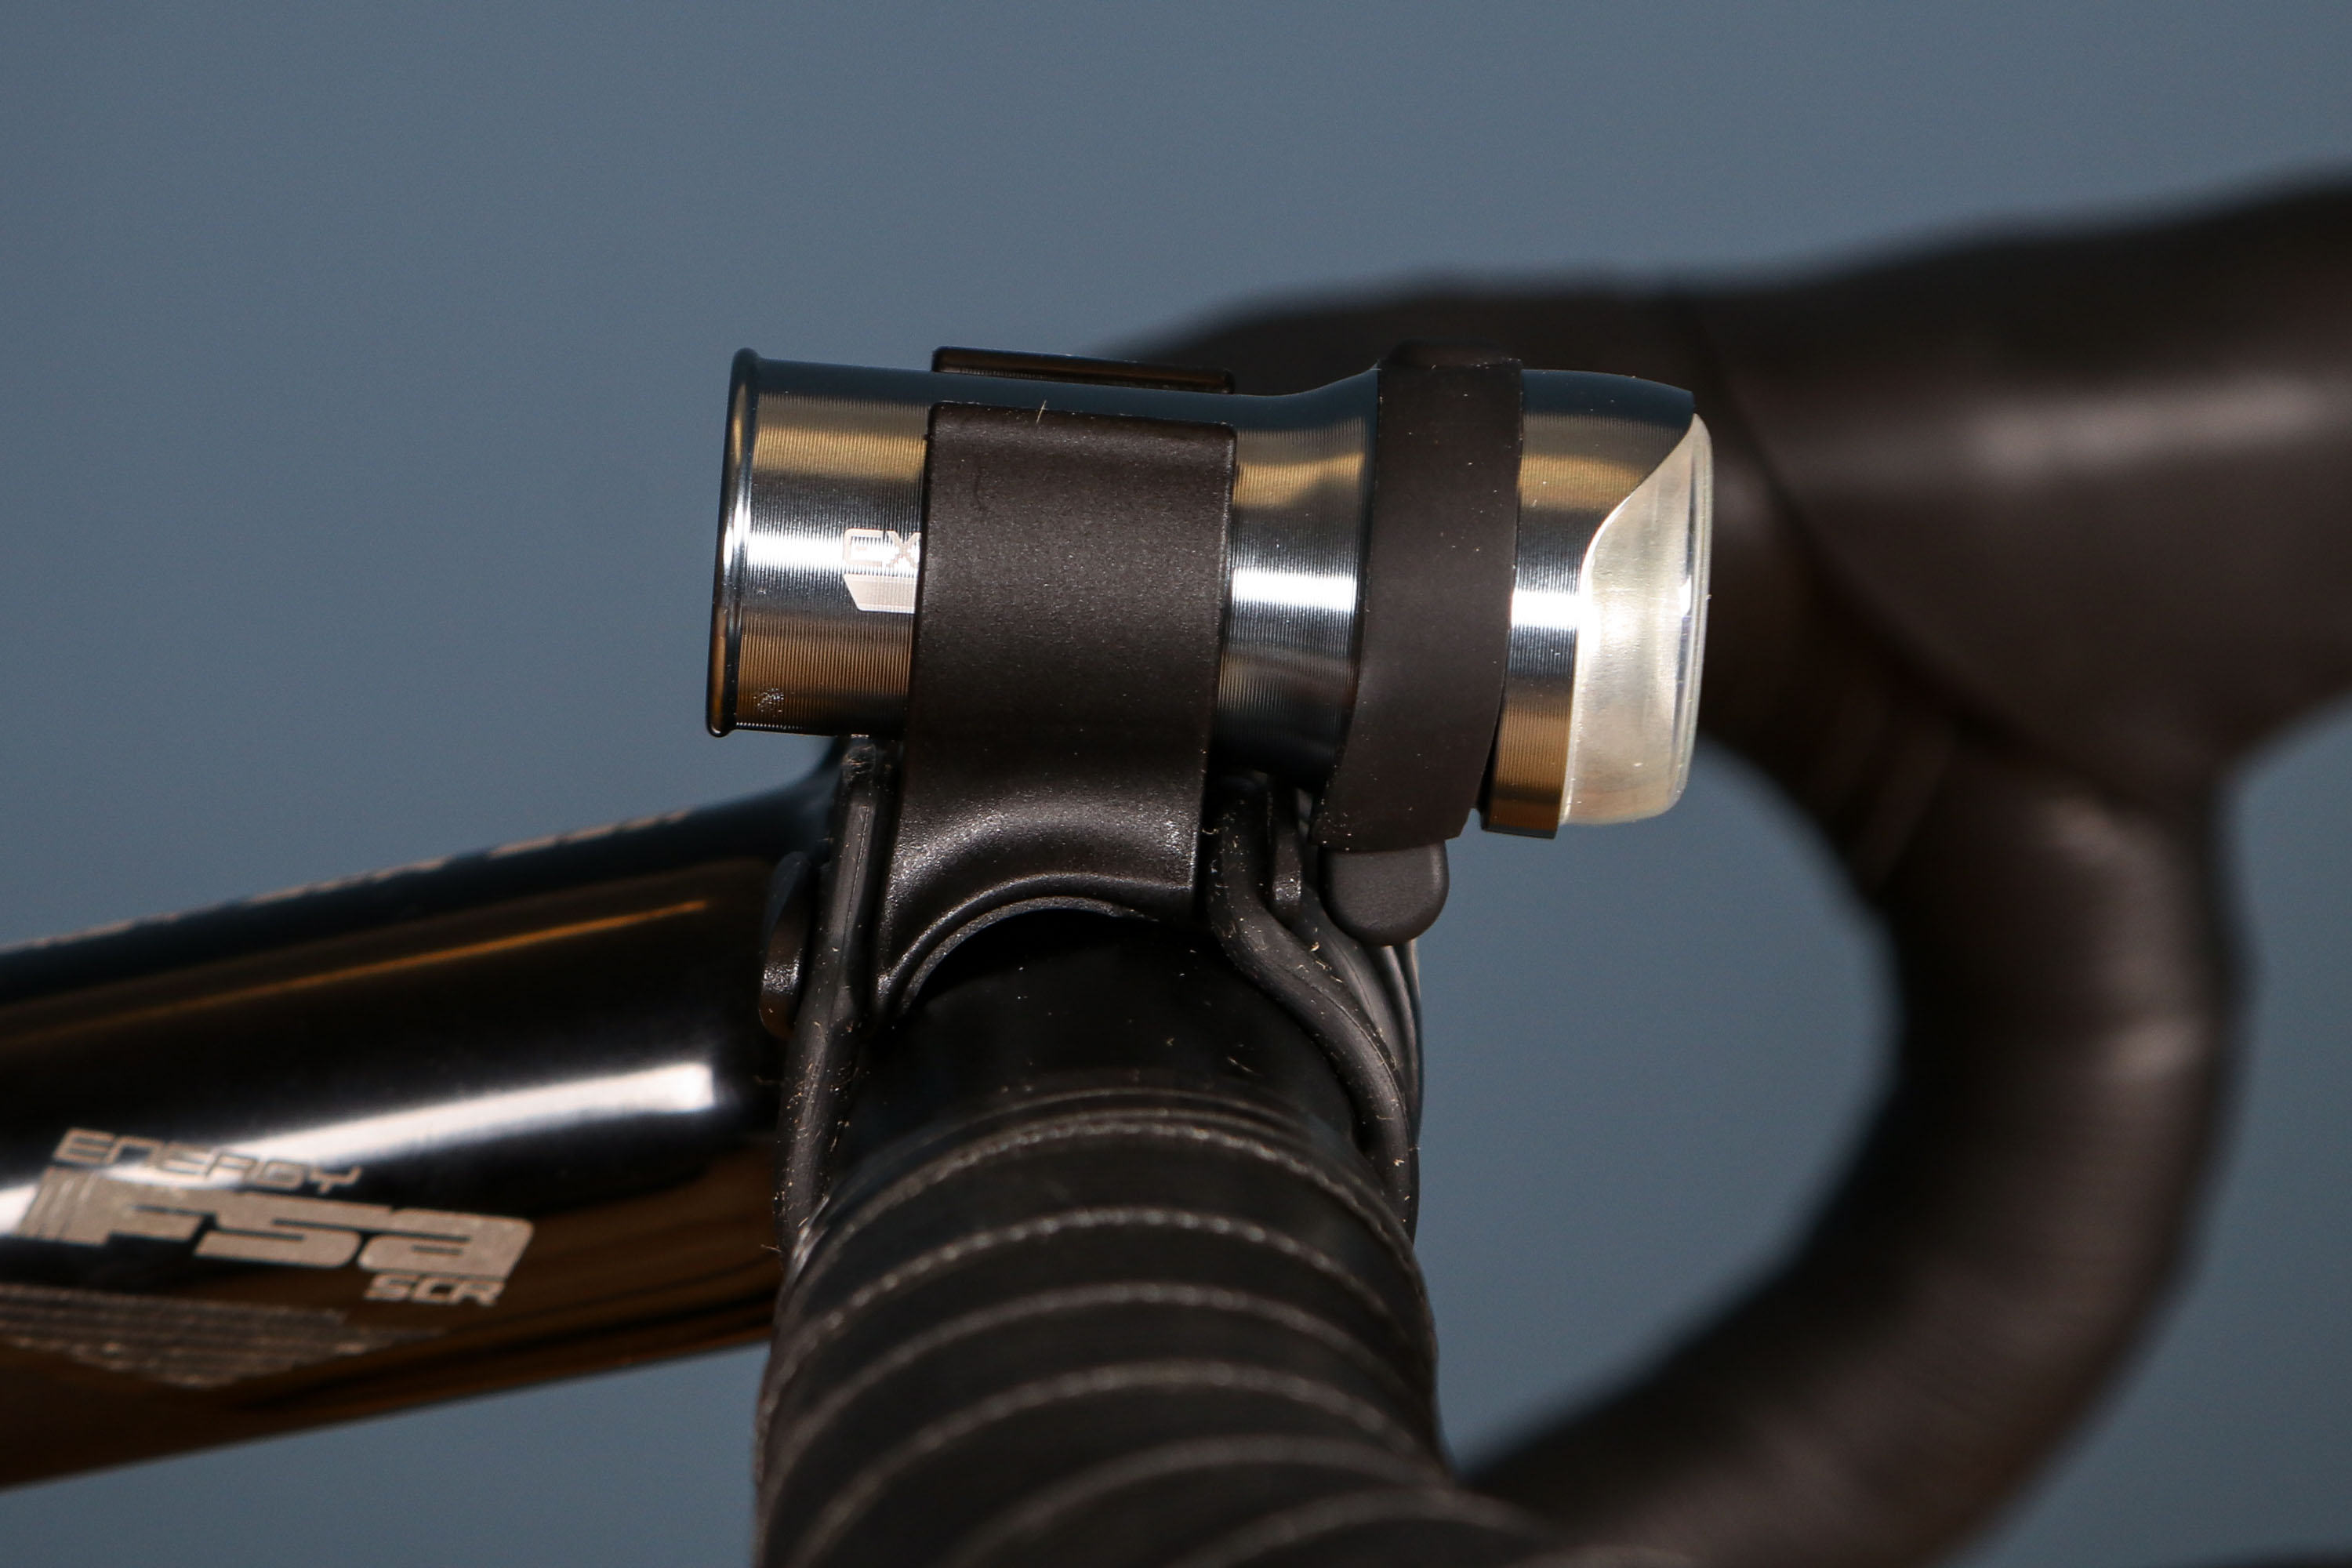
Remove the Boost 3 from the bike and the button is pretty easy to operate, and left alone in its clamp the unit stays still and secure. The clamp – both the silicone ladder and the microphone-stand-type upper bit – is very nicely shaped and strongly built. Attaching it is quick and easy.

There’s been a small change to the case for this version, which is that the anti-dazzle shield on top of the lens is now part of the metal body instead of the silicone charging port seal. The change makes zero difference, so presumably it’s a manufacturing decision rather than an attempt at an upgrade.
Speaking of manufacturing, our test light had a small issue. On the Solid setting, it would suddenly drop in brightness, fade smoothly back up over a few seconds and then repeat, constantly. It wasn’t that noticeable, but Exposure confirmed it was a fault – it should shine steadily.
A customer would have theirs replaced under warranty, which lasts three years if you buy directly or two years if you’ve bought from a third party. Exposure also offers ‘lifetime repairs’ on all its products, which is reassuring – though these aren’t free.
Value
The good news is that, at £80, this is exactly the same price as the old version. The bad news is that £80 is pretty high for a light like this.
> See and be seen with our top front bike lights for on the road, trail or path
The Knog Blinder Pro 600 front light I mentioned earlier, for instance, is £20 cheaper at £59.99. It too has a machined aluminium body, runs two hours on full power and is IP67 rated – though the Knog actually produces 600 lumens in a constant beam, and lasts four hours on its useful 300 lumen medium setting.
Cheaper still is the Cateye AMPP400S, which matches the Boost 3’s 400 lumen on constant and is also bright enough to use as a proper headlamp. It’s £34.99.
If you’re happy at the £80 mark, you can have way more power. The Moon Rigel Max, for instance, is £79.99 and more than twice as bright at 1,500 lumens.
One caveat is that none of these options is as small and light – the Boost 3 has a meaningful edge there.
Overall
Basically, if you’ve no intention of adjusting or even switching this on/off while moving, it’s great. There’s no denying it both looks and feels a little bit special, and its tiny size and weight are appealing. It’s bright enough both to get you seen and to see by reliably, however dark it gets – plus it runs long enough for a pretty good day’s commuting.

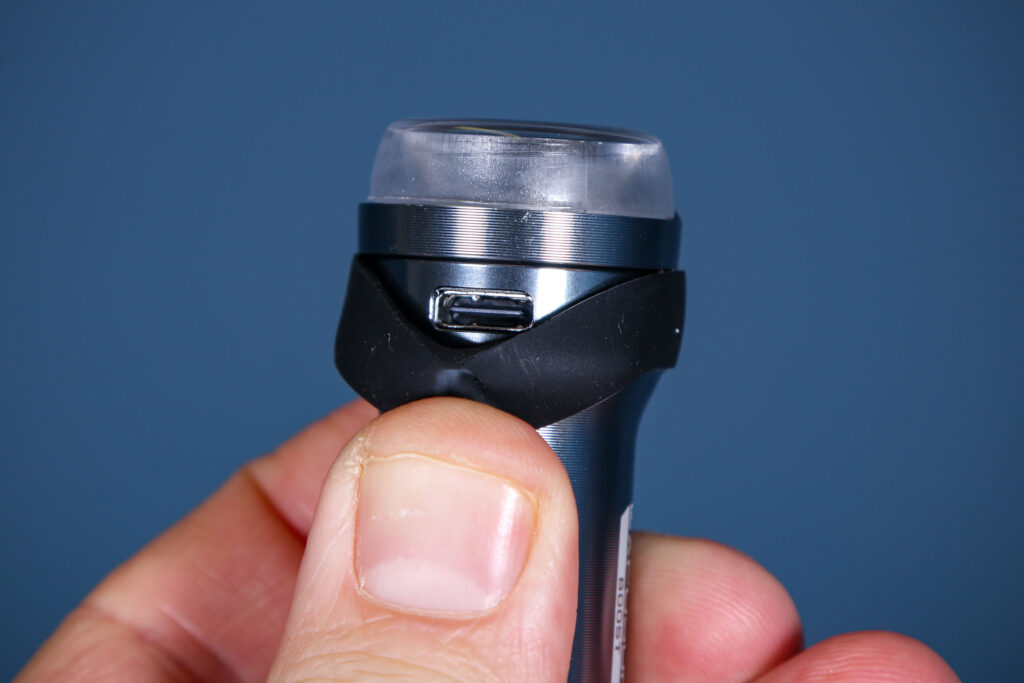
Charging uses the ubiquitous USB-C plug just like (probably) your phone and is quick at 1h30m, which is again just as claimed. Given all this, you may well feel happy paying a premium for it. It looks premium. It’s not actually beating much on spec, however, unless size and weight are key.
If you want something that’s easy to use and/or feel value is more important, this is not the light for you. You can get far more user-friendly lights for less money, or more user-friendly lights offering superior performance for the same price.
road.cc test report
What does the manufacturer say about this product?:
Exposure says: “The Boost 3 is the ultimate urban ‘be-seen’ light for everyday commuting, offering the perfect balance of visibility, convenience, and integration. Its compact form factor and feather-light design ensure it never adds clutter to your setup, while a range of versatile bracket options allows it to blend seamlessly into any cockpit. The Boost 3 fits effortlessly into your routine, making it a reliable, unobtrusive companion for every ride through the city.”
Tell us some more about the technical aspects of this product:
600 Lumens
Up to 70-hours runtime
270° side visibility for enhanced safety with a tight 8° spot lens
Lightweight CNC-machined aluminium body
USB-C fast charging for quicker recharges
IP67 rating
9 programs to choose from allowing you to tune the runtime and output balance perfectly for your ride
Any further comments on performance?:
If you program it correctly then and leave it alone while riding, very well.
How does the price compare to that of similar products in the market, including ones recently tested?:
It’s a lot more expensive than many lights with similar specifications.
Any further comments on design and usability?:
The controls are unintuitive and unnecessarily complicated: adjusting the brightness is a pain. Leave it on one setting and it’s fine, though.
Did you enjoy using the product? Sort of
Would you consider buying the product? No
Would you recommend the product to a friend? No
Use this box to explain your overall score
This is a really nicely made light with a bright, well-shaped beam. The single button can be physically awkward and the control scheme is bizarrely overcomplicated, however, and beyond its size and weight the specs are not exceptional. This only offers marginal gains in a few areas over today’s increasingly strong competition, and even then it has some significant downsides of its own. It could easily score far higher if it used a modern, user-friendly control scheme and had a button that was easy to find and press.


10 thoughts on “Exposure Boost 3”
Steve really doesnt like exposure products does he? Boost and Strada marked down for being too complicated. While the Zenith and Six Pack reviewed by his colleagues give them rave reviews (as most exposure products have on road.cc), the Zenith even touted as ‘even more intuitive to use’ with the same controls.
All of my Exposure lights with a button allow cycling through the modes with a short press. I have five of those; it would be odd if Exposure didn’t allow this functionality with the Boost 3. I also have two Exposure Burners if I remember correctly: they are rear lights for joysticks that clip on and are powered through the joystick charging port. They don’t have a button. None of my Exposure lights have failed.
I looked at the Boost 3 review photos but none showed the button, so far as I could tell.
I also have Moon lights. Good experience generally. One did fail, possibly because it was so thin it used to fall through the holes in my helmet onto the ground. Also, the UI and charge indicators vary for my Moon lights. Perhaps the latest ones are more consistent.
My worst lights ever were from See.Sense.
I have the Trace and Tracer, which have essentially the same design, albeit smaller and less powerful.
The controls are a little complicated but only because there are loads of options. In reality, once you’ve chosen your level of brightness, you’ll only cycle through 1 or 2 options and it’s dead simple.
The lights are rock solid, bright, with good runtimes. The only thing I find annoying is charging them – if your fingers are slightly wet or greasy, getting the rubber out of the way of the charging port is a pain in the arse.
I don’t know why the writer inaccurately describes the light output selection on this light. Three different things are conflated without properly first differentiating between them: The light mode (constant vs flash or “pulse”), power output (lumen rating), and the method of choosing these. Exposure combines the first two into three programs where each program has an individual output for the modes. So the copy-pasted text refers only to selecting the programs. Selecting between modes is as simple as in the Knog: “To cycle between the Constant and pulse options in each program press the function button once.” Granted this might seem confusing at first but after that it is dead simple.
The benefit of Exposure’s choice is keeping things simple – once you’ve turned on the light you click either between constant and flash. In most cases FOR A COMMUTER LIGHT, this is just fine – when you ride a relatively short distance in most likely illuminated surroundings what the actual lumen output is is secondary. Connected to the above, marking as negative that the light puts out “only” 400 lumens in constant mode, is illogical. As the reviewer states, that amount is “a truly useful amount of light”. There is ablosutely no challenge for Exposure in getting the light to put out 600 or more lumens in constant. But a) that would be more than “purposeful” and b) drain out the battery in an instant. The light has been designed as an ultra compact commuter light – where does it fail in that? Conversely, if you ride in “unlit rural voids” blame yourself and not the light if you chose this as your illuminating device.
Furthermore claiming that the new alum. anti dazzle shield “makes zero difference” and is no upgrade is baffling – which do you think protects the lens better in an impact?
Finally, moaning about the cost of the light without even mentioning what obviously plays a major role – the fact that it is manufactured in the UK, is appalling. So yeah if you “value” buying a light by Knog, Cateye and the likes that manufacture their lights in an undemocratic country where the list of ongoing human, labour, international law and environmental violations is nearly endless, and wish to support manufacturing processes where products are shipped across the world to endulge your “needs”, then feel free to ignore all the above, and just focus on “user-friendliness”.
I have nothing but praise for my helmet mounted Exposure Axis, running eight years now. Battery only does two and a bit commutes now, so I’m going to either upgrade to the Diablo or see if they will upgrade the battery. If they’d released their STVZo road/4k lumens when your giving it some going downhill off road light I would have bought it first day.
Mode 8 for me, low low, good mid and top high, decided after a couple of weeks of use and I’ve never changed. I use the button or the tap function (Tap 2 for me) to cycle through the power levels. Exceptional helmet light.
The button is it’s weak point, but very livable, I am glad of the tap function. It can sometimes take a few presses to get the flashing bit with its press and hold, but not for too long because that’s off.
I have to put it back into mode eight so rarely that I will have to open up the manual. Normally when I stick it on the bars when I had to send my r4 back to Hope. Or if it seemed to go a bit weird. Can’t remember the last time.
Another really weird review from road.cc. They take a product, use it for something it wasn’t designed for and then mark it down.
I’ve just upgraded my Boost to the Boost 3 and I can say it does the jobs it is designed for very well.
I use it on rides in daylight for Saturday group rides and occasional all day epics. I feel that cars are more likely to see me and the significantly brighter day flash and doubling of battery life are significant upgrades, especially for longer rides. It’s also so light that there’s really no downside to using it so safety wins.
I also use it for short 30-min commuting. The easy of detachment and robustness of the light here are key and it’s perfect for this use case. For longer rides that involve significant unlit or off-road, such as along a canal path, at night I use the Exposure Strada RB. Again, road.cc, right tool: right job.
It’s also great that Exposure use common mounts for all their lights. I change the Boost and RB between multiple bikes using the mount with a red pin and it takes seconds to move from bike to bike or to detach for charging.
The table for setting brightness is something I tend to set only once. Then the single button is a boon.
I’m going to defend Steve slightly here. I disagreed with him on the larger front lights, where in a given “programme” you an still cycle through high/medium/low/flashing modes, which is plenty to cover most use cases, without needing to change into a different programme.
But with these small lights, each “programme” only consists of a single constant level and single flashing level. And with only six options in total, cycling through all of them wouldn’t seem too onerous. I certainly find with my TraceR, if I’m riding by myself I’ll typically use Programme 1 (the brightest option), but if I’m riding with other other people , I want to drop the power down to a lower level, which does mean changing programme. Given my usual cycling club meeting point is ~20 minutes from home, this means starting in P1, changing to P3 when I get to the meeting point, then changing back to P1 for the ride home. Again, you do get used to it and it’s not the end of the world, but it ends up being more faff than just cycling through a few more options, as you would with pretty much any other light.
I’m also going to agree that the button can be a bit hard to find, especially with gloves. I don’t think it would be a problem for a front light where you can see what you’re doing, but trying to press the button on a seatpost-mounted TraceR whilst riding can be tricky!
All that said, my TraceR, like my Sirius, is still going strong after several years. I have various other lights knocking around, but the TraceR is still the one I reach for first.
I use my Boost in day and night. In daytime, I have it on Day Bright flash and, at night, I have it on constant. If I needed more than the 12 or 2 hours respectively, I would choose a different light altogether. I can’t really think of a use case, other than an emergency, for the lower power modes, and certainly don’t need to use them regularly so the fact that they are more difficult to access is a plus. I would find cycling through all six modes much less convenient.
I’m not sure i understand how anybody can be baffled by a process which requires you to hold down a button to change the mode? I have the previous version of this and it’s pretty easy to use?!