

- This topic has 14 replies, 9 voices, and was last updated 5 years, 1 month ago by
 Spangly Shiny.
-
CreatorTopic
-
June 3, 2021 at 6:31 pm #31625
killie_guy
Hi all. My bottom bracket is creaking, hoping it’s just needing some grease, however, after removing the hex connection I’m unsure where to do from here, can anyone advise please?


Ta
-
CreatorTopic
-
AuthorReplies
-
Spangly Shiny
It looks like an alloy frame
It looks like an alloy frame there, so electrolytic corrosion is the likely reason it’s so difficult to remove. As an alternative to grease for reassembly it is worth considering pigmented varnish jointing compound (Duralac). Any grease will eventually dry out, unless you dismantle and reassemble regularly, so using jointing compuond instead is a long term solution to the corrosion problem when you want to fit and forget.
 ktache
I have had some difficulties
I have had some difficulties before, taken her to the LBS and they put the tool in their big vice, and used the frame to get the “mechanical advantage”.
ktache
And lots of grease or
And lots of grease or assembly stuff when installing the new one.
zero_trooper
The ‘instructables’…’use a
The ‘instructables’…’use a pipe (a scaffold tube will do nicely)’
Yep, been there!
A ‘Mechanical Advantage’ I believe 🙂
kil0ran
Yep, this works very well, as
Yep, this works very well, as long as the BB removal tool has spanner flats. Quite why some of them don’t I don’t know but I seem to have two of the beasties, which is why I ended up getting the one with the attached handle and locator pin.
ktache
If the square taper has a
If the square taper has a hole all of the way through, a wheel qr can be put though and tightened to keep the removal tool square when giving it some wellie, to avoid destroying the splines on the cup when it slips, as it will when giving it the said wellie.
If you’re needing to remove
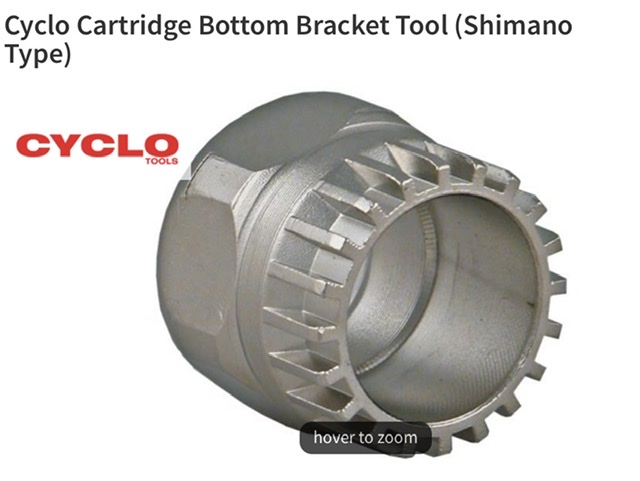
If you’re needing to remove the BB after you’ve removed the cranks be prepared for plenty of swearing and skinned knuckles. You need another tool for the splines (the square castellations on the first image)
Strongly recommend getting one like this with a central locator pin, which will stop it going askew. This was the best option for me with a particularly recalcitrant factory-fit (and factory-torque) square taper BB. Tool plus my entire 18st stood on the handle after a night soaking in WD40 (the BB, not me) was what was required.
https://www.gym-fit.co.uk/Bottom-Bracket-Removal-Tool-Square-Taper-Type-Ha-p/gf.sbbb30.htm
The other option is to get a socket one which has spanner flats on it like this
And then clamping it to the crank spindle with a bolt and a couple of big washers like this
https://www.instructables.com/Seized-Bottom-Bracket-Removal/
And using an adjustable spanner (or ring spanner if you’ve got a big enough one) to apply enough torque to remove it.
It’s not a difficult job, just requires the right tool and brute force rather than any particular skill.
One final tip: drive side (chain side) is a reverse thread. Easy way to remember – push the tool handle towards the front of the bike.
 David9694
Once the cranks are off, then
Once the cranks are off, then it’s one of these. It looks like it’s a Shimano copy, but check the number of splines is the same – your first photo looks like between 9 and 10 o’clock there’s a bigger gap.
If it’s standard English BSA threads, it’s the opposite of pedals – the right hand side is a left hand thread. You’ve probably got a sealed unit in there – check how smooth it’s running – you could replace it if it’s old.
The bottom bracket may need some welly, e.g. setting up in a vice if it’s stiff – just don’t end up doing yourself or your bike a nasty. A Replacement Shimano unit like UN 300 should be right – the width of the body should be 68 mm for a road bike, and you need to check the spindle length.
Creaks are one of cycling’s mysteries and can be coming from a range of places, and they only usually occur when you’re underway so locating them can be tricky.
Thanks everyone, I’ll get
Thanks everyone, I’ll get that part and see how it goesThere’s plenty of videos on
There’s plenty of videos on YouTube showing you how to use one.
Definitely ‘oddly satisfying’ to use 🙂Hirsute
Plus some muscle as it may
Plus some muscle as it may well have been tightened to 50Nm +
Dave Dave
Do the cranks feel floppy, in
Do the cranks feel floppy, in which case if they’re square taper cranks you have a crank problem? Unless your bb is very graunchy, it isn’t worth messing with. If it’s that bad it probably needs replacing.Creaking is something to live with, and think about a new bb eventually. I’ve taken them apart and greased them, but it’s a short term fix.
peasantpigfarmer
Like this!
Like this!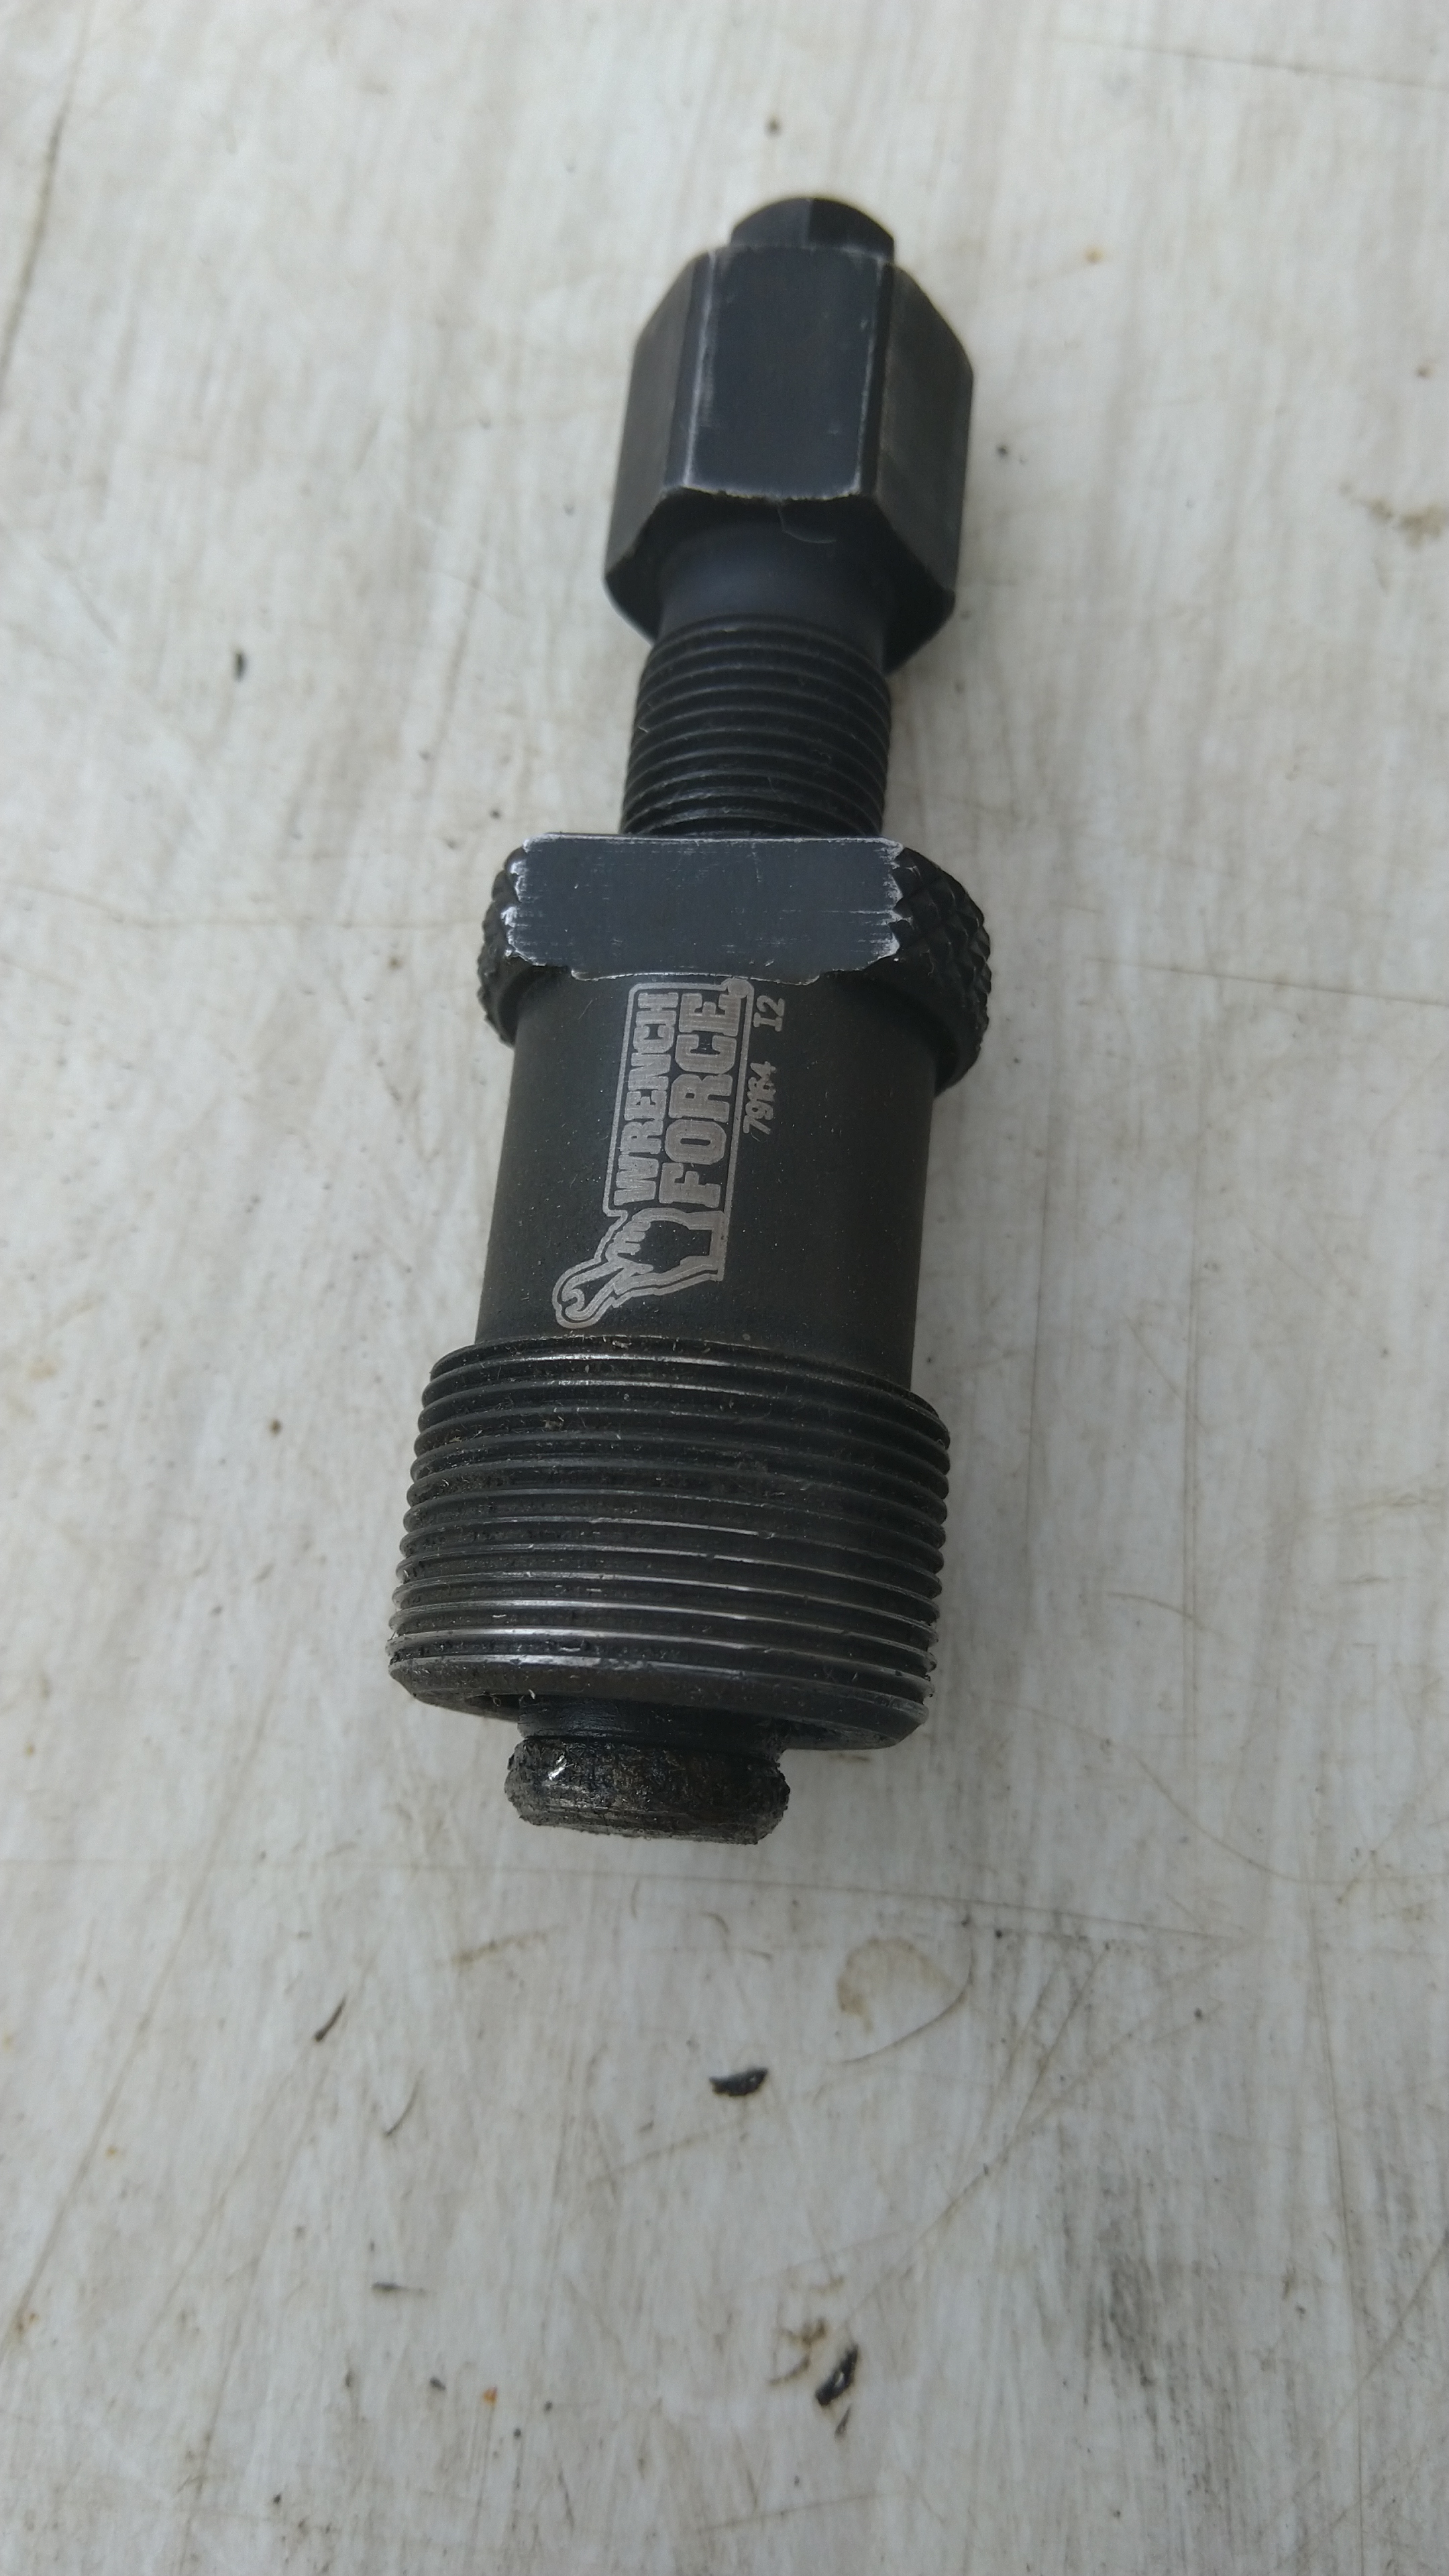
Just need a standard crank
Just need a standard crank arm extractor tool. About £5-10. A common tool stocked at any local bike shop. -
AuthorReplies
- You must be logged in to reply to this topic.